


Cork Bottomed Cement Coasters

I’m not ashamed to admit it, I have a bit of an obsession with coasters. I have 2 sets of 4 that I currently use in my apartment so I don’t need anymore, but do I keep making them?....yes of course I do. They’re like baby canvases with zero rules so since I purchased Cementall Rapid Set cement, it was kind of obvious what I wanted to try making first!
The best thing about coasters is they’re the perfect little gift for anyone moving away to uni (college), getting married, moving house, or, just because! I challenge anyone to give me one good reason to stop making them 
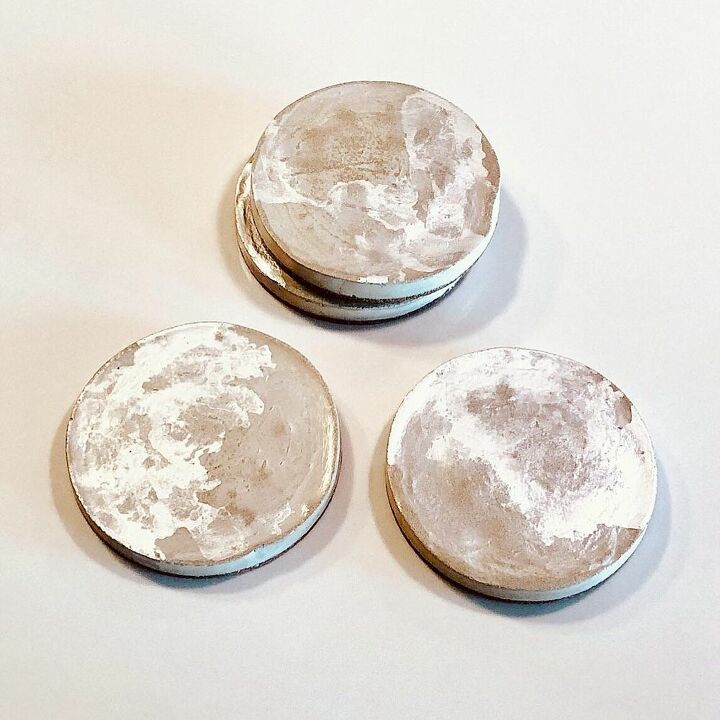
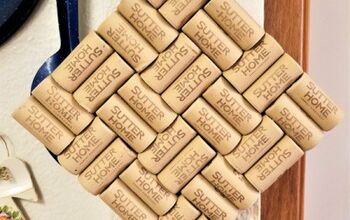
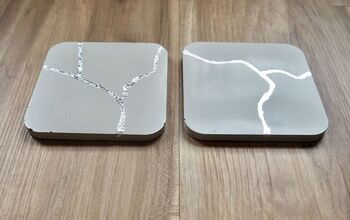
I made a set of 4 cement coasters with cork bottoms. I then decorated them at the end with silver alcohol ink.
I have included a step by step guide on how I made these, minus the silver ink decorating at the end simply because I felt this step was quite tricky and specialised. Decorate yours however you like or leave them as they are. The raw cement has such a beautiful look, hence why I wanted most of mine to show through.
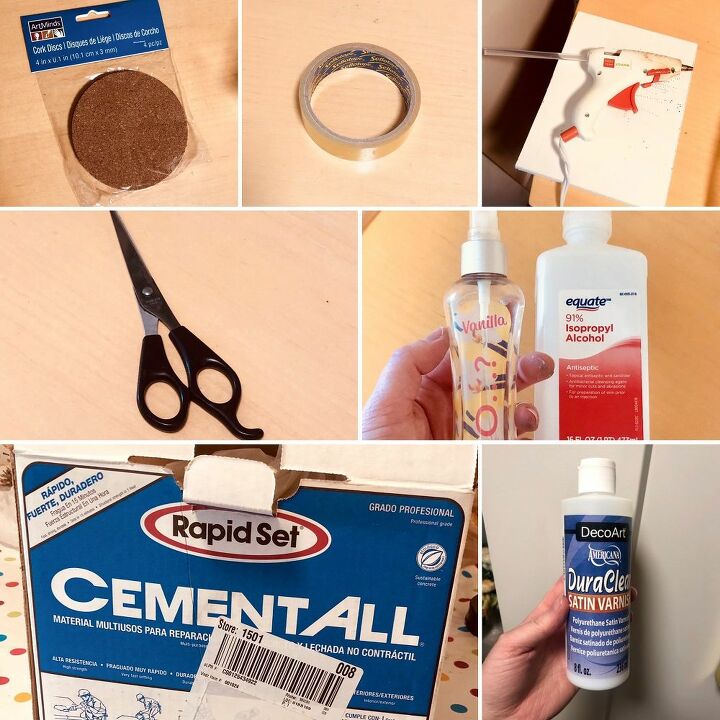
All the tools I used for this project are:
- Four cork coasters from Michaels (crazy cheap, like $2)
- Sellotape
- Hot glue
- Scissors
- Sand paper
- Alcohol ink and rubbing alcohol (if you wanted to give this a go yourself)
- Cementall Rapid Set “grout” (I got this from Home Depot)
- Clear varnish
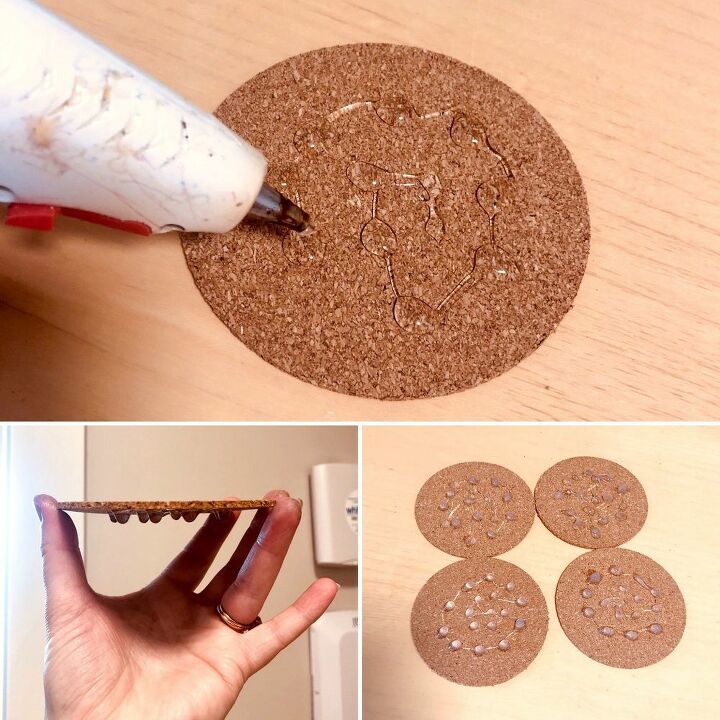
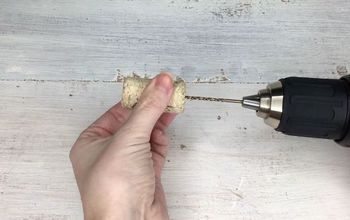
The first step is a bit weird, I’ll admit. You want to put blobs of hot glue around the center of your cork coaster and then before it has a chance to dry and set, hold it upside down so that little peaks form. Try not to let the glue stretch too much as you don’t want it to be taller than the height of your cement.
The method to my madness is that I wanted the cement to have something to grip onto instead of just the cork. These cork coaster are great for the price but a little flaky, so I wanted to give my cement the best chance of sticking.
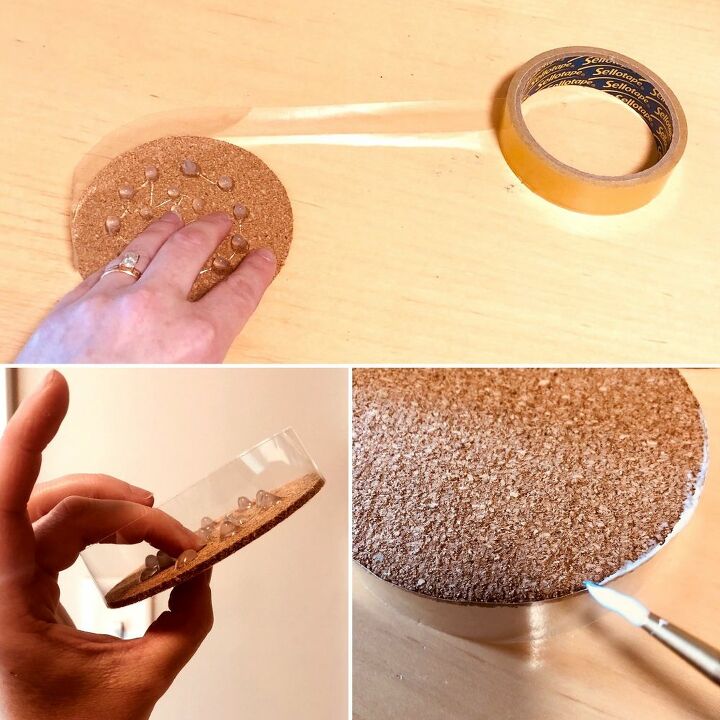
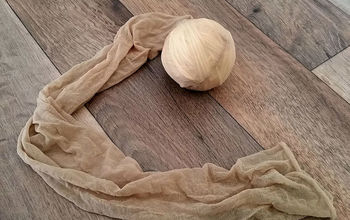
Now, this step is quite frustrating so try to persevere! You want to wrap sellotape around the outside of each cork coaster without the sellotape pinging off or sticking to itself! I don’t know how many times I tried until I got them all looking the same!
You want to make sure that you don’t have any sellotape overhang on the underside of your coasters or this may lead to an uneven cement pour later. You want each coaster to be completely flat to your work surface.
Depending on what your cork quality is like, smooth or flaky, you may want to do what I then did to seal the edges. I just added a thin film of PVA glue around the edge where the cork and sellotape met. I didn’t want any little gaps for my cement mix to leak through.
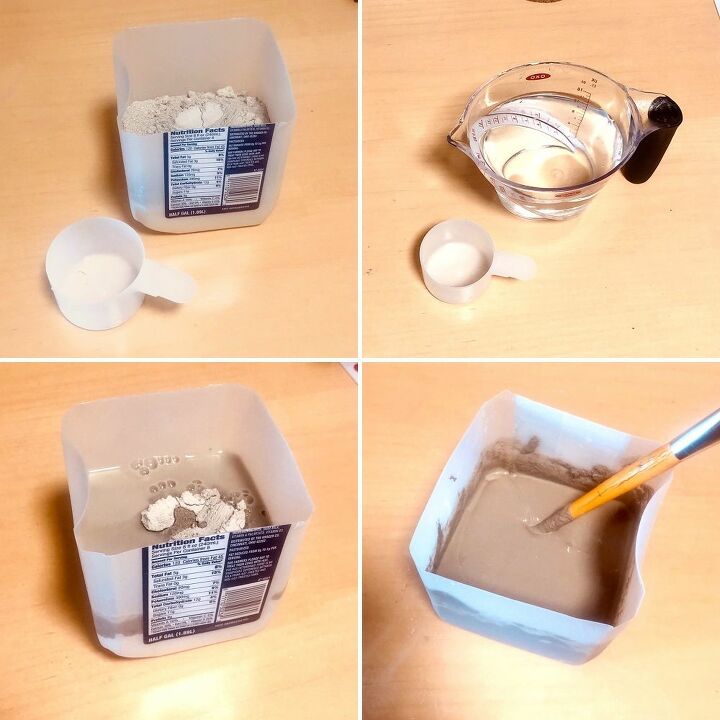
Mixing your cement! The box says to do a 4 parts cement to 1 part water mix, however, I found this to be far too gloopy for what I wanted because the mix wouldn’t spread or flatten very well. Therefore I added about 1 and a half parts water instead.
Mix thoroughly getting into all the corners.
Please try not to buy any additional, unnecessary plastics for any crafts you make. I cut in half an old milk carton that worked perfectly for my mixing bowl. Let’s try to look after this beautiful planet.
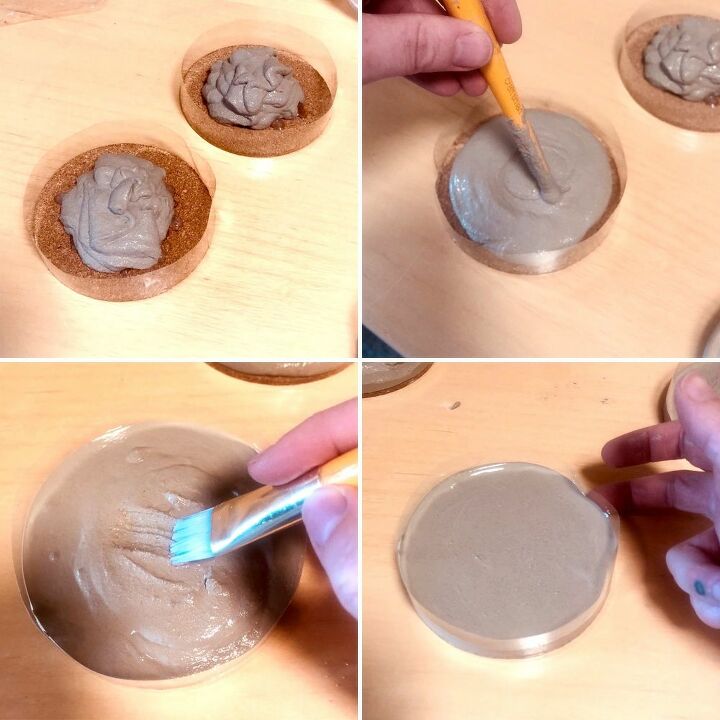
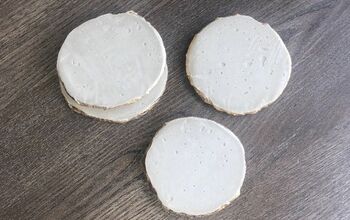
I dolloped the cement into the cork-sellotape structures in roughly 4 equal portions and spread the mixture around quickly.
You need to move fast with this step as the cement really does set rapidly! Try to avoid pushing the cement directly up to the sellotape boarder as you don’t want a little lip to form around the edge that will later need lots of sanding to get rid of.
To get a nice smooth top and to pop any bubbles that may be hiding in the mixture, gently, but thoroughly, tap the sides of each coaster until the top is nice and level and smooth.
Set aside to dry for a good 2 hours to be confident the cement has solidified.
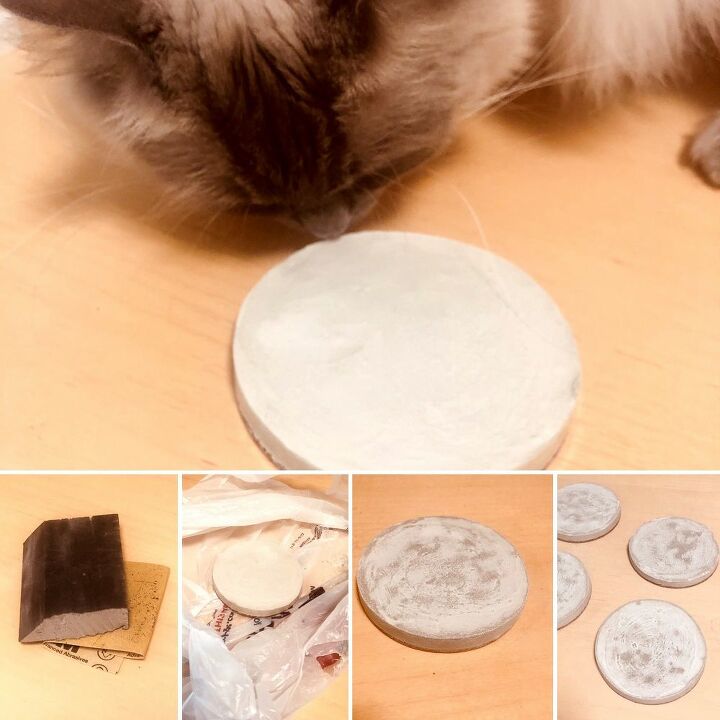
Once your cement has dried, peel off the sellotape edging and bring in a furry Quality Assurance Specialist to give each piece a good inspection.
Once he’s happy that your coaster meets the necessary standard, start sanding! Hopefully your coasters are nice and smooth already so just get rid of any uneven edges or bumps.
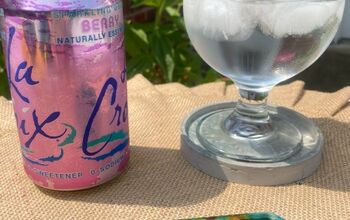
Once all your sanding is done, decorate as you wish and add a couple of coats of varnish to seal.
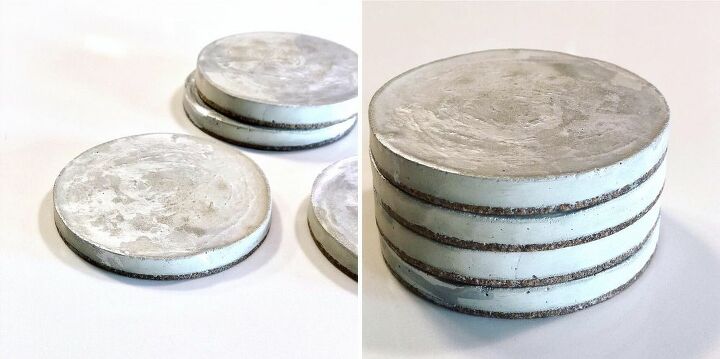
I am so impressed with the rigidity of this cement and I can’t wait to make other crafty home decor pieces with it.
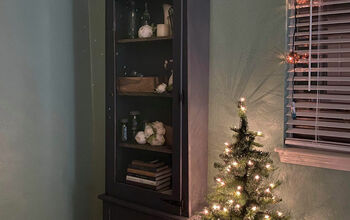
I think this set will go to my big brother back in England for his lovely house that he’s just started to redecorate. He really likes rustic decor so I think this will fit in nicely.
As always, I urge you to give this a go yourself at home. Don’t just stop at coasters either, cement is such a beautiful and customisable medium in home decor. With imagination and patience, you can make your own molds for just about anything!
Let me know what you think in the comments below and I’ll be happy to answer any questions you might have about this or any of my other projects.
Happy crafting!


Comments
Join the conversation
-
Or you could go to a tile store, buy some 4 x 4 tiles for $.50 each, glue cork feet on the underside and your done.
Complete project in less than
25 words
-
I agree with the comment about not putting a sealer on so it will absorb the sweat from the glasses. I'm disappointed that there are no answers to the questions asked!


Frequently asked questions
Have a question about this project?
Is this the cement you use for stepping stones? What does it cost?
I just wanted to say that I have an obsession with cement;)
I am curious as to why your added the colour after making the coaster. Can you not add the colour to the cement first??