


Dining Room Swag Light

My husband and I have been doing renovations on our house for some time now. Since it’s just the two of us, we try and take a few breaks. Plus the rooms in our home aren’t always finished right away since it’s easier to complete electrical wiring when more than one room is gutted. I knew it would be some time before our dining room would be finished since we still have two more adjoining rooms to gut. Therefore, I wanted a dining room we could use with an inexpensive light above our table that would look nice. My husband still needs to wire the ceiling so had to come up with some kind of light that I could plug into the wall. I’m going to share with you the supplies we used and try my best to explain how we put our light together.
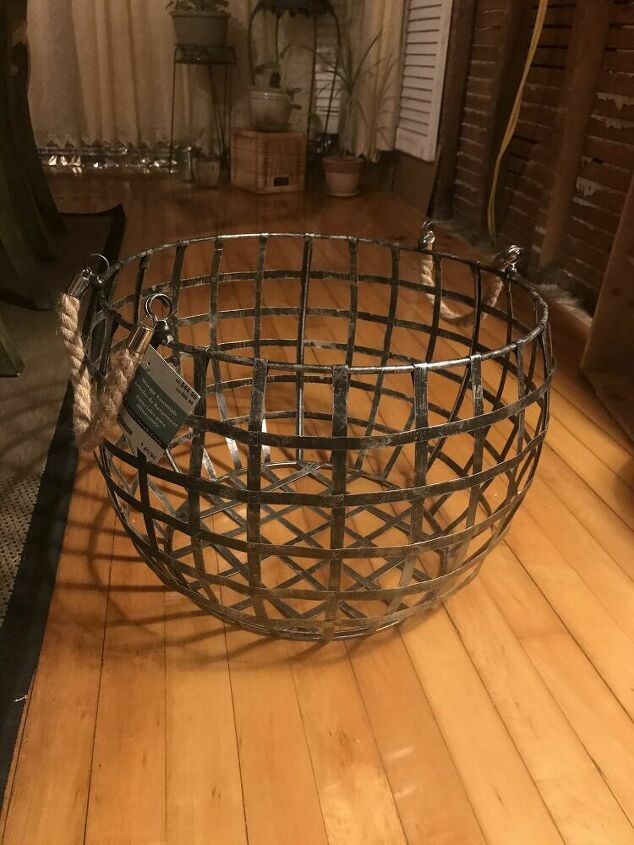
Metal basket from Michael’s. I got for 60% off so my cost for the basket was $27.00.
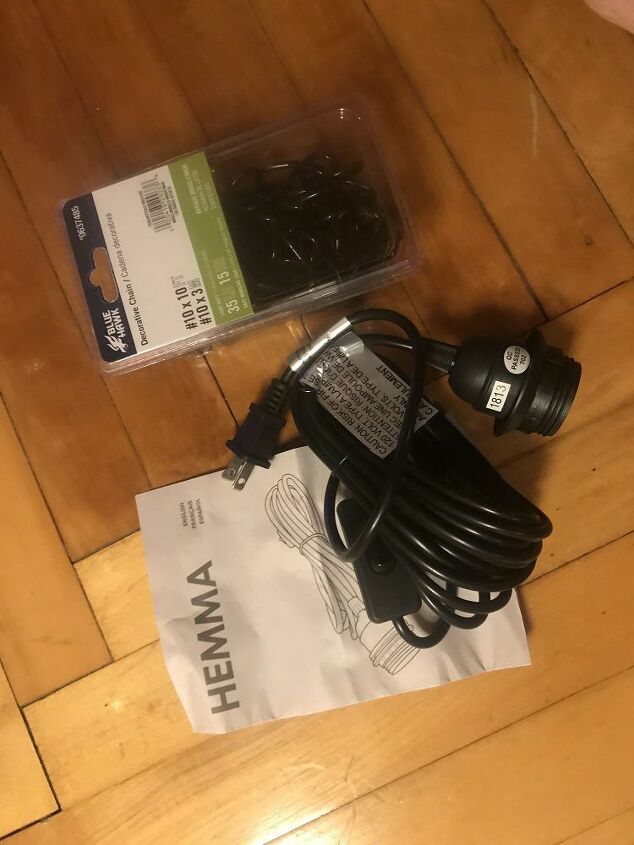
We also bought 3 ikea pendant lights with on/ off switch’s. I think they cost around $7.00 each. We picked up a 10 foot section of black chain at Lowe’s for about $9.00.
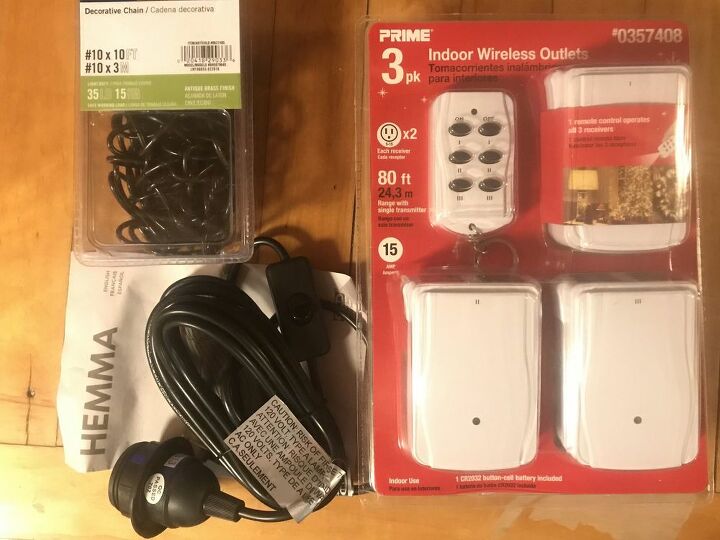
In addition to the pendant lights and chain, we bought a wireless remote control so we could use the remote to turn our light on and off. The remote system is sold at Lowe’s during the Christmas Season, but I’ve bought similar kits on line for $20.00. We also purchased 3 led Edison looking bulbs from Lowe’s at a cost of $9.00 each. They are expensive light bulbs, but they are low energy led bulbs that will not burn out for 3 to 5 years.
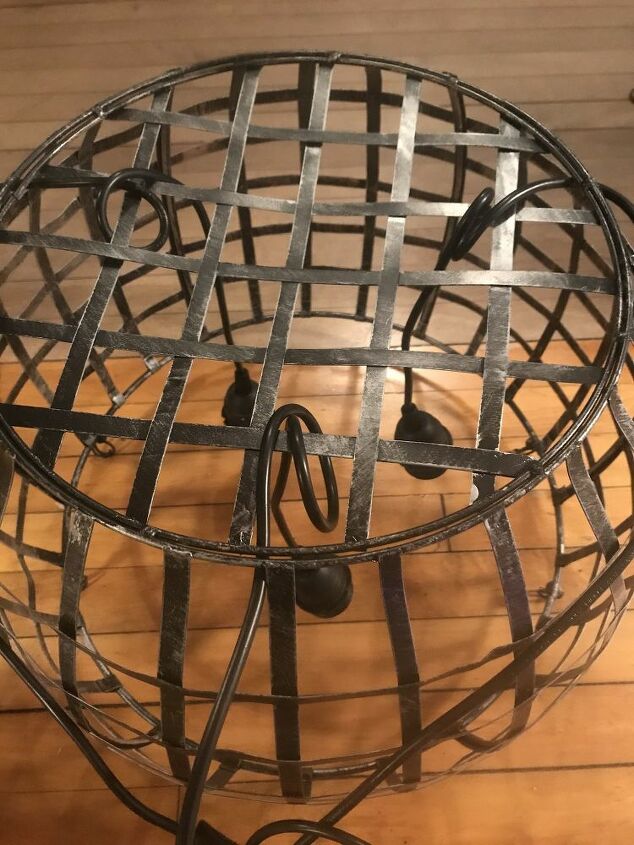
The first thing I did was to remove the rope handles and turn the basket upside down. Next I looped all 3 pendant light wires as pictured and zip tied all three together at about 15”. We already had the zip ties, so I didn’t include them in our cost, but they are really cheap and can be purchased in Lowe’s or Home Depot.
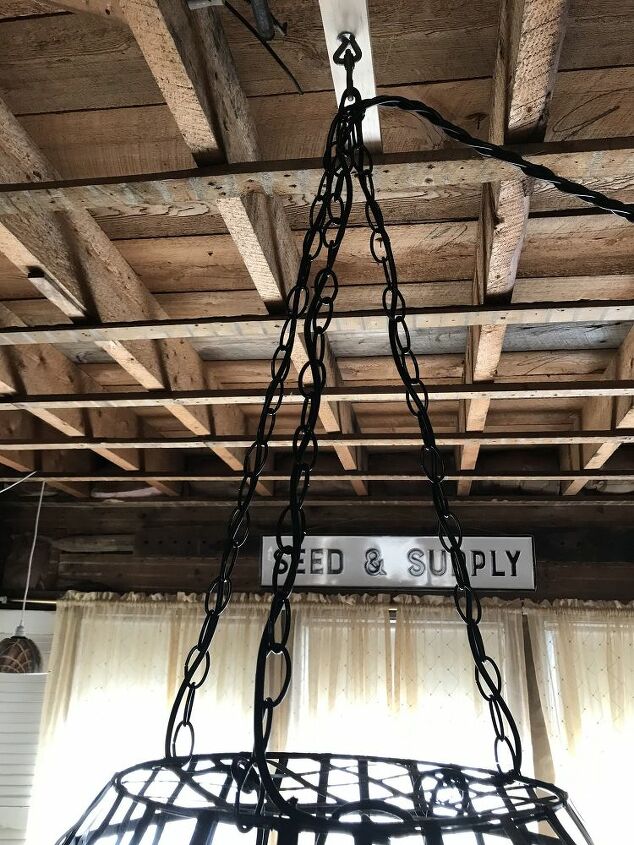
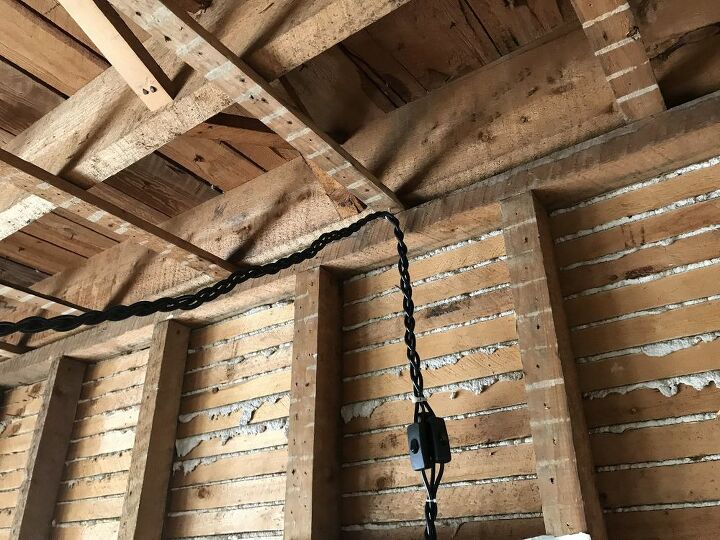
After the cords were secured together, we hung the light from the zip tie on to a ceiling hook, ( my husband used a heavy duty hook that he already had). We then cut the black chain into 15” sections. Next we opened up the bottom chain loops so we could attach them next to each cord. After that we just wound up the chains around each cord. We took the top loop of each chain and hung all three on the ceiling hook.
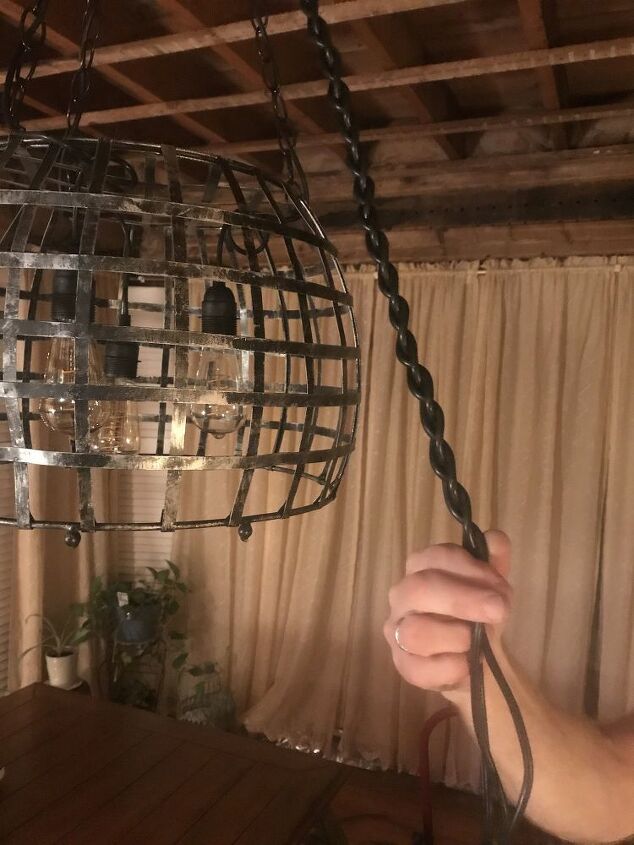
Since I wanted the light to look like a swag light, I had to come up with a way to gather all three cords together. I didn’t want to buy more chain so I decided to braid the cords together. I don’t have a picture of the light before we added the light bulbs so I’m using this one just so you can see the braid.
My husband helped me keep the cords taut so I could make a nice even braid.
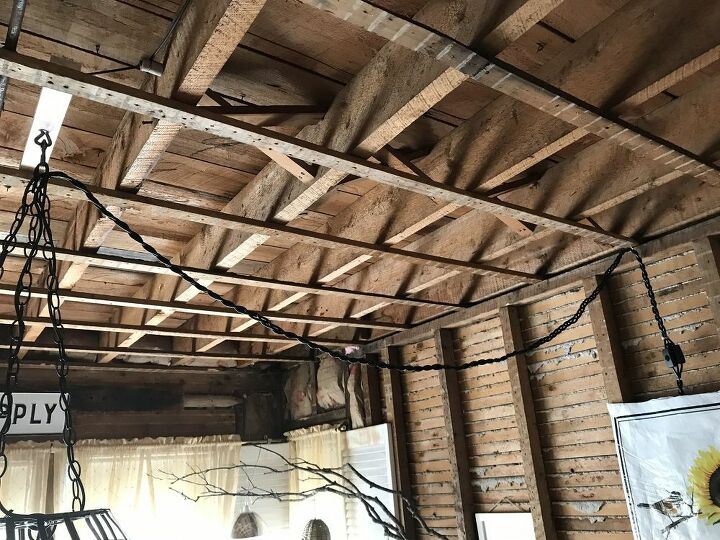
Once the cords were braided, we ran a good section of the braid to the wall, secured the the top with another zip tie and hung the braid on a small cup hook.
We then secured the braid above and below the pendant light switches.
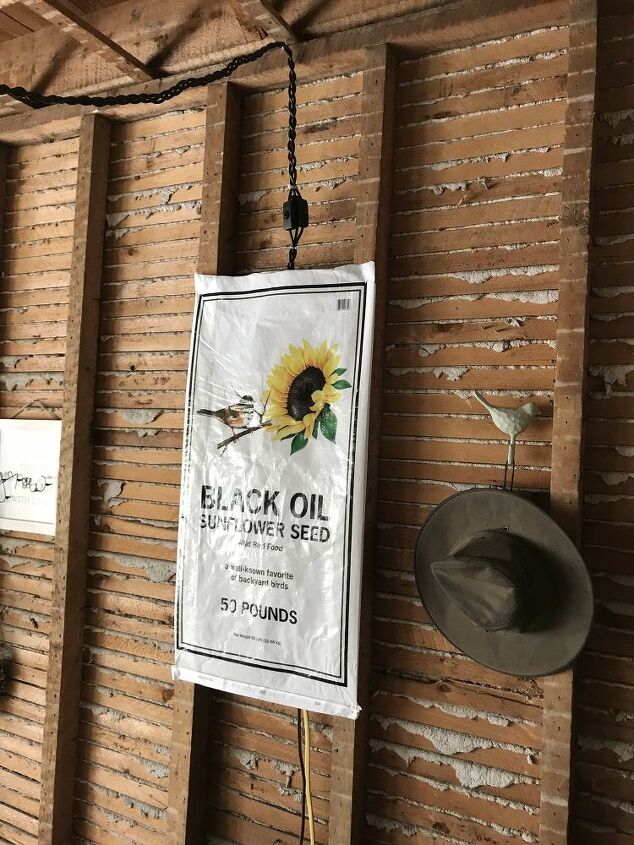
We plugged in all three cords into a brown extension cord then hid the cord behind the seed bag that I had stapled to the wall studs.
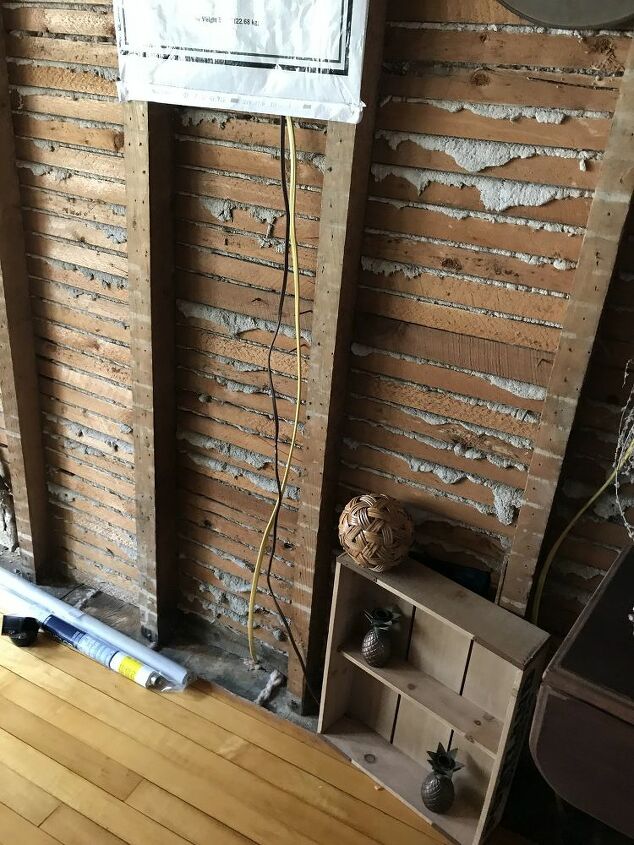
We then ran the extension cord down the wall to an outlet.
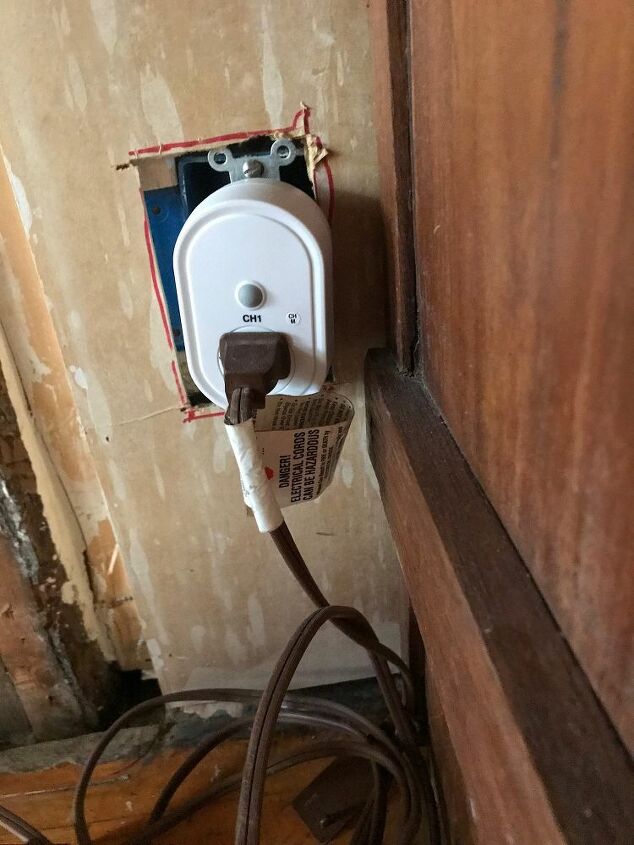
We then plugged the extension cord into the remote outlet. We are not done with the wall which is why the outlet box isn’t covered. It’s not a concern for us since we don’t have children in our home.
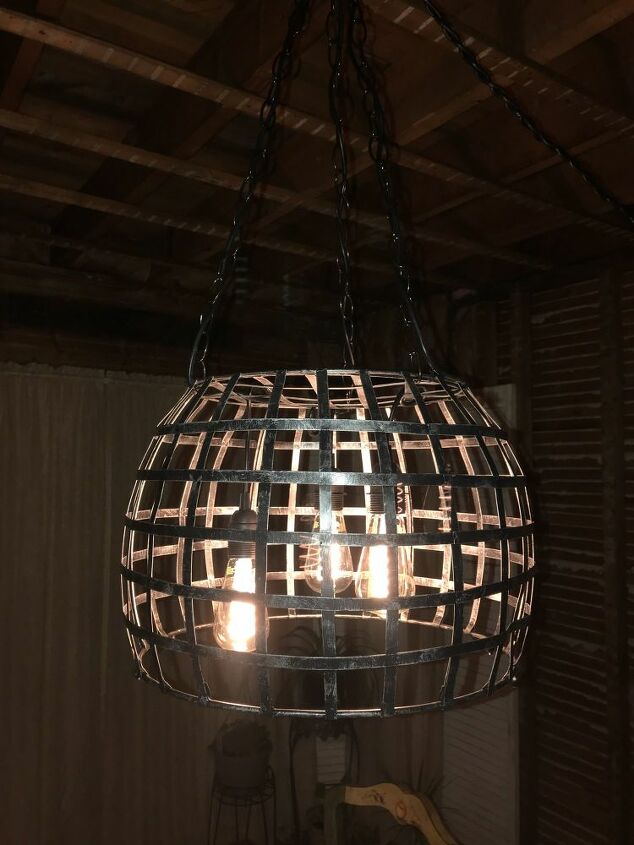
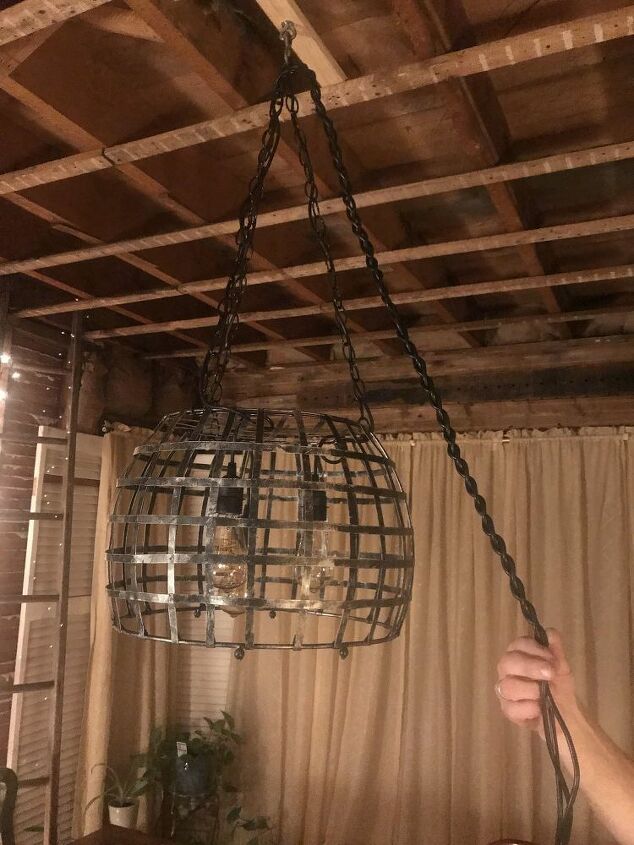
We screwed three led Edison styled bulbs in. We turned all three pendant lights on so we can use the remote to turn the light on and off. I staggered the three lights just because I liked the look rather than hanging them even with one another.
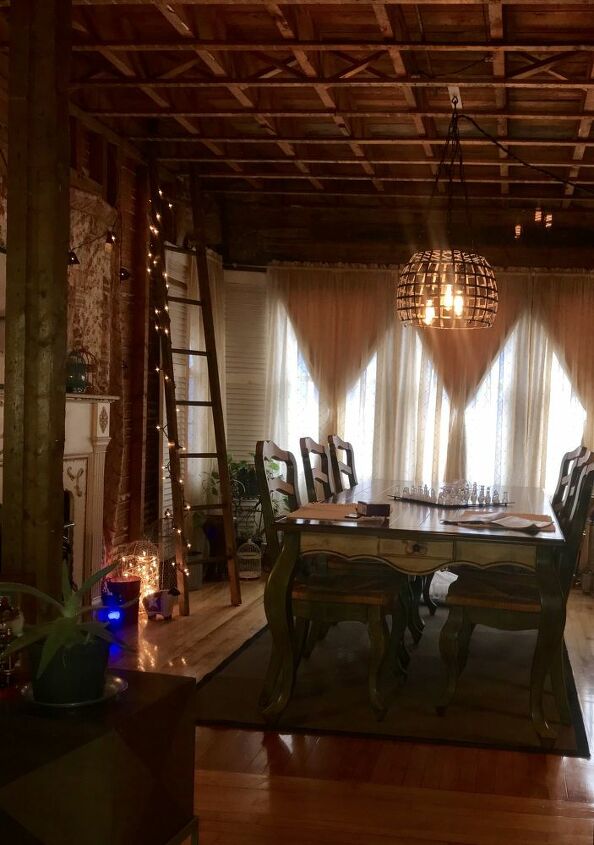
A picture of our dining room light.
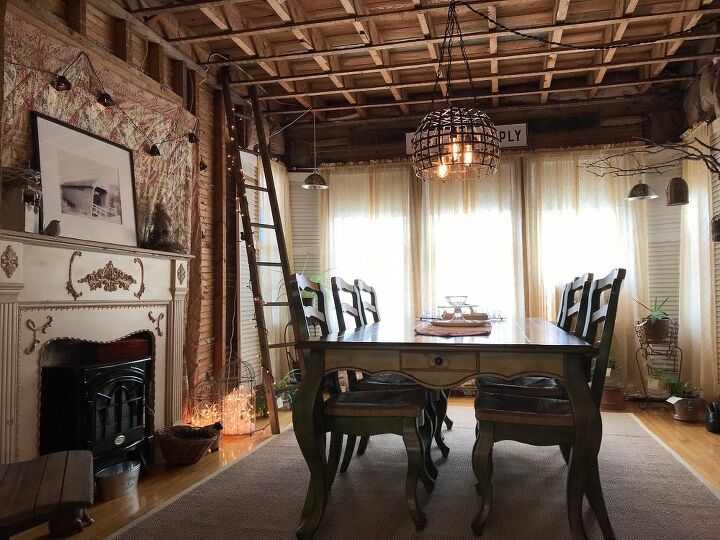
We love using our unfinished dining room now. I decorated and hung curtains until we can finish the remodel. We did put in temporary insulation and drywall on the window wall since it’s an outside wall. I just covered up the whole mess with old shudders and curtains hung on gold painted pvc pipes. I hung a quilt behind my antique mantle until we can finish the entry way to our front sitting room.

We’ve been using our light for 7 months. I like it so much that I’m considering hard wiring it once our room is finished.
Resources for this project:
See all materials


Comments
Join the conversation
-
Absolutely love this! Especially since it is only using extension cord. And then can be moved easily. My question is did you somehow connect all 3 wires together before the actual plug? Did you use an electrician for this? THANK YOU!
-
Thanks so much


Frequently asked questions
Have a question about this project?