


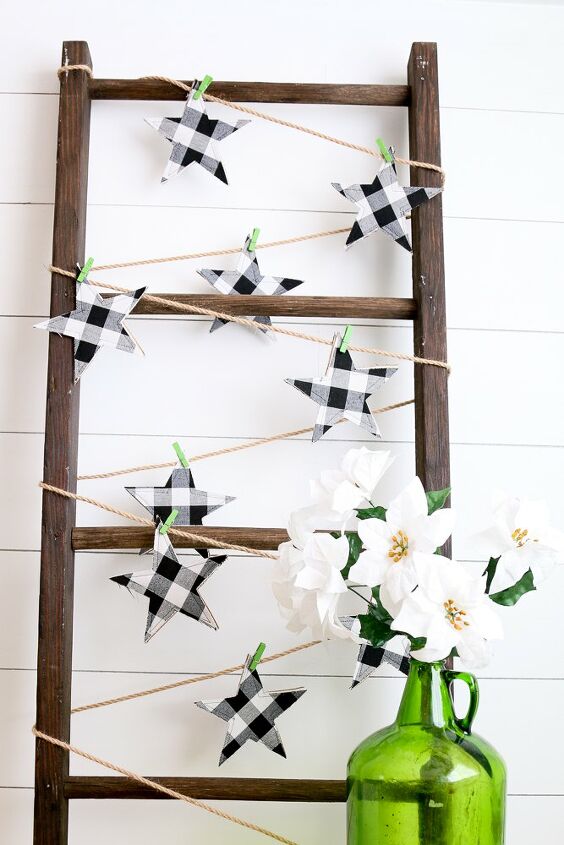
Make This Super Simple Gingham Stars Garland
Y’all know I love black and white gingham…or maybe you have sensed it as an addiction on my part! This little gingham stars garland allowed me to add a bit more of it to my home, and I love its cuteness.
Of course, this is one of those crafts you can customize to your own taste. Use a fabric color or print that you love. You could even go a little crazy and use a bunch of different fabrics to make this one…scrappy is always fun!
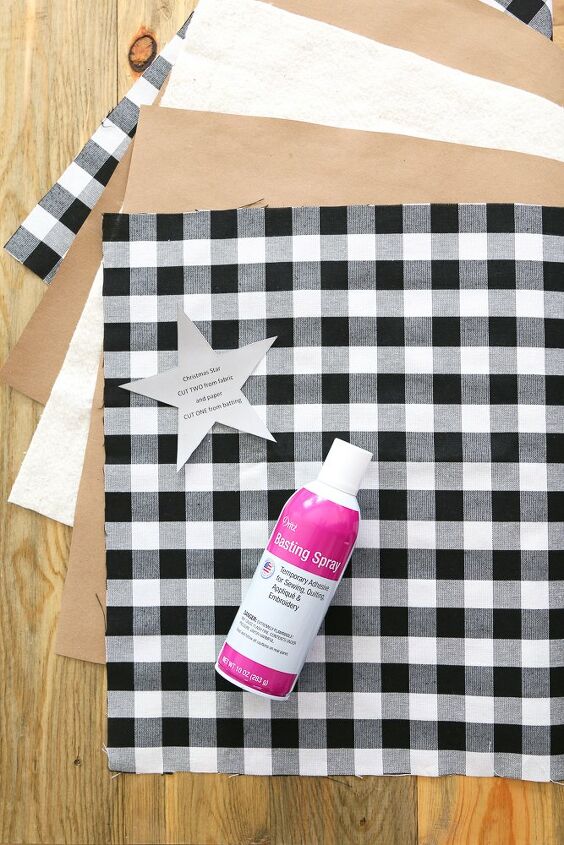
Gather Your Materials
- Two pieces of fabric measuring approx. 20″ X 20″ (Quilting cotton or medium-weight fabric. No stretchy fabric. I cut mine from a curtain.)
- Two pieces of Kraft Paper measuring approx. 20″ X 20″
- One piece of Warm and Natural Batting measuring approx. 20″ X 20″
- Downloadble GINGHAM STAR TEMPLATE ( Located in my free Resource Library. Get the password by filling out the form at the bottom of this post.)
- Basting Spray
- Thread
- Sewing Machine
- Basic Sewing Supplies
- Twine
Basically, we are going to create a “sandwich” with the fabric, paper, and batting. The basting spray will attach the fabric to the paper to add some sturdiness to the stars. Without the spray, the stars may curl a bit.
Step One:
Iron your fabric so it lays nice and flat. Spray one piece of Kraft Paper with the basting spray (refer to the instructions on the can). Lay the wrong side of the fabric on top of the sprayed paper. Be patient while doing this so you do not end up with “wrinkles” or “bubbles” on the fabric. If there are a couple of those, do not worry since each star is two-sided. You could always make the bubbled side the back of a star.
Step Two:
Create your “sandwich” by stacking the fabric/paper piece and then the batting piece and then another fabric/paper piece. The right-side of the fabric will face out on each side.
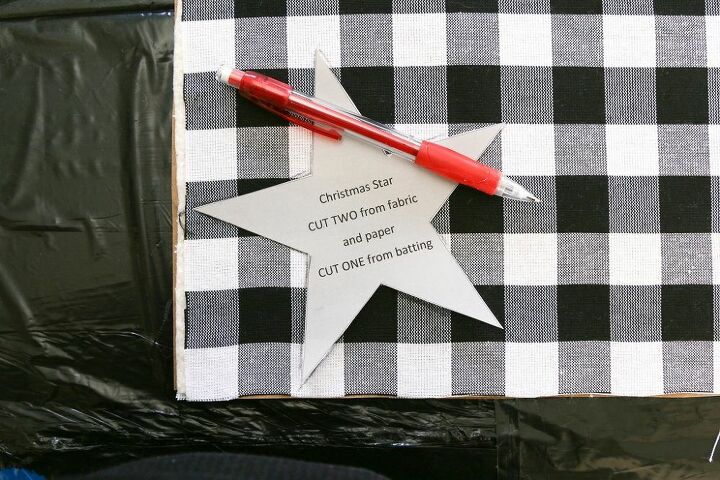
Step Three:
Use a pencil to trace the stars on your fabric sandwich. Try to fit as many as you can so you will have lots of stars!
Step Four:
Place a pin in the center of each star you drew.
Step Five:
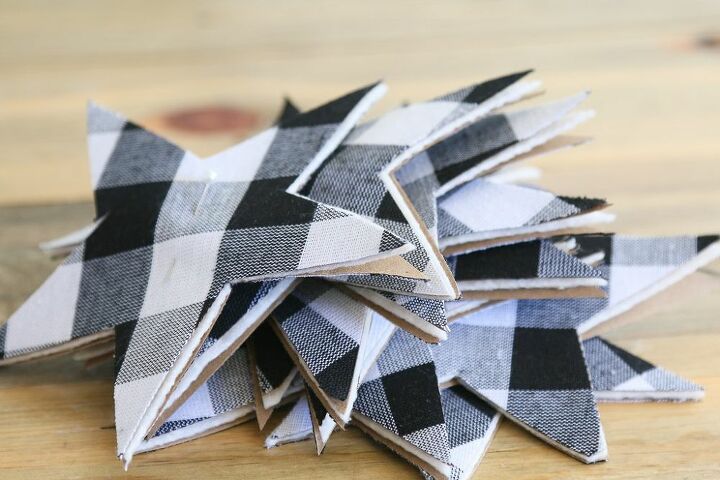
Use scissors to cut out each star (I used fabric scissors).
Now take a moment to enjoy the cuteness of your pile o’ stars!
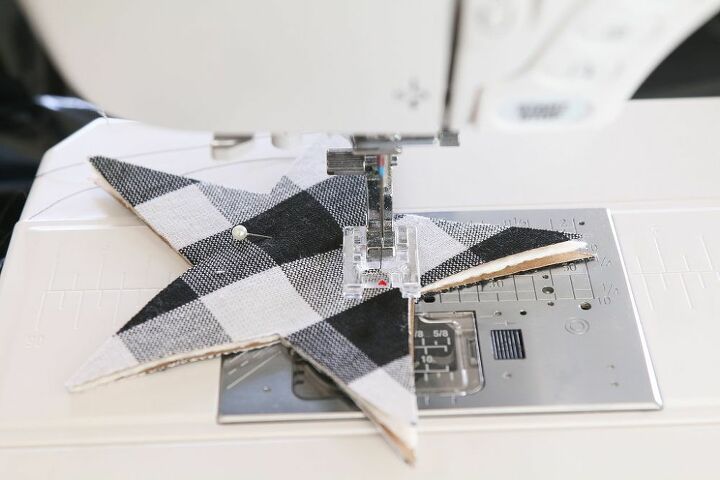
Step Six:
Sew around each star close to the edge (approx 1/8″ – 1/4″). I lifted the presser foot to pivot around the corners. Trying to curve around them did not work well.
Step Seven:
Attach the stars to a length of twine with the clothespins. You could also use hot glue instead of the pins.
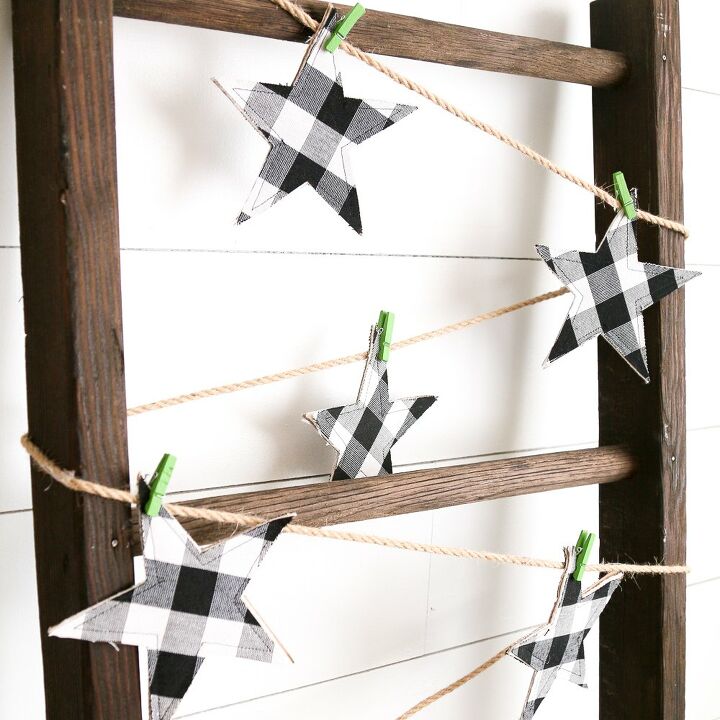
Congratulations, you are done!
Now you simply need to figure out where to hang this cuteness!
Happy crafting!
Resources for this project:
See all materials


Comments
Join the conversation
-
I traced all in one stack-fabric, batting ,paper, and fabric. I sewed around the star and then cut it out. That was easier for me. Love this idea!


Frequently asked questions
Have a question about this project?