


Easy And Cheap DIY Decorative Painted Book Stacks
Hello, friends!
I am glad you stopped by today because I want to share a fun and simple—and cute—DIY project with you!
Click here to get to my blog post that includes a video tutorial!
If you have some old books lying around you can repurpose them to make this craft. I think this is a perfect thing to make on a girl’s craft night or to make for your friend’s birthdays. You could personalize a stack of books with a friend’s favorite quotes and colors.
Click here to sign up for my weekly newsletter and get access to my Resource Library!
Gather Your Materials:
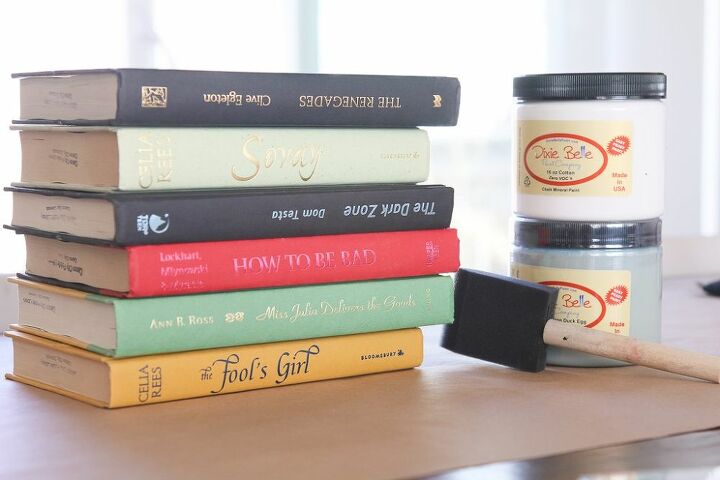
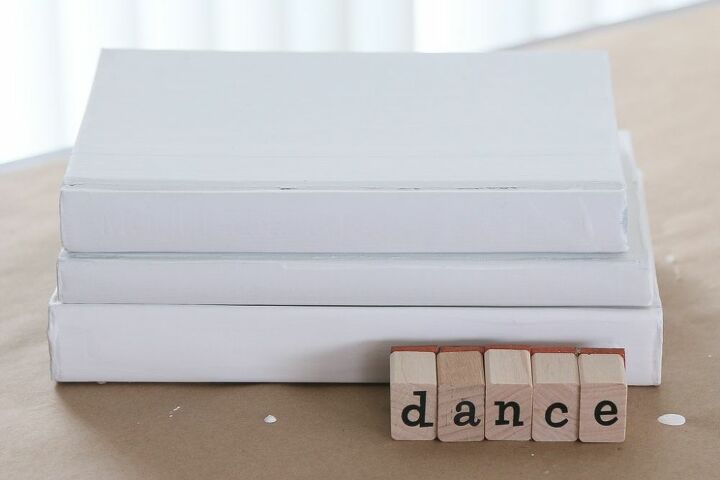
- Old Books
- Chalk Paint(I used White and Vintage Duck Egg by Dixie Belle)
- Foam Brush
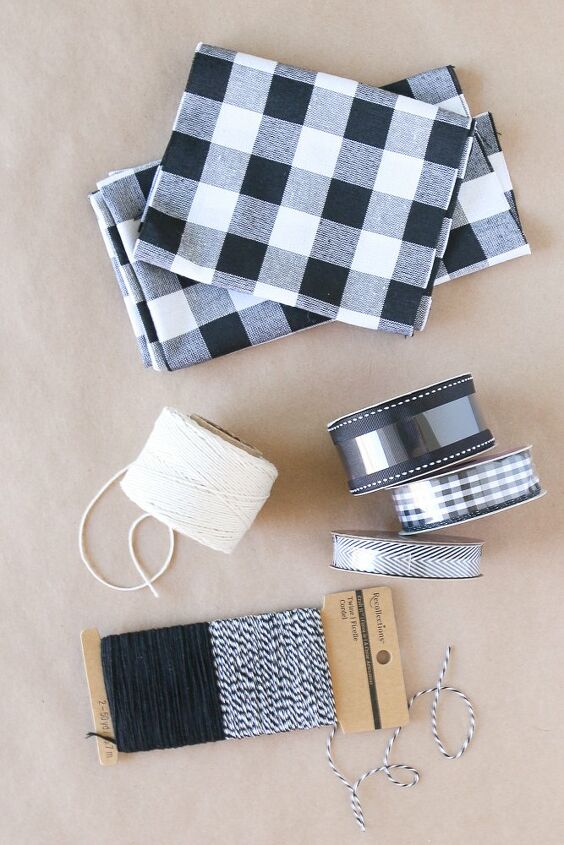
- Miscellaneous ribbon, twine and greenery for decoration
- Alphabet Stamps
- Glue Gun
- Sandpaper
Step One:
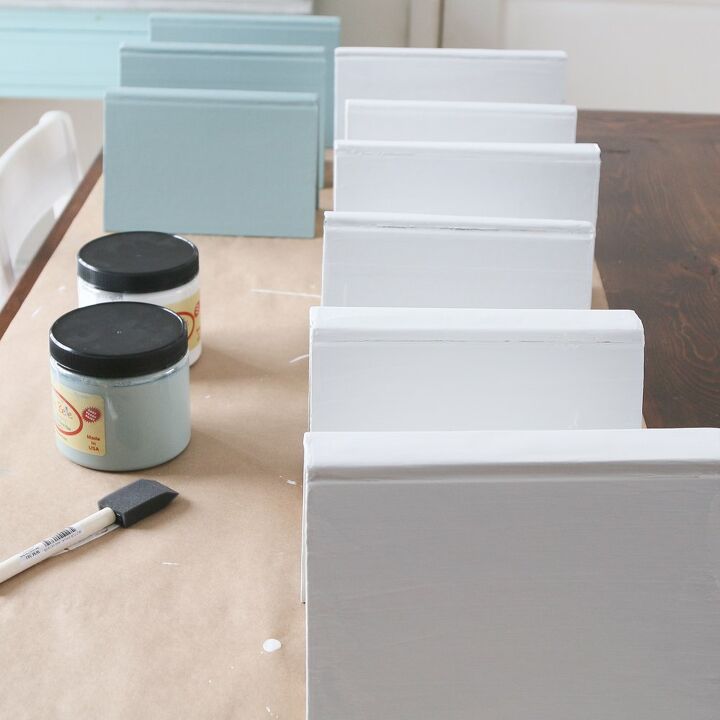
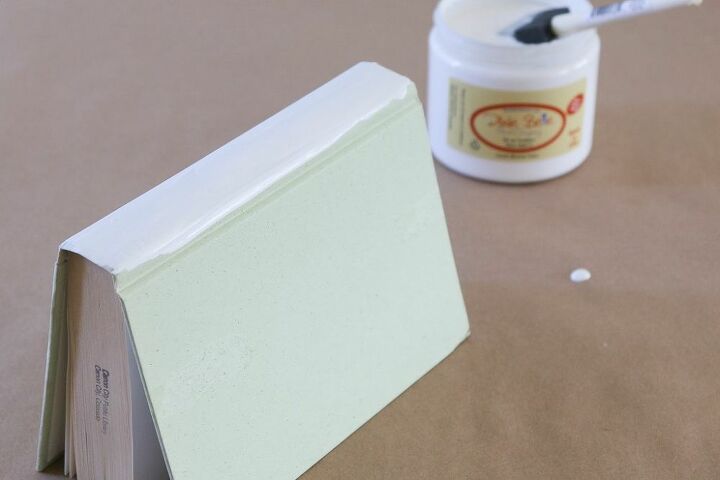
Cover your work surface. Paint the spines of your books with three nice, thick coats of chalk paint, letting them dry between coats. You are trying to add enough paint to fill in the imprinted titles on the spines of the books.
Step Two:
Paint the sides of the books with two coats of chalk paint, drying between coats.
Step Three:
Paint the inside edges with one coat of paint.
Step Four:
Let the books dry thoroughly (at least 4 hours).
Step Five:
Once you figure out what quote to use, make sure it will fit on the spine of your book. You can line up your stamps to measure.
Step Six:
Stamp your quote on the spine. Please note that this is an imperfect art. Do not let the imperfections stop you. I promise this will be cute in the end! If you want to, you can use sandpaper to sand some of the excess ink off of your book spines. I left most of the extra and the finished books look great!
Step Seven:
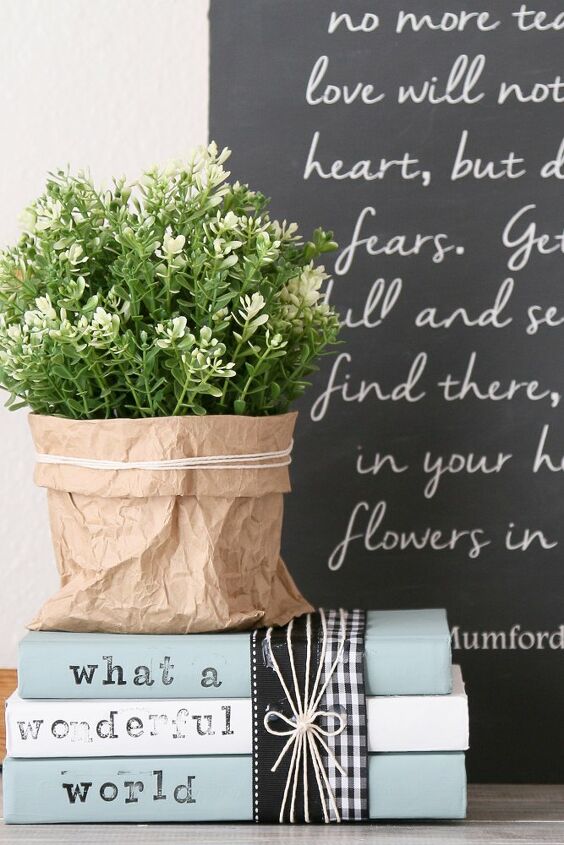
Gather your decorative materials.
Step Eight:
Use your glue gun to attach decorative items as you please.

All done! Isn’t that cute? If you look closely you will see there is an imperfectness about this craft, but as with all things repurposed, I say “go with the flow”! It comes out very cute in the end!
Happy crafting!
Resources for this project:
See all materials


Comments
Join the conversation
-
What a great idea!! The books look awesome painted. Thank you for sharing ❤️
-
The first thing I thought of when I saw this was that they'd be perfect as bookends!


Frequently asked questions
Have a question about this project?
Most book titles are in Buss into the spine. How do you keep this from showing up after painting them?
One of your pictures has a sign in the background that says "love will not..." I'm curious as to what the rest of the saying is. Can you share? Also, I'm working on some similar projects myself right now. Love this idea!