


Build a Wooden Play Kitchen With Sink
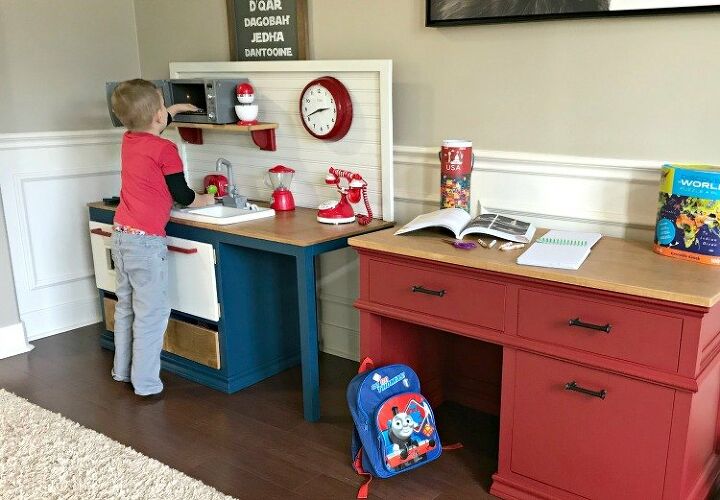
I designed and built this sweet little kitchen for my kids, last Christmas. They've loved it and have played with it nearly every day for the last 6 months. So, I had to finally type up the tutorial and plans for this kitchen. You can see a 4-minute build overview in the video above. You can find printable build plans on my site here.
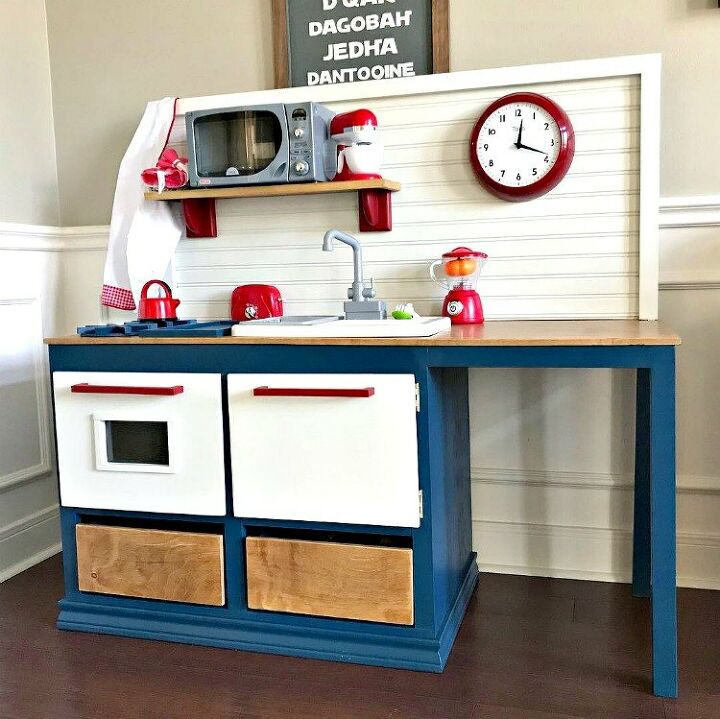
I designed this kitchen to be as pretty as the wooden kitchens that Pottery Barn and JoAnna Gaines sells, but with all the fun moving parts, lights, and noises of the plastic kitchens.
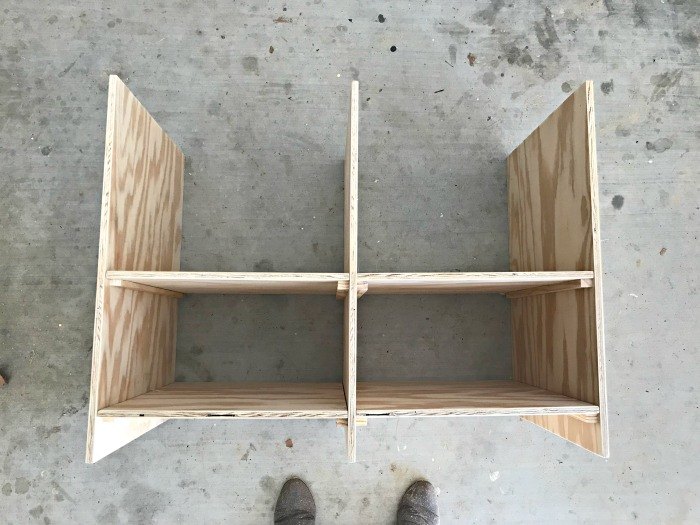
This build is easy enough for new woodworkers to build. The basic frame is 1/2" plywood and 1/2" x 3/4" moulding. Cut the plywood to size with a straight edge cutting guide and circular saw. Then glue and brad nail the moulding to the plywood to create supports for the plywood shelves. Glue and nail the shelves onto the supports to complete the frame.
Exact measurements are included on the printable plans on my site.
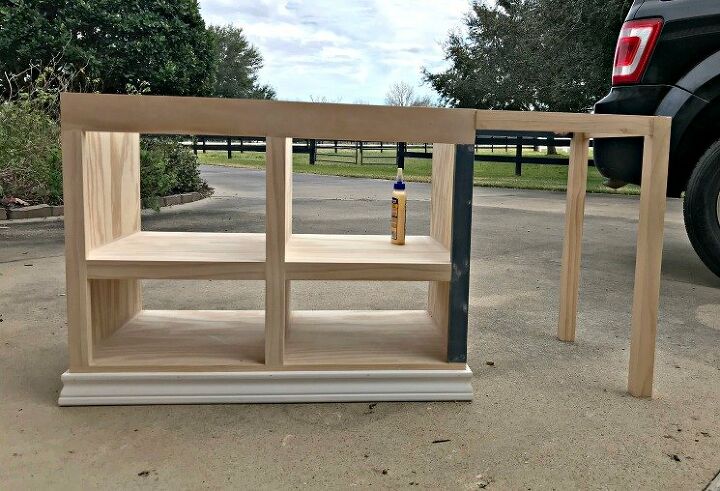
The front of the kitchen get "face framing" with 1x2 and 1x3 dimensional lumber. I used Select Pine from Lowes. Face framing just turns that plywood into a pretty, chunkier looking piece. It's a trick cabinet makers use on built ins a lot.
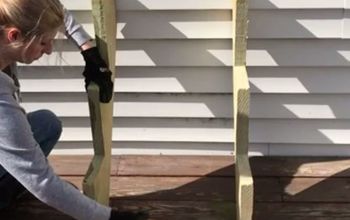
I also wrapped the front and sides of the kitchen with baseboard moulding. Then attached a seating area using 2 - 2x2 legs and 1x2 stretchers. I did use pocket holes to build the seating frame. Kreg Jig pocket holes are a quick and easy joinery method for new woodworkers.
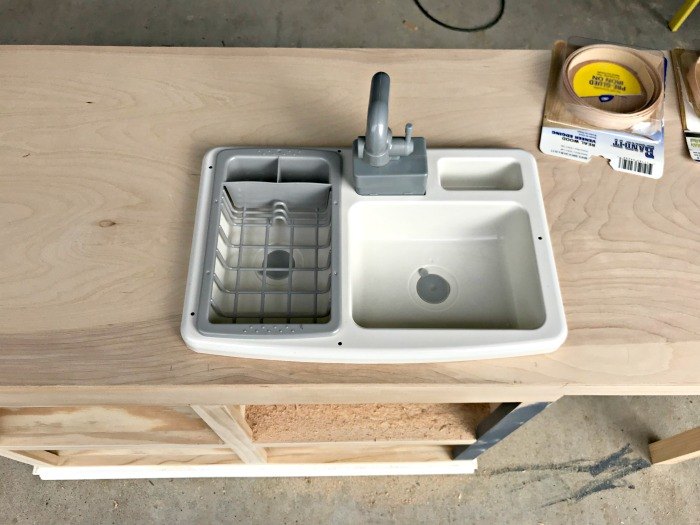
The counter top is a nicer stain grade 1/2" plywood. I used cheaper plywood for the frame since it will be painted. If you watch the build overview video above, you'll see how I cut a hole for this sink into the counter top.
This drop in sink is great. The parts move and look like a real sink. It even has a built in water pump, if you're brave enough to let your kids play with water inside. ;) My kids have no idea it would really pump water. But they think the sound it makes when they turn it on is cool.
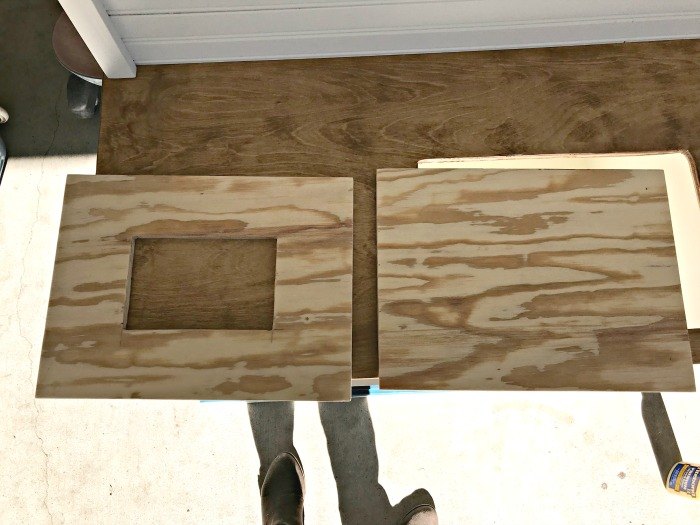
Both cabinet doors are made with the cheaper 1/2" plywood. Cut a hole in one to turn it into an oven door. I used the 1/2" x 3/4" moulding here to frame the oven window. Then added plexiglass to the back after painting it.
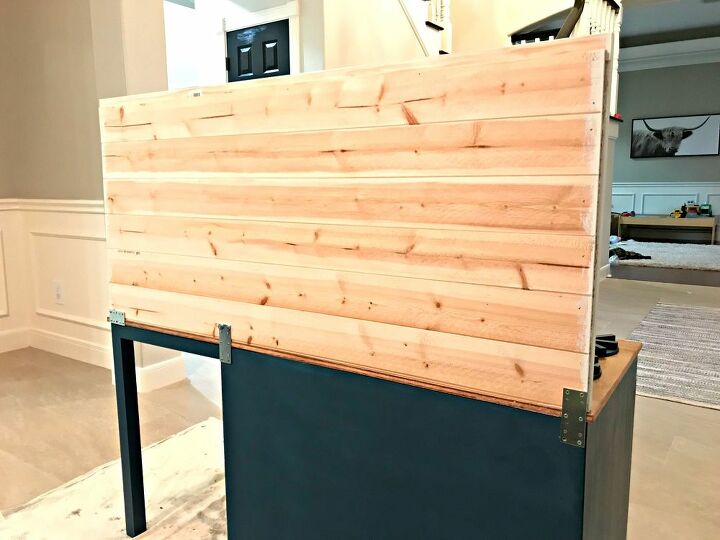
The back of the kitchen gets 1/4" plywood (glue and nail on) and a back wall for the fitchen is made from beadboard framed with 1x2. I attached the back wall with 3 mending plates. The back wall sits on the counter top
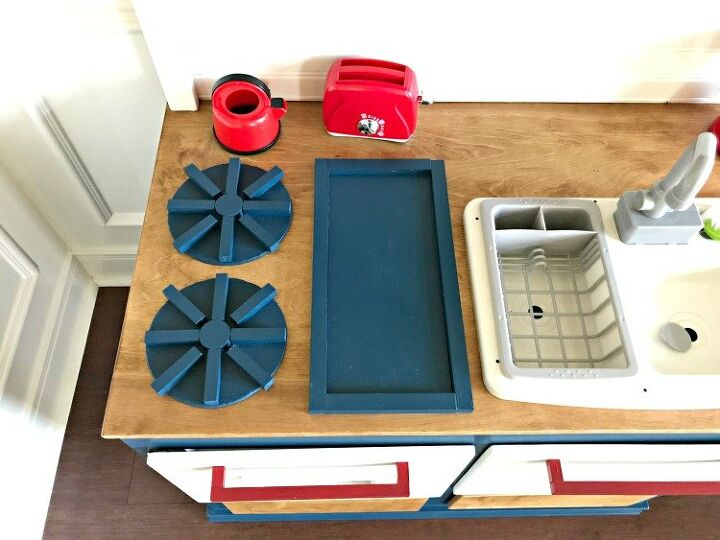
The stove top and grill is made with 1/2" x 3/4" moulding, 6" round cork planter pads, and 1" dowels. It's all glued into place.
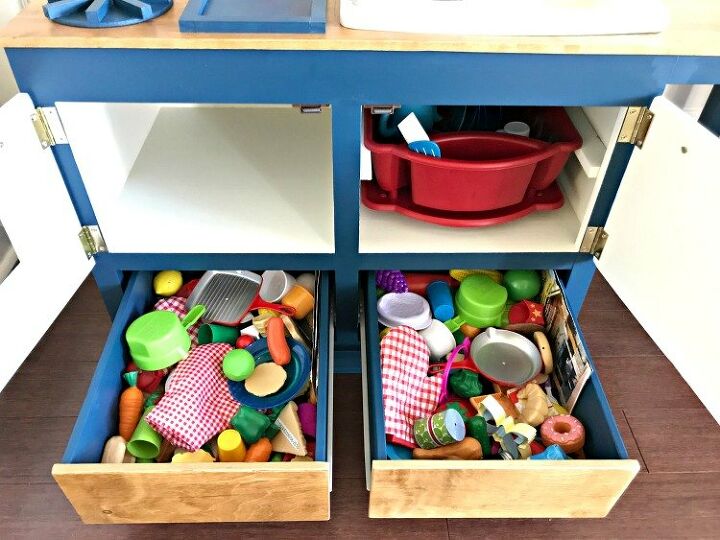
The drawers are glued and nailed together 1/2" plywood with a 1/4" plywood bottom. I used basic Euro (side/bottom mount) Slides for the drawers.
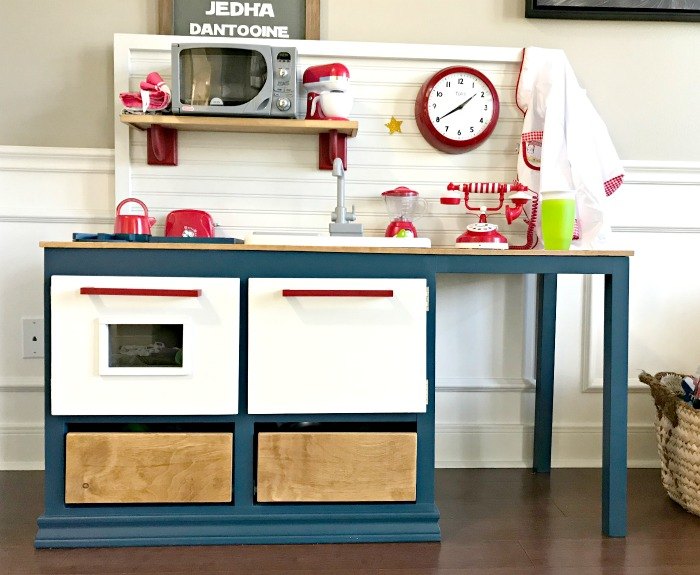
The left cabinet is a simple oven. I put a motion activated light inside to add more realistic fun. The right cabinet is a dishwasher. I used a red dish drying rack from my grocery store as a "dishwaher".
The cabinet doors are attached with basic hinges.
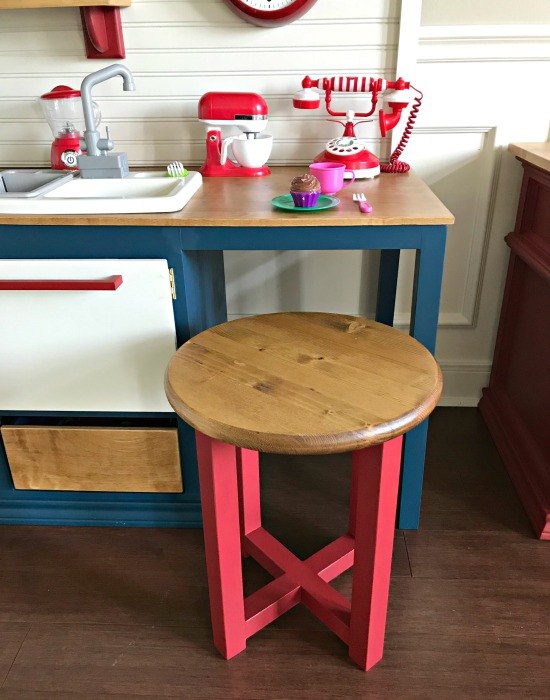
The oven and dishwasher doors got 1/2" x 3/4" moulding handles. They're attached with screws through the back of the door. I built this $20 counter stool for the kitchen. You can find that stool tutorial here. It actually makes a really cute side table for small Living Rooms or Bedrooms too.
I added a plywood shelf with simple brackets to that kitchen wall. It adds a cute Farmhouse look and a great place to add a toy microwave. I keep that toy microwave in place with 3M Velcro Strips. I also used those strips to attach a cute $10 red wall clock.
A toy phone and some toy kitchen appliances add more moving parts and realism to the kitchen.
So, what do you think? Do you know a kiddo that needs a play kitchen. :)
Resources for this project:
See all materials


Comments
Join the conversation
-
You are a genius. Wish I was a kid again...
-
Your 'custom kitchen' is sturdier and was less expensive than the cheap plastic versions for sale. An extra eye for the detail in having accessories color coded (even a red dishwasher!
 ) creates a professional result.


Frequently asked questions
Have a question about this project?
Where did you find the sink and faucet?