


How to Build a Portable Slide-on Railing Bar Top / Counter

I have seen the portable railing buffet counter tops (goodness that is a mouthful! What would you call this?) floating around Pinterest for some time and I have been itchin’ to build one. I went out to buy wood and came back home empty handed because wood is expensive and I wanted to make sure that this project was a keeper before I invested money in some pretty boards. So this is my Beta project or my rough draft. Cheap wood, cheap paint and had a total cash outlay of $5. The cheap spray paint was $3 and a $2 package of screws, those two things were the only out of pocket expenses that I incurred to make this project.
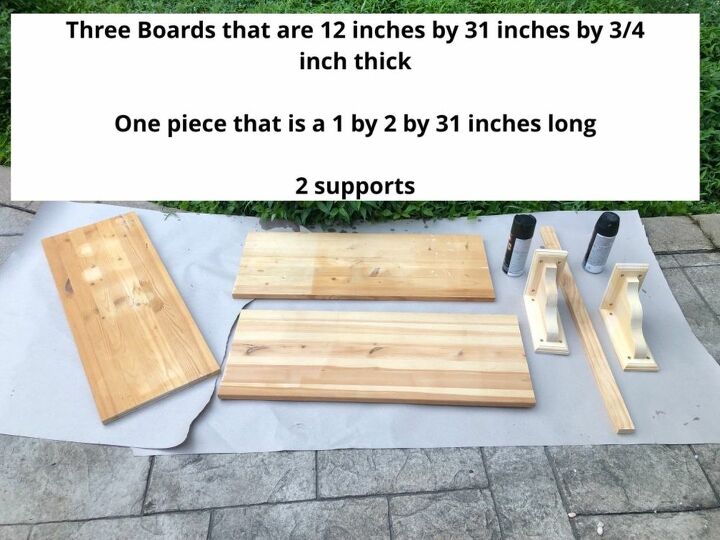
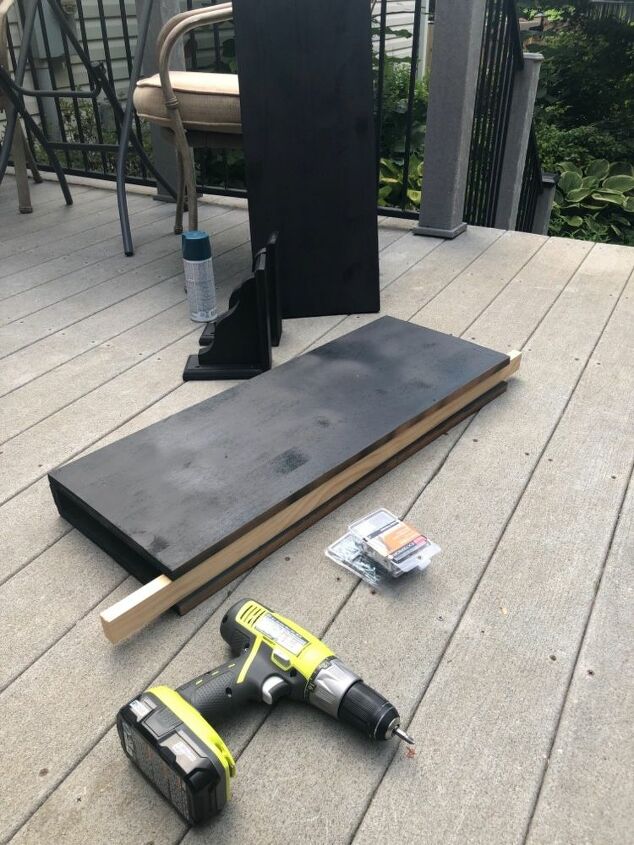
When we moved from Florida we lost the hardware to some Ikea shelves. Since they were not being used and looked about the perfect size, I grabbed three of them. I found 2 shelf supports that were leftover from a bathroom remodel that we had completed years ago. They were going to be holding up a towel shelf that was never made. I cut a piece of 1 by 2 to the same length as the boards and you will want to be sure to keep another piece of 1 by 2 on hand. The measurements above were just what my shelves happened to be but you can use any measurements that you want. Keep in mind, that 3 good sized boards will weigh more that what you probably think they will. This shelf is heavy to me at 31 inches across.
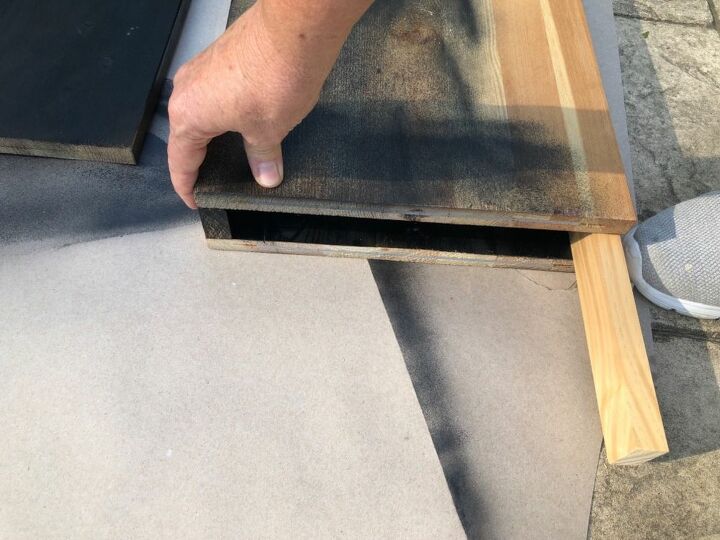
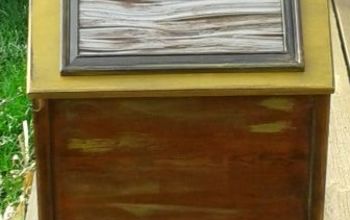
I spray painted the boards and then ran out of spray paint. I didn't have time to get more spray paint before work and we have been getting a lot of rain so I continued with the project only half painted. I put the spray painted sides to the inside. I used a second piece of 1 by 2 at the bottom as a placeholder, while I secured everything. This made the process much easier. I used nails and screws to secure each of the boards to the one by two.
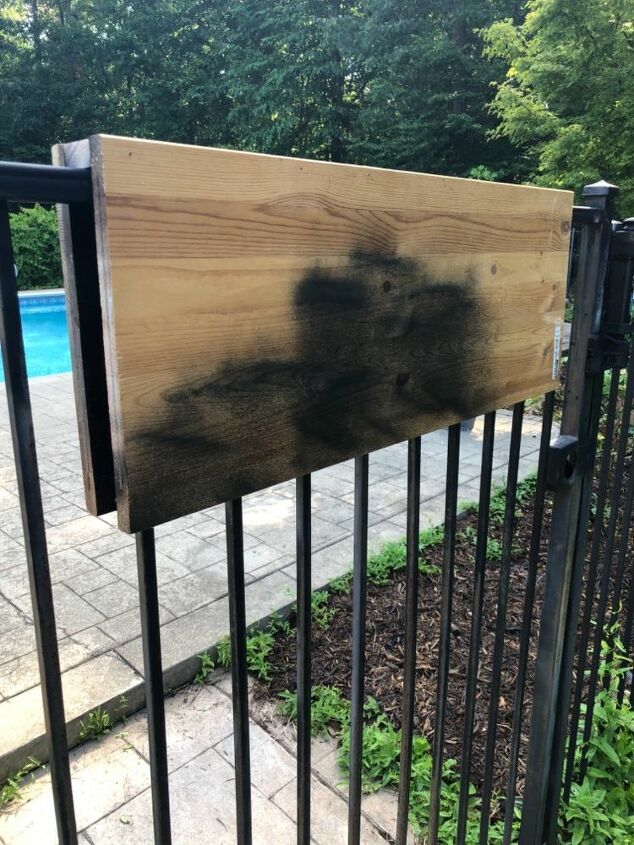
I tested it out to make sure that it was working this far along.
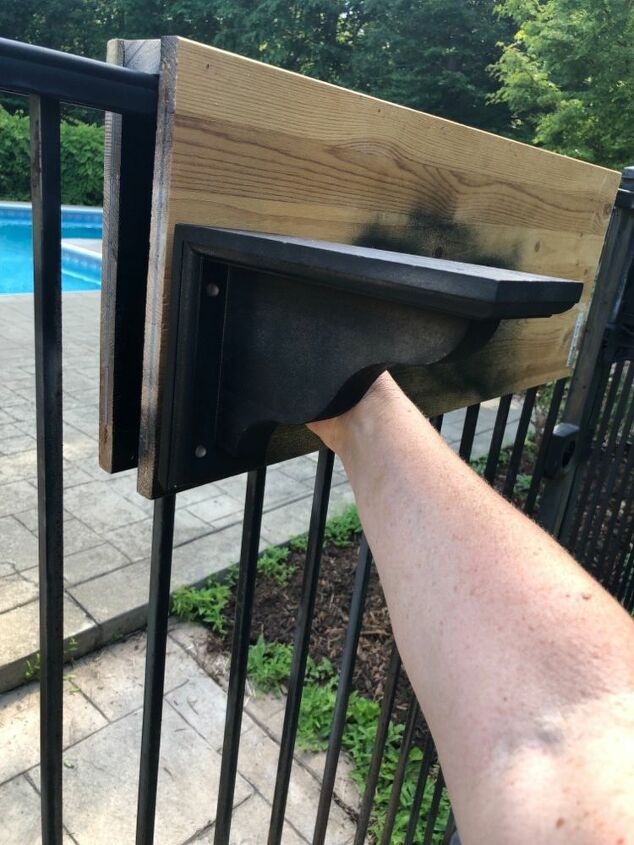
Held up the support to make sure it looked ok.
I finished the spray painting and now it was time for adding the supports. I used the extra 1 by 2 as a placeholder again.
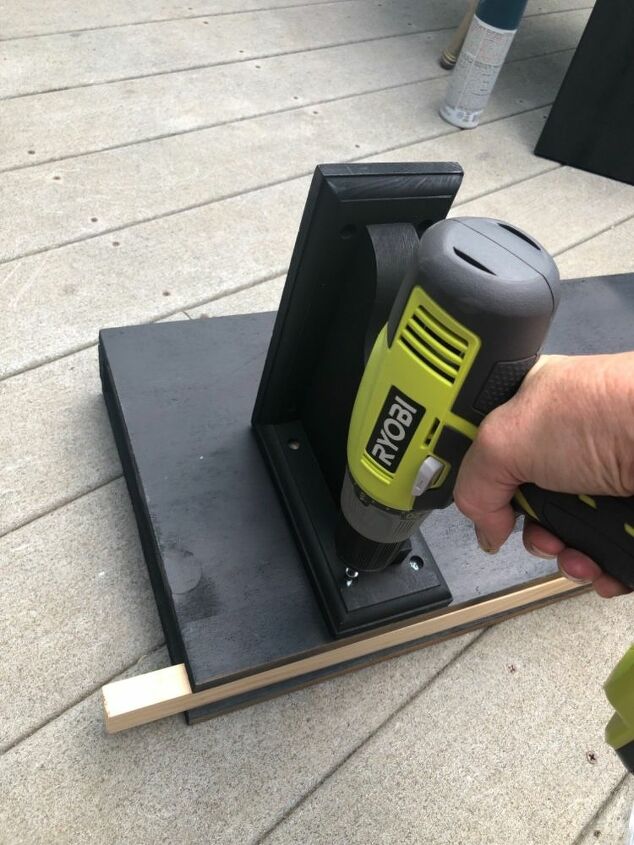
I attached the supports with wood screws.
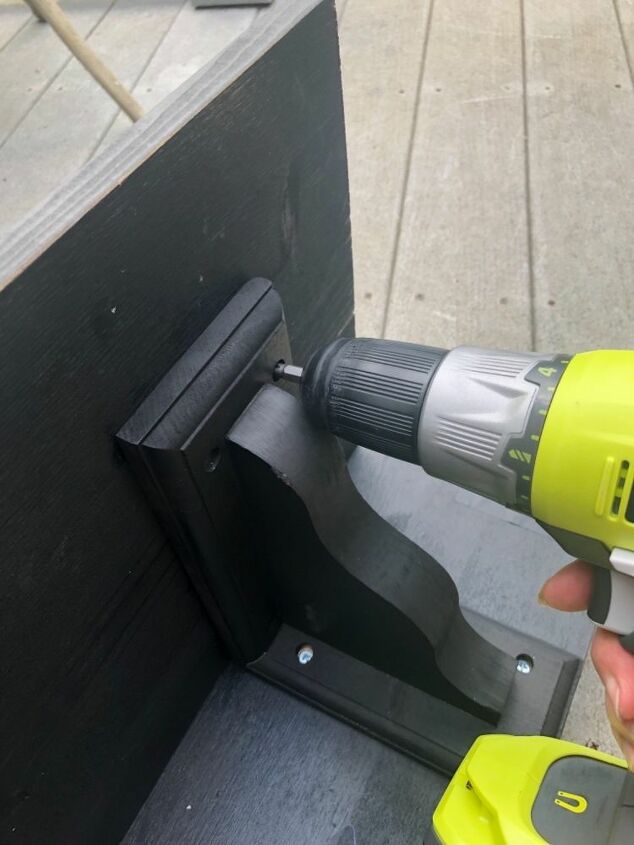
I also added the bar top securing with wood screws.
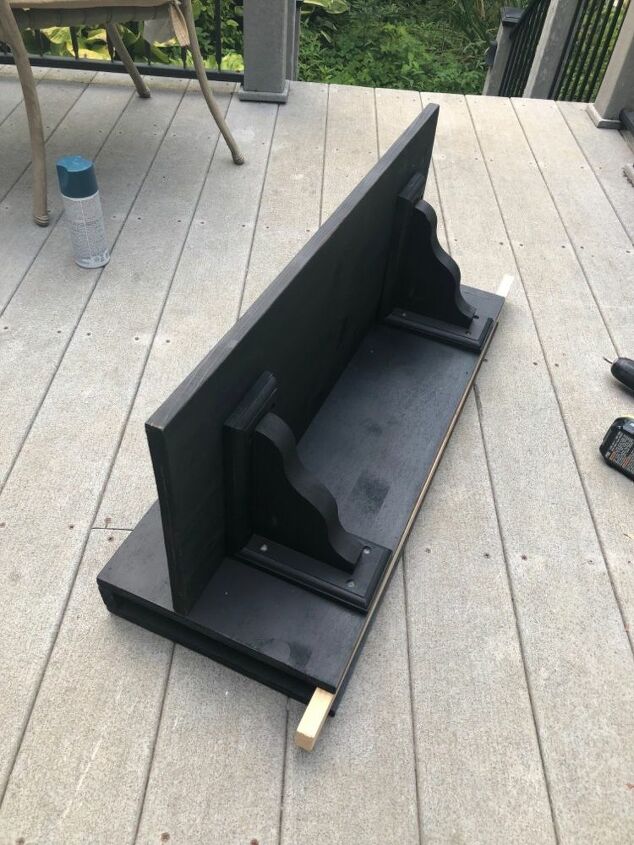
I love it. I need to hunt up the little wood pieces that hide the screws. We had several rain storms and I was running in and out with the pieces and I can’t find them!

Add drinks and snacks and you have a sweet little set up.
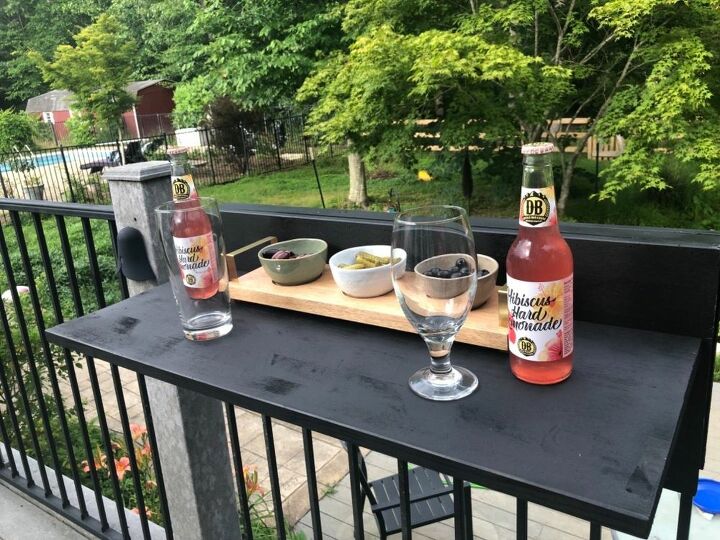
Want to know what I plan to put on here for our Fourth of July festivities? A charcuterie board... actually, two charcuterie boards! A sweet one and a savory meat and cheese one. Who loves charcuterie boards?!? If you don't know what one is, search the "charcuterieboard" tag on Instagram. I follow Ainttooproudtomeg on Instagram and she made one for Katherine Schwarzenegger not too long ago. I am really loving her Fourth of July boards... but, I came up empty on finding red, white and blue candy. 
It is a super simple design that works.
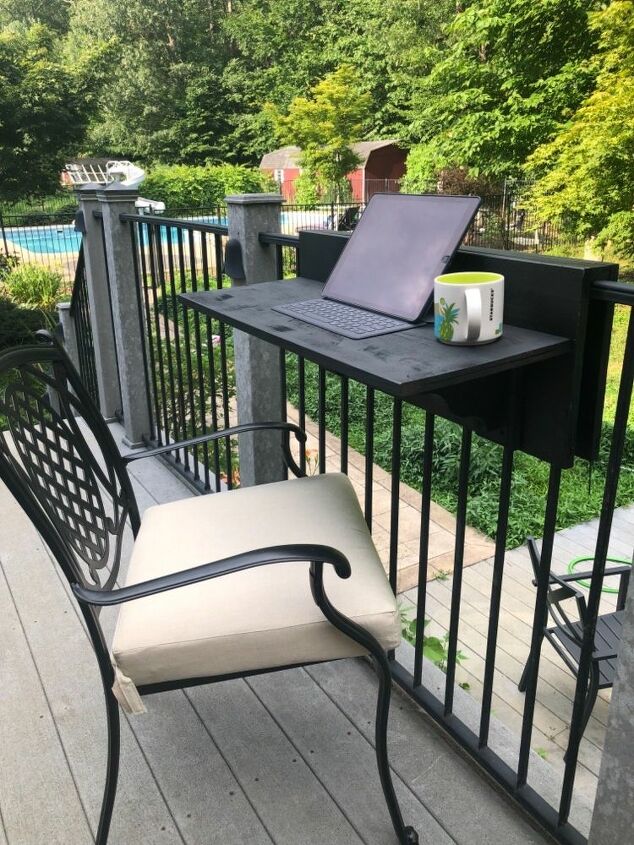
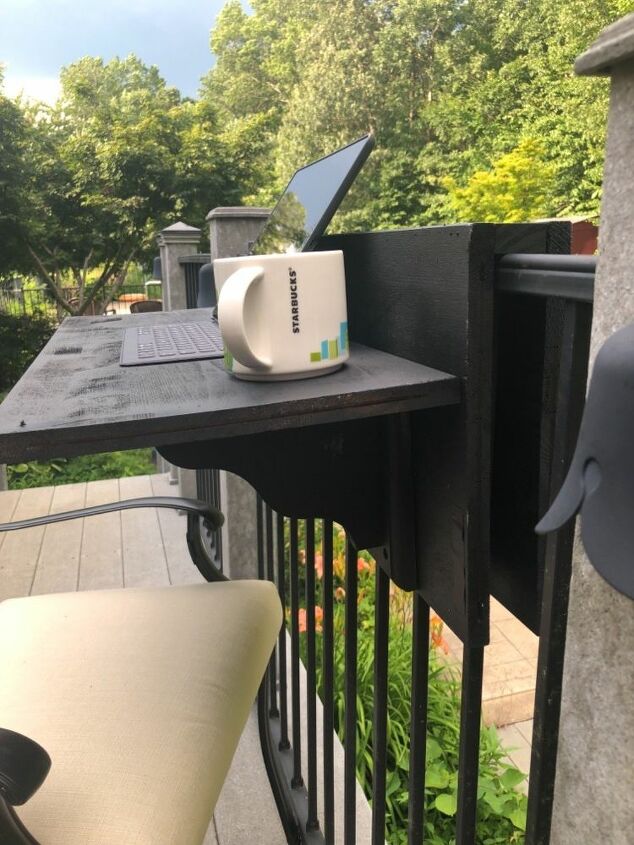
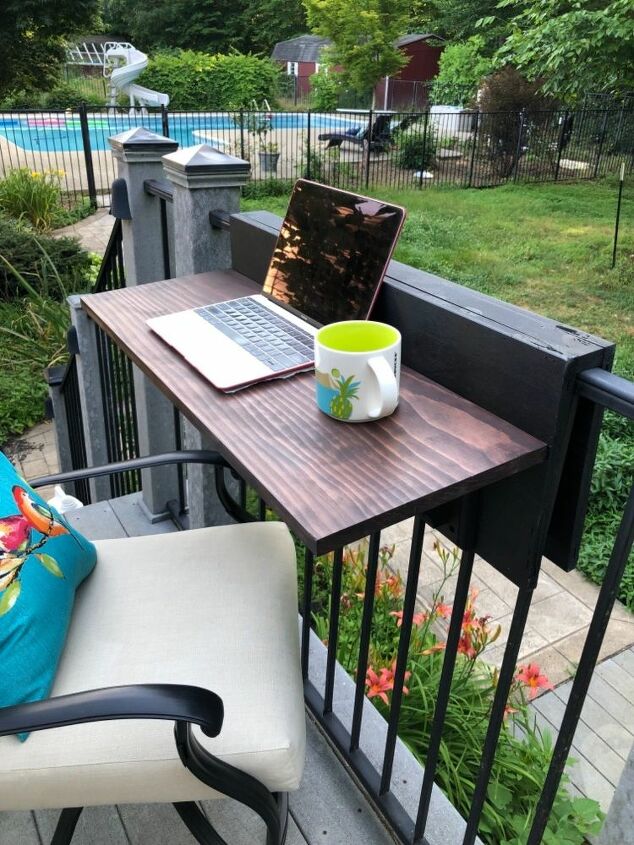
And if you need to get some work done, it works for that too! Now I am going to get some good wood and remake this project.
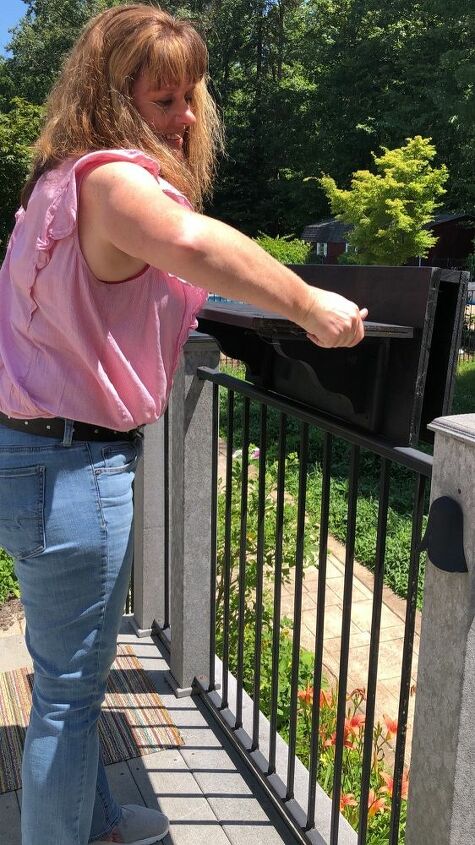
Slip it on and off to add extra counter space on your deck or balcony. What do you think? Easy enough to make before your 4th of July celebration?
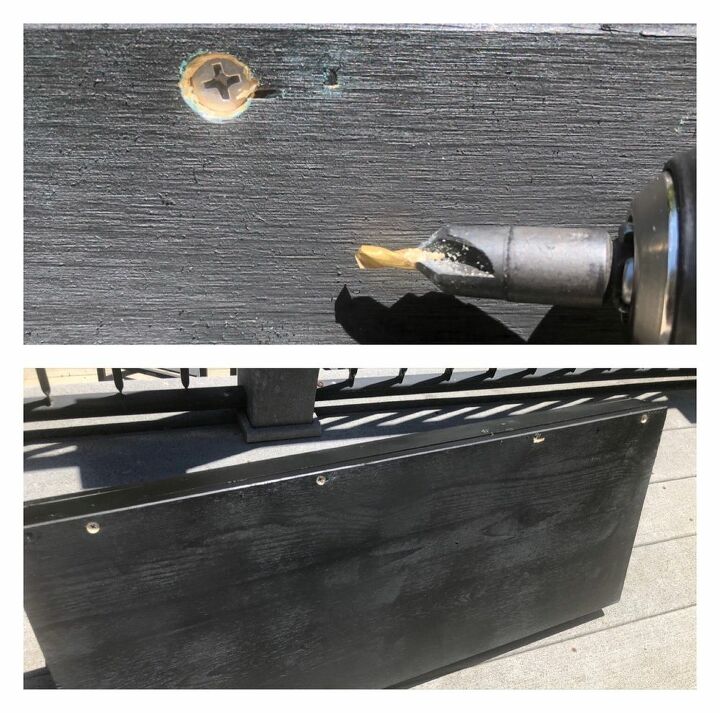
(This step should have been about the 2nd picture but I couldn’t find my countersink bit so I did it at the end of the project.) I used glue and nails to hold it together temporarily, then I put 4 screws in each side so the it would be secure, going through each board into the 1 by 2. I used a countersink bit so that the screw would be recessed a bit. I will fill the holes with black putty or spackle and then paint it again. Also, you can skip the nails and glue, I just used them to hold it together while I put in the screws but they are completely optional.
Ran to Lowe’s at 6 am to get some poplar and it is stained and in place by 8:30 am. Seriously peoples, this project is so easy!!! Try it... you’ll like it!
Resources for this project:
See all materials


Comments
Join the conversation
-
What a great idea! I will share this ;)
-
No, as takes up too much storage space. Would use a piano hinge on each side, with latch on end of each to secure.


Frequently asked questions
Have a question about this project?
This is brilliant!❤️
How is it made so that the shelf itself does not “lean” down a little?
So clever! About the weight it seems that if the pieces that fit over the railing were smaller, both height and width ( not the thin side) it would reduce the weight considerably without compromising the sturdiness. Am I wrong 🥴