


Craft Room Makeover - Extreme Upcycling - Cardboard Baseboard and Trim
In my last project I shared my upcycled cardboard wall. For today's project I am finishing the wall using more cardboard to make some baseboard, door trim and switch plates.
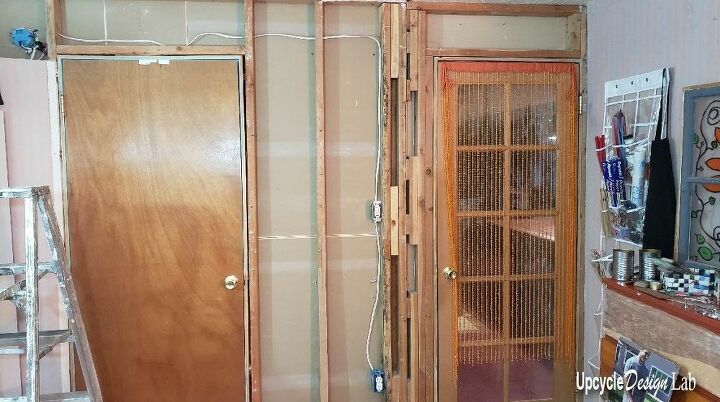
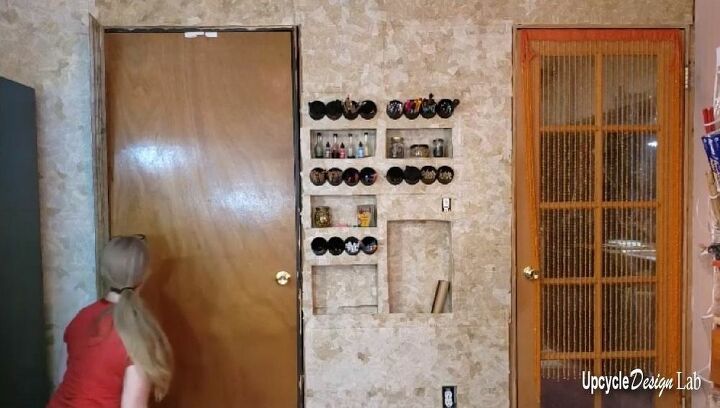
Here is what the wall looked like when I started this project.
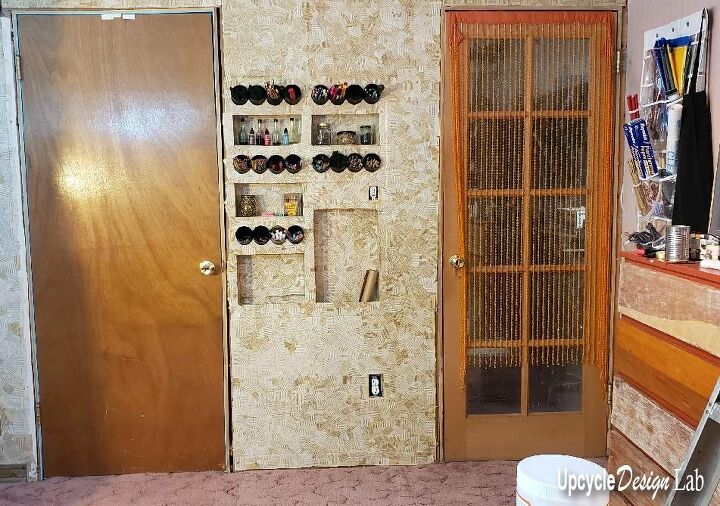
Here is the finished cardboard wall. You can check out the first part of this project here.
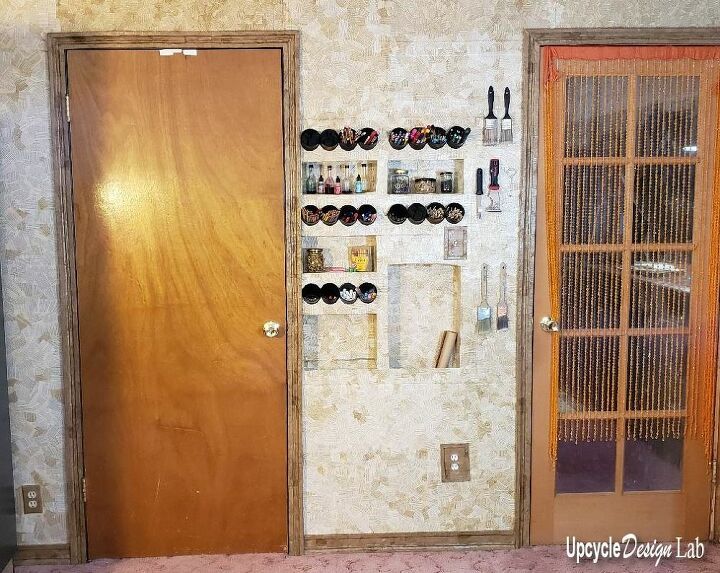
And here is the finished wall with the trim. This project does take some time, but I like the way it finishes the wall.
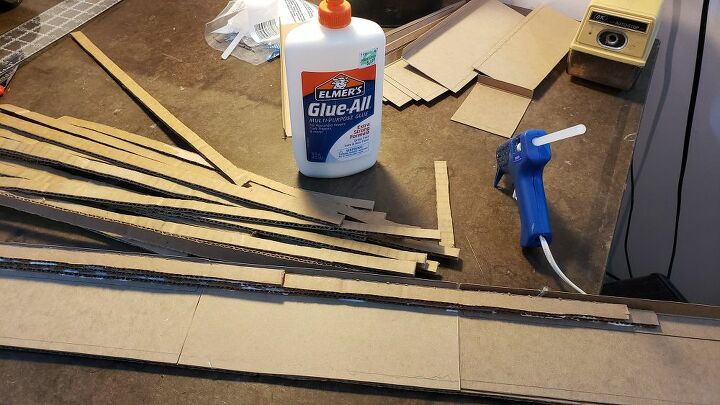
To make the baseboard I used a lot of 1/2" strips and some other cardboard pieces cut at 3 1/4", some paper tubes cut in 3/4" pieces and some cording all glued together to make the design. You can find all the details to assemble the baseboard in the attached video.
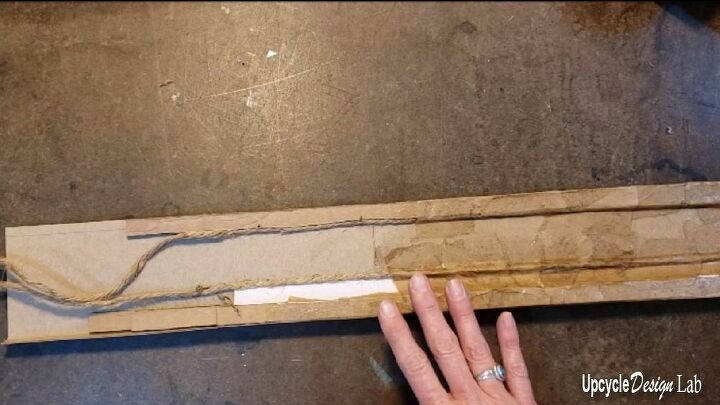
Once the pieces were assembled I covered them with Mod Podge and brown packing paper.
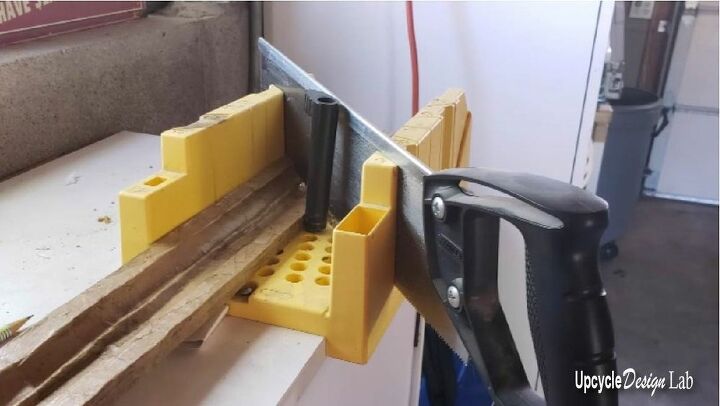
Then I used a miter box and saw to cut the pieces just like they were wood baseboard and trim.
Once all the pieces were cut I nailed them in place with some 1 1/4" roofing nails and then went back over the nail heads with more paper and Mod Podge.

You can find all the details in the attached video.
For a complete list of materials and supplies please visit - http://www.upcycledesignlab.com/craft-room-makeover-extreme-upcycling-cardboard-baseboard-and-trim/
Thanks for taking a look at my project. If you would like more upcycling project DIY's or Green Product Reviews please subscribe at www.UpcycleDesignLab.com.
Happy Upcycling,
Cindy
Resources for this project:
See all materials


Comments
Join the conversation
-
This is absolutely AHHHH-MAAA-ZINGGGGGG!!!!
tfs!!! GREAT JOB!!!!
-
You are a wonderful crazy lady!! And a genius. I mean it.


Frequently asked questions
Have a question about this project?