


Outdoor Baby Gate!

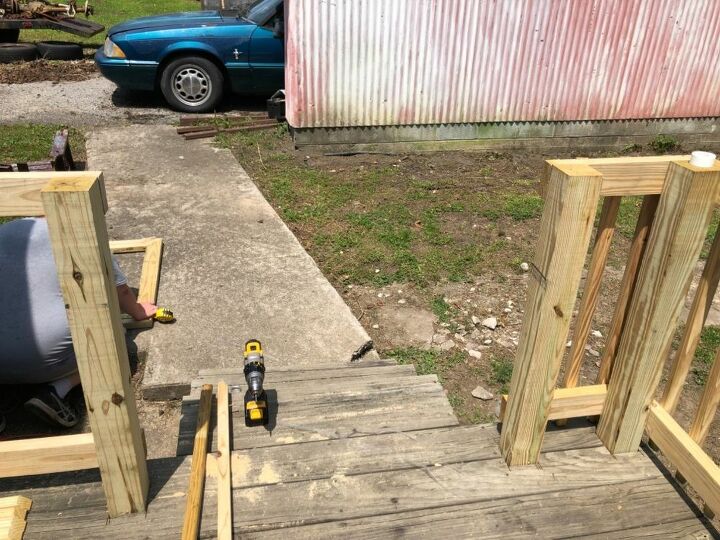
We have recently been doing some renovations outside since we got our pool up! We were needing a solution to keep our little one from accessing it so we placed banisters around the entire back porch. However, this baby gate is perfect for any area you are needed to restrict your little ones access. Inside or outside!
Start off by measuring the amount of space you need the gate to fit to determine the amount of lumber you will need.
For example: our gate is 40” wide and 36” high. It took 2 boards 2x4 that were each 8ft long.
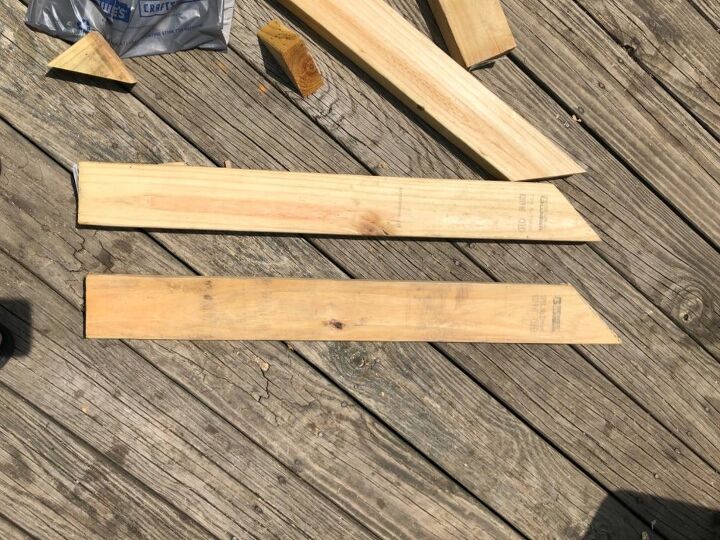
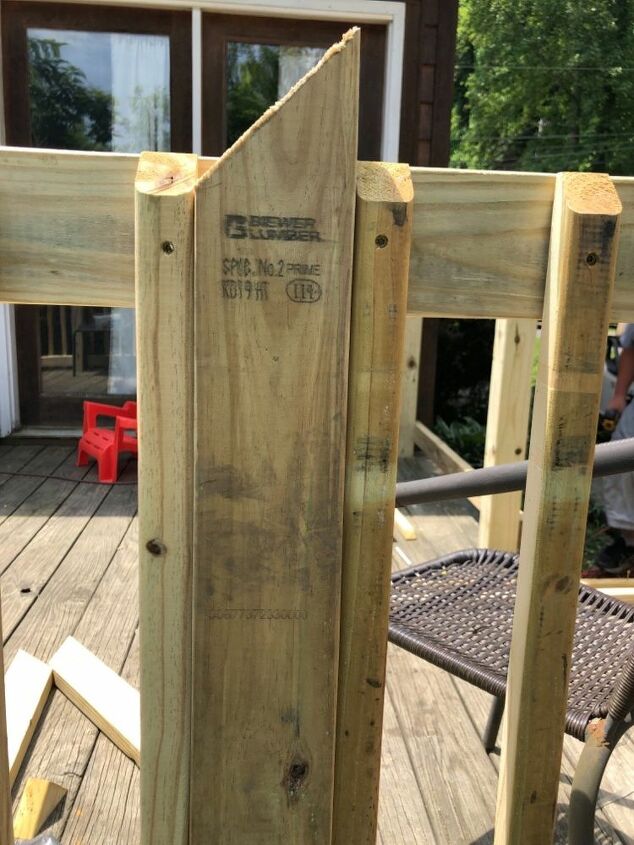
Next cut your boards to the desired length that you will need. Make sure your angles will meet up correctly for the 4 boards to form your frame work.
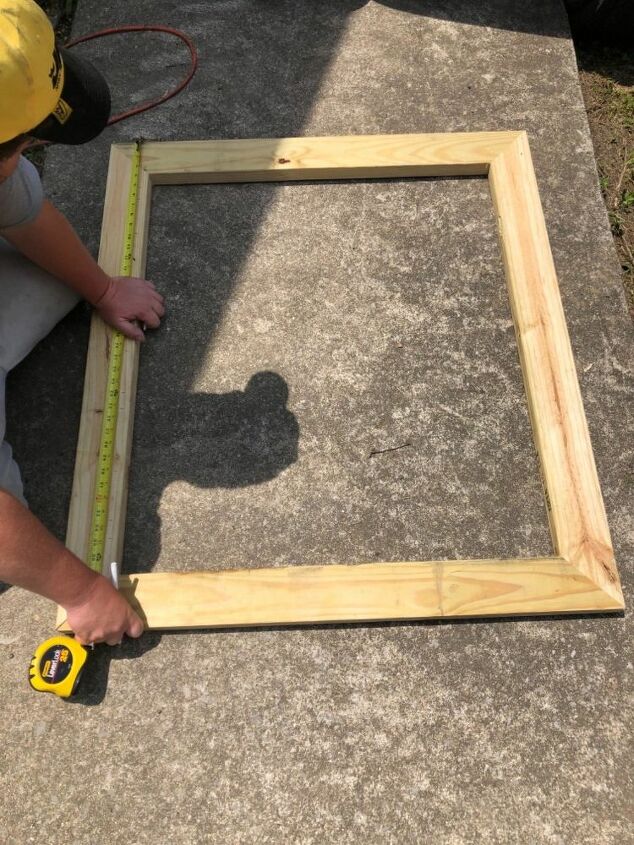
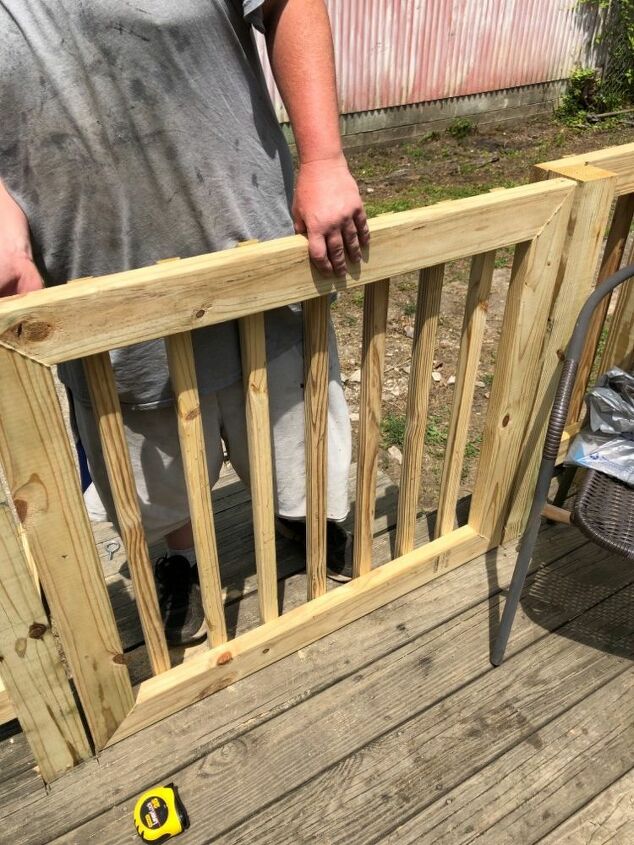
This is what your frame work should look like! Everything should mount up nice and flush. Secure them together by using wood screws and a drill. We placed one through the top and one they the sides.
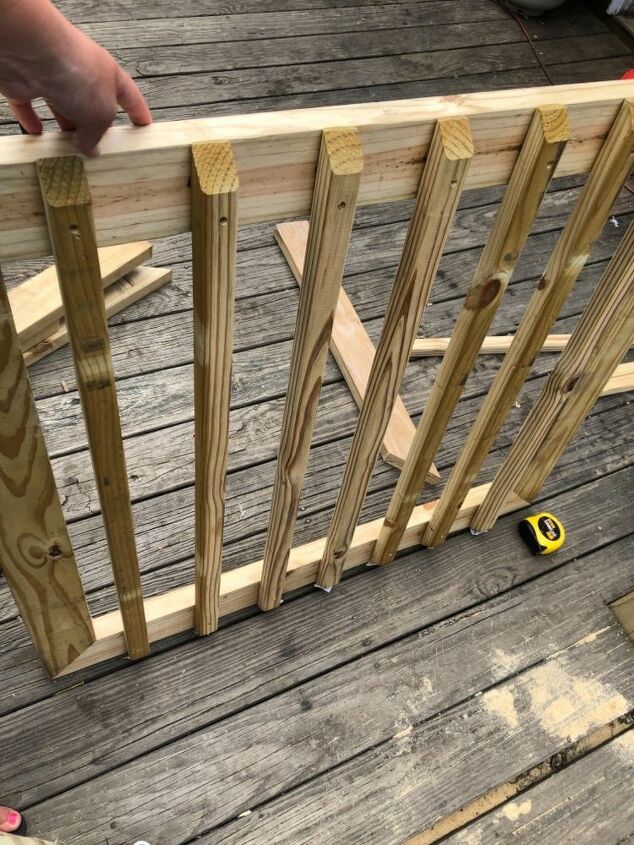
After you secure your framing together you may secure the banisters to the frame work.
We purchased these banisters from Lowes home improvements. You can buy them in a bundle pack or purchase individually.
This is what the banisters should look like once you secure them one by one to the frame work. Place a screw through the top front and bottom front to secure it well.
Space for our banisters was especially important so you will need to determine how much spacing between each you would like.
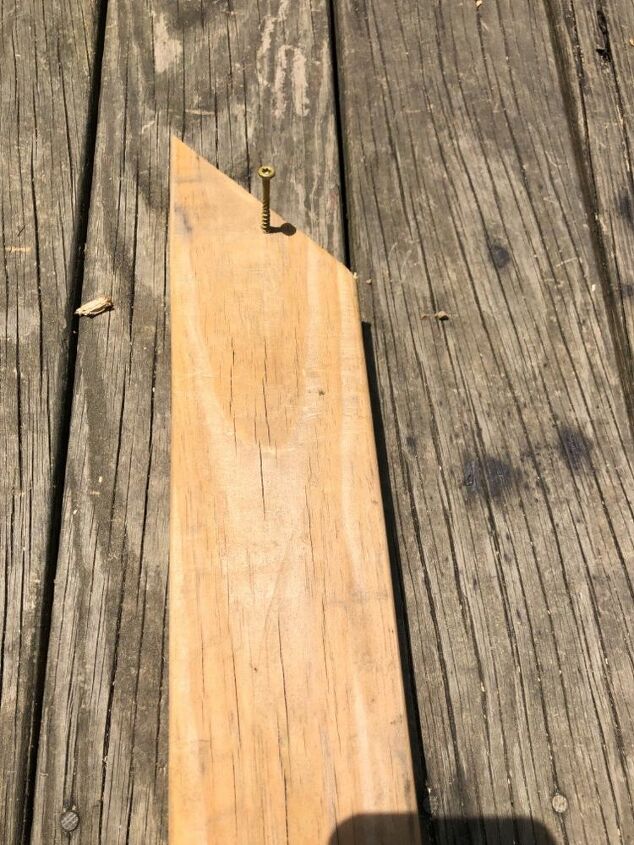
We made this great tool to help insure the proper spacing between each banisters. They are about 3 1/2”
apart.
We placed a screw in the end of a scrap piece of wood to hang between each and just move it along as you go.
We then placed it between each banister before securing it to the frame to ensure they were all equal spacing.
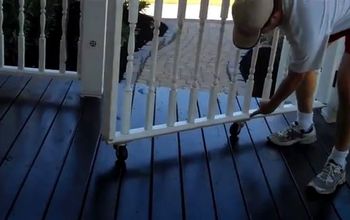
Next it’s time to mount your gate in place and add your hardware.
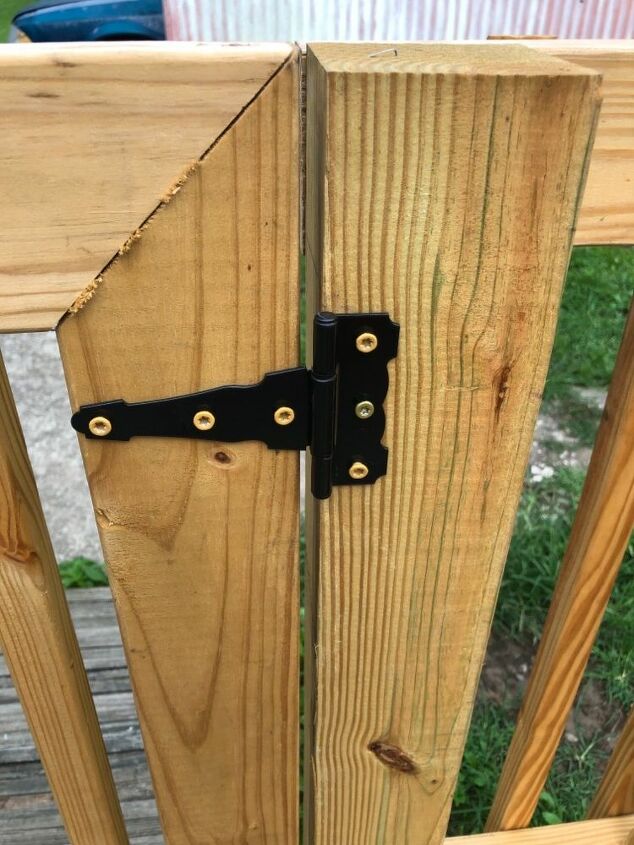
Secure your gave to whatever anchor you wish to attach it to. Wether that be your porch banisters, your home or a wall.
We purchased our hardware at Lowe’s and chose something very sturdy to support the weight of the gate!

We chose this clasp to keep the gate closed because our little one can’t open it. U may also consider placing the closer on the outside way from your little one accessing it.
Make sure on the way direction you want your gate to swing before securing the hardware in place.

This is what your finished gate project will look like!
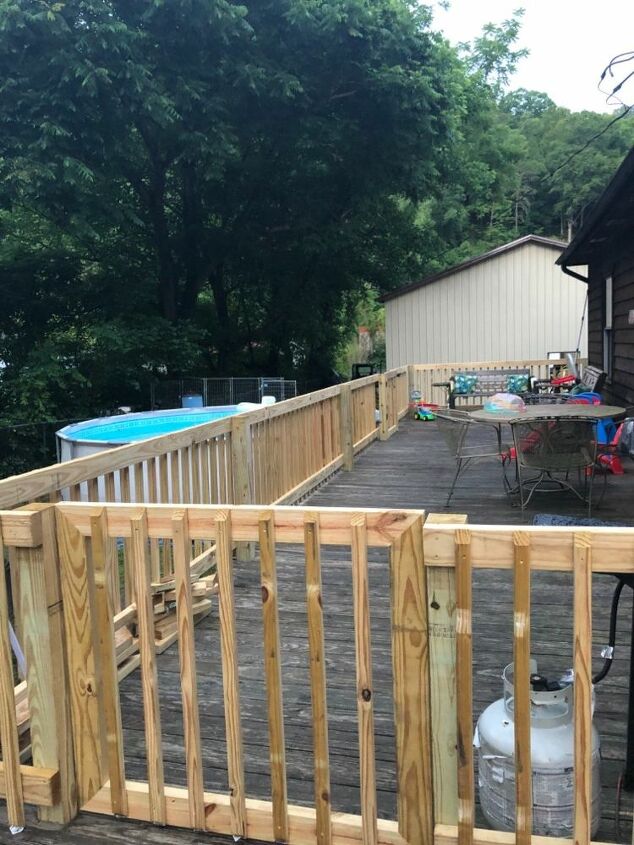
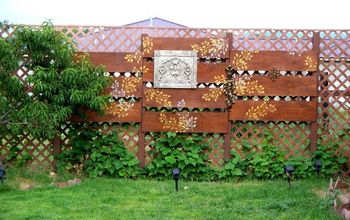
This is a photo of our entire back porch that we used this banister spacing idea on. We used 4x4 boards as the bases to support the banisters and railings. We then ran 2x4s as railings to each post and added the banisters. I hope you enjoy this project!
*Pricing for gate will depend upon where you living and how expensive building materials are.
Resources for this project:
See all materials


Comments
Join the conversation
-
Nice job on the miters, a step above
 ... and don't you just love the spacer trick? Makes installing the balusters so much faster!
 -
Our deck Wes already on when we bought the house. My hubby and I used plastic lattice on all sides of the deck and put a gate up as well. We used screws so when we replace boards we can easily unscrew the lattice.


Frequently asked questions
Have a question about this project?
2-4 x 4 x 8's? For the gate? 2 x 6 boards in place with 2 x 4's to each for the bannisters? I don't understand this list. But it looks great.
What can be done to the deck floor?
Is 3.5" the mandated distance between balusters for a fence or gate? I know that crib slats are supposed to be 2 3/8" apart so that babies don't get their heads caught.