


Cozy Cottage Playhouse Upcycle
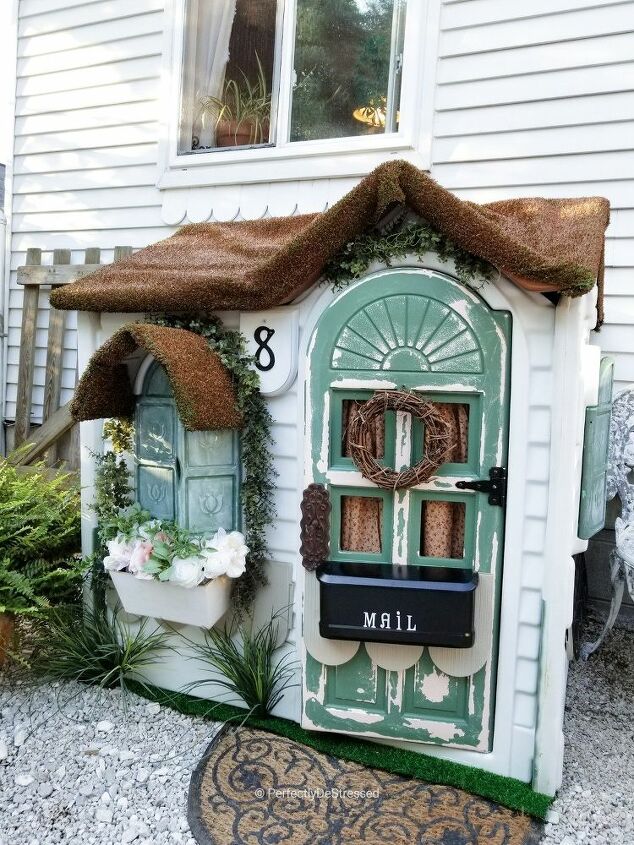
After a good (and I mean really, really good) scrubbing, I took a tired, old plastic playhouse and transformed it into the sweetest little English Cottage-Style Playhouse you ever did see. Complete with a faux thatched roof! Seriously people - it has a thatched roof!!!
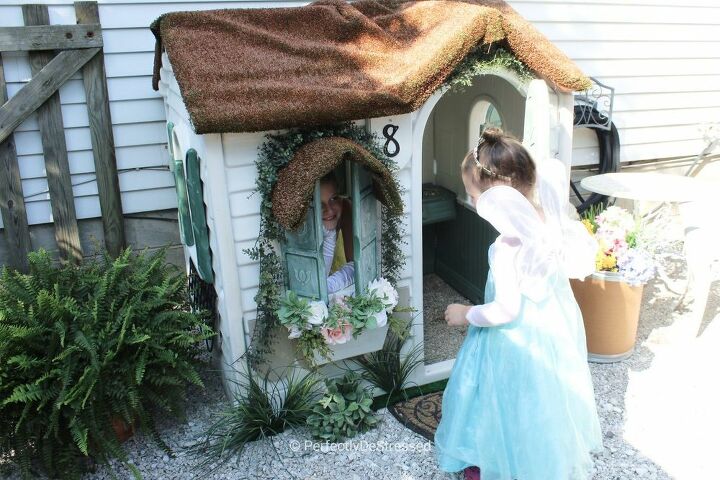
I mean, if this cottage isn't fit for a "Princess Fairy Goddess Queen", I sure the heck don't know what is!
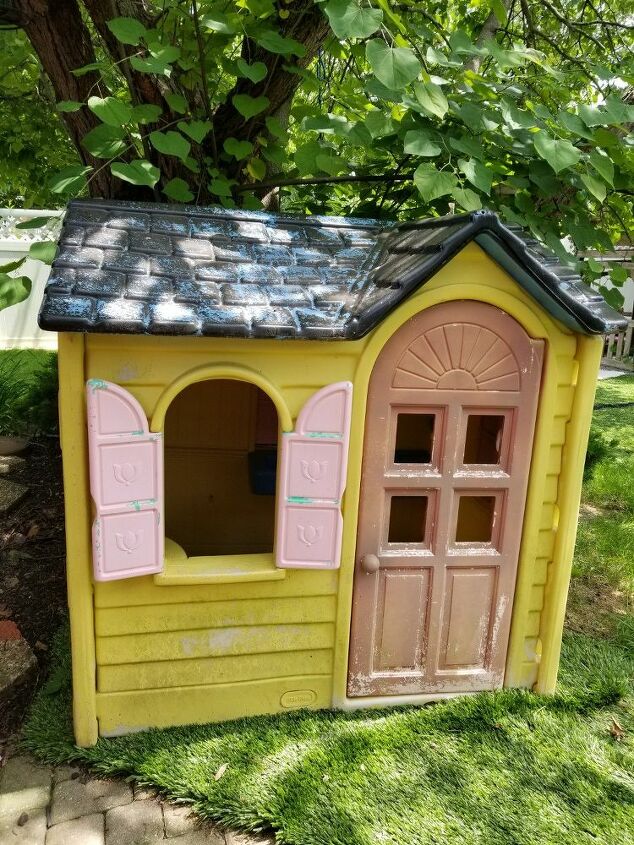
Here's where we started. This house has been with us for almost 13 years. She has been endlessly played with throughout every single one of those years. Well loved, but she was worse for wear. There *may* have been a previous super crappy previous paint job by a frustrated and tired mother desperate to get her backyard looking decent before a birthday party about 5 years ago, but she definitely needed a facelift. Buying a "New" fancy wood playhouse wasn't in the budget ( I mean, let's be real. Pretty much nothing is ever in the "budget"), so, as always, I got creative.
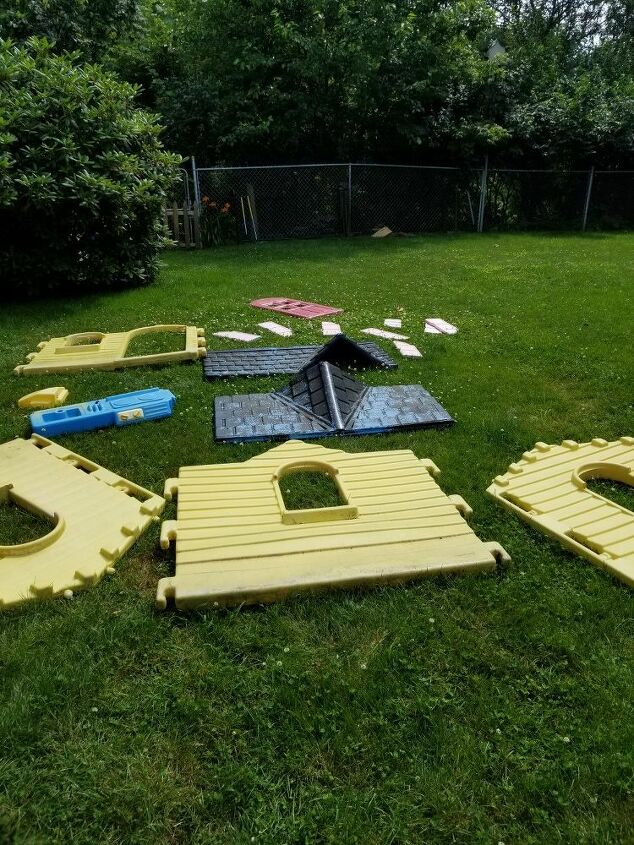
This step is the least fun. Taking it apart, cleaning and scrubbing the heck out of it and letting it fully dry. Ugh. Not a good time, but totally necessary.
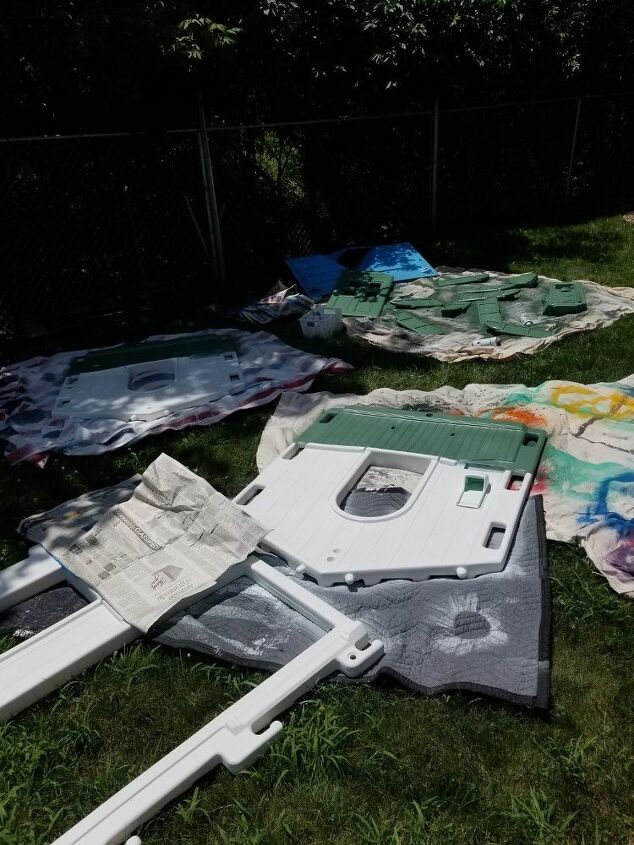
I decided to prime first using a can of primer in my paint sprayer. Was this needed? Heck, I don't know. I've painted plenty of projects going straight for the spray paint and skipping the prime all together and honestly, they've been just fine. So, this is really up to your discretion. I can say, without a doubt, to make sure you get spray paint that specifically says it works on plastic. Otherwise, you will have wasted your money. And ain't nobody got time for that!
The outside was painted white, but I decided to add some pretty green on the bottom half of the inside. Some painters tape and newspaper did the job of separating the colors on the wall.
Now the thatch roof! This was an idea I had floating in my head and had absolutely no idea if it would even work. But, boy oh boy, I'm glad I decided to just do it and see what happened!
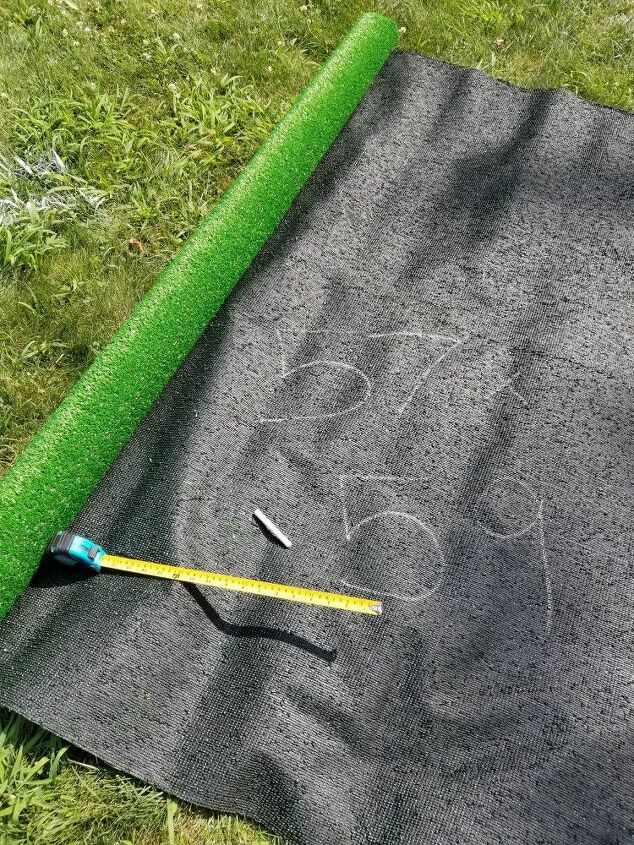
I bought an artificial grass rug from Home Depot. But, they have them at most home goods stores in the spring and summer. I measured the roof of the house and added a few inches on each side to allow hangover grass that could be tucked under the roof.
FUN TIP: the best way to measure and mark artificial grass is on the back side using a piece of chalk. The best way to cut? A box cutter!
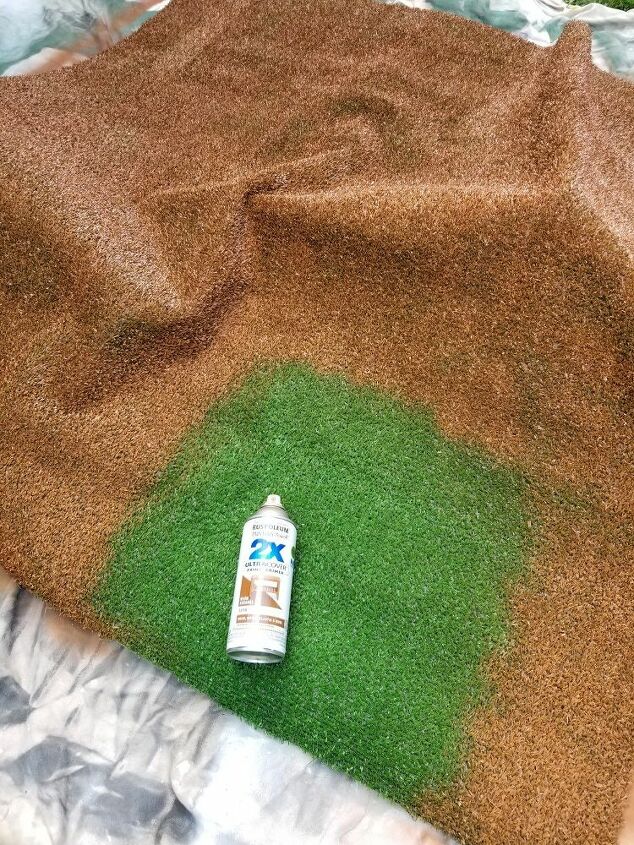
I simply spray painted the grass with an even coat of brown. I just did one coat, though. I liked the green color through the brown.
As you can see, I didn't paint the top of the roof. I felt it was a waste of time. I did paint the edges using the same brown I used on the artificial grass so if it was visible, it would still blend.
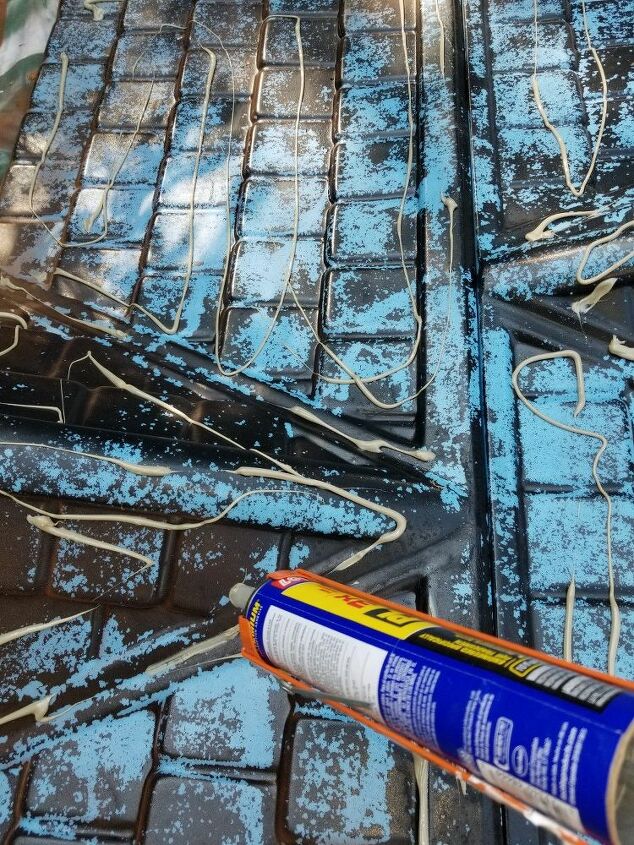
Using Liquid Nails, I attached the grass to the roof. And using extra garden bricks, I placed them on top to push the grass onto the roof until the glue was dry.

Taking the extra grass that hung off the side, I tucked it underneath the roof and used a staple gun to keep it in place.

FUN TIP:
Flip flops are not good spray painting shoes....
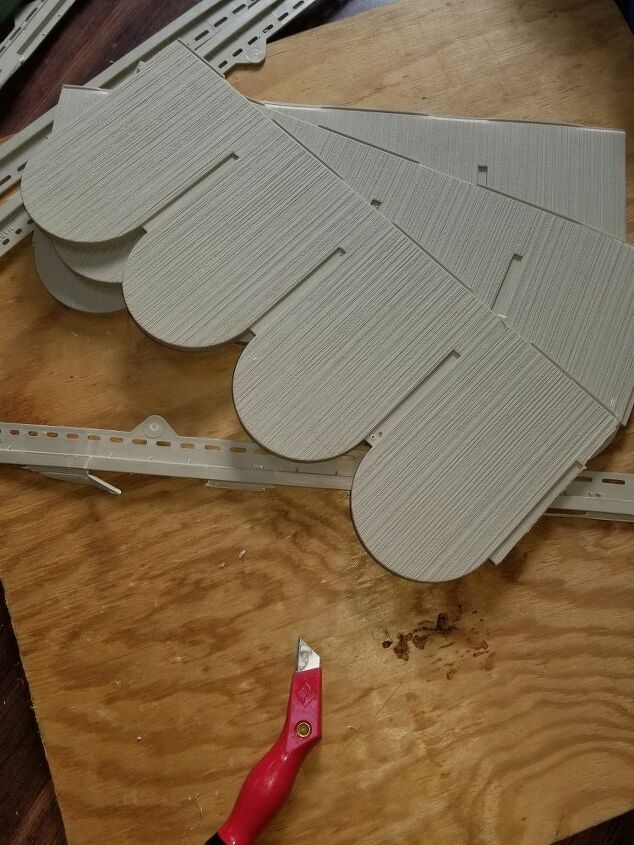
Now, of course, I wanted to make this house adorable with allllll the accessories. I pulled out some extra pieces of scalloped vinyl trim left over from our front porch ('cause we don't throw anything away. Ever.)
I cut pieces to size that fit right underneath each window.
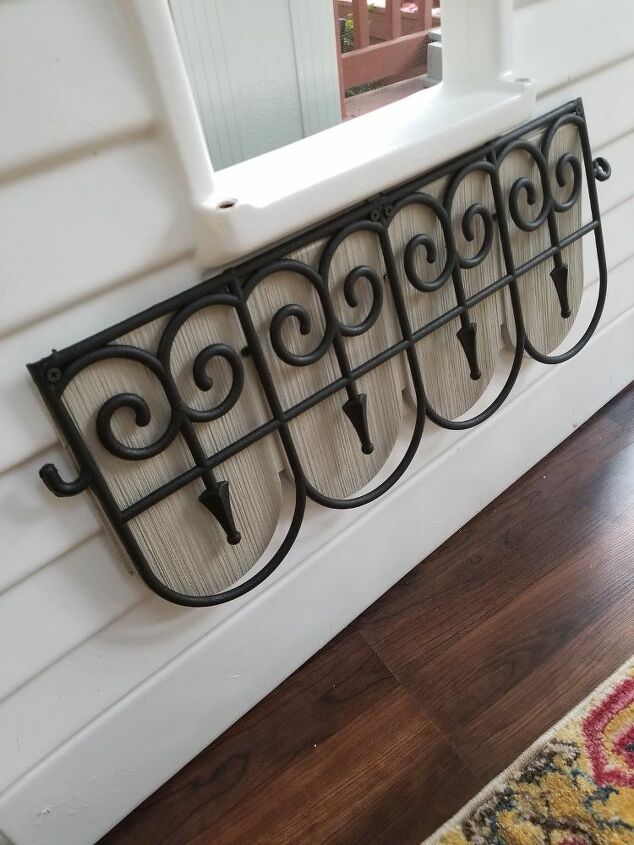
I then used Dollar Store plastic fencing upside down and attached it on top of the scalloped trim. I honestly just winged this whole thing and got lucky with the way it turned out and that everything fit just like it did in my head. Because, trust me, my life typically does not turn out this way!
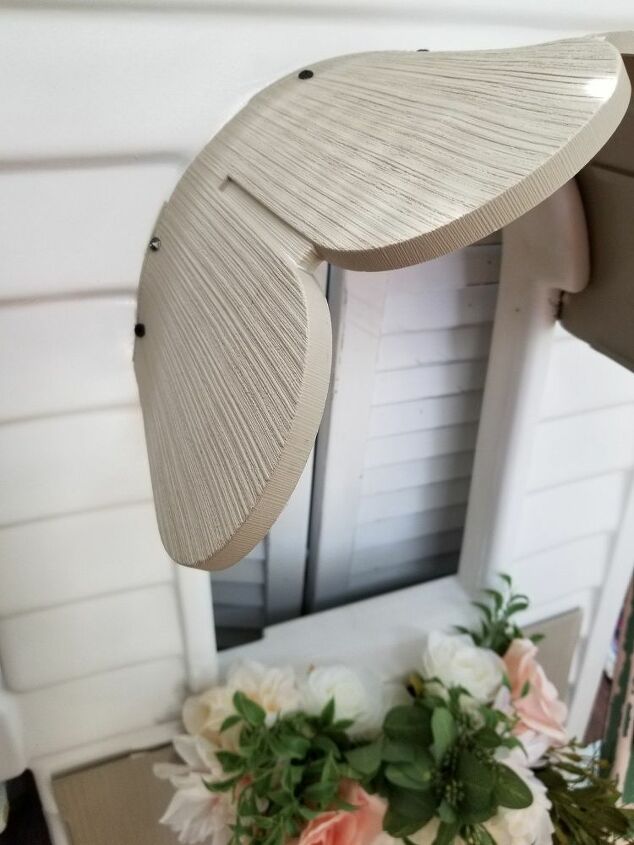
I also used a spare piece of vinyl to go around the front window. I wanted to add a bit of thatch covering to this window and knew I needed something that could bend in the shape of the round window top but also be sturdy enough to hold and attach the artificial grass to.
FUN TIP: Even though the house is plastic, I found attaching items with a staple gun and screws really worked well.
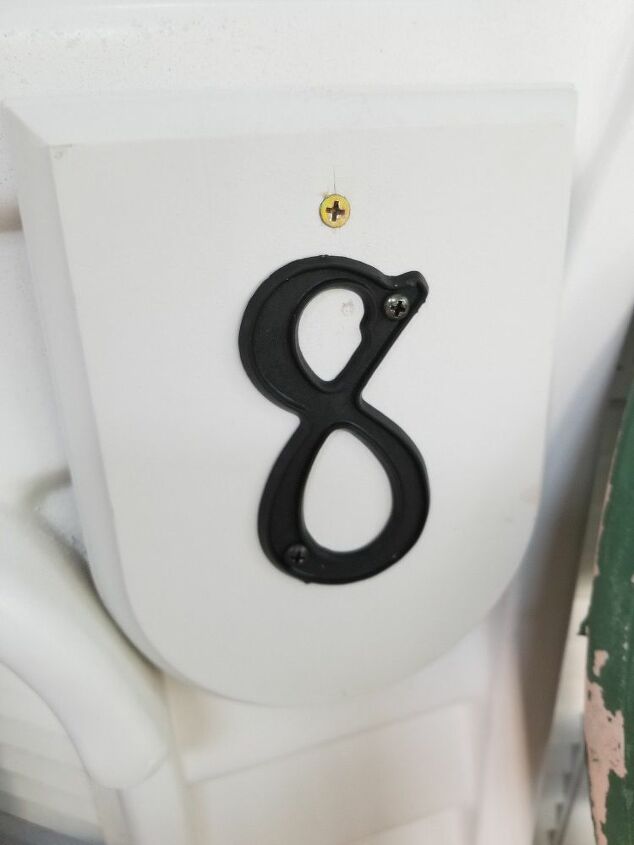
I picked up a number "8" from the Habitat for Humanity Restore in town for .50 cents. Why the 8? Oh, I have 8 children.
Yes, I really do.
Yes, they're all mine.
Yes, I'm crazy.
Yes, my house is a Circus Carnival Zoo.
No, I would not have it any other way.
I distressed the painted doors and shutters after I painted them because these seem to be the parts that wear the most on the house. I figured if I started the game off worn, maybe it would just add to the "look" as it weathered on its own.
The addition of the window box (Dollar Aisle at Target), mailbox and door handle hardware (more Restore finds) and the faux greenery (Dollar General), helped to create a unique, cozy cottage for my girls that you simply cannot buy at a store.
Especially not for $50.
Am I right?!
Hey! Follow along with me - I'm always making crap from some piece of junk!
Resources for this project:
See all materials


Comments
Join the conversation
-
That is absolutely adorable! Well done, you! (8 kids? You ARE crazy, bless your heart).
-
This grandmother is loving your adorable cottage! You are both clever and talented. I love the green feet, too!


Frequently asked questions
Have a question about this project?
This is absolutly beautiful. All the little princess's will want to stop by for tea and crumpets. Lol my girls are adults now. I do know my youngest would have lived this 15 years ago. She is 20 now. How did you find time to do this with 8 kids? I'm expressed. I dont say that much either. This peice is a huge wow factor to. Thank you for sharing.
This is INSANE!!😍😍😍❤️❤️❤️ Great job!!
You are AWESOME!!