


DIY Faux Coffered Ceiling

Hi, I'm Amber Oliver! I hope if you enjoy this project you'll also stop by my blog!
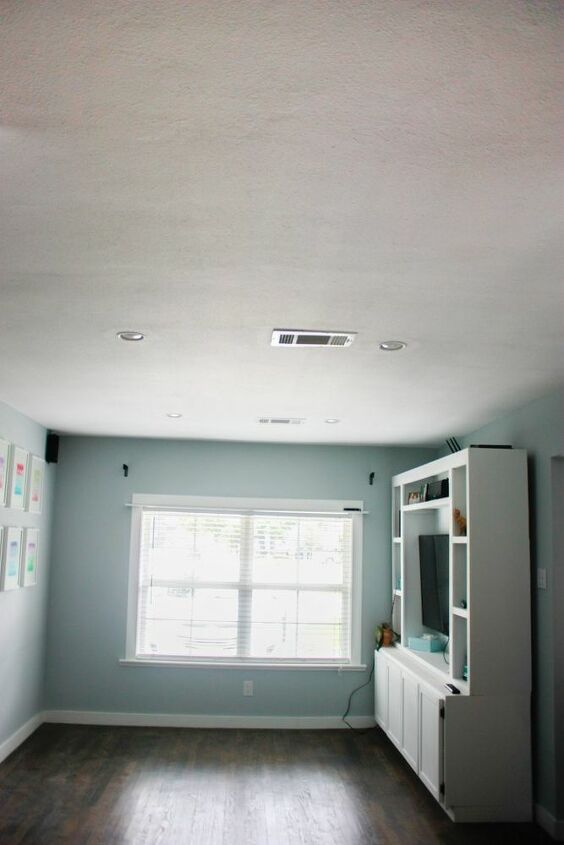
After going back and forth trying to decide if we wanted a “focus wall,” we ultimately decided to do a DIY ceiling makeover instead. We installed a faux coffered ceiling with beadboard panels, 1 x 6’s, and moulding.
Step 1: Cut the beadboard panels into the same dimensions that would fill the ceiling evenly. This will make everything symmetrical when it’s time to add the 1 x 6’s.
Step 2: Attach the panels into the ceiling joists, locate and mark the ceiling joists.
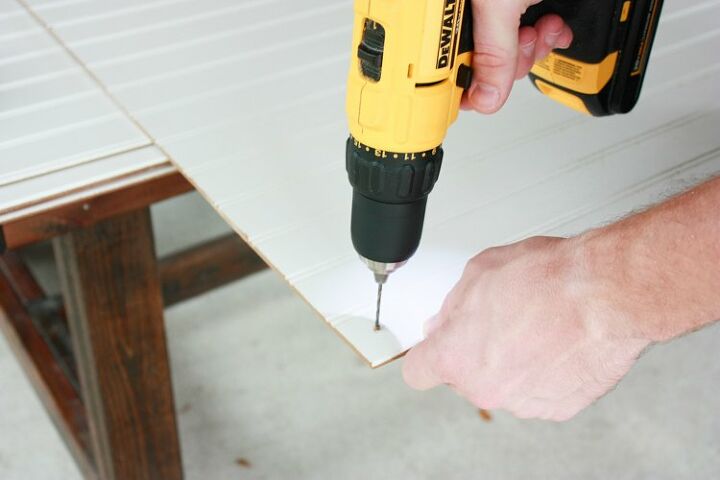
Step 3: Drill pilot holes into the panels based on your measurements for the ceiling joists.
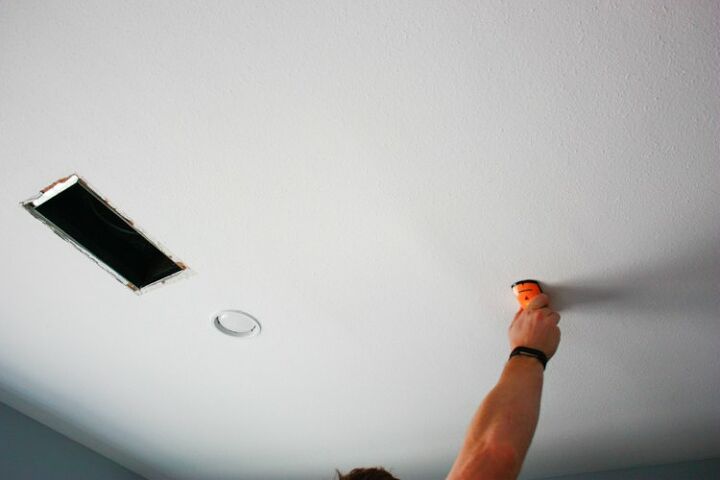
Step 4: Measure and cut out any holes for light fixtures and vents with a jig saw.
Step 5: Attach the panels one at a time to the ceiling by screwing into the ceiling joists.
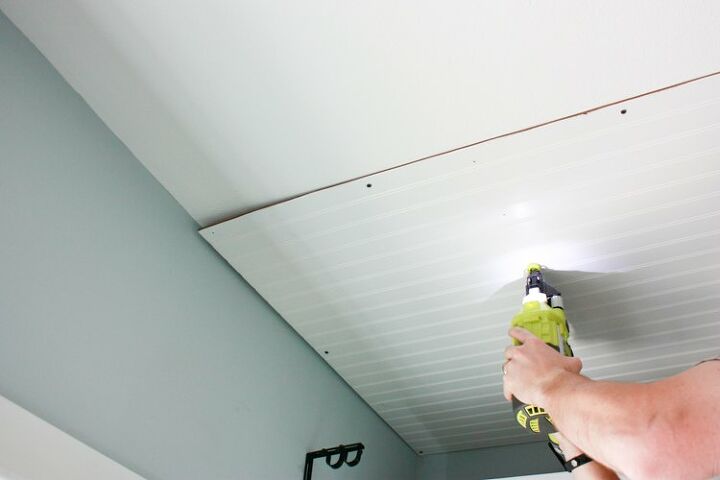
Step 6: Go back and tack up with a finish nailer if it is sagging.
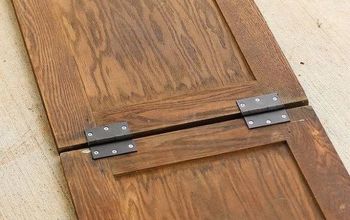
Step 7: Measure and cut your 1 x 6’s. Cover the shorter seams first.
Step 8: Use Liquid Nails and a few finish nails to attach the 1 x 6’s into place.
Step 9: After you’ve covered all the seams with 1 x 6’s, it’s time to add the moulding.
Step 10: Fill any nail holes or gaps with wood filter, then sand. After the ceiling is prepped, it's time to paint!
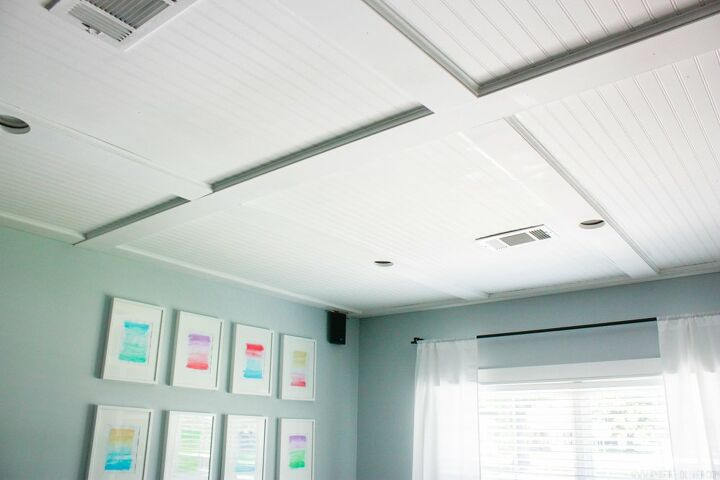
This is faux coffered ceiling project is pretty labor intensive, but the finished project is worth it!
If you enjoyed this project, please visit my DIY archives for more project inspiration!
Resources for this project:
See all materials


Comments
Join the conversation
-
Really beautiful!
-
Great idea and very very nice look!!!


Frequently asked questions
Have a question about this project?
Wow Looks great ! My Wife and I been tossing this idea around for a few yrs and this just made our decision Thank u for sharing ! I do have a few Q?s You said u used 1x6's but it looks like u doubled them for more depth ? Is this correct ? Also for molding did you use 1/4 round ? 3rd and last Q? Did u add the can lights ? They really set it off for a great touch !
What size room and cost?
Can you do this on plaster ceiling