


How I Painted a Double-paned Window (DIY Art for the NON Artist!)

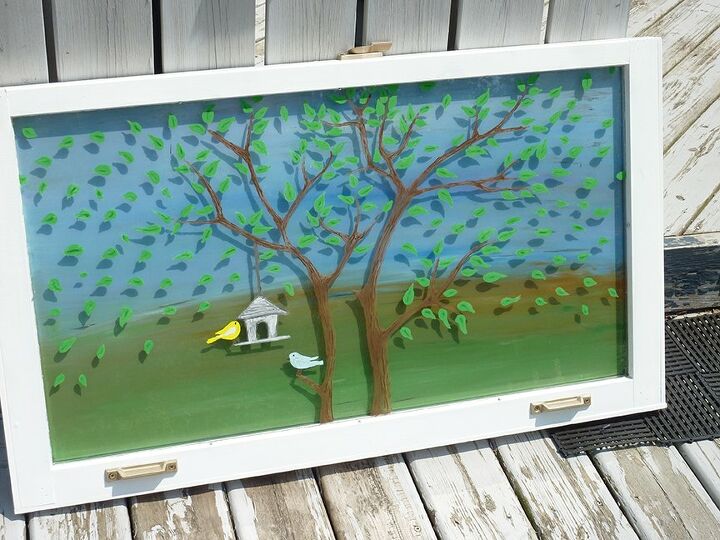
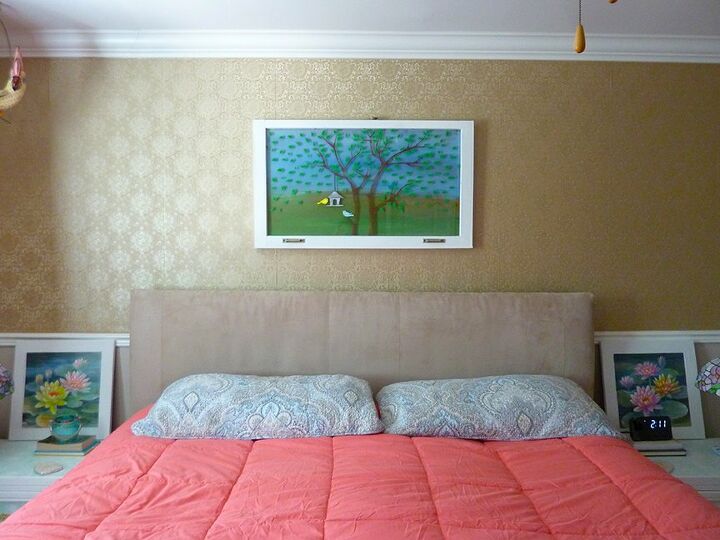
I saw an old window at the curb with FREE written on it. So of course, I pulled over! Because it was a fairly large window my immediate thought was to turn it into some kind of art to go above my bed.
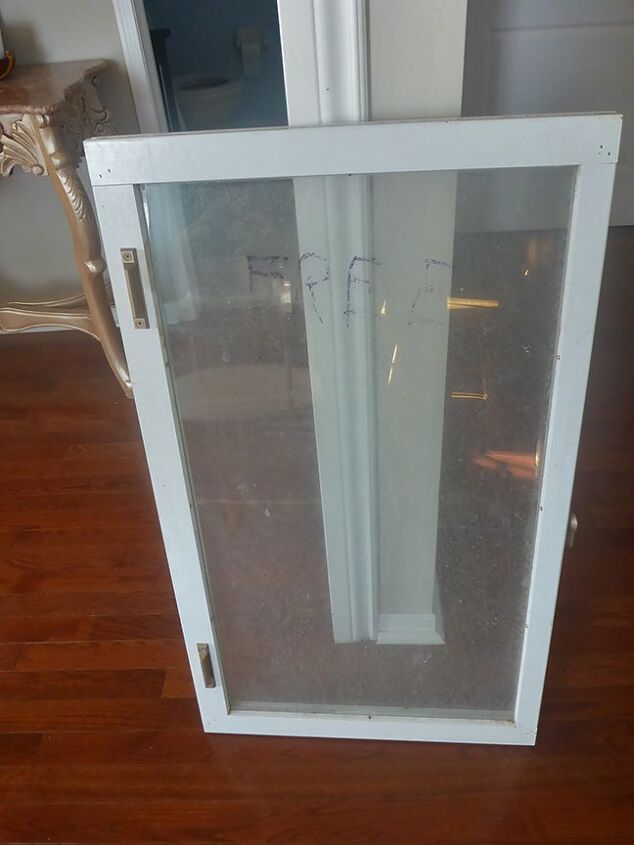
I gave it a good cleaning with soapy water and removed the weather-stripping using a mirror scraper.
There was a small piece of trim at the bottom that didn’t line up with the overall square, which I removed using a screwdriver pry bar. Then I removed the pins using pliers.

Three of the four sides had a ‘trench’ in them that was the track where the window slid up and down originally.
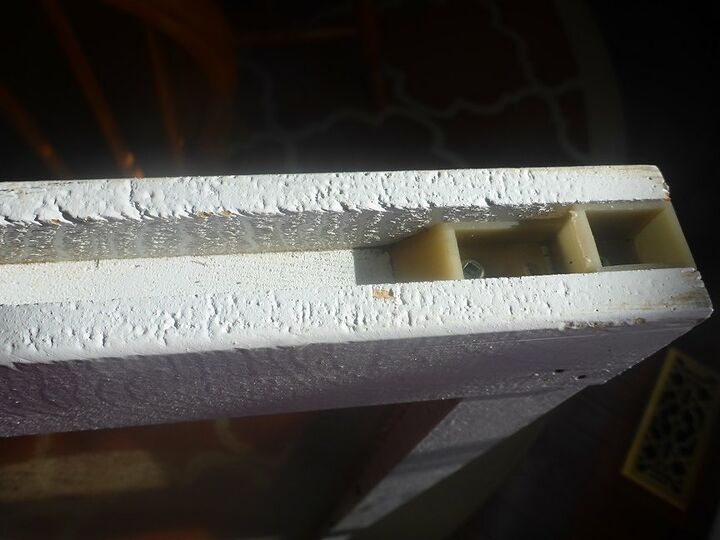
I considered filling them with wood filler, but decided to buy a piece of pine trim to cover those 3 sides instead. This accounted for the lion’s share of my cost.
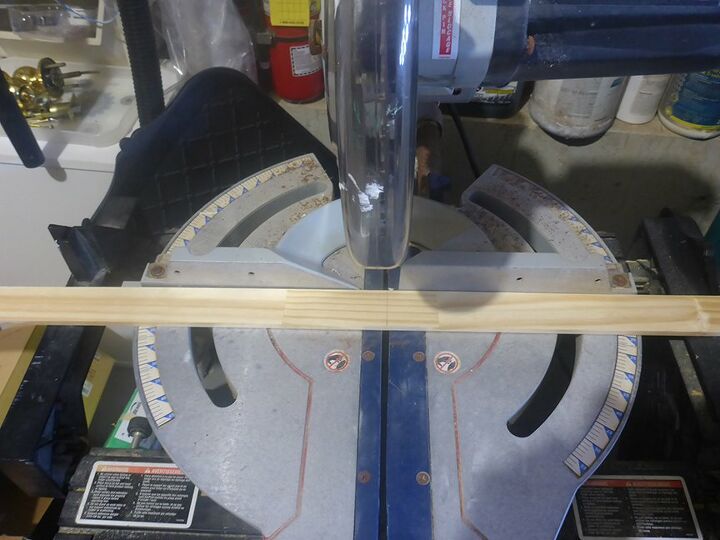
I cut out my 3 pieces using a miter saw.
I attached the trim to the window frame using wood glue and ¾” pin style nails. Afterwards I filled all the joins and rough spots on the frame with wood filler and sanded it smooth.
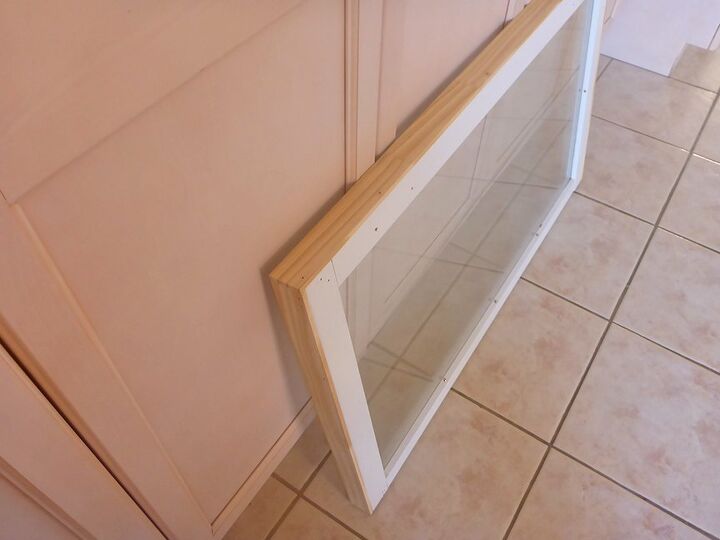
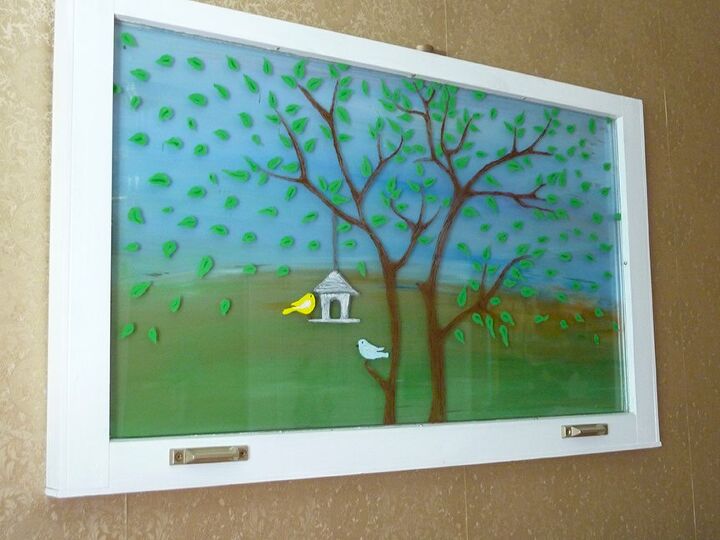
Because the frame now had original white paint, pine trim and wood filler I decided to keep it simple and paint all the trim white. I could always change it later and it would then have all the same base coat as a jump off point. Once everything was dry I cleaned the glass again using rubbing alcohol.
Because I have NO artistic talent (I’m creative, not artistic!) I decided to find a very basic image online that I could basically trace out on the glass. I wanted something nature themed. My daughter and I recently adopted two parakeets, Lemon & Sky, so I thought that might be a nice personalized addition. I found an image of a tree with birds and printed it out using “tile print mode.” This means the digital image would divide itself into several lettersize pages for print.
I trimmed the pages and lined them up, kind of like doing a puzzle.
Then I taped the pages to the back of the window using scotch tape. (Hindsight: trim off as much non-essential paper as you can before applying it to the glass to avoid the paper sagging when you flip it over. And painters tape would have been a better option than scotch!)
Then I chose my colours – I went with a combination of unicorn spit and dollar store acrylic paints. Plus Mod Podge.
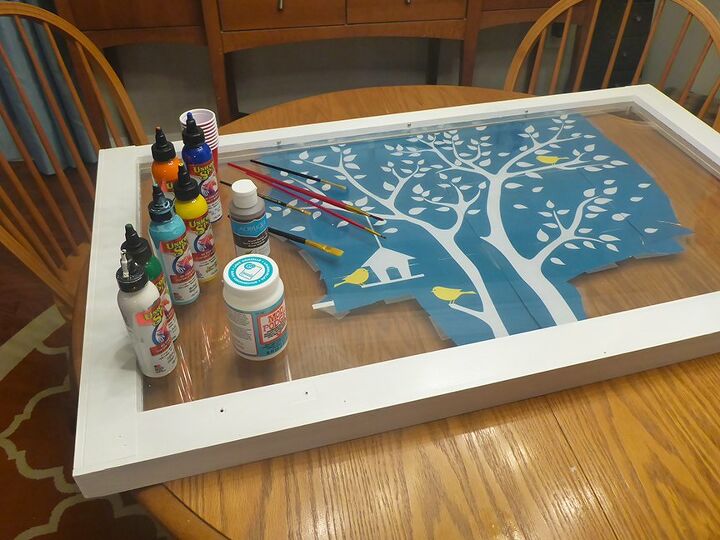
I decided to start with the easiest section to get a feel for it, which in this case was the tree trunk. I mixed half burnt umber dollar store paint with half mod podge. Approximately 1 tsp of each. Then I started “colouring” in the trunk, using a precision brush. Because this was a double paned glass the perspective was a little mind-bending…so I had to make sure I was directly above the window while painting.
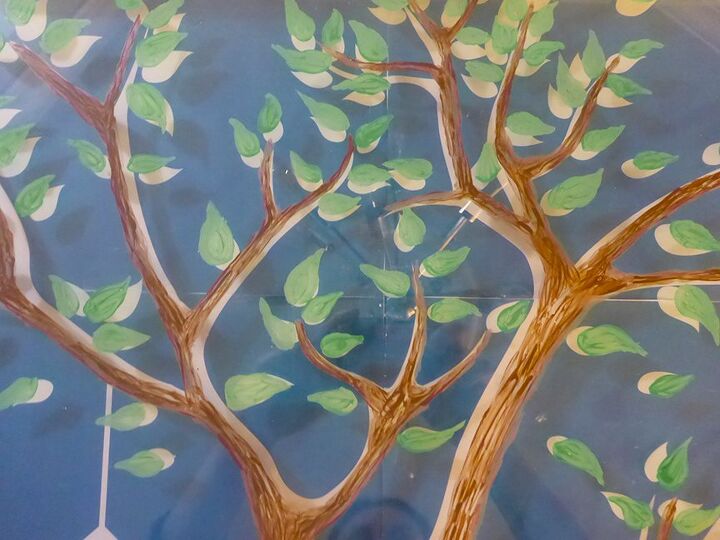
Then I moved on to the leaves. I used 1/3 unicorn spit in dragon’s belly, 1/3 white and 1/3 mod podge. After the leaves were done there was a lot of empty space around the outer perimeter, so I painted more leaves. (In hindsight – when does a healthy green tree shed leaves all willy nilly? A true artist would have known this instinctively. Or at least went with fall colours so it was more believable!)
Then I did the bird-house and the birds. I literally did 2 drops of paint and a drop of mod podge to do each element. I did the birdhouse with a half/half mixture of black and white. Then I ‘white washed’ it. Then a yellow bird (for Lemon) and a blue bird (for Sky).

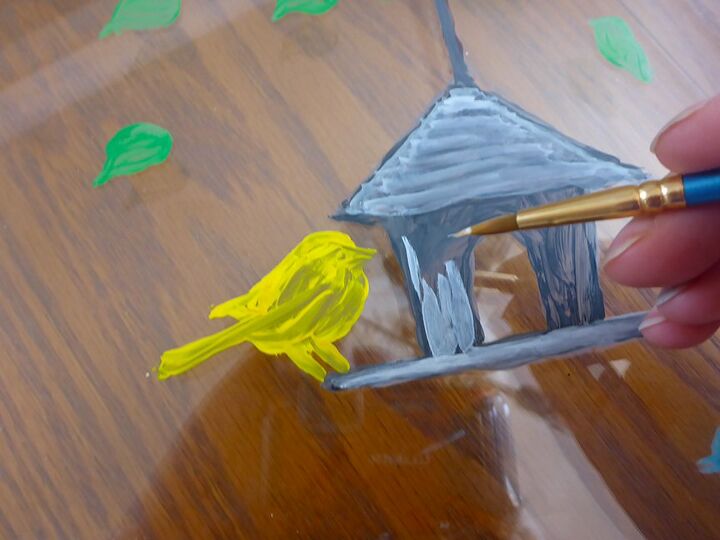
When my daughter got home from her dad’s and looked at my progress…she basically rolled on the floor laughing. She said the bird’s legs were way too fat and they shouldn’t match the colour of the bird. LOL (A true artist would have instinctively known this!) So I used a window scraper and scraped off the legs…and let her paint them on! She really is far more artistic than me.
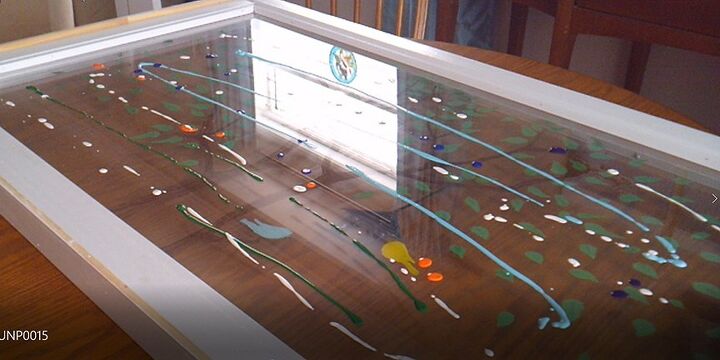
Once the front was dry, I removed the paper template from the back and painted the back-side of the glass using Unicorn Spit. I basically added lines to the back using nature colours (blues for sky, orange for horizon, green for grass & white mixed throughout) then sprayed it with distilled water and used my hand to go side to side to spread it out.
Hanging the piece:
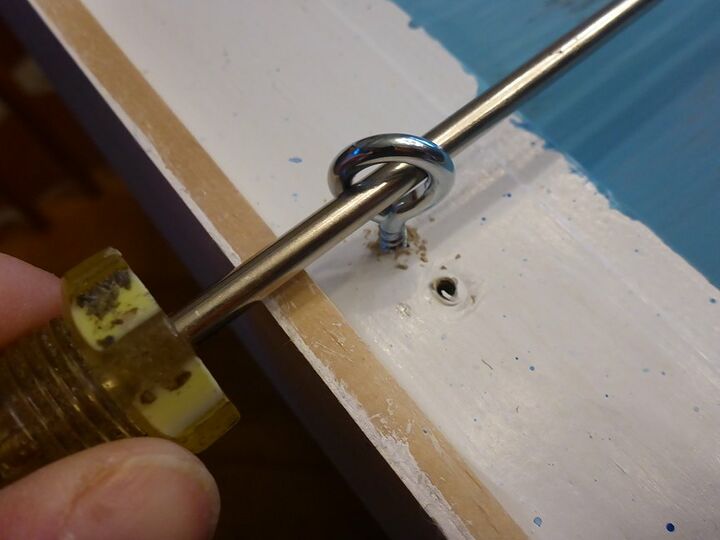
I attached D rings with screws and used heavy duty picture hanging wire. Two seconds after I hung it on the wall…it gave way! I caught it just in the nick of time before it smashed to the floor!!! Clearly I was blessed with cat-like reflexes on this day! LOL
Because this was a big heavy piece (20 lbs!) I needed something stronger. I went out and bought 1 ¼ ” screw eyes. I pre-drilled holes and tightened it as far as it would go into the wood by using a long screwdriver to angle though the ‘eyes’ to give it the last few twists.
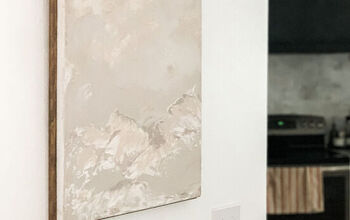
Then I nailed two 50lb picture hangers to the wall and re-hung my quirky window art above my bed.
As I’ve said, I’m no artist. But the process was pretty fun! Hopefully it inspires some of my fellow ‘non-artist’ types to attempt your very own quirky art. It makes me smile or giggle when I look at it. And really...what more can you hope for from art? :)
Resources for this project:
See all materials


Comments
Join the conversation
-
You can get the same effect on single-pane glass by painting on both back and front. I did mine on an oval, beveled glass coffee table top that the legs broke on. Hung it on the wall in my bathroom. Very cute idea!
-
I think the birds are adorable, either way! You indeed are very creative - it shows in the strokes of your birds, trees and the rest of it. I love the way you tackled the window into what you wanted it to be - woooohoooo. You are way too hard on yourself - celebrate the gifts you have!


Frequently asked questions
Have a question about this project?
Nice job. As for the green leaves-a windy spring day! My questions -the blue sky and green grass are the painted backside? And was the sprayed water just to help it spread? Thanks.
I saw a project for a mirror using a pleated lamp shade can you help me find it again thank you
FANTASTIC‼️‼️‼️‼️ I am no artist, however, you have inspired me. Might I suggest, a thin ledge along the bottom, incorporating the handles, so as to place a small natural plant, or possibly a natural tree branch upon which the birds might be sitting? My quirkiness gone too far? I love it, really. You are very talented💕