


Make a Driftwood Garland
I love everything coastal. My blue bead garland is fine, but I really had been looking for something a little different. At the same time I have been trying to clean out all of my craft supplies. I came across my big boxes of driftwood which sparked an idea! A driftwood garland! You can see more of my crafts and creations here.
Even though Florida is my “most of the time” home, I also spend an occasional week in Ohio in a condominium we have there. We are right on Lake Erie with fabulous views and a short drive away is this little park where I can gather all of the driftwood I want! I try to select the pieces I have a project in mind for!
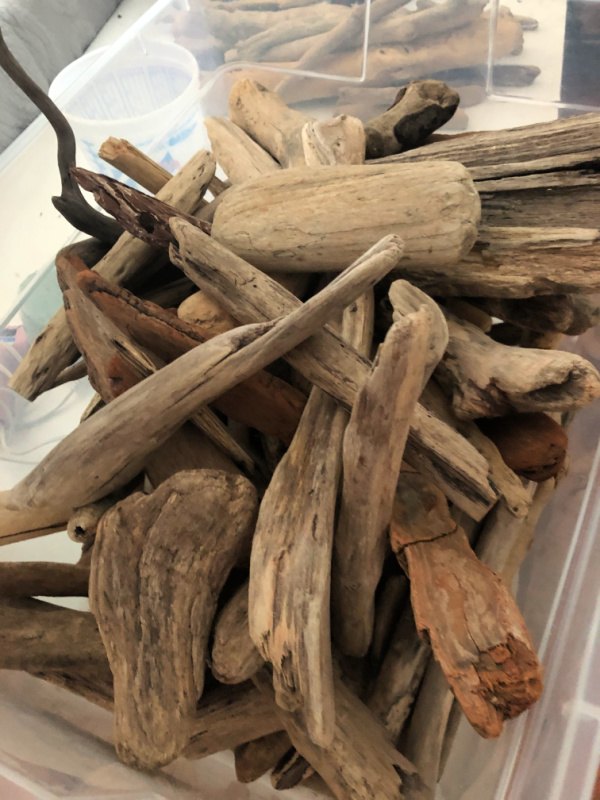
While collecting, I try and knock as much sand off as I possibly can. When I get to Florida, I lay my driftwood out on the patio and soak it down with the hose. I turn over the pieces and wash it down again before leaving it out in the sun to dry.
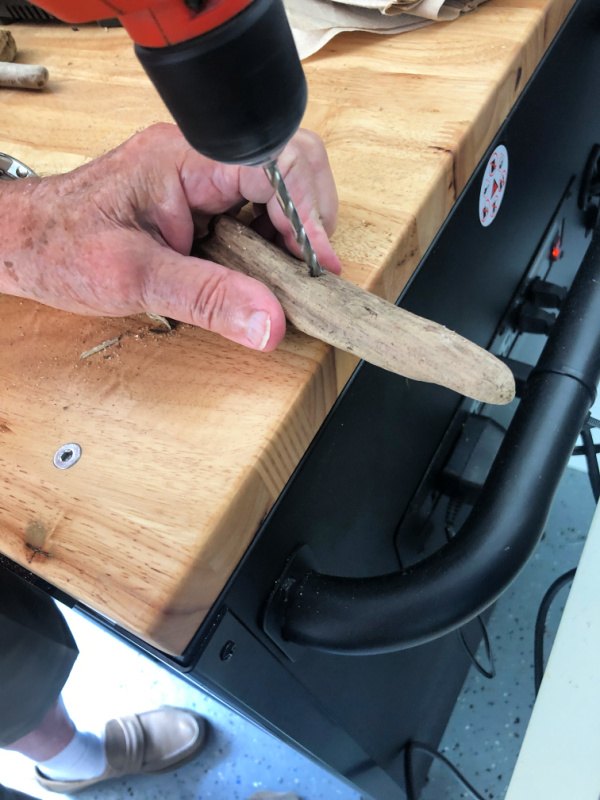
Four to six inch long pieces were what I decided this project needed. After selecting all of my pieces I went to work (with a little help from Dad) drilling holes in each one. I used a 1/8″ drill bit for this project. (For those of you who read Celebrate & Decorate a lot, yes, dad has lost most of his eyesight and this is the only one I let him demonstrate for me to take the photo.)

So, now I have a big pile of pieces of driftwood with holes drilled through them!
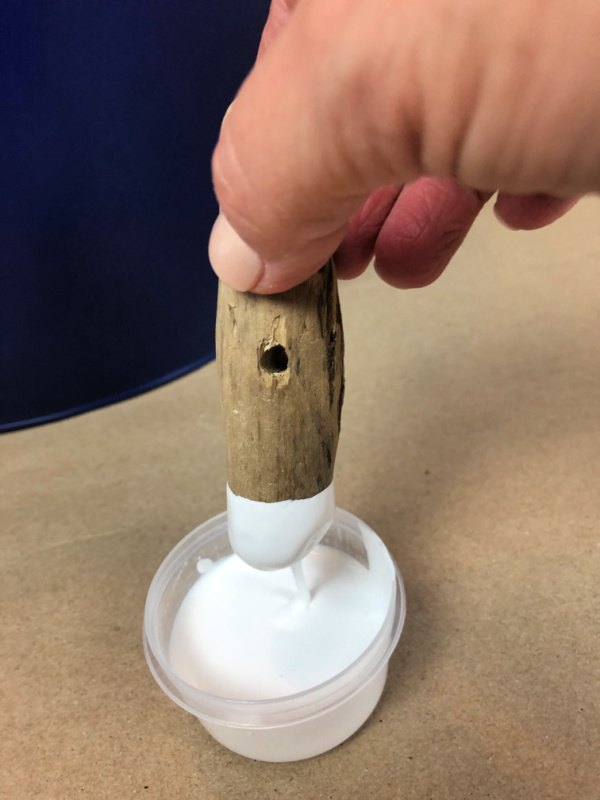
Fill a container with acrylic craft paint (I selected white). Dip each piece into the paint and then tap it to dislodge as much of the extra paint as you can.
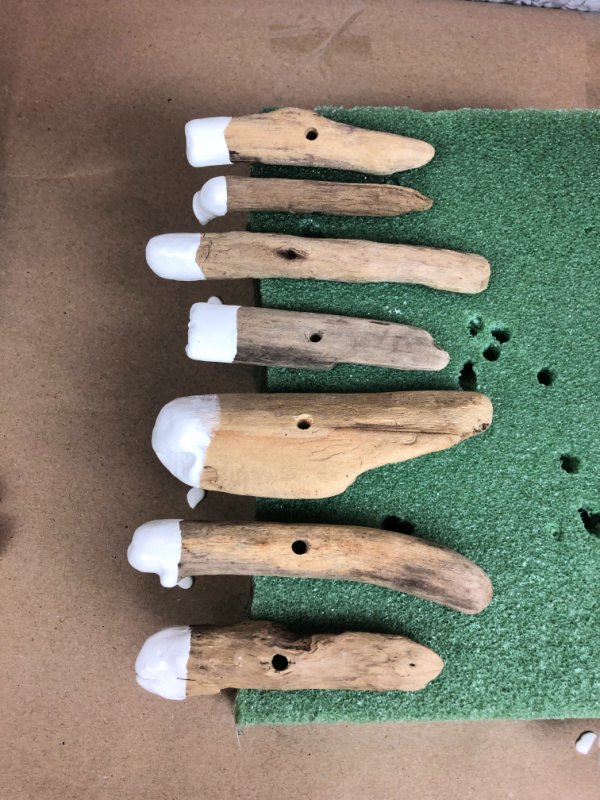
I found the easiest way to let my driftwood dry was to set it on the edge of a scrap piece of styrofoam. That way, each piece can continue to drip off any excess paint.
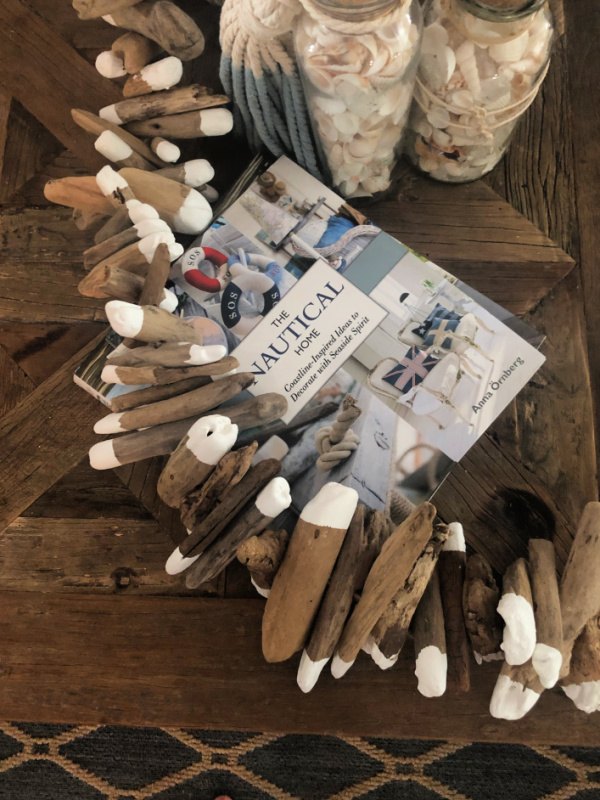
The next step didn’t really require any photos. Simply string the driftwood pieces onto a piece of heavy string (I used hemp rope). Knot it several times at each end to keep the end pieces from slipping off. I now have an alternative to a bead garland to add to the coastal decor in my home!
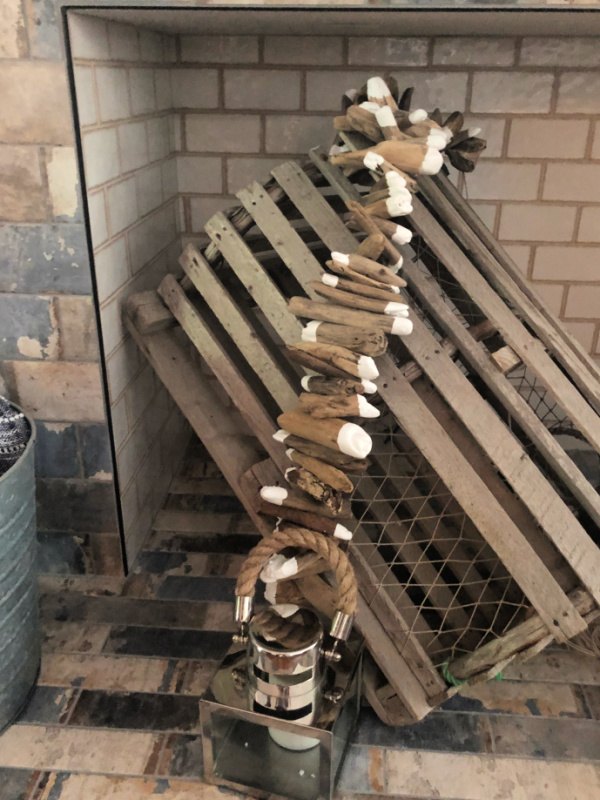
It looks pretty good draped over my lobster trap! Don’t worry about the pieces spinning around. Yes, some of the white ends are on one side and some on the other. I just think this is a charming piece to add to any coastal or beach decor. I would love to have you stop by my blog, Celebrate & Decorate for the full tutorial as well as sign up for my latest creations, posts, recipes, exclusives, and more...


Comments
Join the conversation
-
Do you have to use white paint? I think a beachy tropical blue would look good too! Love this project! 😁💜🏖🦀🦐🏝🦈🐬🐠🐙🐚🌴
-
I love nautural garland. It’s beautiful.


Frequently asked questions
Have a question about this project?
I have builder grade 4” square tile bathroom counter and I want a beautiful grout-free counter top for cheap. Any ideas for DIY?
I don’t know why, but my iPad won’t show the finished pic of your garland!
I am really interested in the result. Do you have this project on a different site? Thanks