


DIY Copper Garden Art From Copper Tubing

by
Rhonda B
I love the look of copper in the garden-so much so that I have made a few different pieces for my garden and also a rain chain. I like to use copper tubing because it is flexible and I can manipulate it any way that I want. The added bonus is that it is beautiful and elegant.
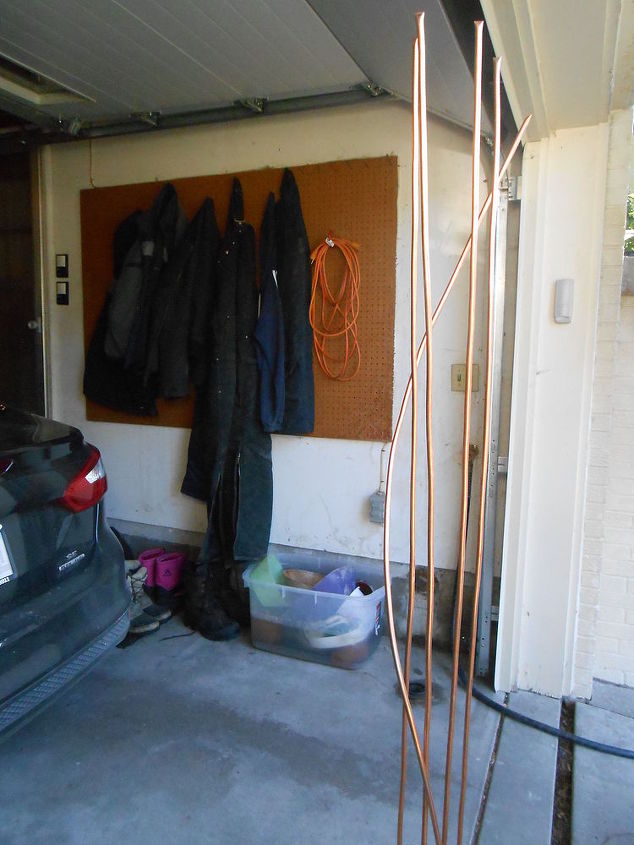
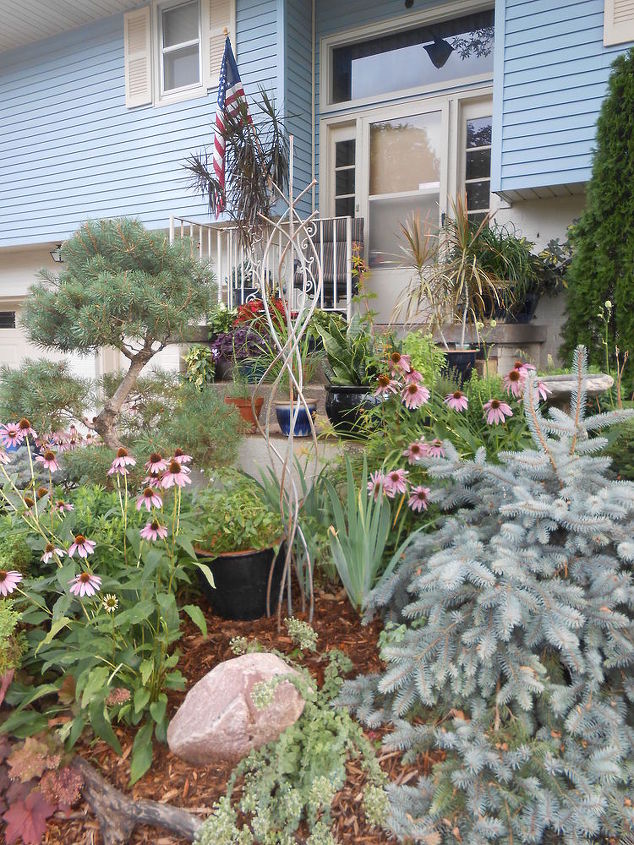
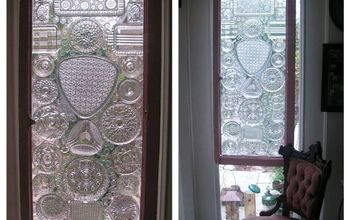
I created this recently from a roll of copper tubing, some concrete and an old nursery pot:
I created this recently from a roll of copper tubing, some concrete and an old nursery pot:

DIY copper garden art
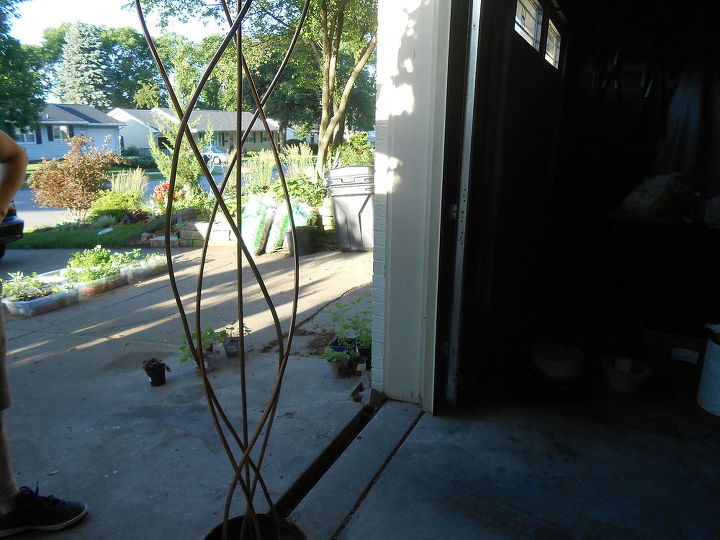
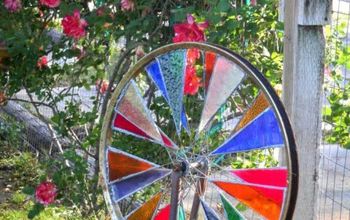
Here is a picture of the first one I created a few years ago:
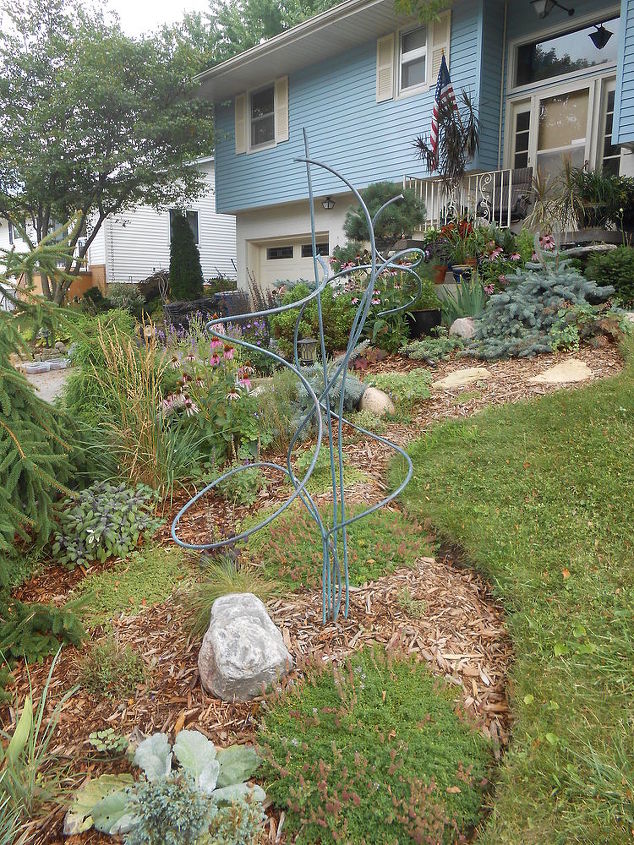
DIY copper garden art
These pieces of garden art are extremely easy to create-you just need to use your imagination and find your artistic side. I have condensed the instructions here but if you stop over at my blog I have detailed instructions and photos.
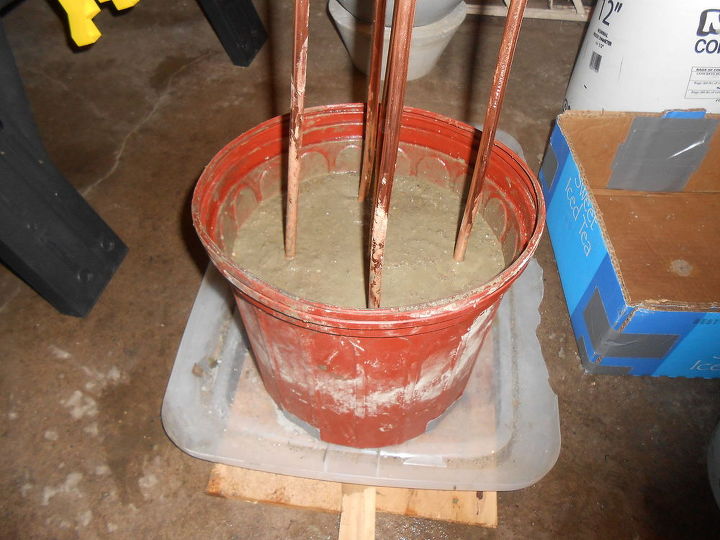
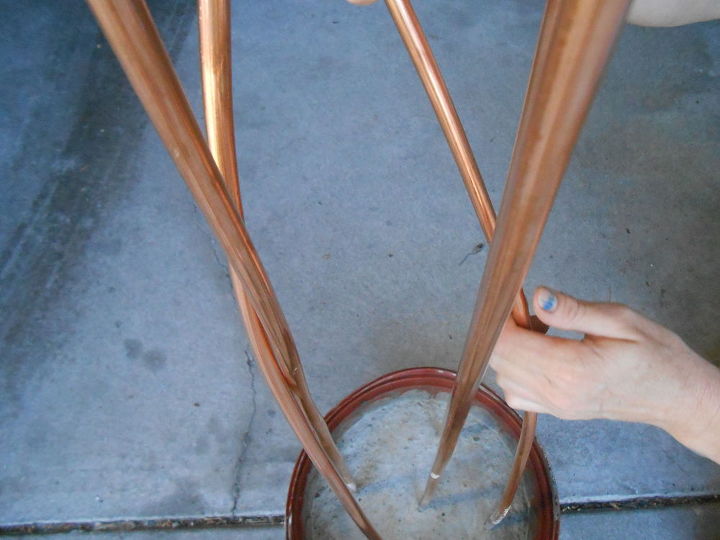
3. Mix up the bag of concrete according to the package directions.
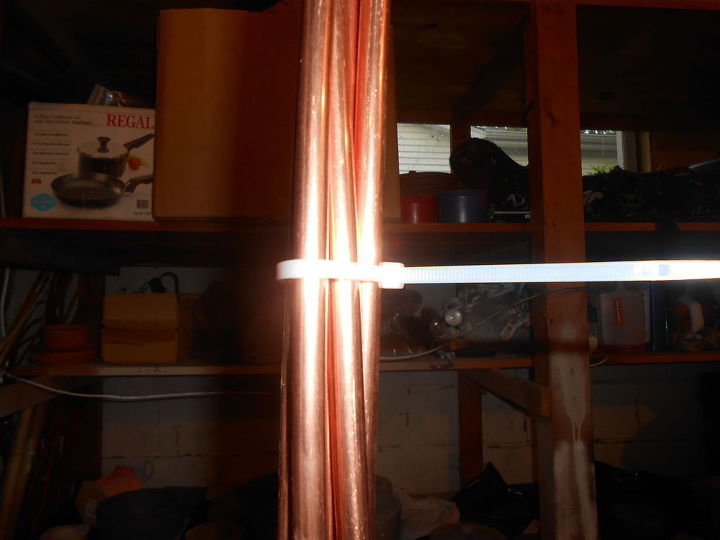
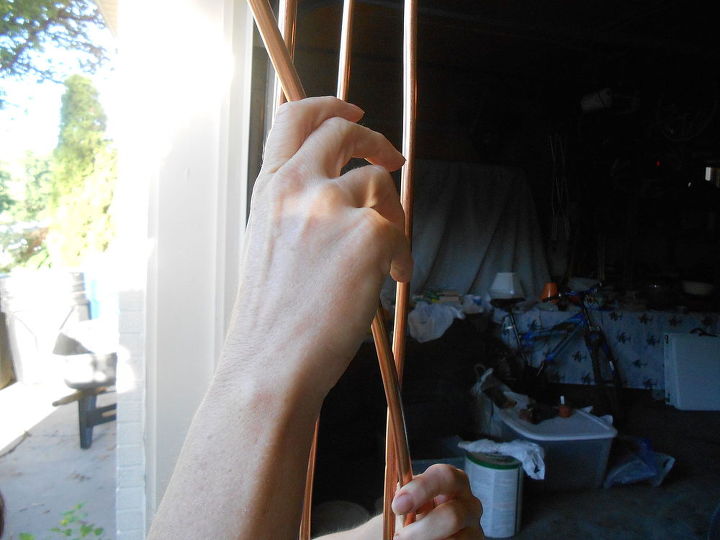
6. In order to hold the tubing in place I use a nylon tie at the top:
7. Let sit for a week (if you use regular concrete) to cure.

Now start on the next one:
Just continue to bend each piece to achieve the look you want. Just remember that this is your piece of art-it does not need to be perfect.
After I had it the way I wanted it I did solder a few of the areas together just to be sure it was sturdy.
I hope you try this project out-you can create your own original art work that you will love and your neighbors will admire. And of course it was easy!
Want more details about this and other DIY projects? Check out my blog post!
Comments
Join the conversation
2 of 58 comments
-
I love it , it is pretty.
-
You live in my house. I have that same house with the blue siding. Love the place and my front garden is similar too.


Frequently asked questions
Have a question about this project?
Beautiful, and well done! Please excuse me if I've missed it, but I've been wanting to make a copper rain chain & would like to know how you did it & where you found your materials.
happy gardening : )
Very cool and unique !! I was wondering why you call it a "Rain Chain" ? I've never seen or heard of them before, but can't wait to make one. I love the fact that the design of it is unique to you. Thanks for sharing this Great Idea !!
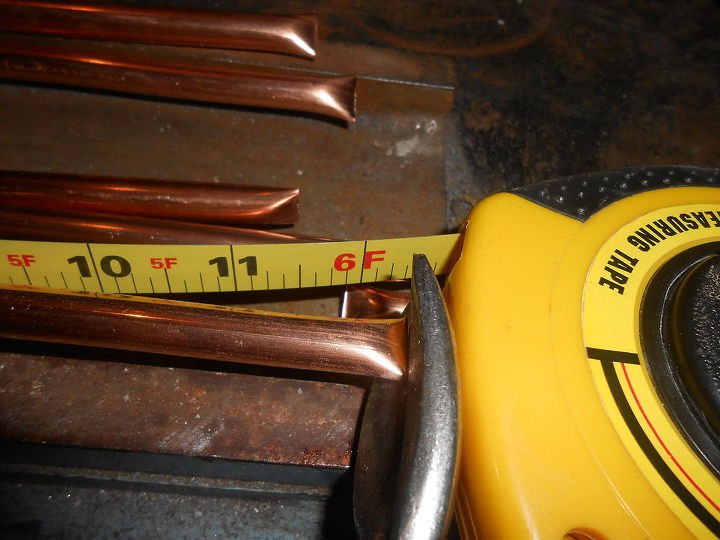
How did you manage to cut straight pieces from a roll? I love this and have to do it.