


How to Chalk Paint Your Furniture & Give It a Distressed Look

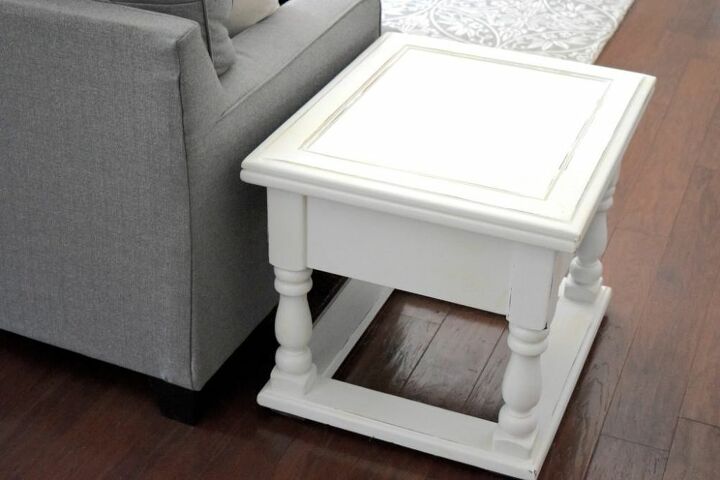
In this tutorial, you'll learn how to chalk paint your furniture to give it a refreshed look! I chalk painted two side tables I found at Goodwill and now they're two staple furniture pieces in my living room.
Subscribe to my blog for more DIY & decorating projects like this!

I love this furniture makeover so much, and it was pretty easy to do!
STEP 1: Prepare your furniture
Lightly sand your piece of furniture so that the paint will adhere to the wood. Then, remove the hardware, dust off your furniture piece and wipe it down. Remove any drawers as well to prepare for painting.

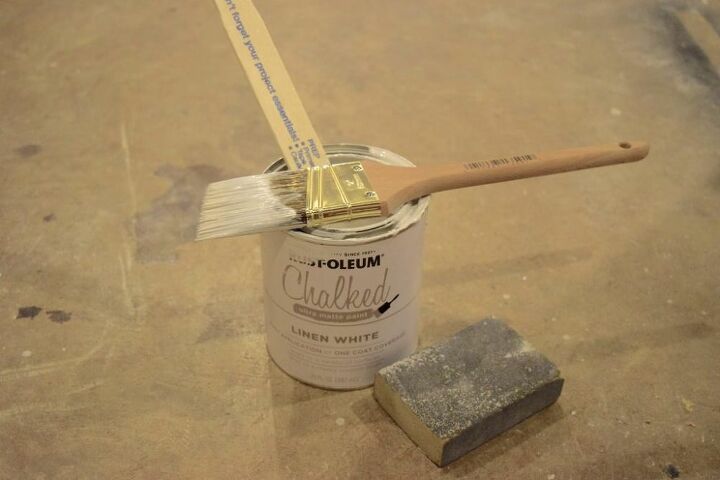
Step 2: Prepare to paint
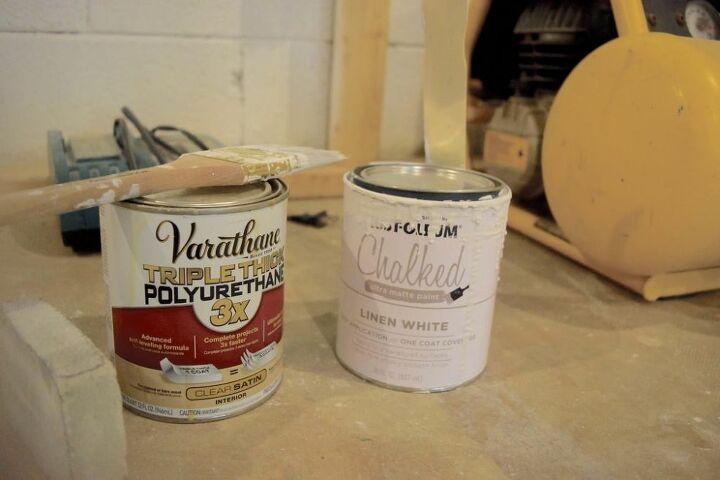
I chose to use Rust-oleum Chalked paint in linen white, and I love the color so much! When you prepare the chalk paint, make sure to stir it with a stick and not shake it.
You'll also want to use a high-quality synthetic brush to apply chalk paint, not a roller.
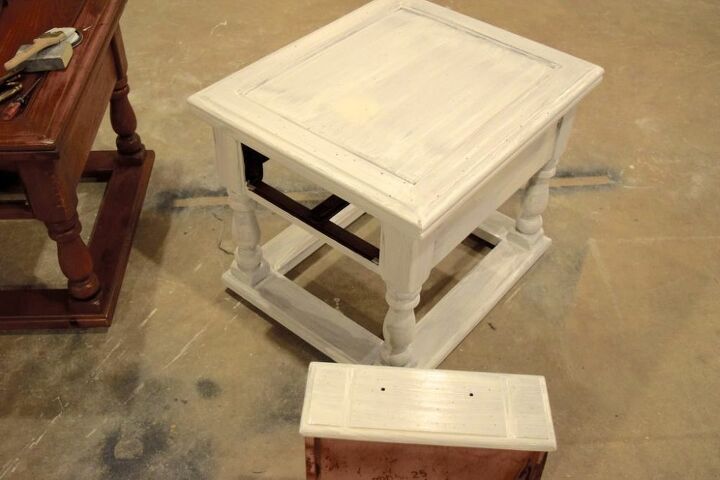
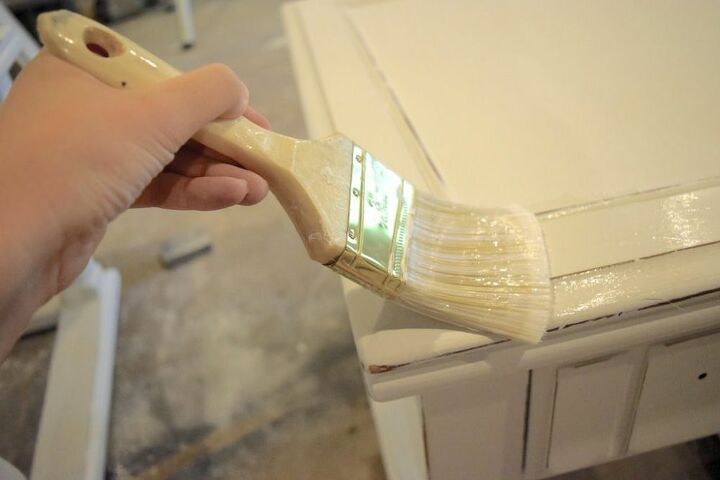
Step 3: Apply paint using a brush
Apply one coat of paint at a time, and let each coat of paint dry completely before you put another coat on.
I applied three coats total on my end tables. Here's how my end table looked after applying one coat.
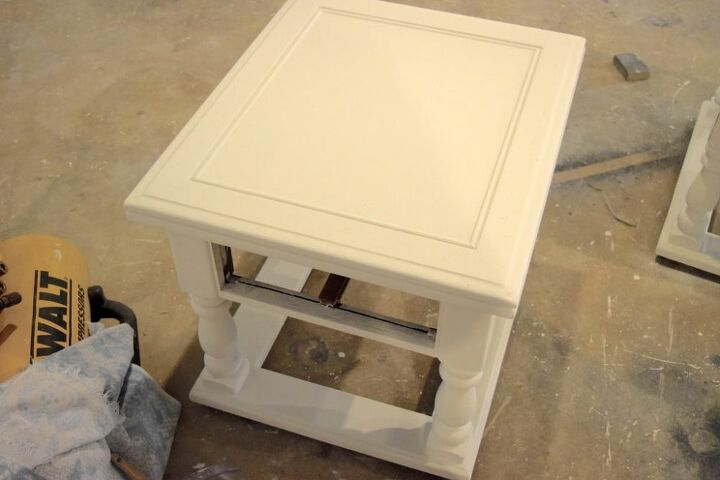
Here's how it looked after applying three coats of paint.
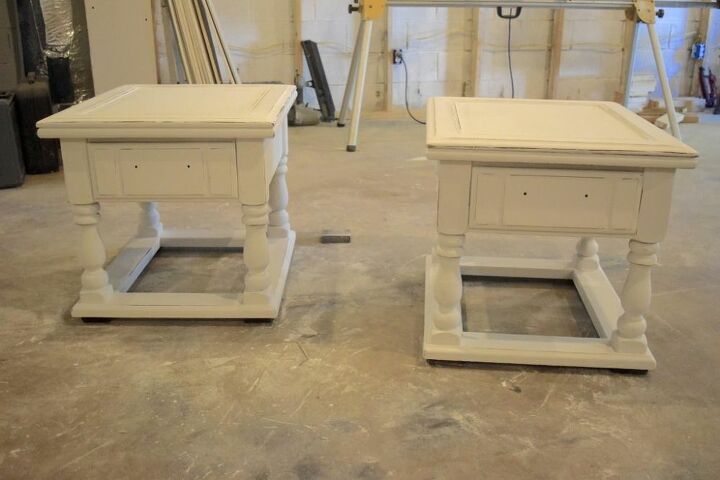
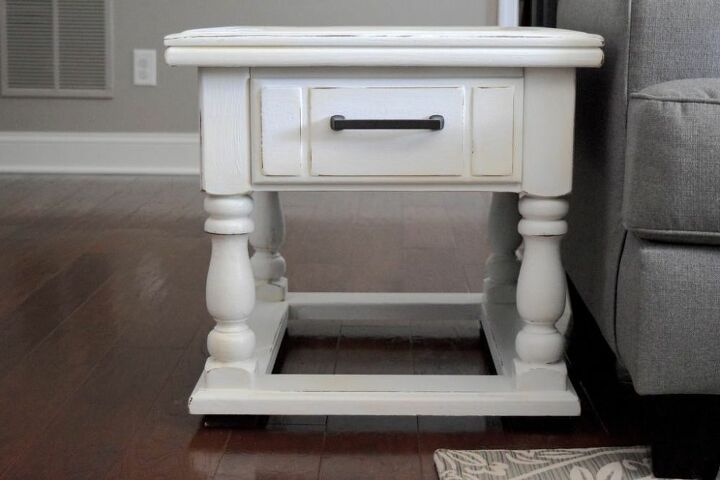
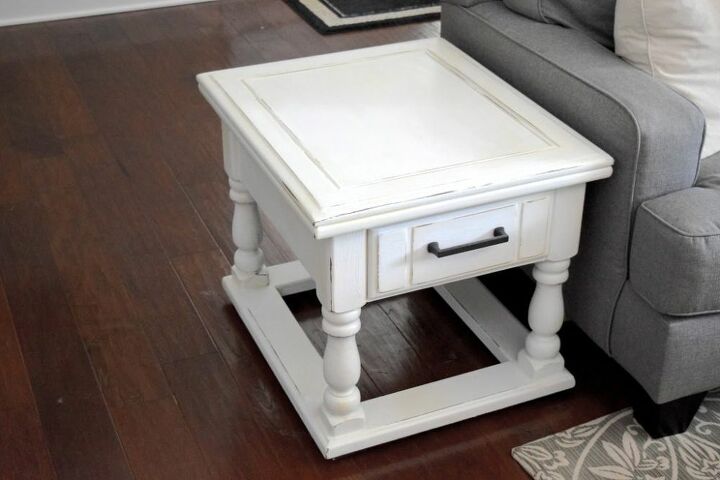
Step 4: Distress your piece of furniture
To distress your furniture, all you need to use is a sanding block. Sand the edges of your piece of furniture, which is where they would naturally tend to distress. You can sand as little or as much as you want. I chose to keep my sanding to a minimum, only distressing small areas of it.

Here's how they looked after I distressed them.
Step 5: Apply polyurethane
To finish off the furniture piece, you can apply either wax or polyurethane. I opted for poly because I have used it many times in the past and love the finished look it gives furniture.
Apply the poly using a brush and let it dry completely.
Step 6: Add new hardware
I chose to get new hardware because I didn't like the way the old hardware looked. The new hardware really finishes off the side tables.
Check out my blog for more fun projects!
Resources for this project:
See all materials


Comments
Join the conversation
-
Your end tables look awesome. Thank you for sharing 😃


Frequently asked questions
Have a question about this project?
Would this work on something already painted with latex paint? Never used chalk paint,does it feel "weird" to the touch? Like it's not quite finished?
So I picked up a free dresser and I want to give this a try. I think the top is actually laminated; any suggestions for painting that too?
Won't the polyurethane yellow over time? Maybe use polyacrylic instead?