


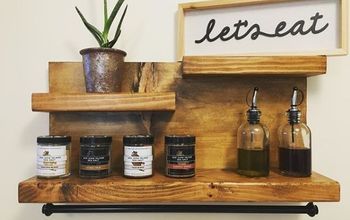
DIY Floating Shelves

Ever wonder how floating shelves are made?? In this DIY tutorial, I'm going to show you how to make your very own floating shelves. You can make them any size or colour to best suit your space and taste.
Click here to see full list of materials.
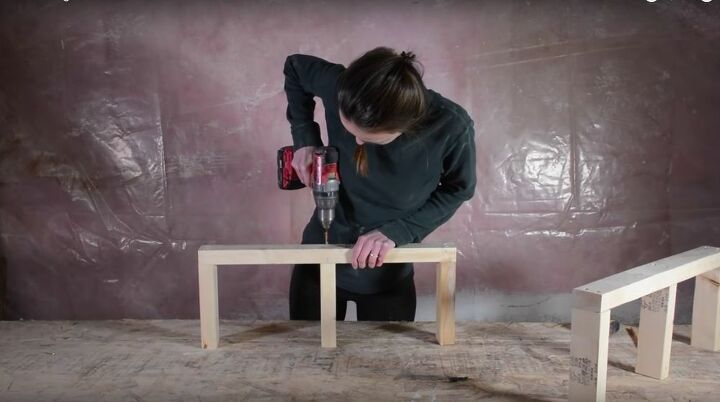
STEP 1: BUILD THE BRACE
I used 2"x3" to build my brace. We need 1 piece cut at 24 1/2" and 3 pieces cut at 8 1/2".
Lay out the pieces for your brace, spacing your 3 shorter pieces evenly across the longest piece and mark where your screws will go. Then pre-drill your holes to prevent the wood from splitting. Then you can assemble the brace. I used six 3" screws to assemble, and I pre-sunk my screws to make it easier to put together. Repeat this for as many shelves as you need!
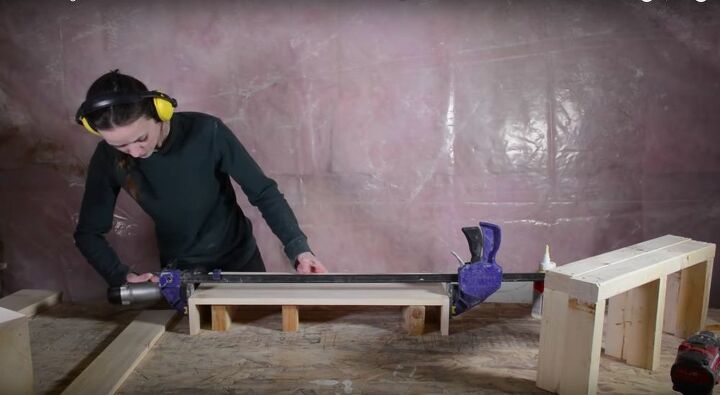
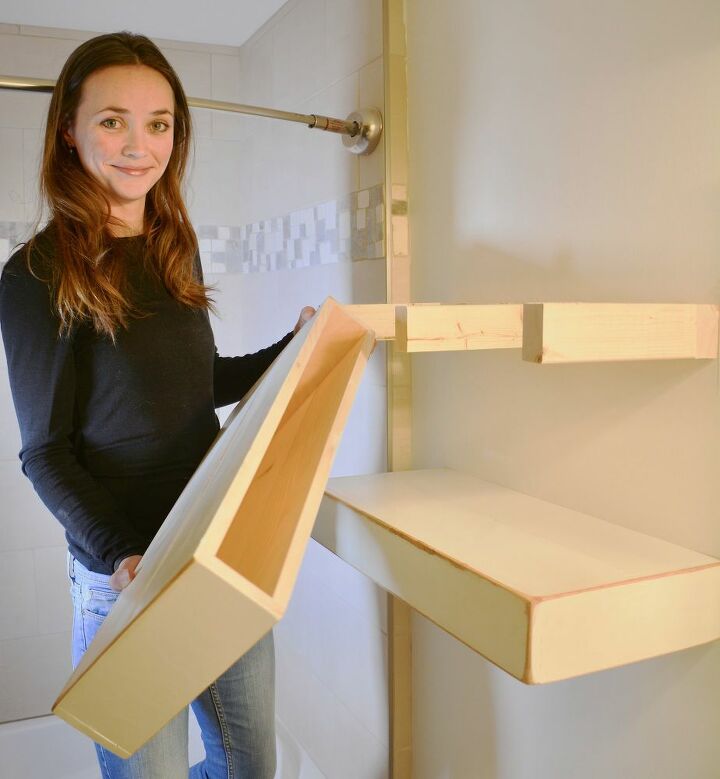
STEP 2: BUILD THE BOX
I used pine I had laying around that I made into 5 3/16" x 5/8" for the top and bottom of the box. I cut it into 4 pieces at 24 3/4".
The sides were 4"x 5/8" with one piece cut at 26" and two pieces cut at 10 3/8"
Then I used 3" spacers to help assemble my box. I laid out the top and two side pieces. I applied wood glue to the ends and then clamped it together. I put four air nails in each end.
Then I added wood glue to the ends of the bottom pieces and then laid them in place. I put air nails in one end to keep the pieces in place, and then flipped it over, clamped it, and nailed the pieces in place.
To finish building the box I just glued and air nailed on the front panel.
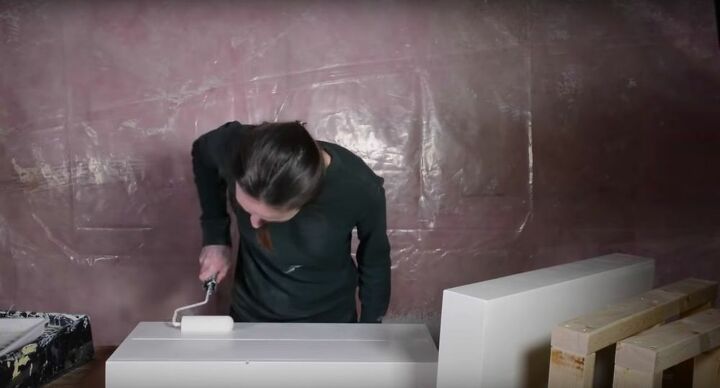
STEP 3: FINISHING
For a nicer finish, I used wood puddy to fill the holes. My favourite wood filler is Timber Mate. Then give your entire box a good sand using an orbital sander, palm sander, or sand paper/sanding block.
Then you can paint or stain your piece. If you wish to stain your boxes, it's time to do so. If you wish to paint your boxes, make sure you cover up any knots using a stain blocker like B-I-N to prevent them from bleeding through later. Then paint your boxes.
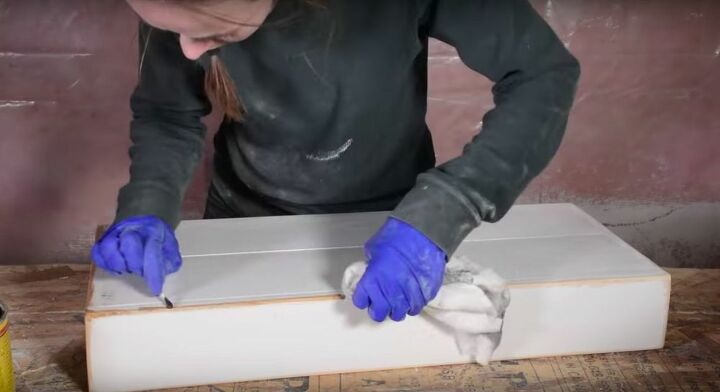
I chose to distress my boxes. I used an orbital sander using 200 grit paper (OR palm sander, sand paper/sanding black) to go over all the edges. Then using a q-tip I applied Early American stain by Minwax to cover the newly exposed wood. I wiped it with a cloth right away as to not discolour the painted parts. I finished off the boxes with a coat of varathane.
STEP 4: INSTALLATION
Hold your brace up on the wall where you want your shelf to go. Using a stud finder, find your studs and mark their location on your brace. If you don't have access to a stud finder, I suggest using drywall plugs to ensure the stability of your shelf.
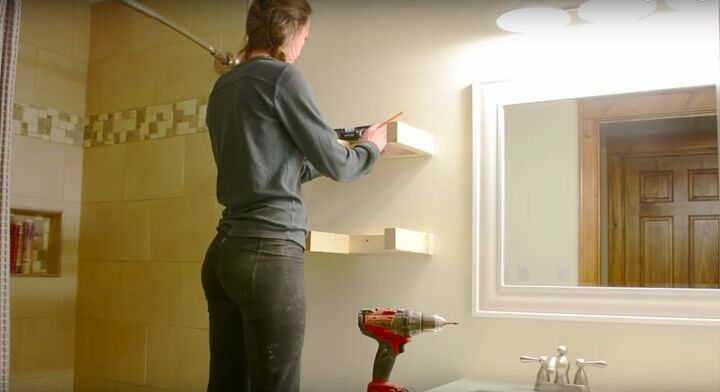
Then I used two 3 1/2" screws to hold my shelf in place, making sure to pre-drill my holes t prevent the wood from splitting.
Then simply slide your boxes over the braces, and VOILA..your floating shelf is complete!
Resources for this project:
See all materials


Comments
Join the conversation
-
Find your studs before you cut the brace(s) and do not use dry wall plugs. If that is all the weight you intend to support do the following: find the studs and mark. Cut the heads off of 16p x 3" nails. Cut a length of 1x4 pine, fir, bloodwood, whatever to span at least two studs. Use a 1/8" drill on a long edge of your 1x4 to 1.25" deep. Tap the cut 16p nails into these holes, blunt side in. Use vise grips if necessary, do not blunt the nail point. Hold the shelf up to the wall, level and make sure the nails are aligned with the studs. Tap the shelf to mark where you will drill the studs. Use the same 1/8" drill to 1" deep. Now align the nails in the shelf to the holes just drilled and tap the shelf to seat the nails into the studs. Use a mallet or a spacer block to drive the nails the last 1/8" into the studs.
-
This is great!!! Well done!


Frequently asked questions
Have a question about this project?
Can you share a pic of finished project on the wall?
Are you looking for an apprentice? I'm a qualified carpenter and feel my skillset, enthusiasm and ability to complete tasks on time will make us a great team! I can start Monday, boss!