


White Washed Chicken Wire Farmhouse Terra-cotta Pots
These White Washed Chicken Wire Farmhouse Terra-cotta Pots are an easy way to spruce up some old terra-cotta pots you may have lying around.
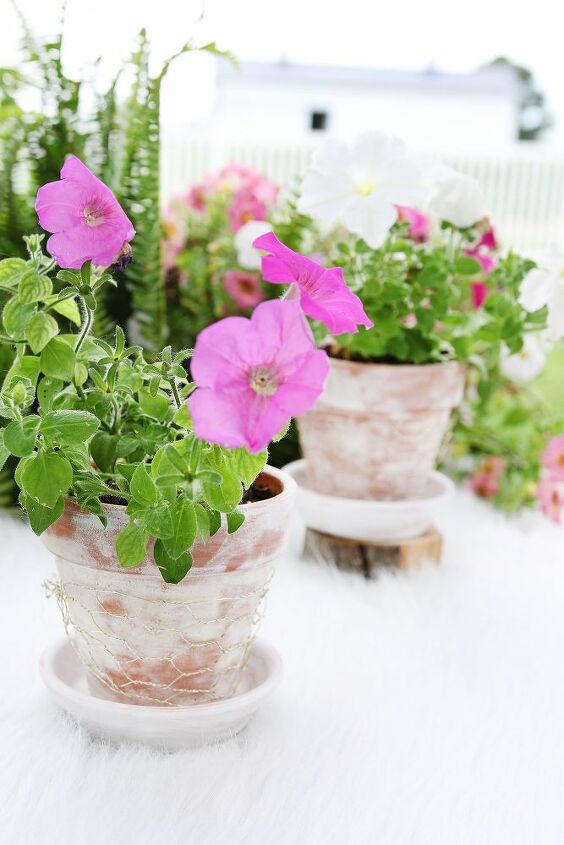
Hey everyone! I’m excited to finally share these White Washed Chicken Wire Farmhouse Terra-cotta Pots with you. I made these pots back in March, but it was too cold still to plant anything in them… so, they kind of got lost in my crafting area in the basement for awhile. But, with the lazy days of summer, I was finally able to pot them and take some styled photos of them to share with you! I currently have them on an easel on my front porch, but these photos were taken on my back patio to show you them up close with more detail.
This was a SUPER easy project and I think these pots are best for little accents on easels, stairs, ladders or on a table. You could try doing a larger pot as well with a bigger sheet of chicken wire. But, for these I used the regular sized terra-cotta pots and the chicken wire that comes in a roll in the floral area of Hobby Lobby.
What You’ll Need:
- Terra-cotta Pot
- Terra-cotta Pot Lid
- Roll of Chicken Wire (Hobby Lobby sells in its floral section)
- Sponge Brush
- Acrylic White Paint (Diluted)
- Paper Towel
- Wire Cutter/Garden Pruner (for cutting the chicken wire)
- Hot Glue Gun
- Potting Soil and Annuals (I used wave petunias) or Floral Foam and Faux Flowers (such as succulents)
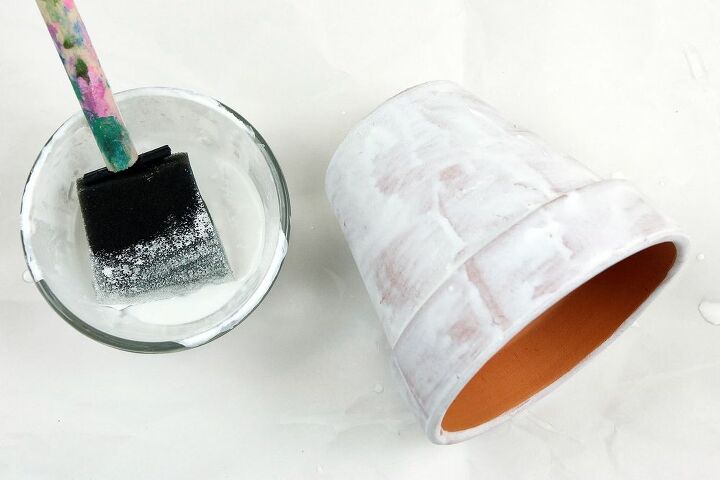
Add enough water to your white paint, so that it is a little runny. Paint your entire pot and wipe sections of it with a paper towel to give it an unfinished white washed look. I try to wipe the paper towel on it before the paint dries, but also not right after its been painted (kind of in the middle of those two if that makes sense). Repeat this process until the entire pot has been painted and scrubbed to remove some areas of the paint (which will give it the white washed look). It should dry in only a couple of minutes, since you’re only applying a thin layer of watered down paint.
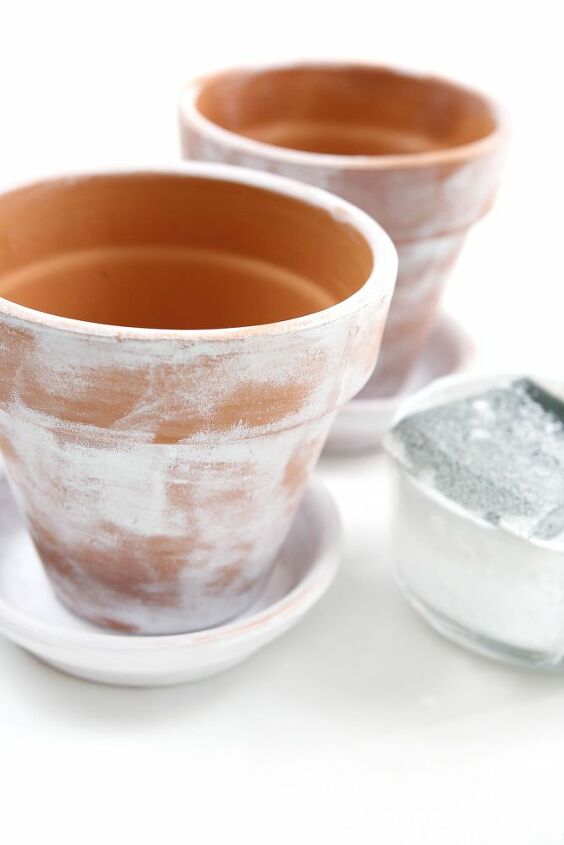
Repeat this process for the pot lids. Once they’re completely dry, they should look like the above photo.
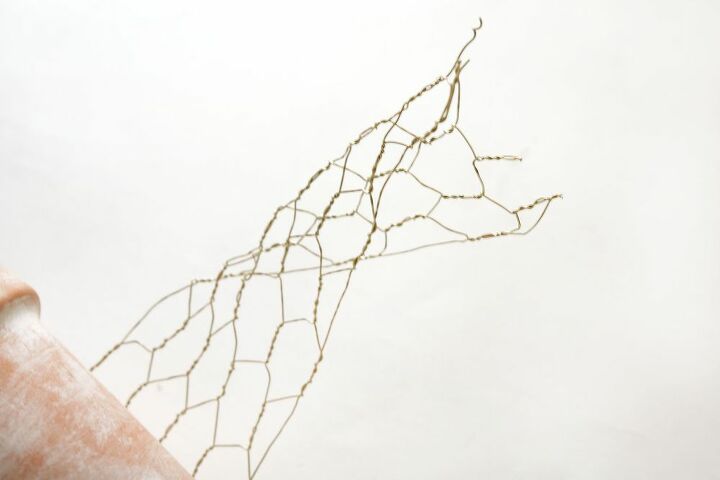
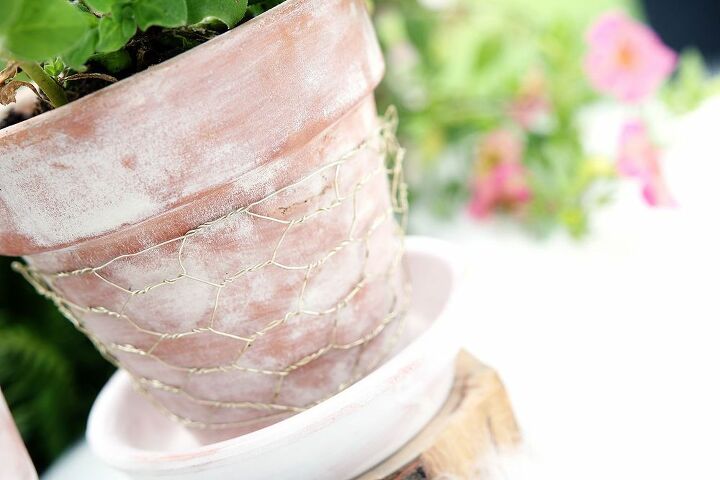
Once the pot is dry, take your roll of chicken wire and wrap it around the pot and leave a little excess on each side. Cut the wire off the roll with your wire cutter and then fold each end over like it shows in the photo above. Then connect the ends of the wire together, so that it is wrapped completely around the terra-cotta pot.
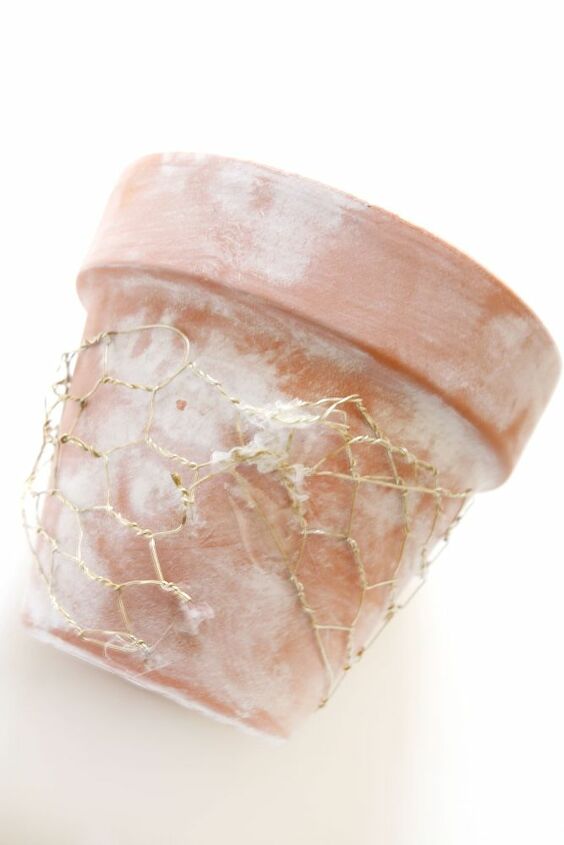
I secured the wire on the back of the pot with a little hot glue. You might be able to skip this step.
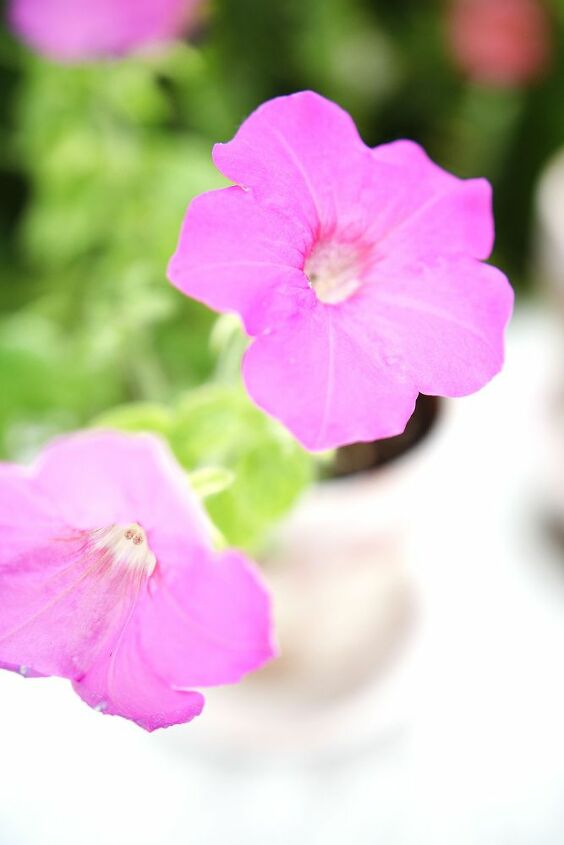
Fill your pot with some potting soil and plant your annuals in it. I love to plant my pots with wave petunias.
I hope you enjoyed this simple way to spruce up some of your terracotta pots this summer. It’s easy and you can mix and match them with your regular terra-cotta pots or other terra-cotta pots that are white washed… the chicken wire gives the pot a nice farmhouse vibe and I love the texture the chicken wire adds to the pot.
Resources for this project:
See all materials


Comments
Join the conversation
-
Maybe lightly paint the wire with a rusty colour too...just a thought!
-
I really like it. Simple and easy. What about taking the wire up to the rim, and just inside the rim? Nevertheless. Something that even I can do; seeing I'm banned from the garage, since I nearly 'killed' the chain saw, and myself. Never again.


Frequently asked questions
Have a question about this project?
what is the point?