


Reviving an Old Solar Table Lamp

I purchased this solar table lamp about 10 years ago, long before outdoor solar lamps, chandeliers etc became popular. Mine worked for a few years then gave up the ghost and wouldn't work anymore. I replaced the batteries several times, cleaned out where the batteries go but nothing seemed to work. So it has been in the shed for the last few years taking up crucial shed space according to the hubby. I finally decided to bring it back out and update it and came up with a way to use it outdoors again as a table lamp.
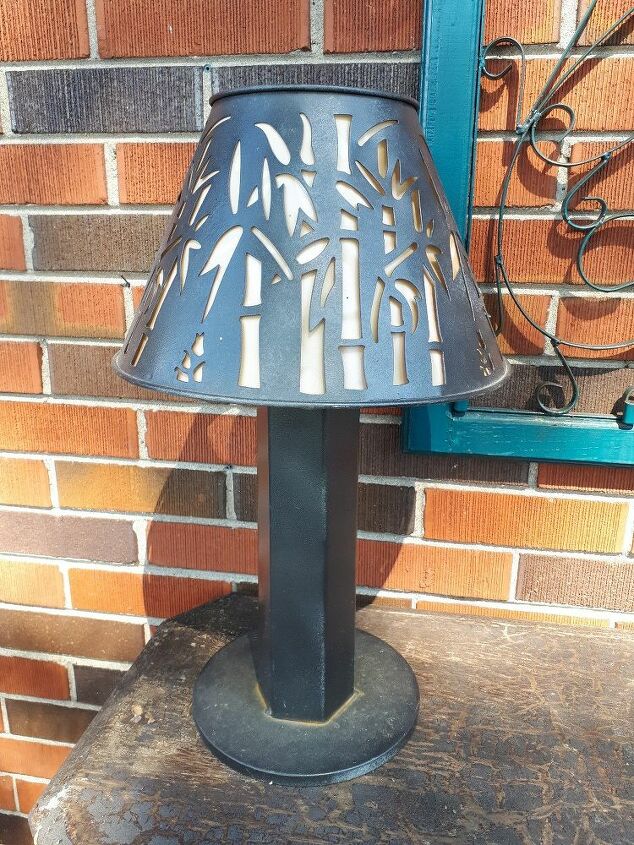
So here is what I started out with. I wiped it down with a wet rag and removed all the dust from it and let it dry.
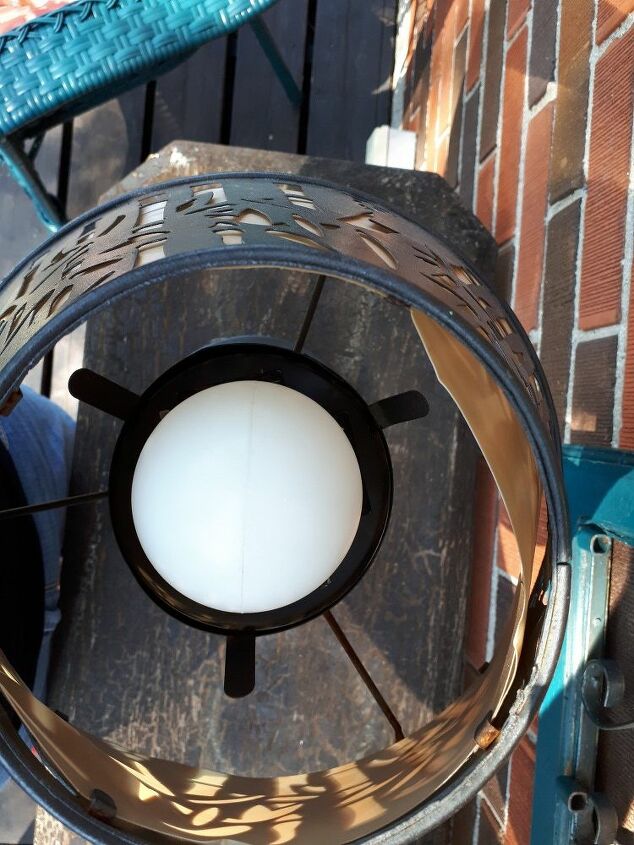
Next I removed the old solar light from the base in the middle, and the plastic that wrapped around the shade.
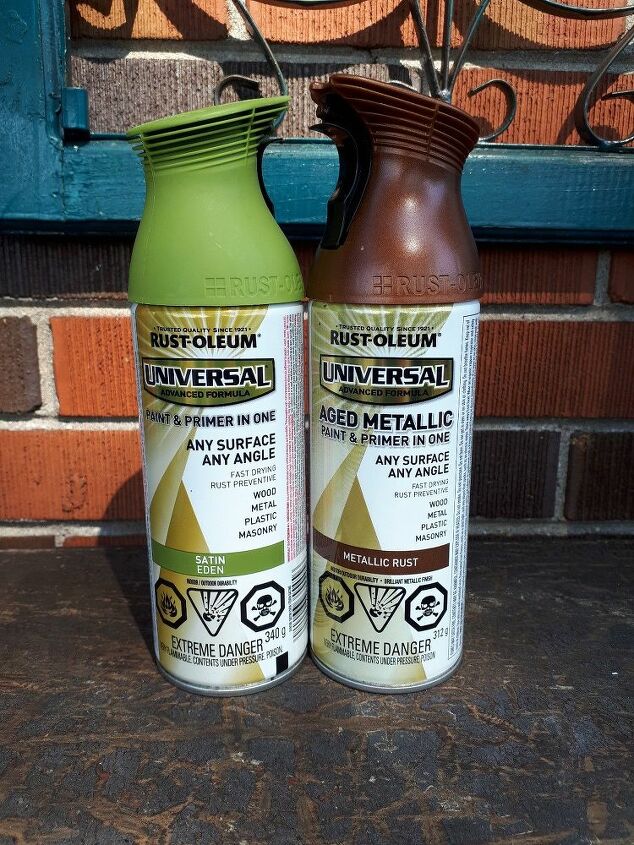
Now it is time to paint. Here are the paint colors I chose. The green is for the shade and the metallic rust is for the base.
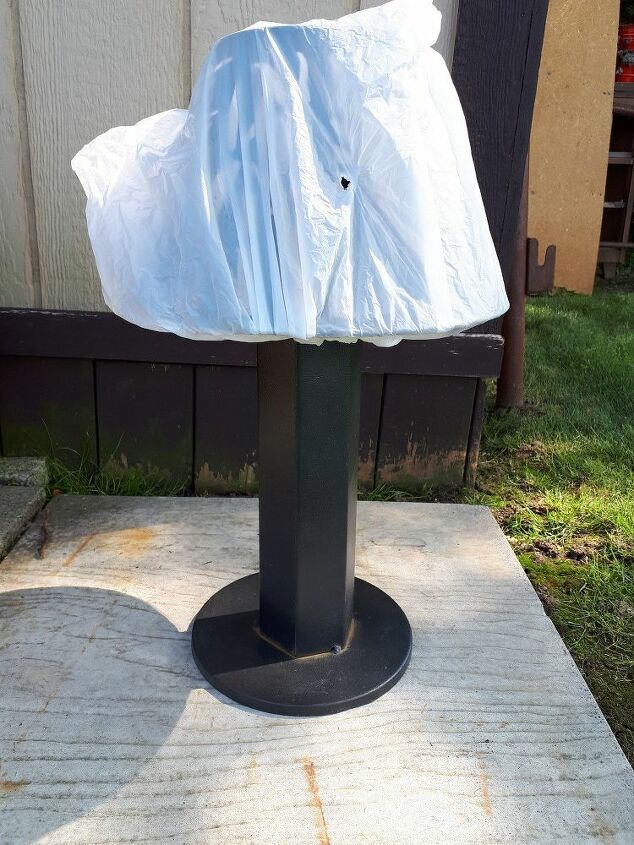
Before painting the base I took a plastic bag and wrapped it around the shade so I wouldn't get paint on it. I gave the base one coat of paint. Once dry remove plastic bag and repeat step putting the bag over the base this time and spraying the shade. Again I applied one coat and let dry.

So here it is painted.
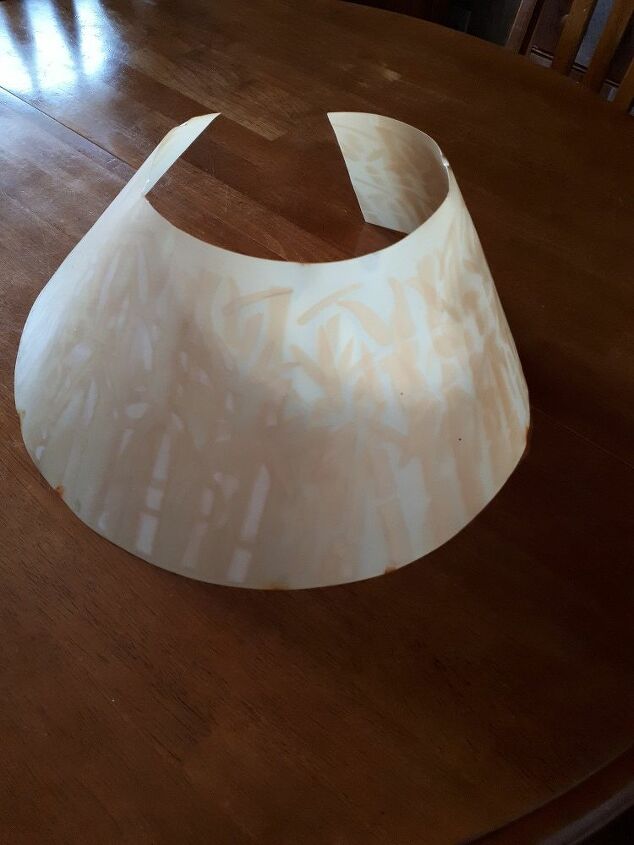
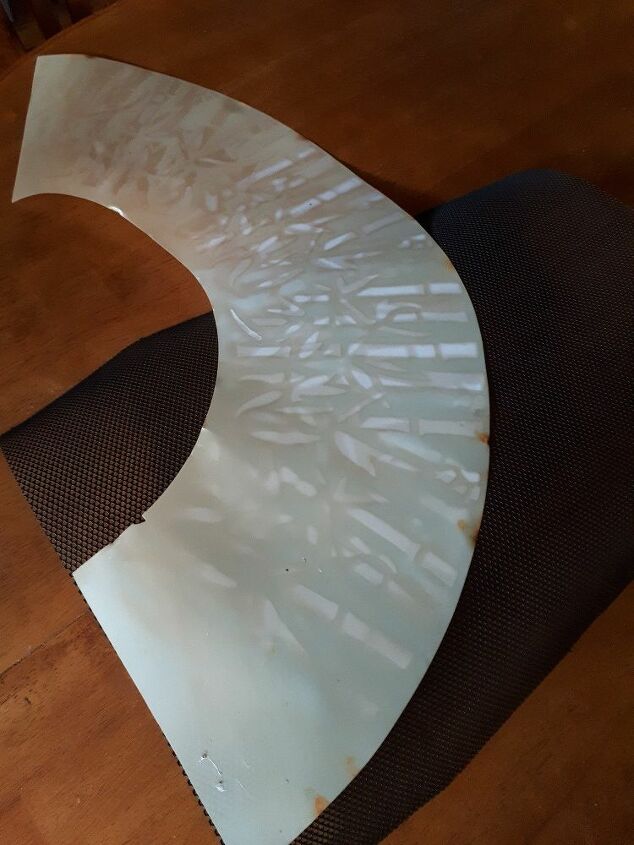
This is the plastic piece that wrapped around the shade. I will be replacing it.
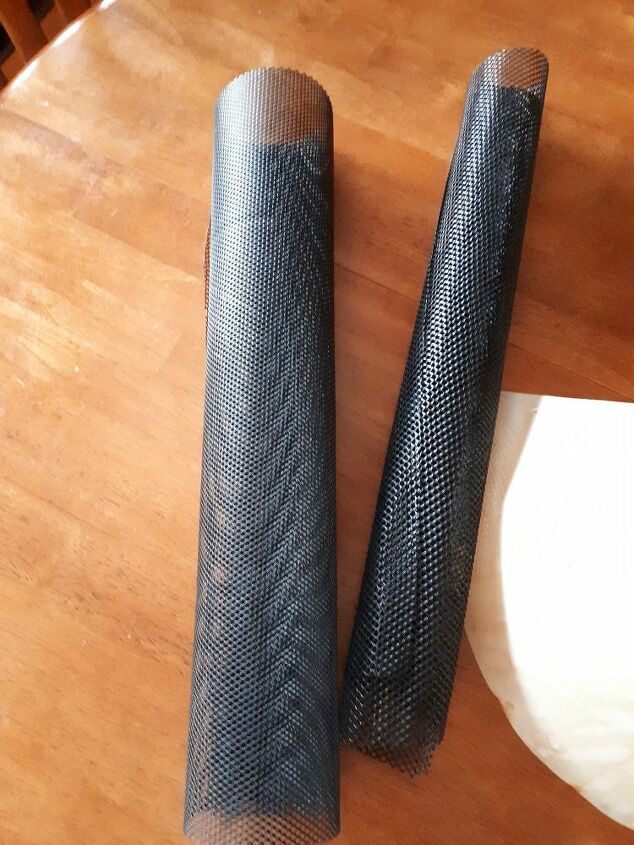
I will be using this mesh garden fencing to create my new shade.
To cut I laid the mesh fencing down and placed the old one on top and cut around it. I was using left over pieces so I had to cut two and piece together.
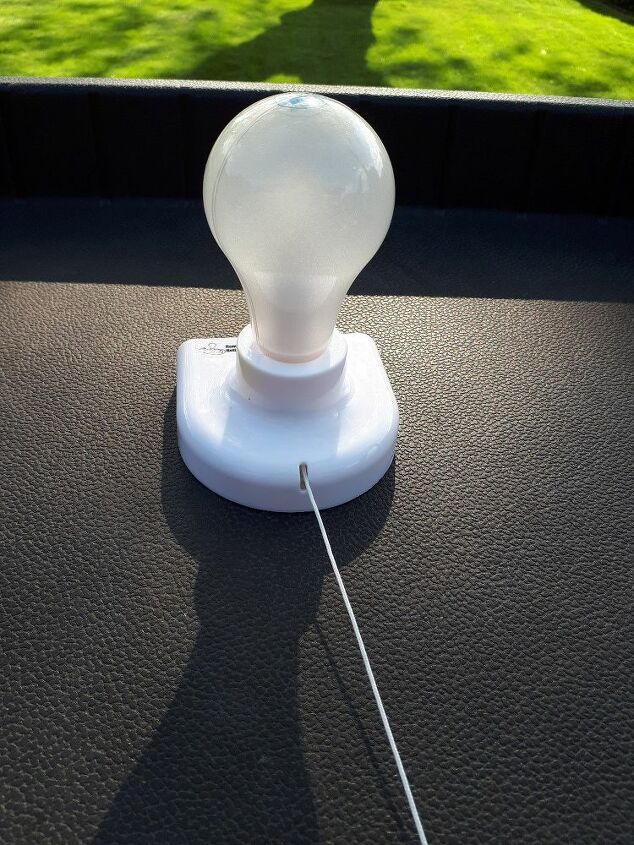
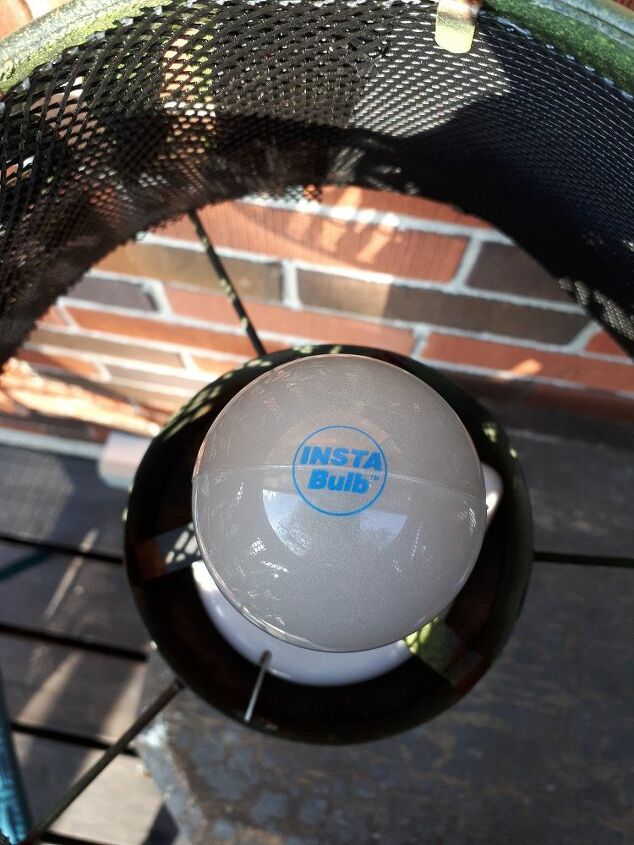
Here is the light I am replacing for the solar light. It is battery operated and has a pull cord .We used it previously in a closet where there was no light . I placed it on the base of the lamp and secured it with the clamps attached to the base that held the old solar light.
Here it is in place. Next I took my mesh and wrapped it around the inside of the shade using the clips to attach in place.
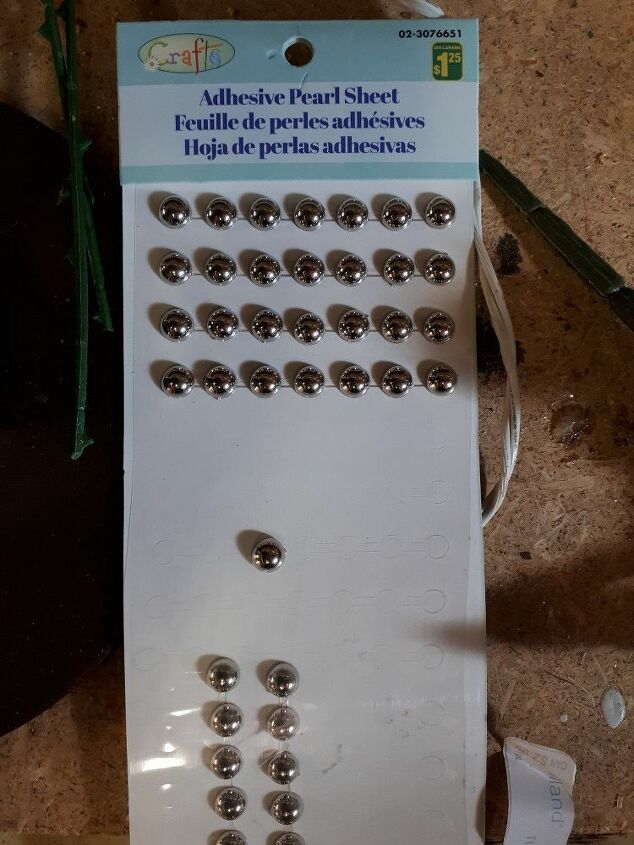
I wanted to add a little more detail to the shade and opted to use these self adhesive pearls in a silver color. I used a glue gun to attach them. Going around the top and bottom of the shade.
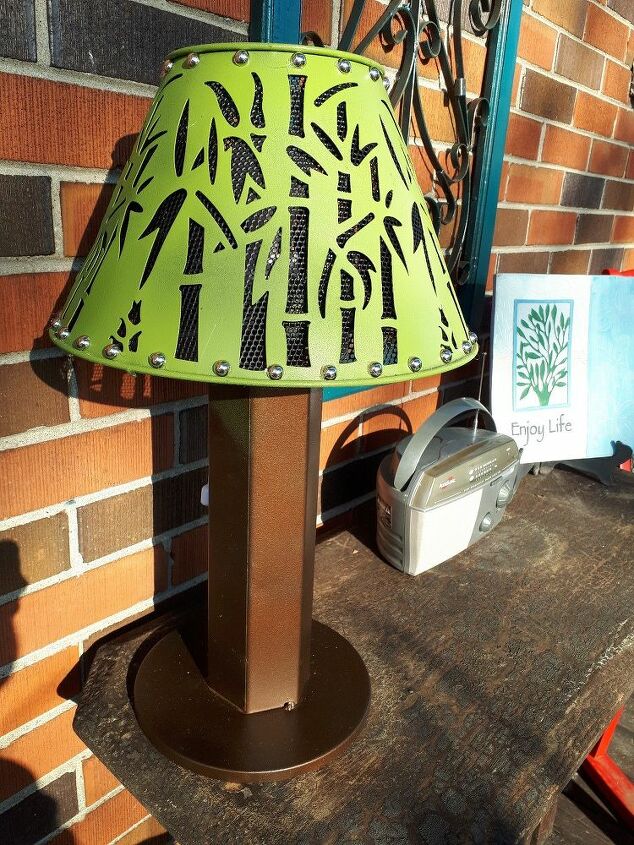
So here it is all finished. I love how it turned out and I am happy I can finally use it again.
This project cost me absolutely nothing to make as I used stuff I already had. Gotta love projects like that.
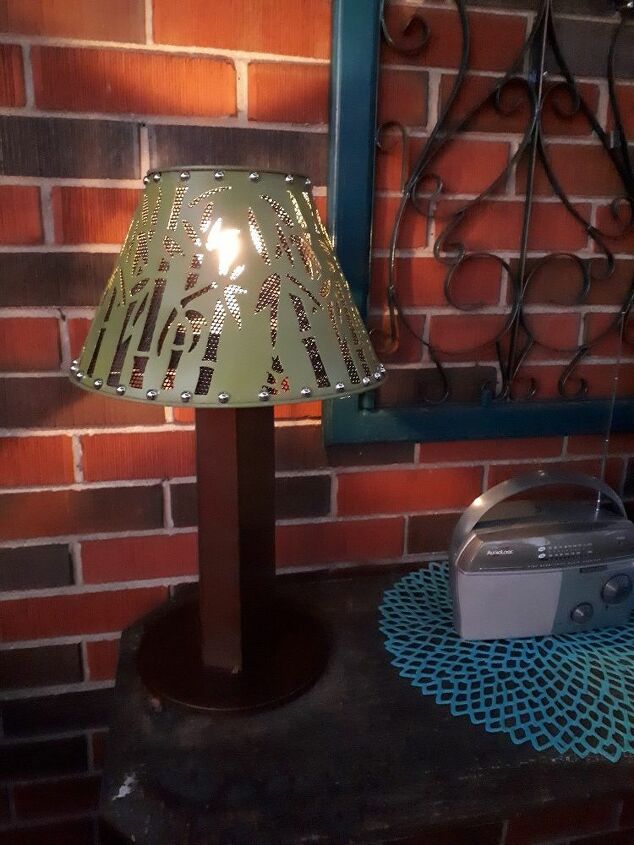
Here it is lit up at night.

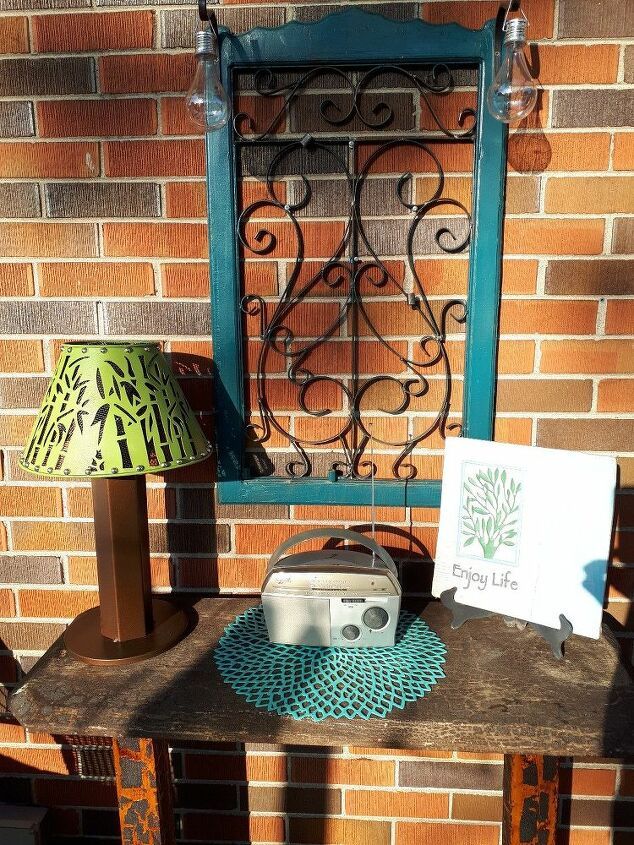
Perfect for sitting out at night on my deck.
Resources for this project:
See all materials


Comments
Join the conversation
-
I was researching something like this lately and now I feel empowered. Thank you! It looks so great!
-
I love it!


Frequently asked questions
Have a question about this project?