


Gold Leaf Ikea Hatten Table Hack

The best part about our new home is the back alley. Not only does that mean we have back access to our garage, where we do most of our work, but people use it to get rid of old junk (new junk for us!). Because it’s not on a main street, we get first dibs on all that garbage just waiting to be up-cycled!
We came across this Ikea Hatten side table, it was filled with murky water and the legs were rusted up. We had been searching for a side table for Cs nursery and this was perfect.
We really wanted a flat table, so we’d need to fill in the empty space to level it out. We love the aesthetic of wood and we already wanted to add a bit of gold interest to match C’s room aesthetic, and this is what we came up with!
First thing first, this table needed to be cleaned! Like heavy-duty plastic gloves, and multiple washes kind of cleaning.
So this is what we started with:
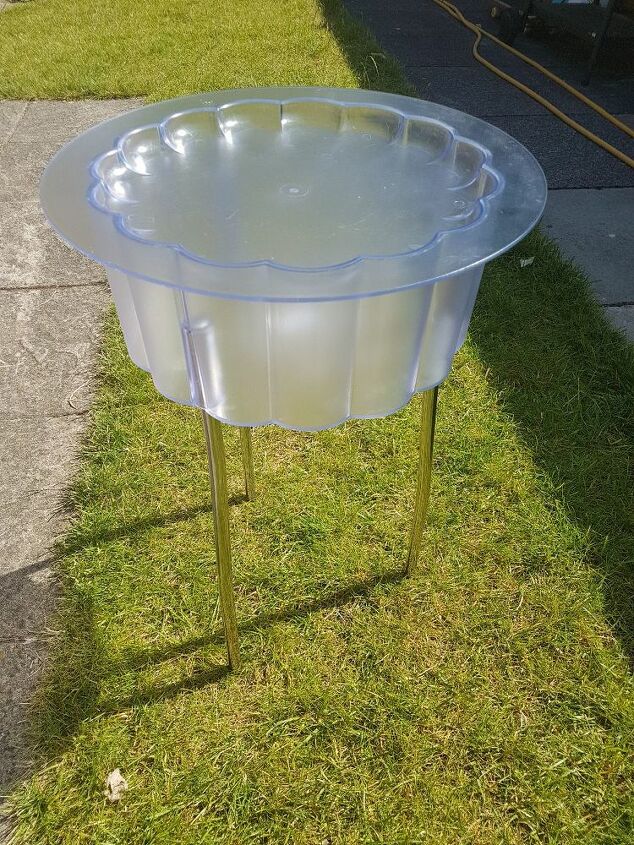
Sorry all, we forgot to take a before picture so we just got this off the internet. Use your imagination and imagine it was dragged through a swamp: dirty, yellowed and with really rusted up legs.
After it was all clean it was time to disassemble…..and clean some more.
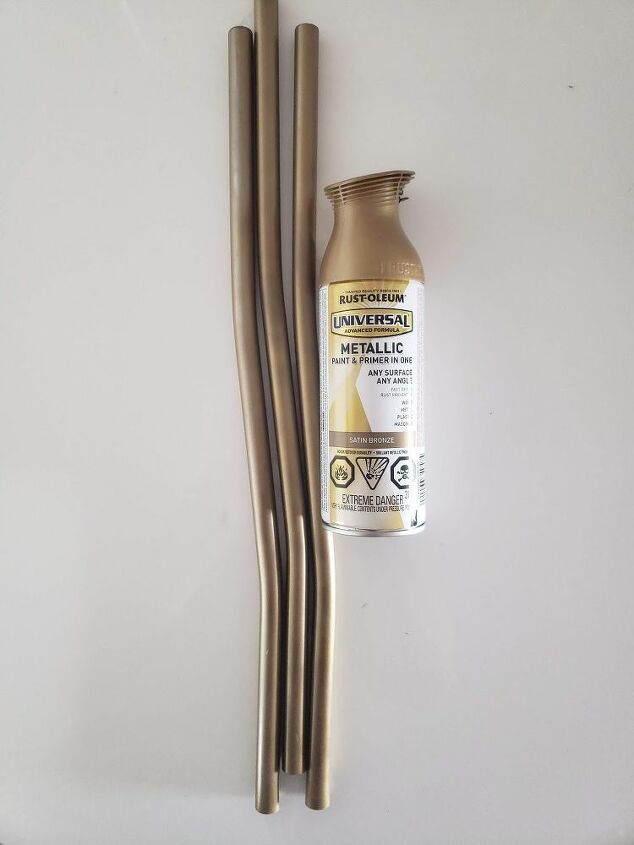
Once all the pieces were clean, we started on the legs. We had to get rid of the rust first before we went any further. We could have painted over it but we wanted this table to last. Heres a link to how we got rid of the rust
Things you will need for this project:
- A Hatton Ikea table (or another table with a similar style)
- Spray paint for legs and base- We used Rustoleum on the legs and chalk paint on the plastic top
- Gold leaf sheets
- Epoxy Resin
- Linseed oil and soft cloth
- 1” thick wood
- Gorilla wood glue
- A disposable container to mix resin in (we used an old plastic wipes container)
- Wooden paint-mixing stick (usually free from your local hardware shop)
- Mask
- Gloves
- Protective eye wear
- A level
- Jig Saw
- Sander
- Clamps
- Something heavy (we used a brick)
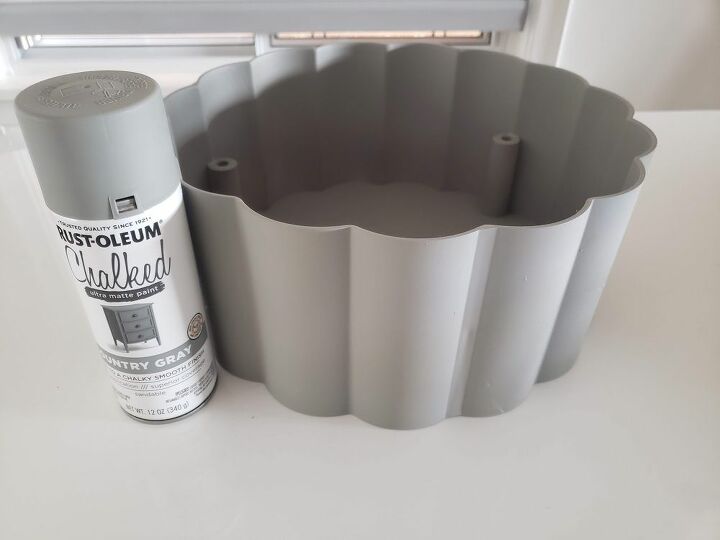
We then sprayed the top of the table, making sure to take the top off and spray inside too. As its transparent, we wanted it to look good from the inside and outside.
Now to for the real work! We wanted to add texture and interest to the top of the table while levelling it out.
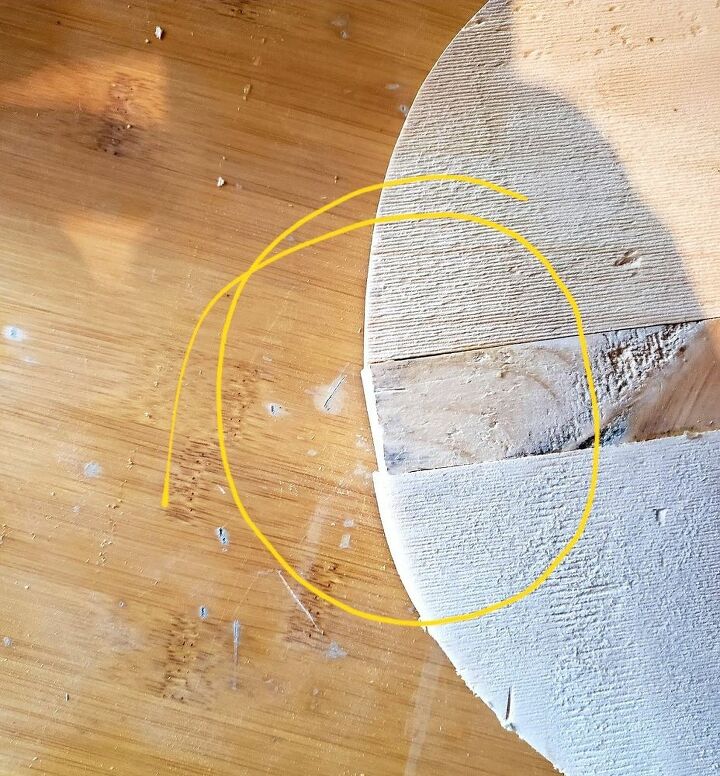
Firstly we had some extra scrap wood from our squatty potty (add link) projects that were already in rounded pieces and 1” thick which is the exact depth we needed to fill. We measured the inside of the opening of the table, and used that measurement to determine the size of the piece of wood needed. We ended up using 2 half circles and a centre piece to make the perfect shape. We prefer to use scraps but if you have a solid piece, you can use that instead of these extra steps.
We used gorilla glue and clamped the 3 pieces together and waited 24 hours to dry fully.
Once dried we clamped the wood circle to our work bench and used to jig saw to smooth out any imperfections.
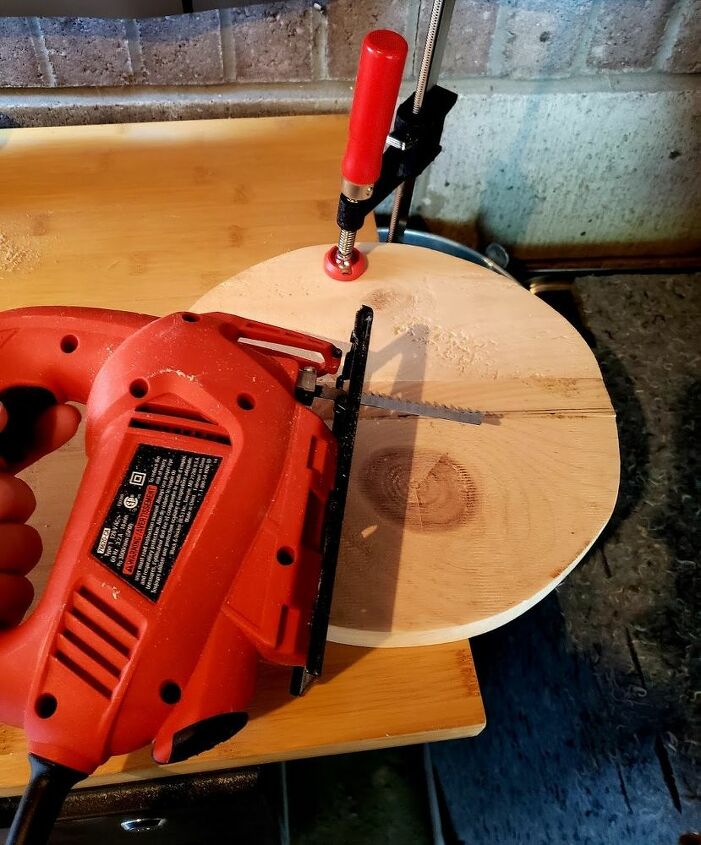
Once it was a smooth circle, we kept the round clamped and sanded the surface to smooth out the side that would be exposed.

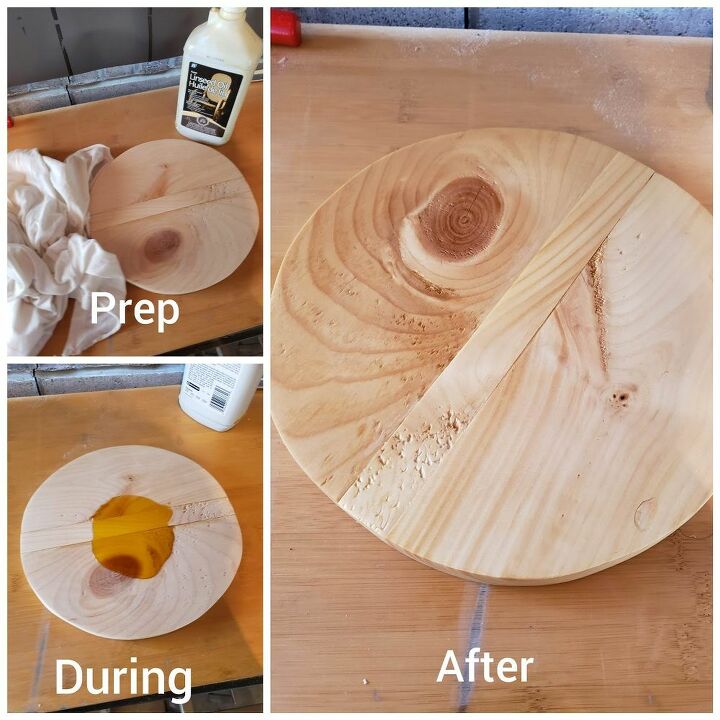
Once smooth we applied some Linseed oil with a soft cloth to brighten the wood back up and bring out the knots, texture and imperfections that make wood so beautiful!
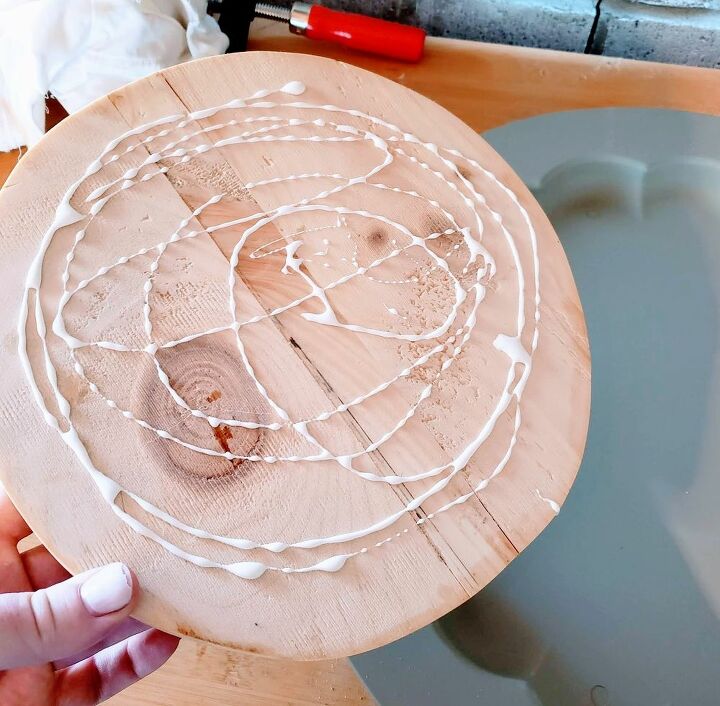
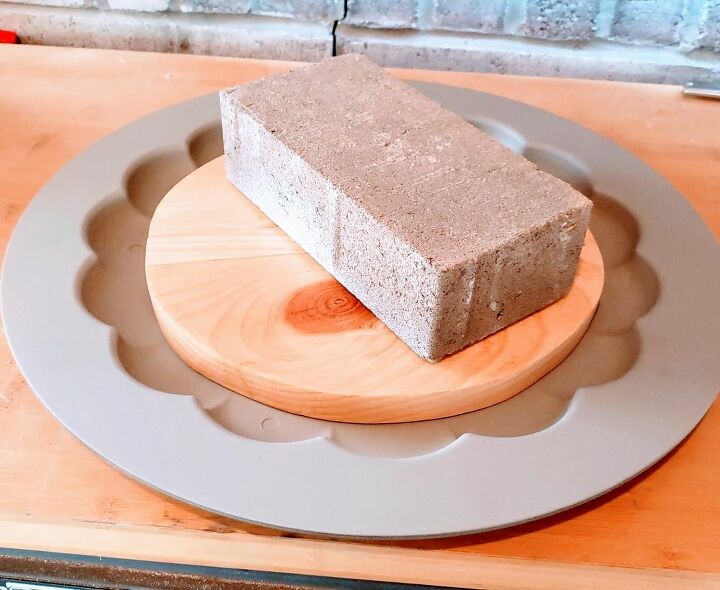
Once the circular piece of wood was all polished up we applied a generous amount of gorilla glue to the bottom and placed it in the centre of the table top.
We put a brick on top so it dried flush and in place.
Once fully dried, we made sure to clean out the top of any debris that had settled over the 24 hours we let dry.
Now for the resin, this was a perfect project for our first resin pour. Because it was to have gold leaf inside it we didn’t have to worry too much about bubbles and keeping it clear. Before you start, please wear gloves, a mask and protective eye wear.
We still mixed 1 to 1 (follow directions on the bottle) and mixed for 3 minutes very slowly with a wooden paint-mixing stick. You don’t want it frothy!
Once its mixed you can pour it into the empty space first, and once filled, pour some on top of the wood and rim of the table to make sure the table top is levelled. You have around 15 minutes to play around before it starts hardening so no need to rush this.
Now to add the gold leaf, you can add any amount you like depending on your desired effect. For us, we wanted to slightly blur the lines created from the wood so we focused mostly on that area. We ripped and sprinkled the gold leaf over the resin and used a the wooden paint-mixer to move them around until we had them in the positions we wanted.
Let the resin dry for at least 72 hours before you start to use the table.
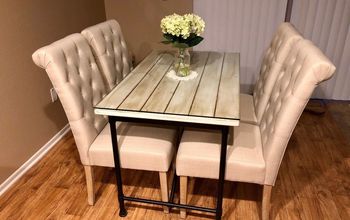
Enjoy!
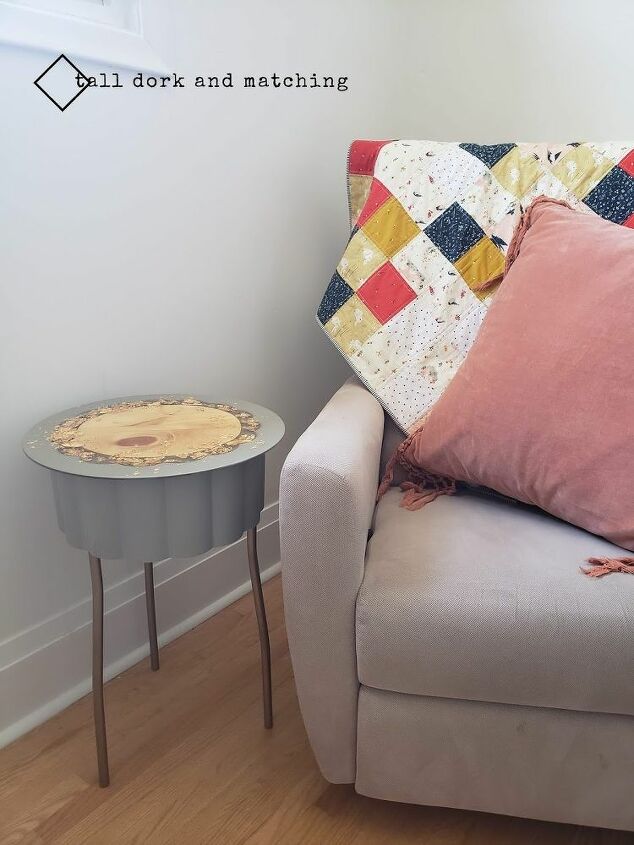
After

Resources for this project:
See all materials


Comments
Join the conversation
-
Love this,great job!
-
What a cool table! Love the makeover ( i love resin) but I love that table before and after lol You did a really great job with the gold leaf too! Classy


Frequently asked questions
Have a question about this project?
How has the chalk paint on the clear plexi held up? Does that part of the table get touched at all?