


Hand-Painted Detailing That Looks Like a Stencil
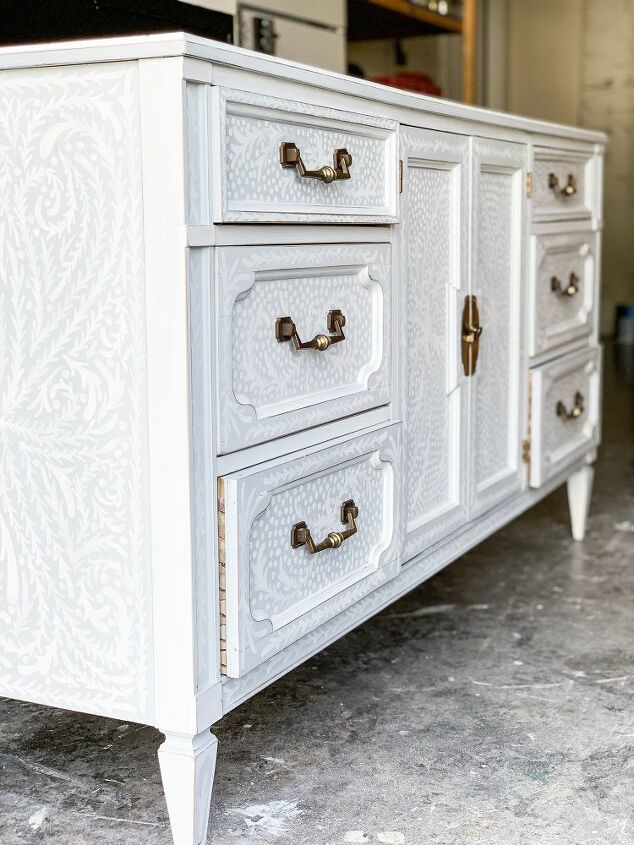
My favorite pieces of furniture to work on are dressers and buffets (or Chest of drawers.. whatever floats your boat). They tend to be pretty simple makeovers with little to no surprises and I can USUALLY get them in and out of "To-do" pile pretty quickly. But every now and then I'm a glutton for punishment and decided to complicate things a little for myself. Today I am showing you how take a normal buffet and turn it into a truly unique piece with hand-painted detailing that looks like it was done with a stencil.
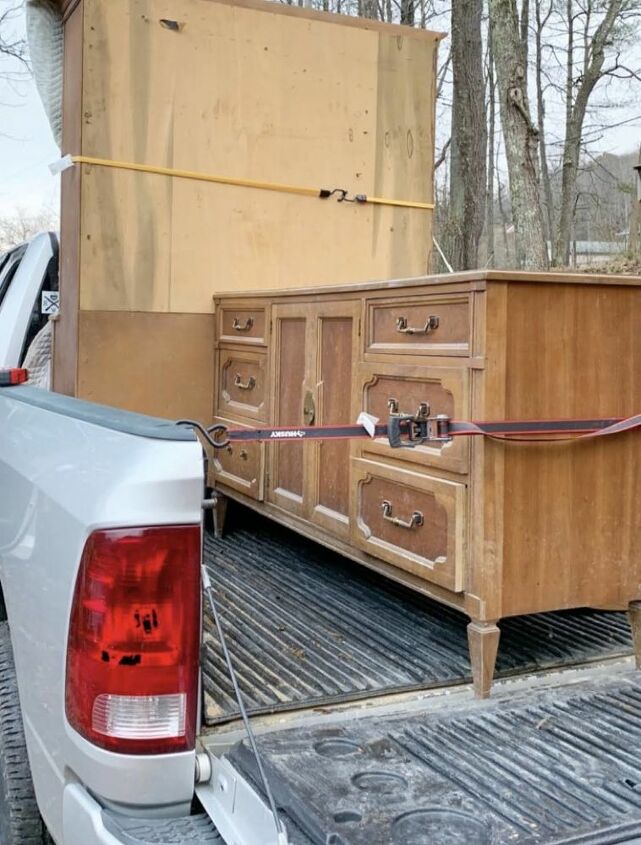
My victim 
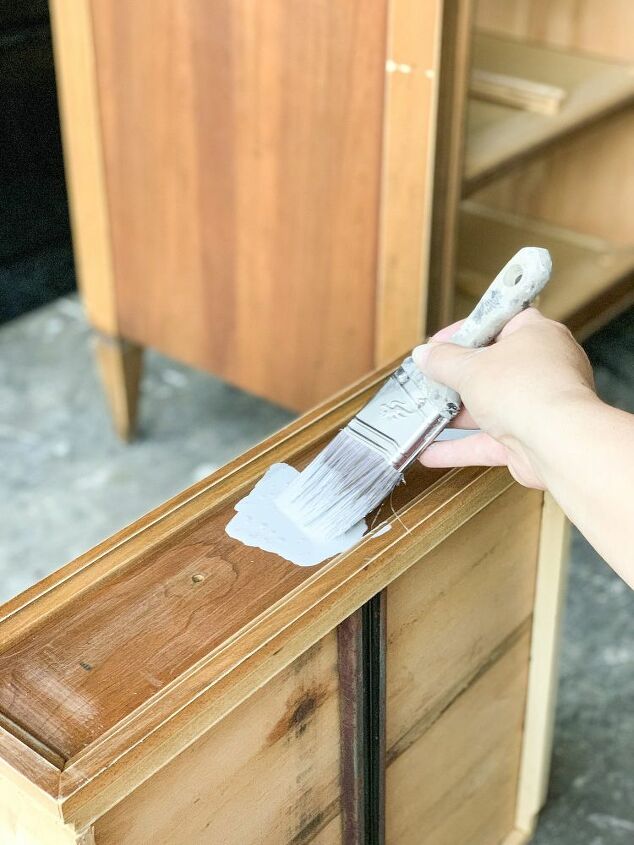
I applied a base coat of Miss Mustard Seed's Milk Paint and lightly sanded so it was a smooth surface to work on.
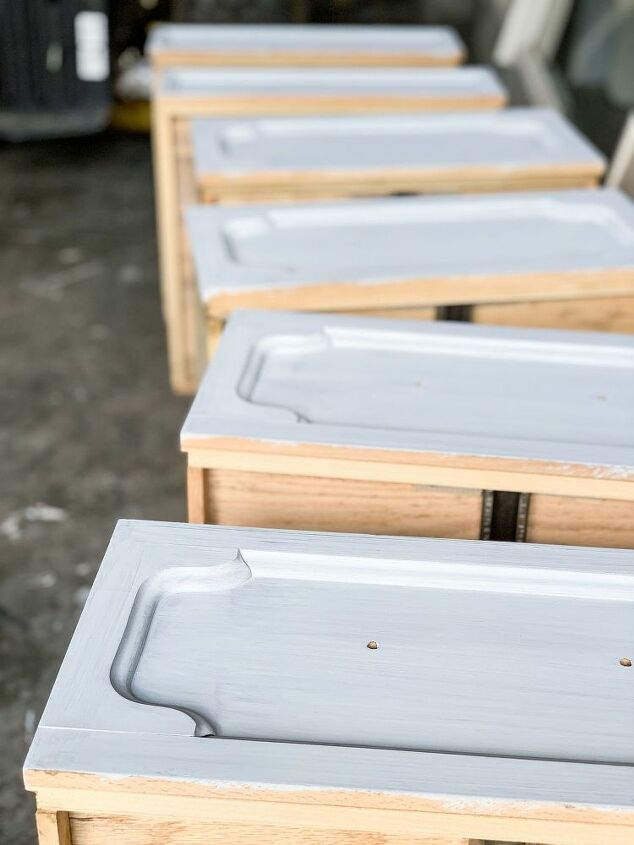
About 3 coats for the base.
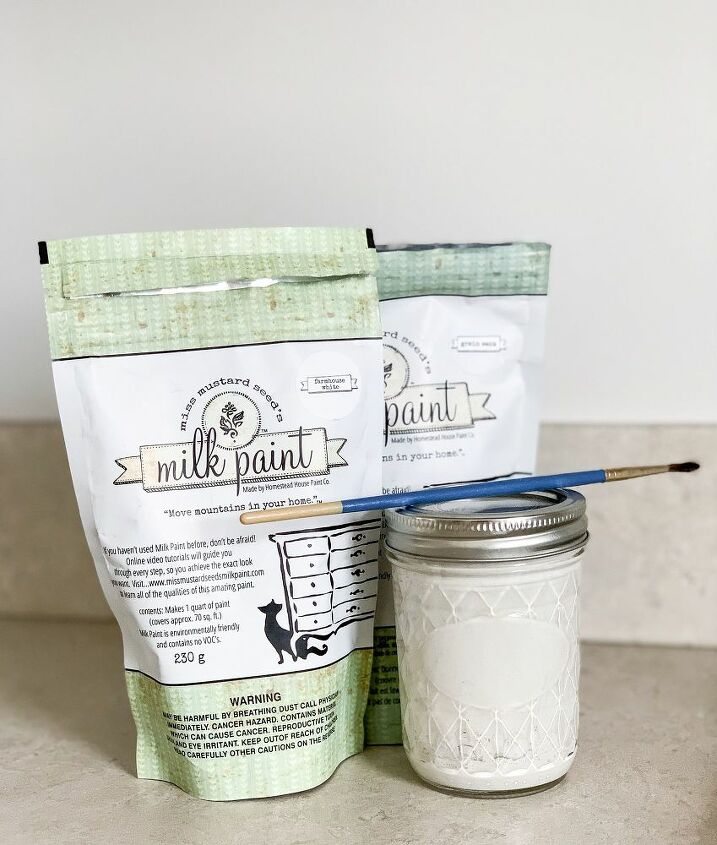
I mixed up combination of different whites of Miss Mustard Seed's Milk Paint for the detail work.
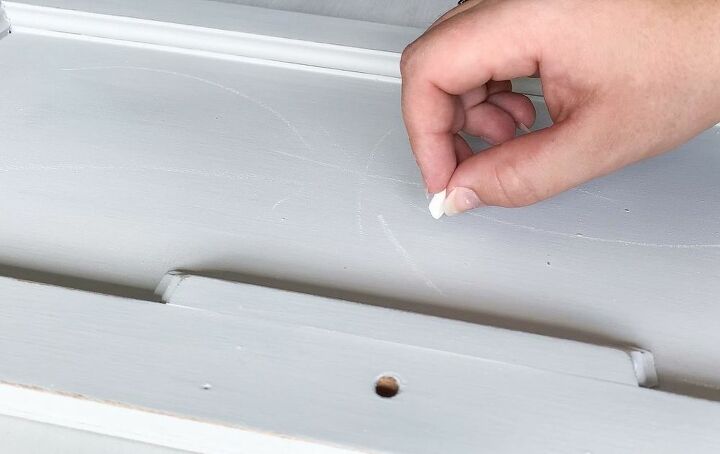
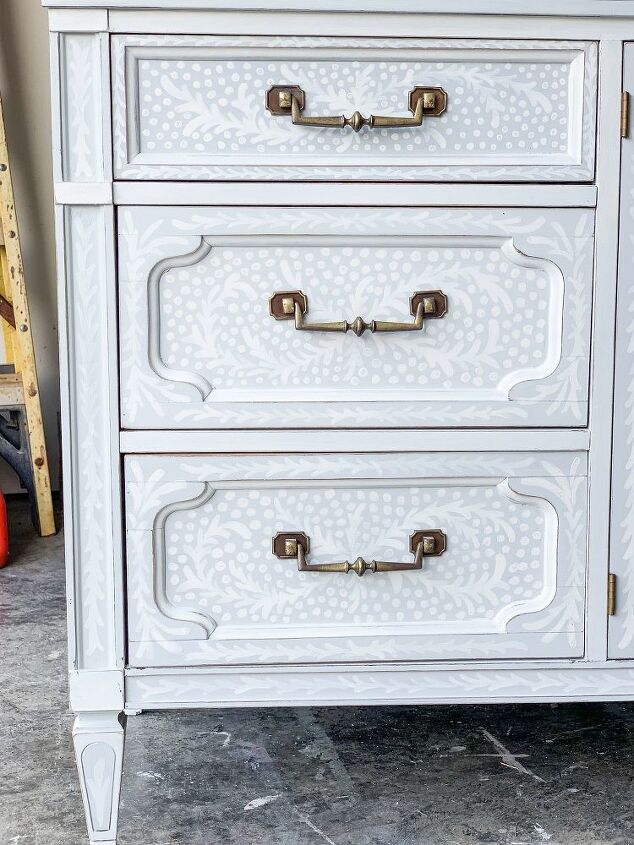
I free-handed some lines and twists with some chalk before starting on the most time consuming part.
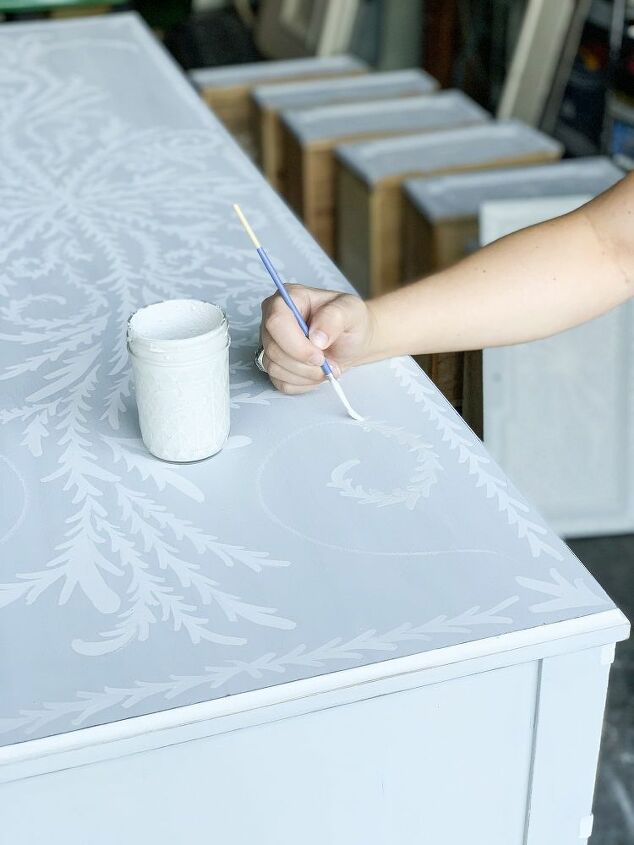
I used a small, art brush and with small strokes, painted little petals and buds along the lines and swirls.
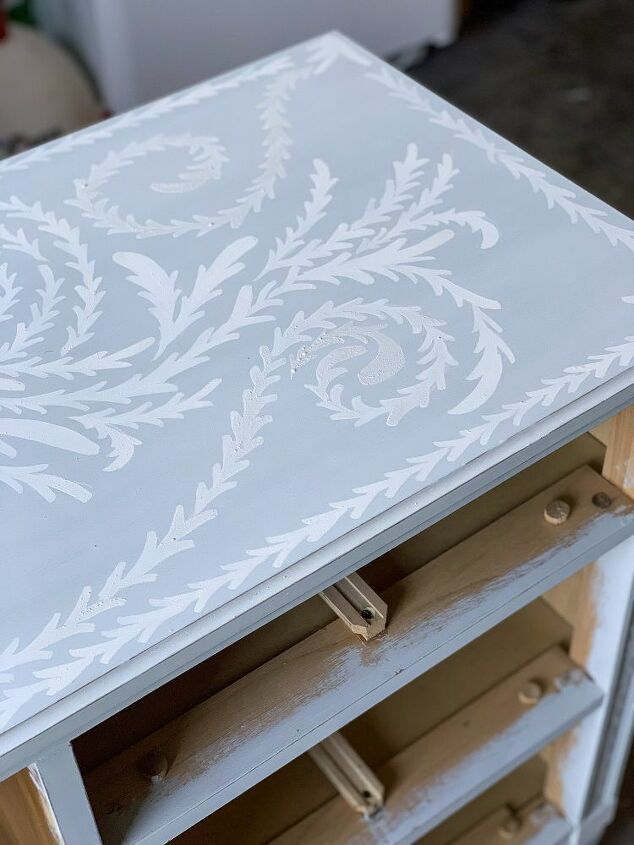
I handled this project in bite-size pieces. I worked on it when I could and I started with one drawer and completely finished it and than copied the other two to look as close to the first as possible. I used that same method for the rest of the piece.
The milk paint can have a little texture to it because it is mixed from powder soooo....

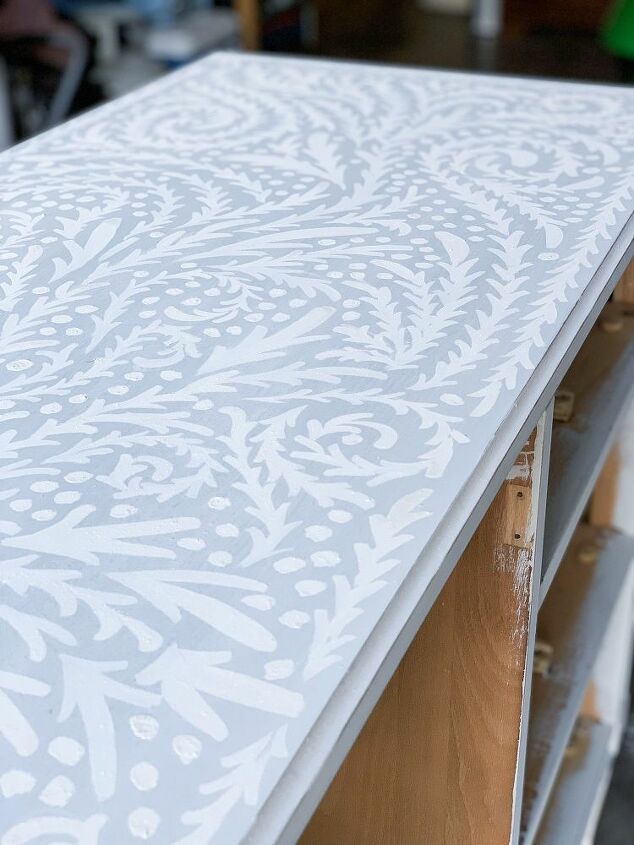
I then gave the entire piece a light, LIGHT, distressing with 120 grit sandpaper to smooth everything out and keep the piece from looking too new.

As always, I finished the dresser with one coat of Minwax Polycrylic Protective Finish in Matte.
I've done this technique several times before and even though it is VERY time consuming it is always one of my favorite things to do and I love how it looks when it is done.

From start to finish this piece took every bit of 20 hours to complete. That includes: prepping the piece, base coats, detail work, distressing, protective coat, fixing the drawers & attaching a new back (thank you Kyle).
Totally understand if this one is a little overwhelming for ya to tackle but maybe I was at least able to take some of the guess work out of it for you! If you would like to see more pictures you can check the project out here on my BLOG or Checkout the video on YouTube HERE.
insta: amandasmercantile
Thank you!
Resources for this project:
See all materials


Comments
Join the conversation
-
Magnificent.
-
Thank you for sharing! It is fantastic, even if it looks a little intimidating 😉
But, hey! It’s paint and you can easily start again, right?


Frequently asked questions
Have a question about this project?
I used a stencil on part of an old sewing machine table. I think I could start with a stencil, and add lines and flourishes from there. I used different grades of sandpaper, but how do you get a very light touch on the sanding? I’m good at distressing, but I think my sanding might be too forceful. Any tips? Jewell
Why has chalk paint become so popular?