


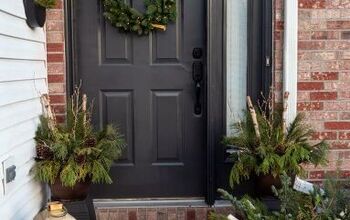
Updating Your Skinny Porch Columns
If you love this project, grab your quick start DIY guide & subscribe to our blog!
*Thank you to DAP Products for sponsoring this project*
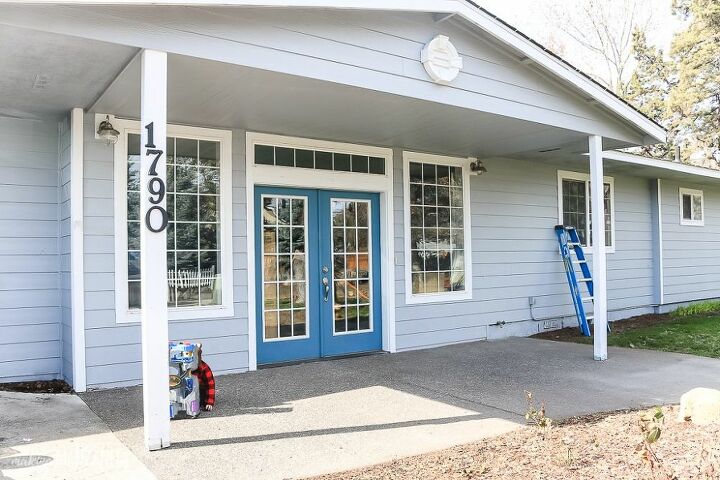
Looking to add curb appeal to your house? Give your skinny porch posts a makeover! This tutorial will show you how to beef up your boring porch posts and add column covers for some major curb appeal!
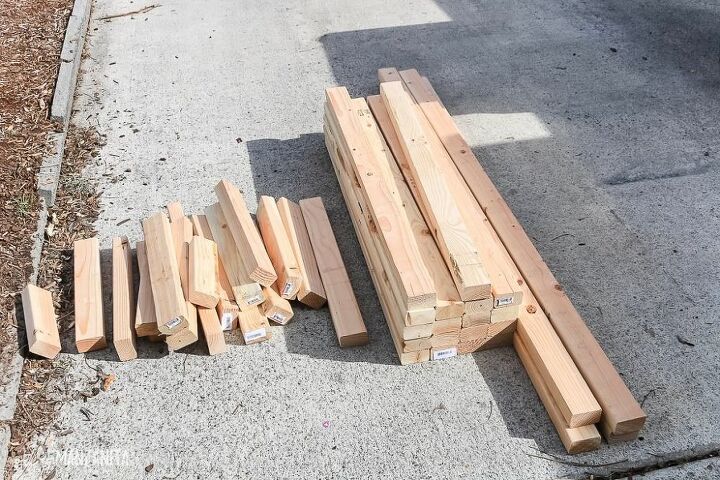
1. Precut all the 2×3 pieces before we got started, which made things go pretty quickly.
2. Apply wood preservative at the bottom of 2x3's, but if you are using pressure treated 2x3s for the interior framing of the porch posts, you don’t need to do this.
Warning, this stuff is pretty strong smelling so wear and mask and be prepared to let it sit for a bit before working with it.
3. Square up porch posts. If your porch posts are already square, you can complete skip this step.Our porch columns were more of a rectangle shape, so we added some 2×3’s running along both corners of the back of the porch post to square everything up. Once the porch posts were squared up, they measured approximately 6×6 inches.
4.Using a framing nailer and galvanized nails, add siding by nailing it directly into the porch posts. Be sure that there as at least 1/4″ gap at the bottom to avoid ground contact.
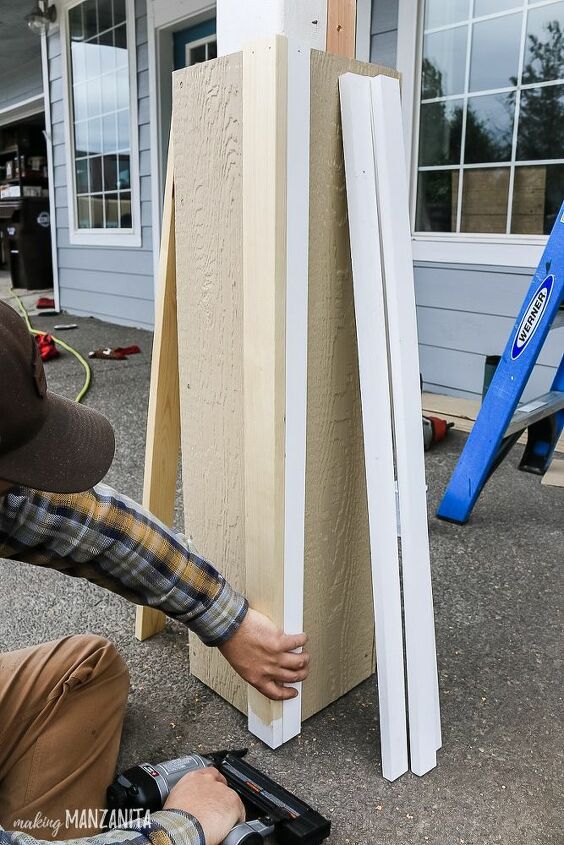
5. Again using your handy brad nailer, add all trim to the corners of the porch columns being sure to hold them together flush at the corners and up off of the ground at least 1/4″.
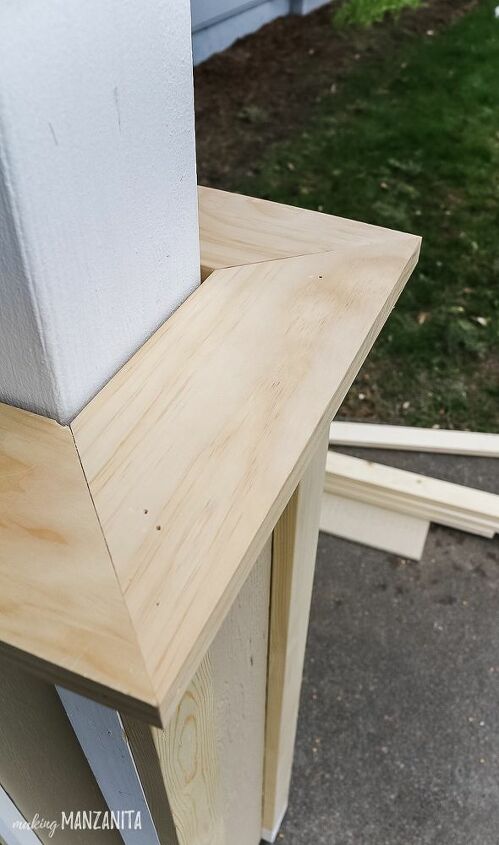
6. Using 45-degree angles in the corners, cut & add the top platform to the bottom portion. We used nails angled in on the inside edge of the wood pieces into the porch posts. Then we also nailed them together at the corners where the 45-degree angles met.
7. After the bottom portion is done, you can move up to the top. Repeat the same steps of adding the siding to all sides of the porch posts & trimming it out on the corners and top/bottom.
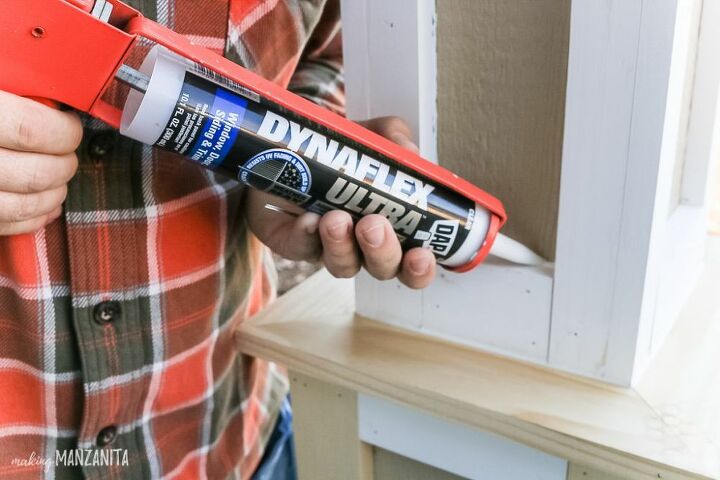
8. Since this is an outdoor project, you definitely want to make sure you’re working with a great sealant. We used DAP’s Dynaflex Ultra, which is an advanced exterior sealant.
9. Prime any surfaces that aren't already primed.
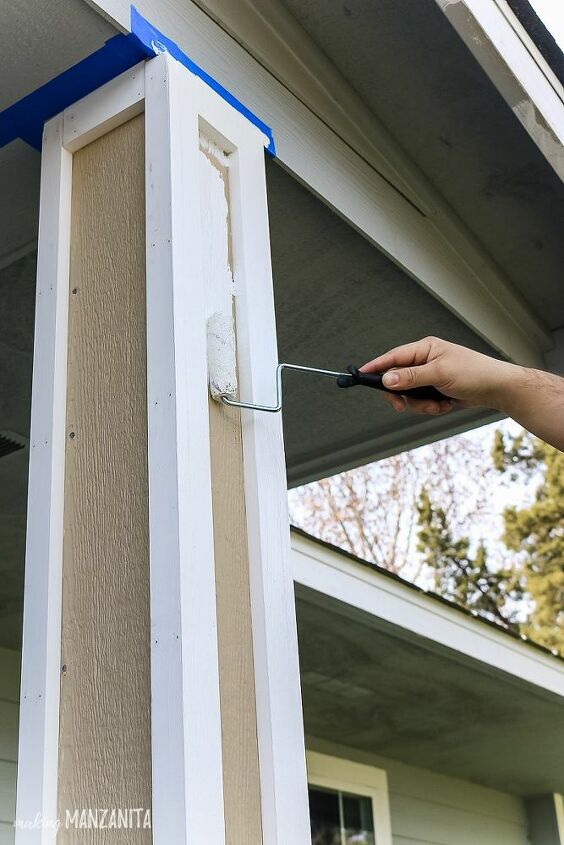
10. Last step is to paint the porch posts with exterior paint. This will not only add color, but again seals everything. We used white exterior paint that matches our house trim. We did two coats.
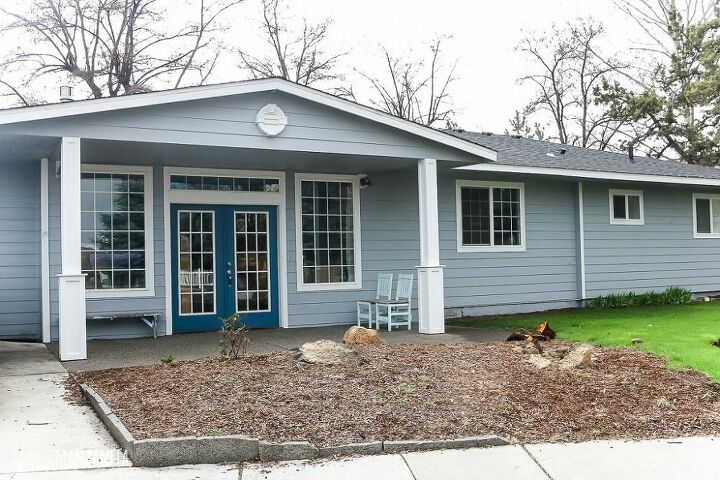
These column covers were so easy to DIY and they were pretty budget friendly too. They cost us about $300 for supplies.
Resources for this project:
See all materials


Comments
Join the conversation
-
What a difference, you did a great job.
-
Great look.


Frequently asked questions
Have a question about this project?
Terrific look! Where are the house numbers? I was admiring them and wished I had done that size or bigger but can’t find any...
Why didn't you show a picture of the finished project?