


Bed Transformation

Just when I thought I was going to buy a new bed, my husband has a “great” idea that I should try to give our bed a makeover before buying a new bed. I knew I wanted a tufted bed and so my DIY Tufted Bed was born! This has been one of my most fun and favorite DIY projects. I hope you like it as much as I do!
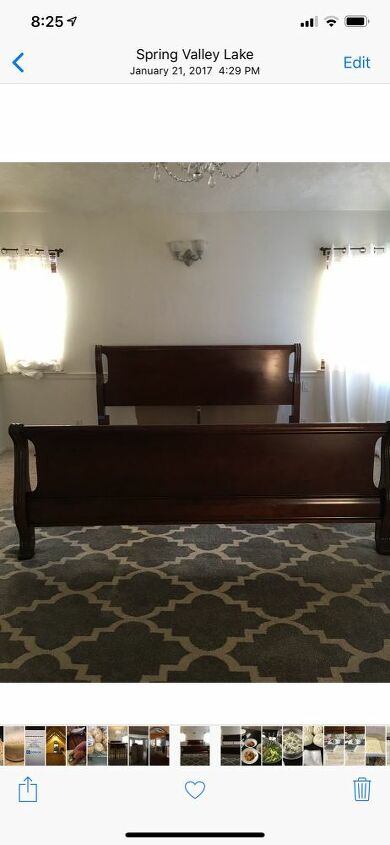
Meet my old cherry wood sleigh bed, it’s over 25 years old. I knew it was time to buy a new bed because it was so scratched up and worn looking. I was getting ready to purchase a new set when my husband says, “Why don’t you try doing something with it, paint it or something”. “SOMETHING” 😉 I knew I wanted a tufted bed so I decided to give it a try and see if I could manage to give it a nice tufted makeover. It turned out that I loved it and this has to be one of my favorite DIY projects to date 🤗 Let me walk you through this transformation.
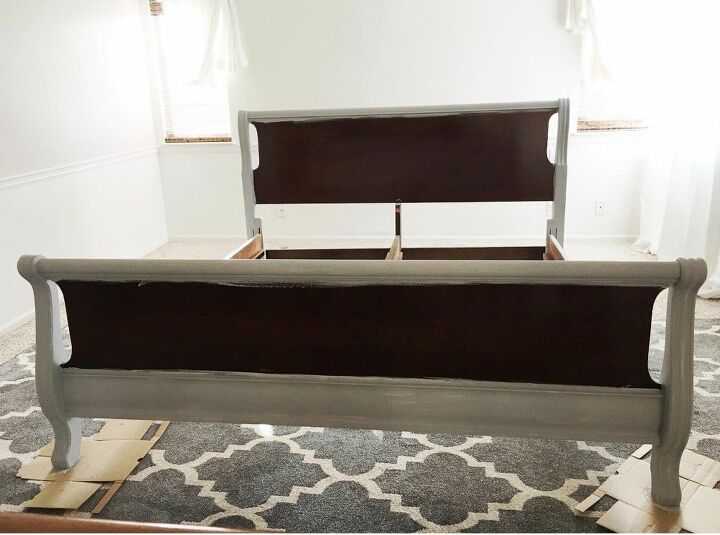
I used Annie Sloan old white, Paris grey Annie Sloan Clear Wax and Annie Sloan Dark Wax. I first painted the areas of the bed that would not be covered in fabric. The first layer was Old White then I thinned Paris Grey to do my washing technique. If you saw my antique coffee table armoire transformation you’ll know what I mean by a washing technique. Once it was dry, I lightly sanded it to create a distressed look, then I used Annie Sloan Clear Wax over the entire painted areas. Finally, I used Annie Sloan Dark Wax to age areas that I wanted to look old.
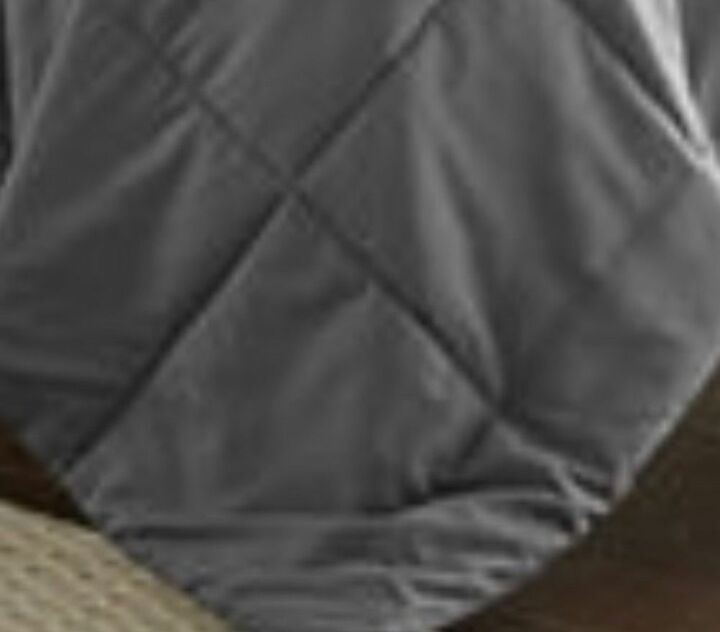
So, since I wasn’t certain how my project would turn out, I didn’t want to spend a lot of money on batting 💁🏻♀️ It’s expensive! I decided to go to Ross and buy an inexpensive comforter and use it as batting. I didn’t want it super puffy so I purchased one similar to this that wasn’t overly thick. I didn’t care what color it was because I knew it wasn’t going to show. I was going to use a different fabric to upholster it. I wish would have taken a photo of how I applied it but I forgot to sorry!!! I will try my best to explain. I used my bed as a template to cut the comforter to the size that I needed for the areas I was going to cover. I then hot glued the batting/comforter to the area that I wanted to create the tufts. After that, I did the same with my fabric, I glued it over the batting and along the edging of the bed where the batting and bed met. I only did this to ensure the fabrics were secure before I hammered my nail-heads/tacks for the tufts.
I used tack strips, they come on a spool, I call them cheat tacks lol 😂 because it saves a lot of time and it looks as if each one is hammered in. It’s great and it was my first time using it! Love it and you only need to hammer every 4 or 5th I believe. Before I started hammering away, I applied a little hot glue, laid the strips over the glue to secure them in place and hammered where I needed to.
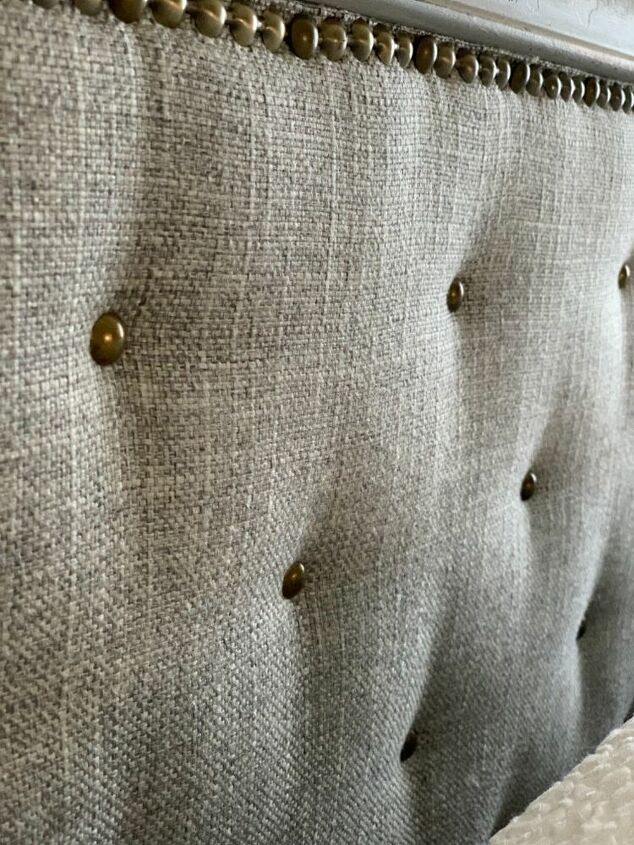
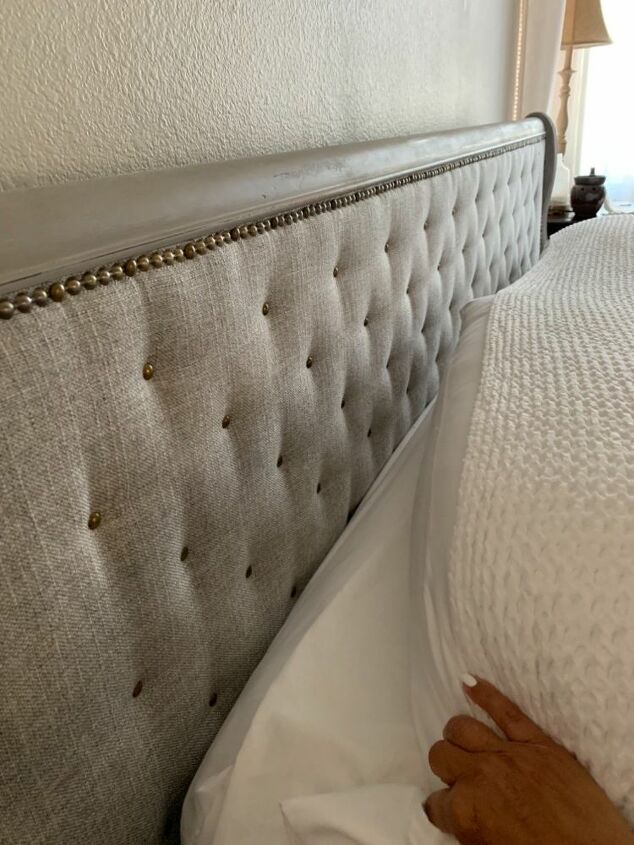
Creating the tufts was easy, I started my first row, 10 inches from the end of the head board then 5 inches apart across. The second row, I started 5 inches away from the end and 5 inches across. I alternated until I was down to the bottom. You can create as many tufts as you want depending on the width you choose to separate each tuft.
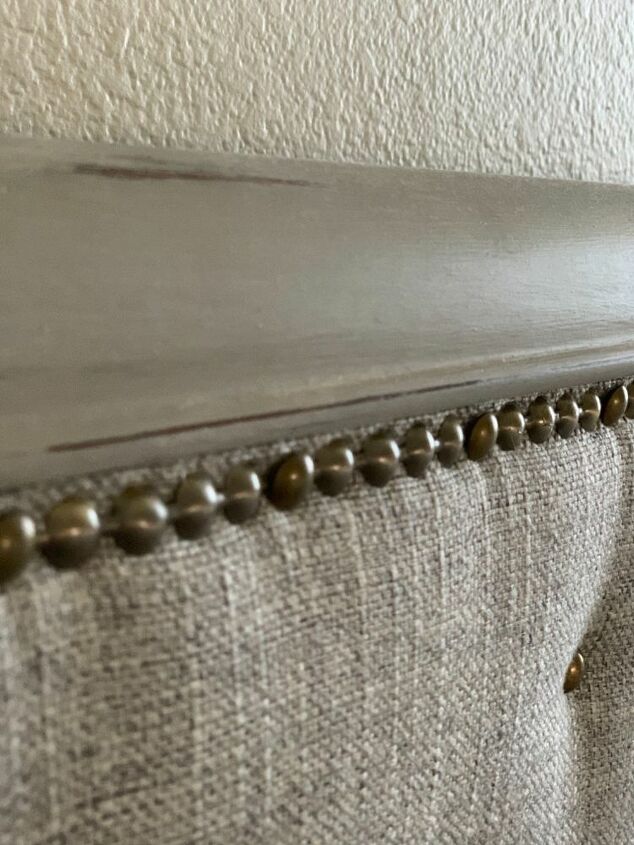
A close up of what the tufts look like.
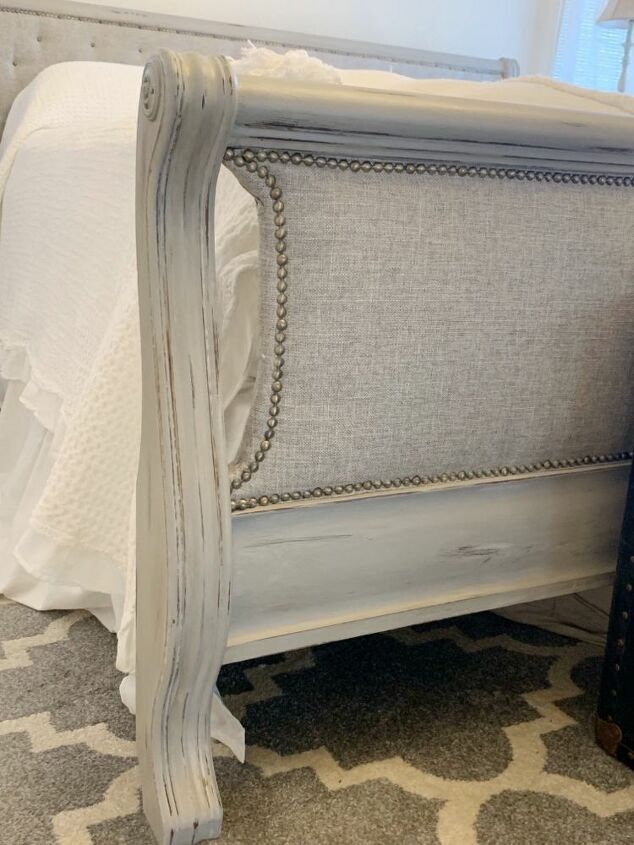
I only used the tack strips on my footboard instead of adding more tufts. After I finished the headboard, I decided I liked the footboard without the tufts. In this photo, you can also see how I aged/distressed in certain areas.
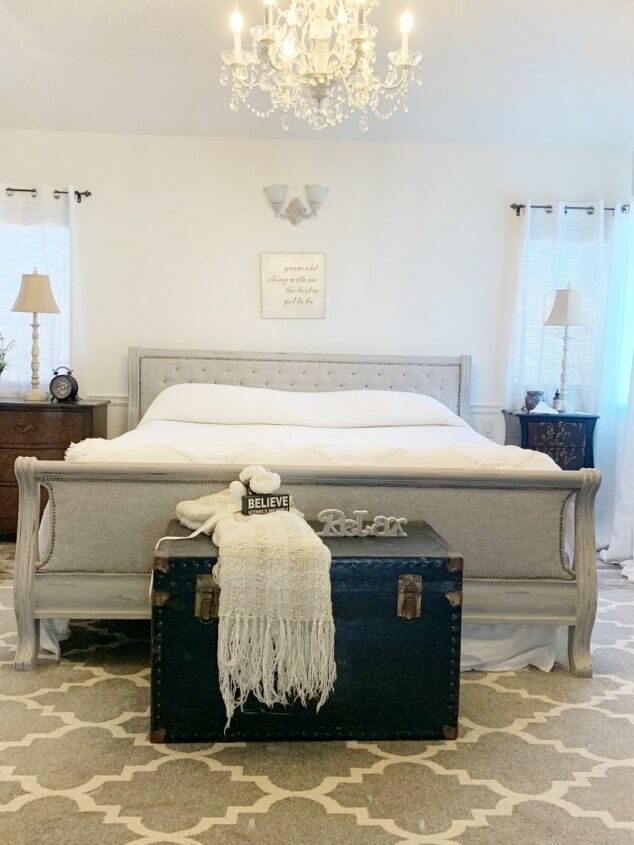
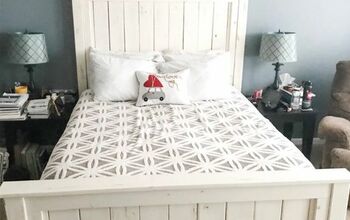
My completed tufted bed transformation and I love it! I truly was winging this project. I had an idea of what I was going to do but my thoughts and vision came about as I worked on the bed. My husband was really happy with it. So much for a brand new bed 🤷🏻♀️ If you want to see more of what I do, please follow along with me on IG and thank you for seeing my project. https://www.instagram.com/mycreativekneads/
Resources for this project:
See all materials


Comments
Join the conversation
-
Beautiful job.
-
Thanks for posting this. I purchased a four post bed at Salvation Army, but I've had in mind to add some fabric and tufting to it. So you've figured out some things I now won't have to. Lol. Great minds think alike!! 😂


Frequently asked questions
Have a question about this project?
Hello! I really enjoyed your project idea I am trying to do something similar without spending too much money. How did you attach the individual tack on to the headboard, and is the side bed rails covered with fabric?
Hello, I’d like to compliment you in a stunning transformation and also KUDOS to your wonderful husband for clearly having the faith in & the support of you!! I have the exact bed and have been wanting to do this and now you’ve given me a push to go for it. (And so glad I have lots of comforters I held on to😉). But since I’ve never painted furniture, may I ask if you sanded first? And then can you share again the exact steps of products used in proper order? I love your choice in paint color and will also get to experience my first visit toHobby Lobby.(I have no idea how much fabric you used but hopefully they’ll have an idea.) Thank you again for the inspiration and the will to just go for it!!