


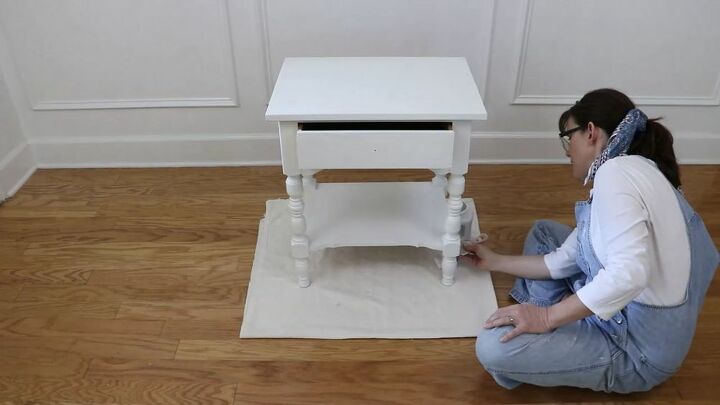
Upholstery Nailed Nightstand

If you have a nightstand that you'd like to make a statement piece, why not try adding some upholstery nails? We did just that and the project turned out amazing.
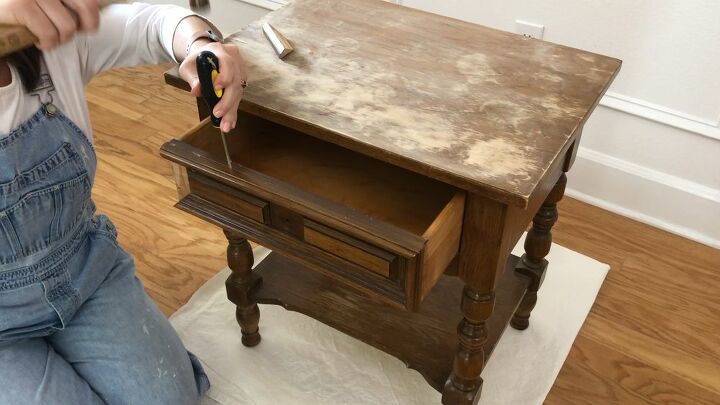
Step 1: Our nightstand had some embellishments on the face of the drawer and the first thing we did was remove them with a hammer and screwdriver. You might need to caulk and sand the face of the drawer if you are left with some uneven places.
If you are starting with a plan drawer, you can skip this step.
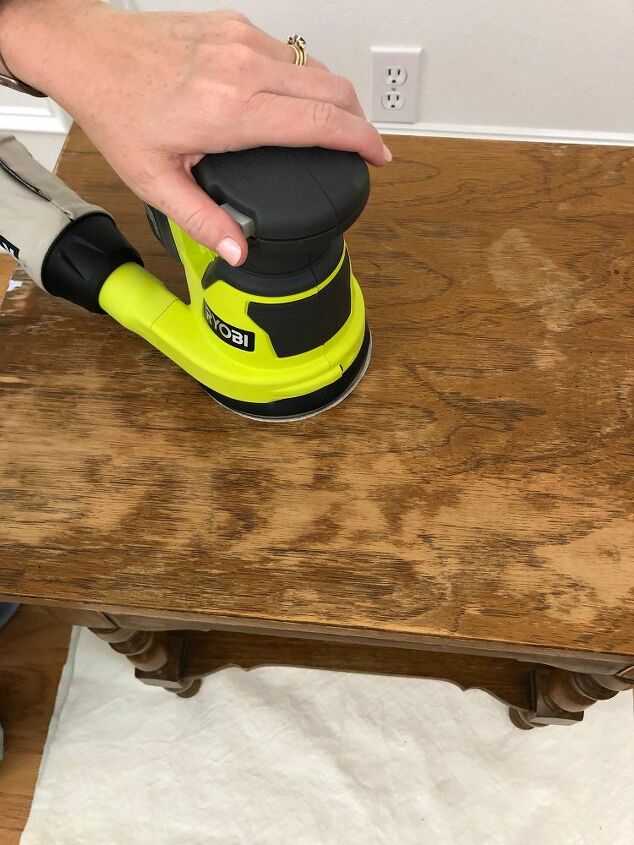
Step 2: The next step is sanding down the nightstand to remove any rough spots.
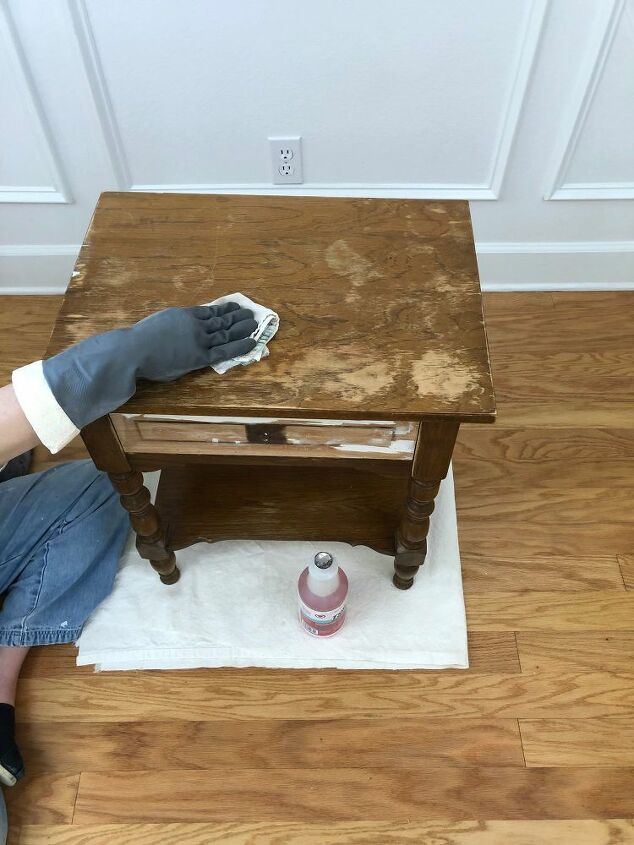
Step 3: Now using TSP Cleaner, wipe down the entire nightstand so that you don't have any residue on the piece before you paint.
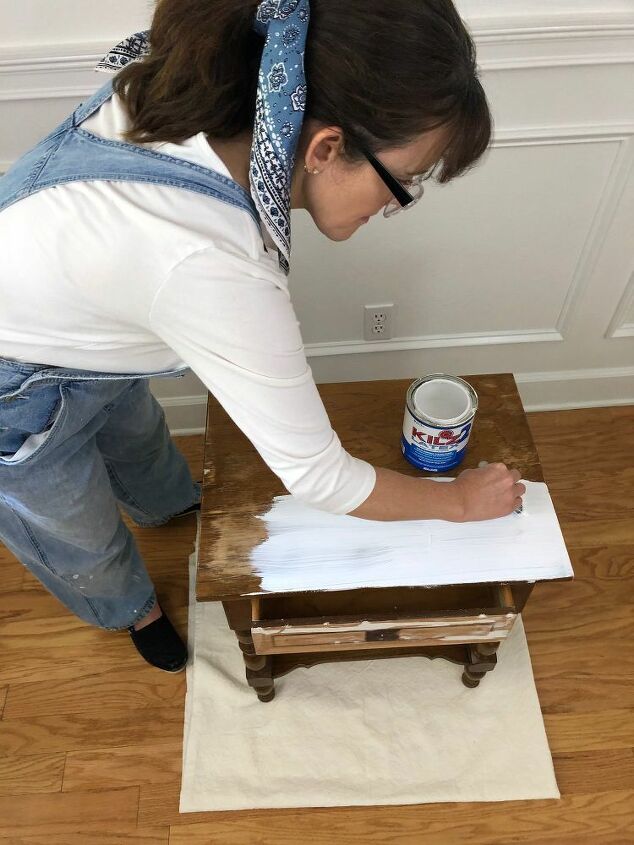
Step 4: It's time to paint the nightstand with Kilz Primer paint. This gives the piece a great even base to start with.
Step 5: You can now paint your nightstand whatever color you'd like. We used a white acrylic paint to give the piece a nice clean look.
You might need 2-3 coats, you judge on the look you'd like to create.
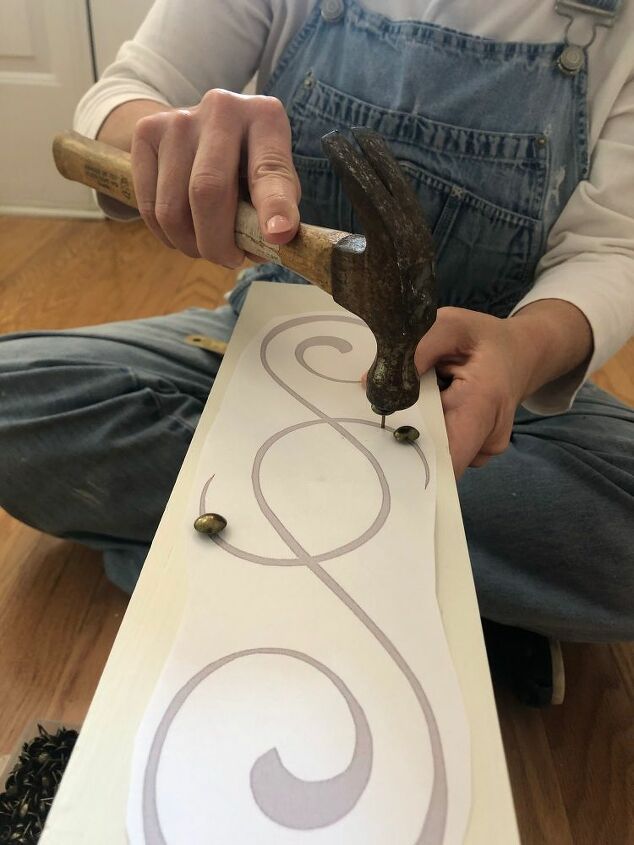
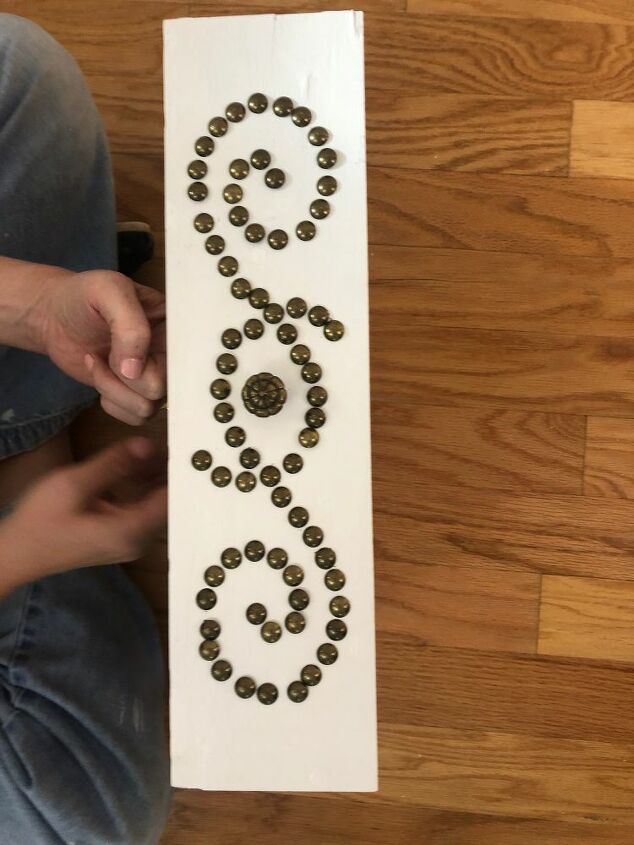
Step 6: We printed out a stencil and laid in on the face of the drawer. Take upholstery nails and nail them in one at a time, leaving just enough room between each nail.
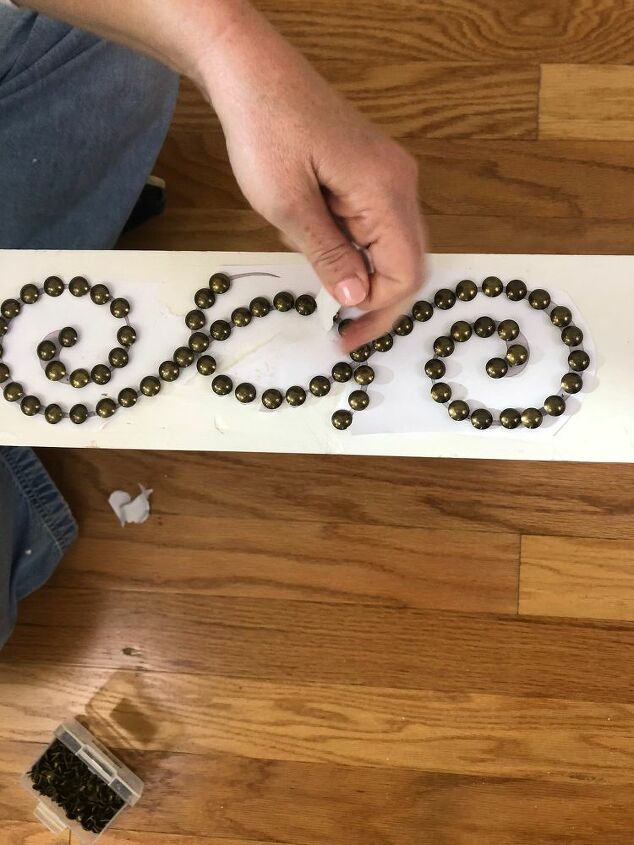
Step 7: Once you have all of your nails in, you can peel away the paper from the stencil. If you have some hard to reach pieces, you can take a pair of tweezers to remove all of the paper.
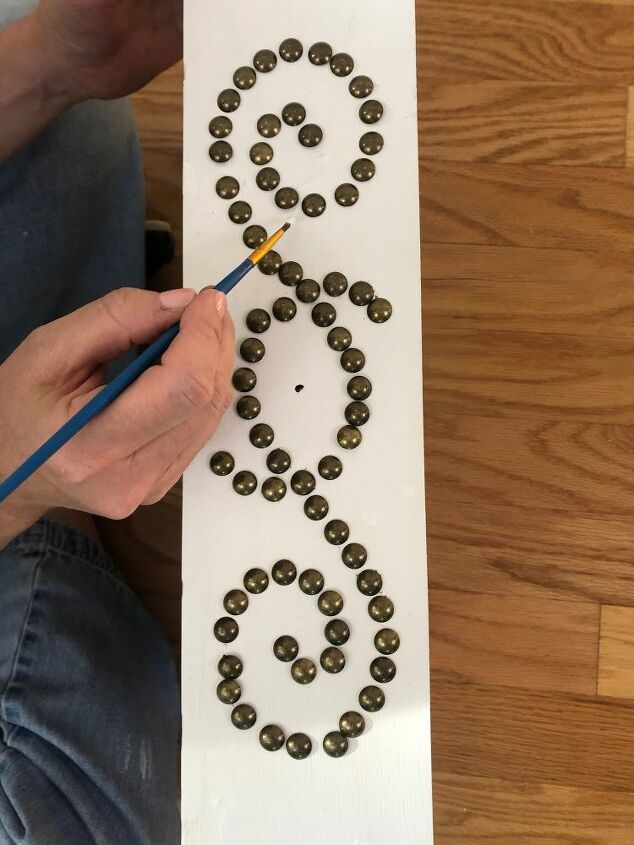
Step 8: While nailing down the nails there were a few dings in the paint, so we touched up with some of the paint from the nightstand.
Step 9: Add on the drawer pull now that you're finished. The original knob that came on our nightstand matched the upholstery nails perfectly.
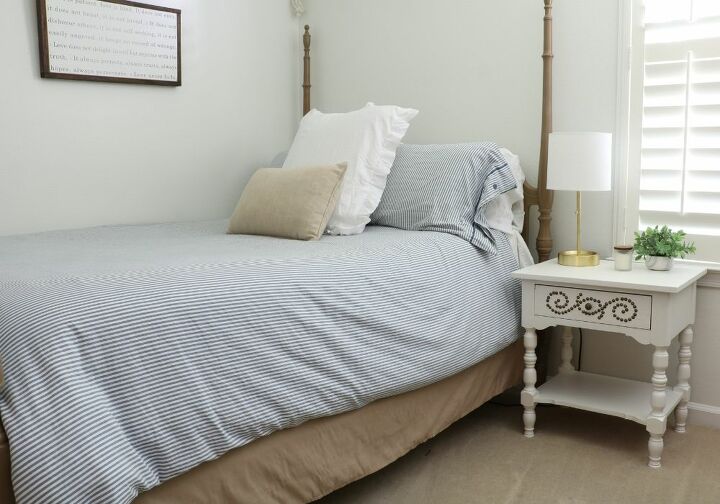
Now that your nightstand is all done, it's time to nestled it next to a bed. Don't you agree the nightstand is now a great statement piece?
If you'd like to see this room decorated for the holidays, we have a for you to check out.
Resources for this project:
See all materials


Comments
Join the conversation
-
Love it!
-
Beautiful!!!!


Frequently asked questions
Have a question about this project?
where is the best place to buy a used nightstand?
This does inspire me. But did you really use those little tubes of acrylic paint!
where do you get upholstery nails?