


Boss Your Next Baby Shower With This Baby Shower Diaper Cake

One thing I have learned over the years is that the best baby shower gifts are the ones that are both memorable and incredibly useful. That's why I opted to go the extra mile and create a baby shower diaper cake that is impossible to beat. In less than an hour, I created a baby shower gift that not only looks like a professionally-designed hamper, but had enough useful baby products in it to keep my friend happy for a while. If you want to truly show your friend how much you care at her baby shower, simply follow these steps to create a baby shower diaper cake that looks stunning and always delivers when it comes to practicality.
Tools & Materials
Before we get started, it's important that you have all of the necessary tools and materials to make this baby shower diaper cake. Unlike other baby shower gift ideas, this one requires a little bit of extra finesse, as well as some materials you wouldn't normally use when creating something like this. Here is everything you will need:
- A large box of newborn diapers. For my cake, I opted for a Pamper's pack of 62 diapers, which covered the cake perfectly.
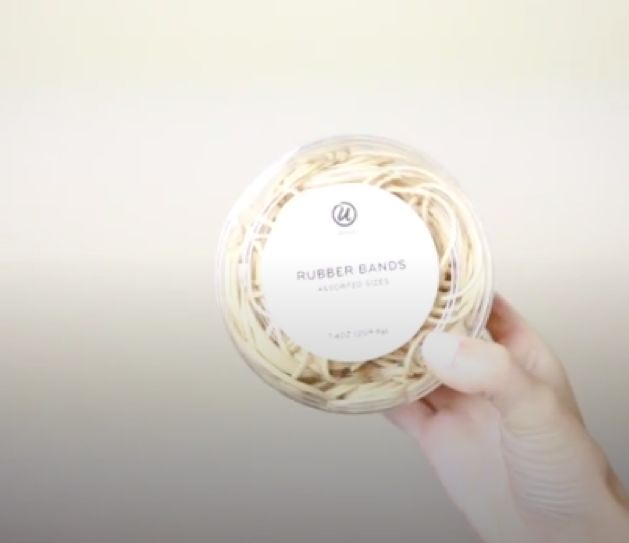
- A pack of large rubber bands. These will need to be large enough to fit around the box that you will use as the base for the cake.
- A length of ribbon. This will serve both a decorative and a functional purpose when it comes to keeping your diaper cake together.
- A white knit elastic spool. This will also help with tying everything together. I used a yard-length spool from Pottery Barn.
- Some hot glue
- Clear balloons. I used around a dozen for my creation, but you can use as many as you want for yours.
- Some brown, high-quality wrapping paper.
Step 1: Gather Your Materials
Before getting started with your diaper cake, it is important to make sure that all of your materials are ready and in the right place. When done correctly, this whole process should take under an hour, so being organized from the very beginning is key to saving time. First of all, I emptied my box of diapers, as the box they came in will serve as the base for the cake. I laid out all of the diapers in a pile next to the box and placed the box on a plastic board to avoid getting hot glue on my hardwood floors.
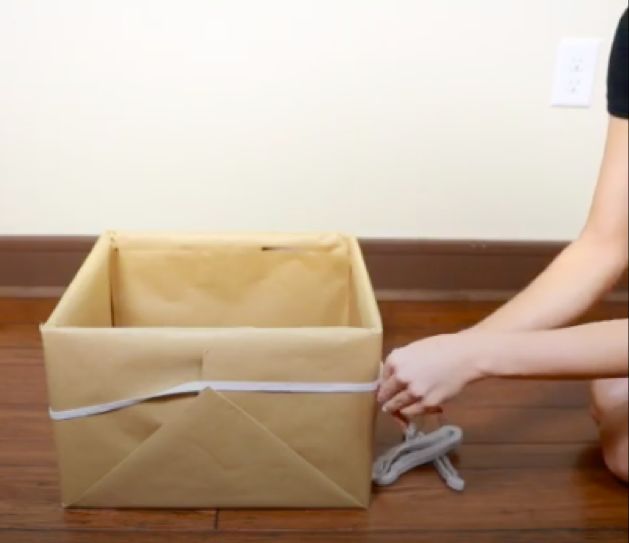
Step 2: Prep the Box
The next step is to prep your box to make sure it is ready to handle the many, many diapers you're about to stick to it. For the first part of this, I simply wrapped the box up in the quality wrapping paper, which served to cover the ugly Pampers logo and strengthen the foundations of the box. Once the wrapping was complete, I cut two bands of elastic from the elastic spool, measuring them to make sure they would fit tightly around it. Once they were both on the box, it was time to move on.
Step 3: Cover with Diapers
Next up is the really fun part. You're going to want to take your diapers and ensure that they cover the box completely in a way that looks visually pleasing and elegant. To do this, tuck the diapers one at a time under the elastic, making sure they are all facing the same direction. Work your way around the box until you have covered it with two rows of diapers. After this step, fold some of them over the lid of the box, tucking them into the top layer. The goal is to ensure every inch of the box is totally covered so there are no gaps to be seen. Then, once you're done, cover the elastic with your ribbon.

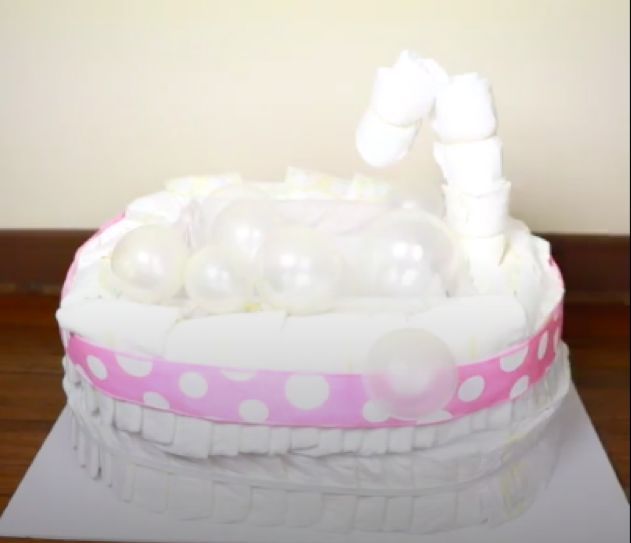
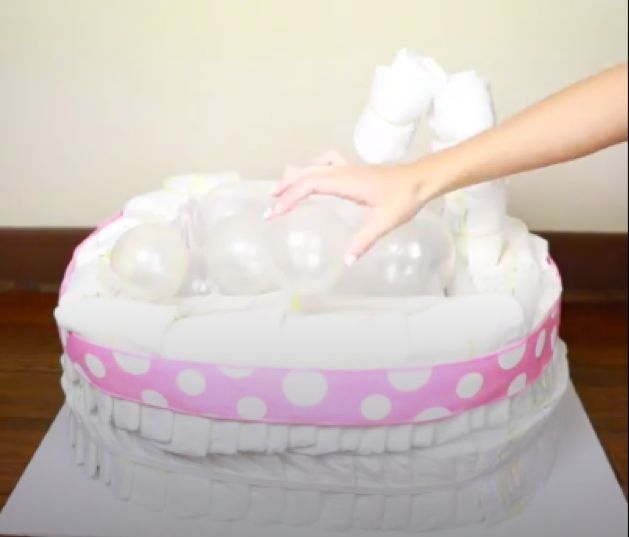
Step 4: Fill the Bath with Bubbles
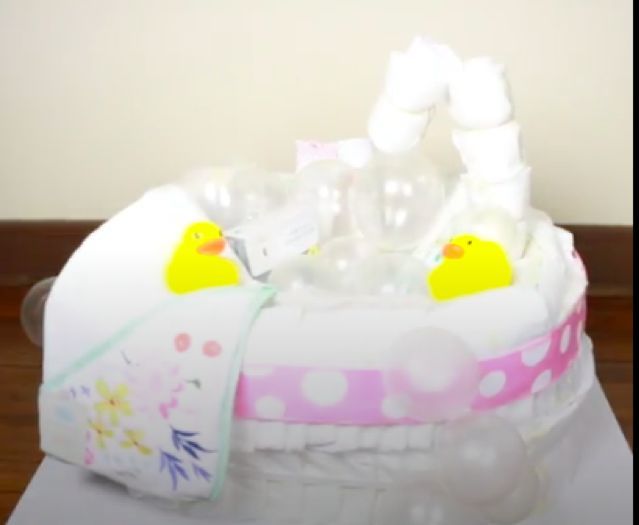
Now it's time to turn your diaper cake into a playful bubble bath! This step is probably the easiest of them all. First, fill up the box with some shredded paper as padding. Then you want to place a layer of tissue over the top, tucking it in so that it forms a padded layer. After this, all I did was blow up around 12 white balloons and place them artfully inside the box.
Step 5: Add More Gifts and Toys
While diapers are certainly the most appreciated gift, it always helps to go the extra mile. For my diaper cake, I added some baby shower essentials such as moisturizing lotion (for both mother and child), baby shampoo, baby wipes, and talcum powder. I also added some adorable rubber duckies to give the whole thing some more color, as well as provide a more "fun" gift that the child will appreciate.
With these simple steps, you too can create an unforgettable baby shower diaper cake. The best thing about this DIY project, besides the fact that it is easy and fun to make, is that your friend will clearly see the effort you put in to show your love for her.
Do you have any more fun baby shower diaper ideas? Show me your creations in the comments below!
Resources for this project:
See all materials


Comments
Join the conversation
-
Yes I sure wiill!
-
I love it!! The only change I would make is using larger diapers because so many babies never fit in the newborn size.


Frequently asked questions
Have a question about this project?
What did you do with rubber bands