


Upcycle Furniture - Vintage Office Drawer

This project started when I found an old vintage office drawer Dumped next to the garbage can.
I decided to pick it up and turn it into something special.
For a long time, I wondered what to do with it and then suddenly I remembered a wooden vintage legs I had found a few months earlier.
I thought it might be an interesting combination, Metal & Wood furniture.
Hope you'll enjoy reading and find it helpful.
Hope you will like this project, and if you have any comments,
Please write to me. Thank you!
you're invited to subscribe to my YouTube channel and follow all of my projects. 
YouTube: https://www.youtube.com/channel/UCkNrUodcQbCM8FDGp...
Facebook: https://www.youtube.com/channel/UCkNrUodcQbCM8FDG...
Instagram: https://www.instagram.com/kultakala_design/
Pinterest: https://www.pinterest.com/omerorbach/
New stuff coming soon !
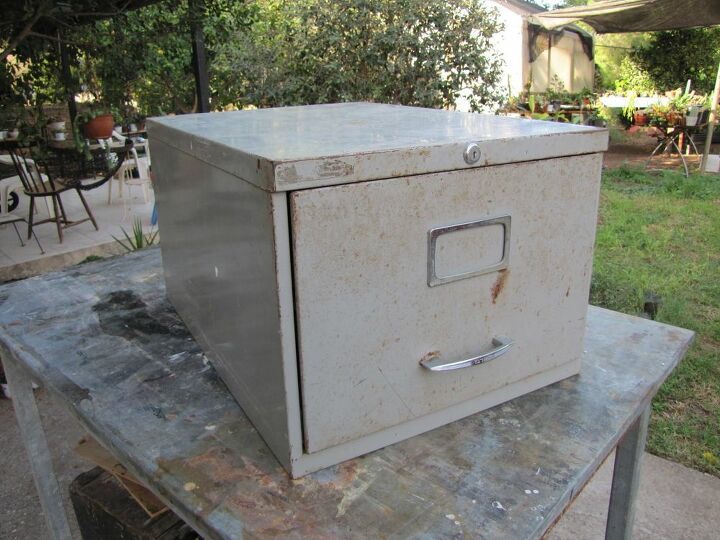
I disassemble all the pieces that can be separated.
then i sand all the rust with a orbit sander, and prepared the drawer for painting.

With a hammer In one hand and a thick iron block in In the other hand i aligned the iron in all the places that were crooked.
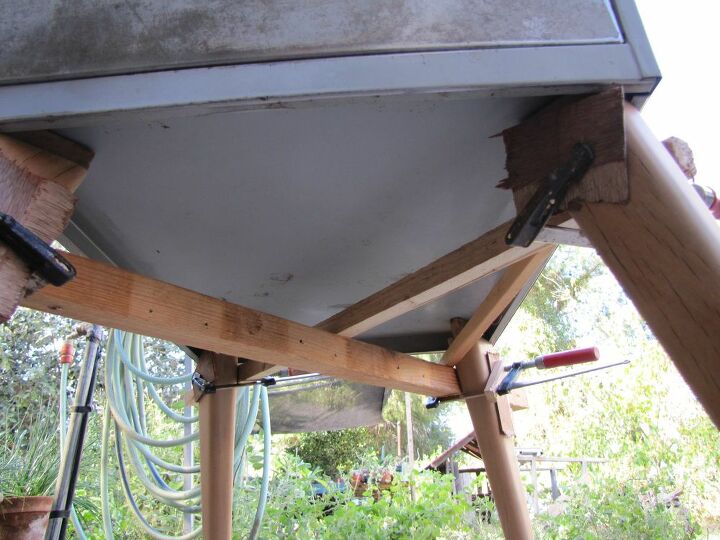
I temporarily connect the legs All together with a clamps and two planks.
So I can see what the final result is going to be.
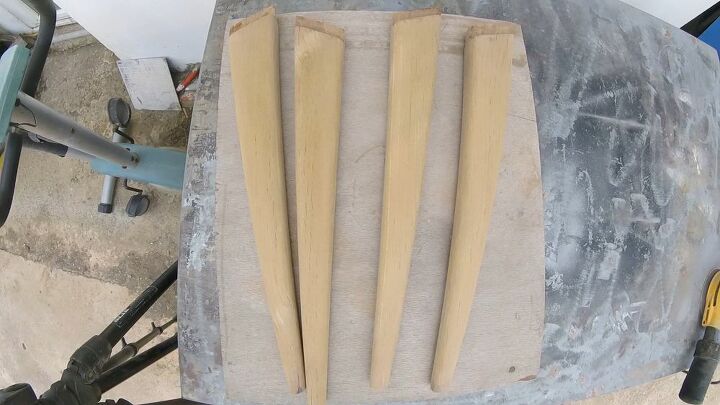
The table legs weren't in perfect condition, at first I've sand everything with a orbit sander.
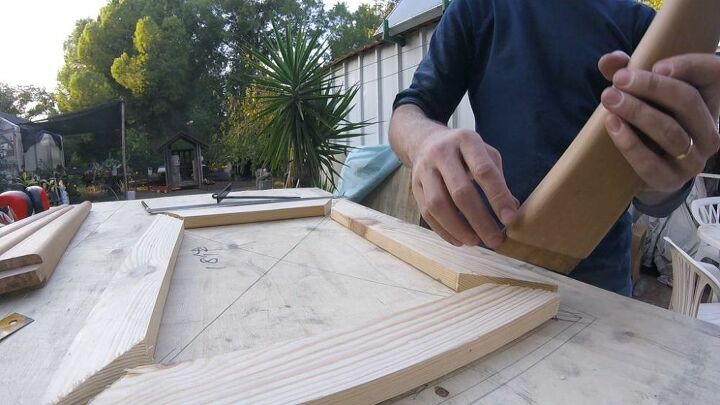
I started drawing all the measurements for the structure on a wooden surface, Checking myself all the time with the drawer dimensions and the legs measurements.
I cut all the wood I need, then I put them all in their place on the sketch, then locked them up (with screws into the surface) on both sides with small pieces of wood.
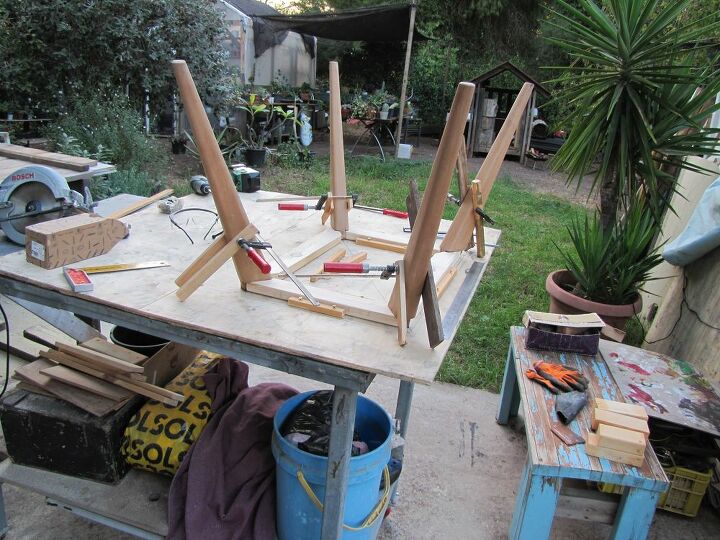
In order to prevent the legs from falling while it is being glued, I've connect two small pieces of wood with a clamps on both sides of each leg - that would support the legs until the glue was dry.
I let the glue dry up in this position for 24 hours.
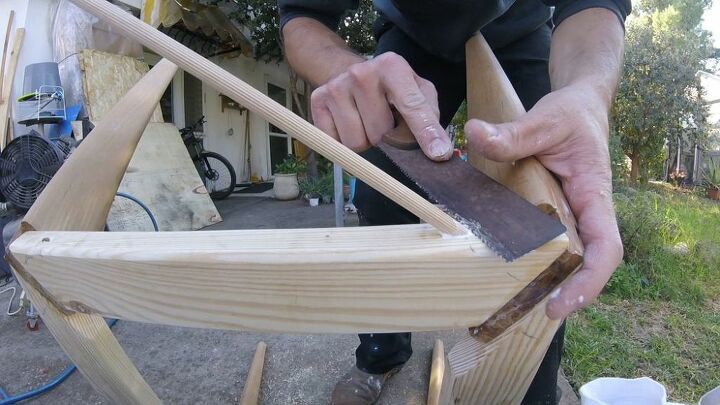
I was afraid the glue alone could not hold the weight so I decided to add wood sticks ,Two on every corner connection.
I drilled hole with an 8 mm wood drill as deep as I could, I filled the hole with glue and put in the wooden rod.
then I've cut the excess extra material.
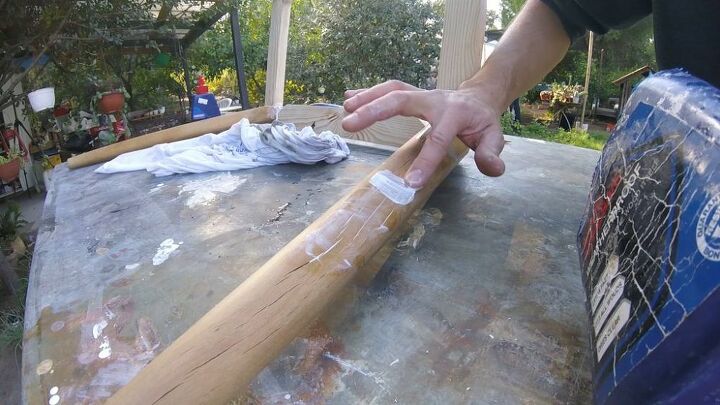
Because the legs were probably out in the sun and in the rain cracks were created over time - so I've filled the cracks with glue.
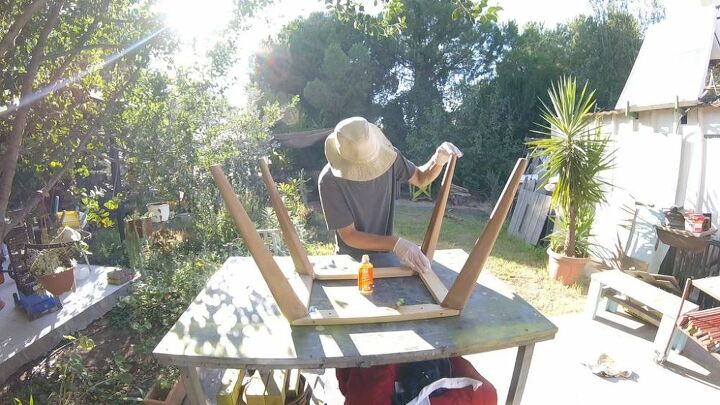
After everything was smooth I've removed all the dust with air pressure, then I applied wood Oil with A piece of cloth.

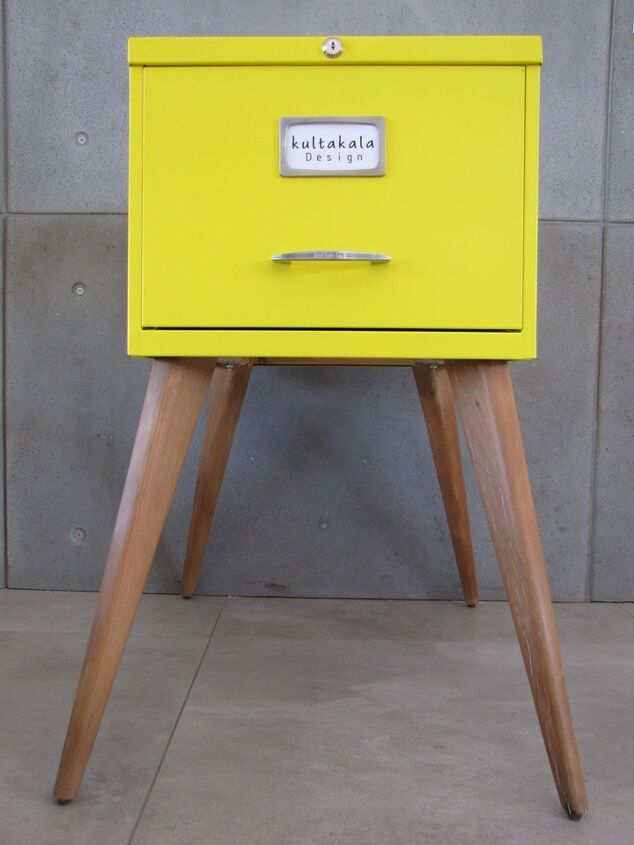
First I've spray primer paint and then for final coat my wife chose a funky yellow color :)
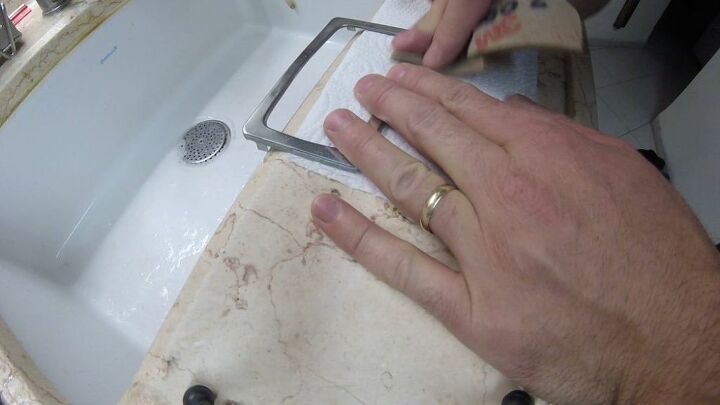
I used 3M super fine sanding sponge to smooth and bring back the shine to those parts.
it worked really well !
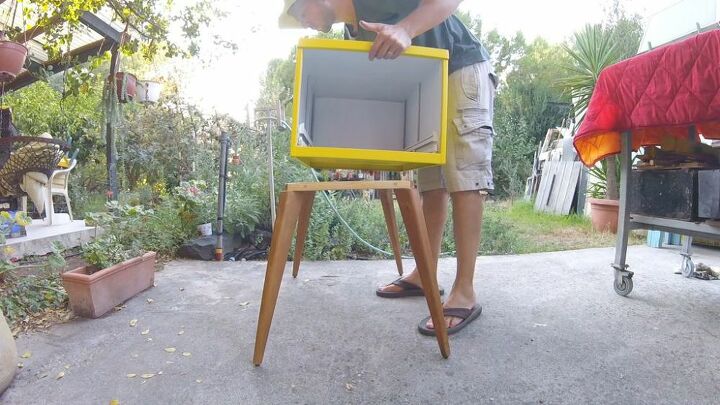
I've drill four holes at the bottom of the drawer and four holes in the leg structure.
I bought a new screws and Nyloc nuts to connect the drawer to the legs.
A new piece was born !
Resources for this project:
See all materials


Comments
Join the conversation
-
Is.gorgeous great work
-
Great idea for repurposing an old file cabinet. Love the color.
Perfect size so that this could be used just about any where in the house. LOVE IT.


Frequently asked questions
Have a question about this project?
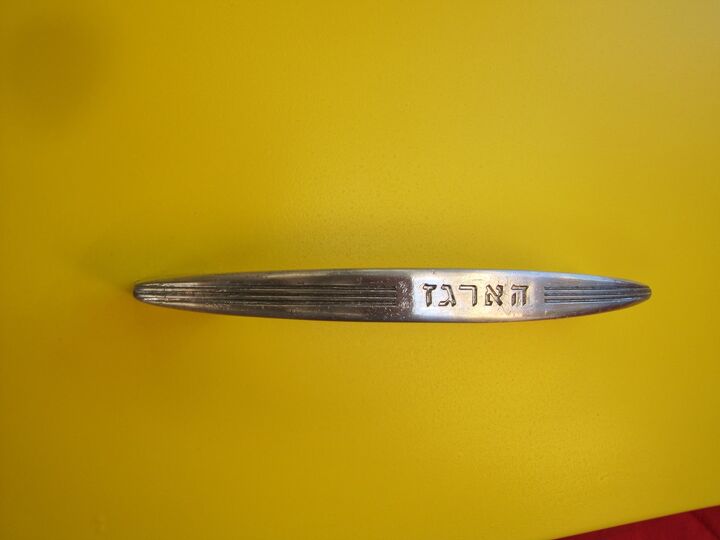
Do you know what the Hebrew says on the handle?
What did you end up using it for if not a file cabinet drawer?
Here is what I did with my 2 draw black file cabinet m :-)