


How to Paint Wood Cabinets With Chalk Paint
Painting your own wood cabinets, whether they are kitchen, bath or whatever, is a must try and you will save big time bucks. It is very achievable, inexpensive and easy to do.
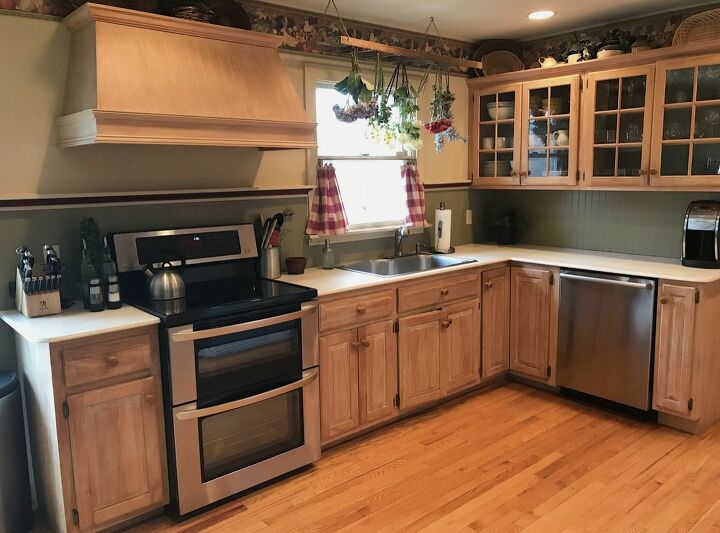
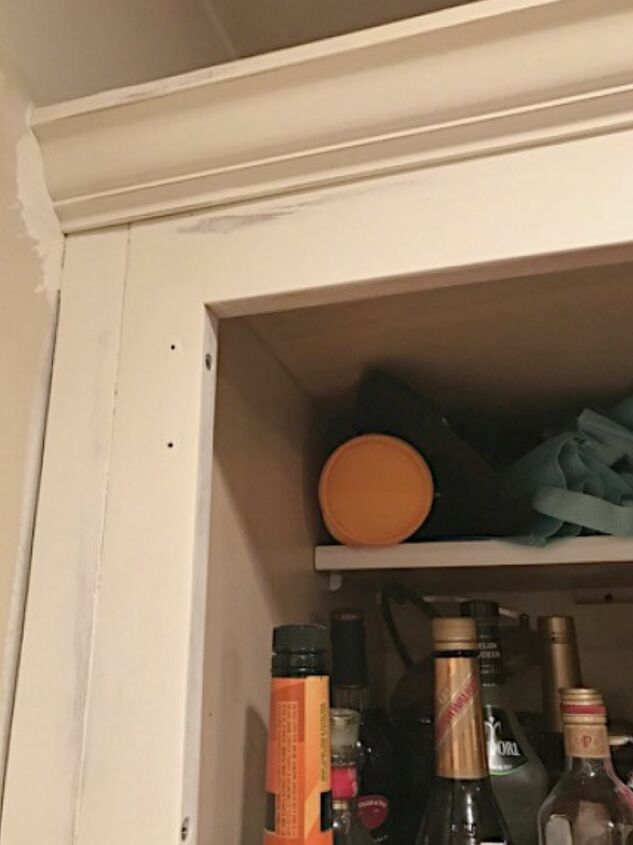
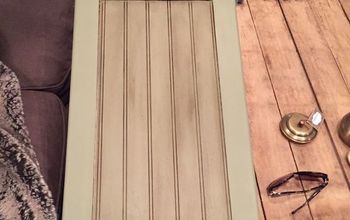
Before painting the cabinets with chalk paint, these pickled oak cabinets were dated, dark and dingy.
When we bought our house twenty one years ago, we loved the kitchen the moment we walked in. The former homeowner, who was a cabinet installer, recently updated it so it was all new. He gutted the whole room to install someone else's "garbage" cabinets and built that awesome hood. At that time, we were so impressed by how much time and craftsmanship went into the remodel, that we left this room as is.
About ten years after we purchased our home, we ripped the roof off of our small three bedroom ranch and added a second floor. The kitchen was the only room we did not touch during that renovation because we still liked it and did not want to spend money on it. After the remodel we intended to update it, but the money was never there. Instead, we slowly upgraded our white appliances to stainless steel, but the kitchen really started feeling old and outdated.
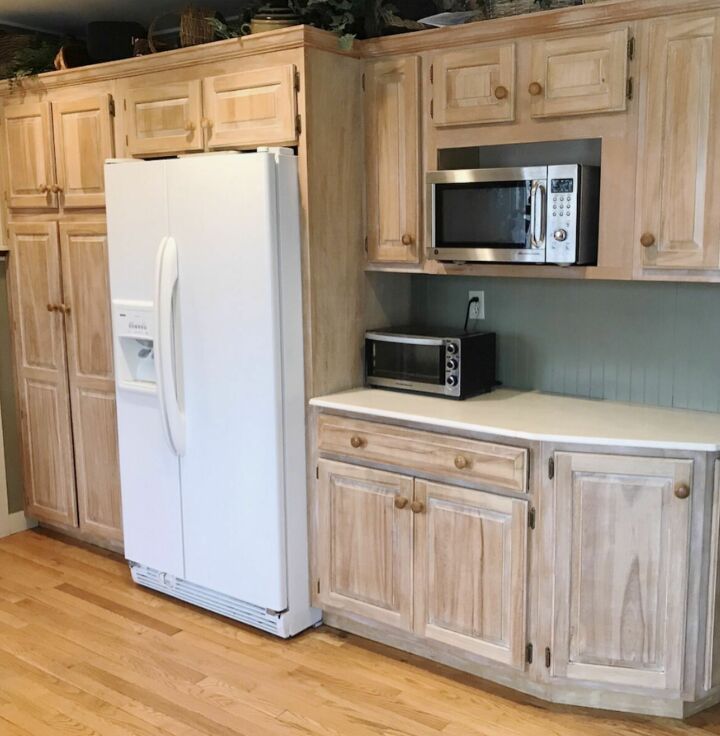
In the last few years, the kitchen started feeling very dark, outdated and dingy. It is situated on the north side of the house so it does not get a lot of bright light. Since we could not afford a total remodel, we considered painting the entire room, including the cabinets, in lieu of replacing them.
Our cabinets are pickled oak and were in pretty good shape so painting them was a no brainer. That said, I was a little nervous to do it because they are kitchen cabinets. While I knew I could do it because I had experience refinishing some furniture pieces, the kitchen is a much larger and riskier project. To take something like that one was very intimidating.
Building Confidence
Once the decision was made to do it, I spent months on Pinterestresearching every how to article I could find and consulted with friends who I consider experts at refinishing things. I studied how to refinish cabinets, poured over different techniques while picking up tips and tricks. To build my confidence with cabinetry, I practiced on smaller items to get a feel for what I wanted to do, how I wanted to do it and to understand the supplies needed.
When Chris gave me the green light to go ahead, I was totally ready to go! Yes there was that little voice in my head saying "Stacy are you sure you want to do this? This might not be a good idea, cabinets are a big deal, blah blah blah." But I've learned that voice sometimes needs to be told to zip it!!!! Because you know what? It's just paint! What's the worse that could happen? I'd have to paint it again? If my options were: to keep the kitchen as it is or buy a few cans of paint - I was buying that paint!
The "How to Re-Finish it" Decision
After much consideration, I narrowed it down to using milk or chalk paint, but ultimately decided to go with chalk paint to achieve the look I was striving for. While I preferred a chalk paint finish for my cabinetry, both are very good options. One of the reasons I gravitated to them is because I knew I did not have to spend a lot of time pre-sanding. That concept gave me all the feels - to not have to do that laborious step was very enticing.
How to Paint Wood Cabinets Using Chalk Paint
NOTE: If you are unsure what color chalk paint to use, pick a cabinet door you do not regularly use and test colors on the inside of that door.
Supplies
- De-greaser - I used Krud Kutter.
- Sandpaper (light grade if you choose to pre-sand)
- Sanding Block (if you want to distress cabinets after chalk painting)
- Painter's Tape
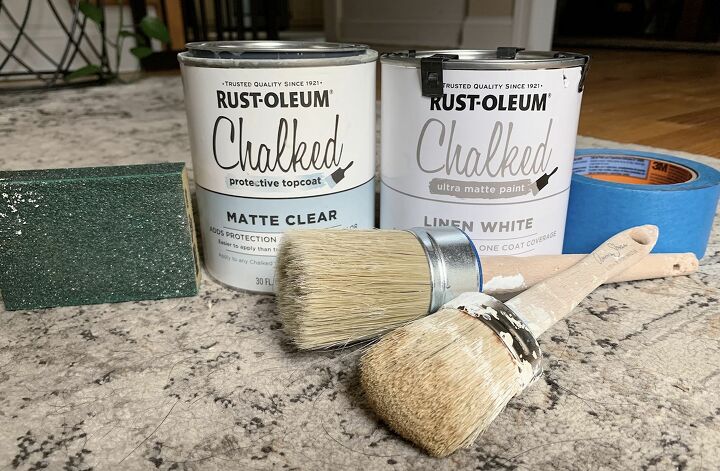
- Chalk Paint - you can use any brand of chalk paint you want. Measure your kitchen and estimate how much paint you need for your size kitchen.
- Small, Medium and Large Chalk Paint Brushes - You will need different sizes for different areas of cabinetry. I mainly used the medium brush.
- Polycrylic - I used Rust-Oleum Ultra Matte Interior Chalked Paint, Clear
- Painter Pyramid Stands (4 per cabinet door)
- 1" and 2" Foam Brushes

Directions
- Remove doors from cabinets. I highly recommend marking each door so you know where to put it back when you re-hang them. If you have external hinges like we have, set them aside. Our hinges were brass, so we sprayed them with an oil rubbed bronze spray paint.
- Remove items from cabinets if you do not want to risk getting paint on anything.
- It is very important to wash and de-grease all cabinets and doors well. If you use the same de-greaser I did, follow the directions then wash and rinse the cabinets and doors.
- It is not necessary to pre-sand cabinets and doors before painting with chalk paint, but you can if you want to scuff the surface up a bit before starting.
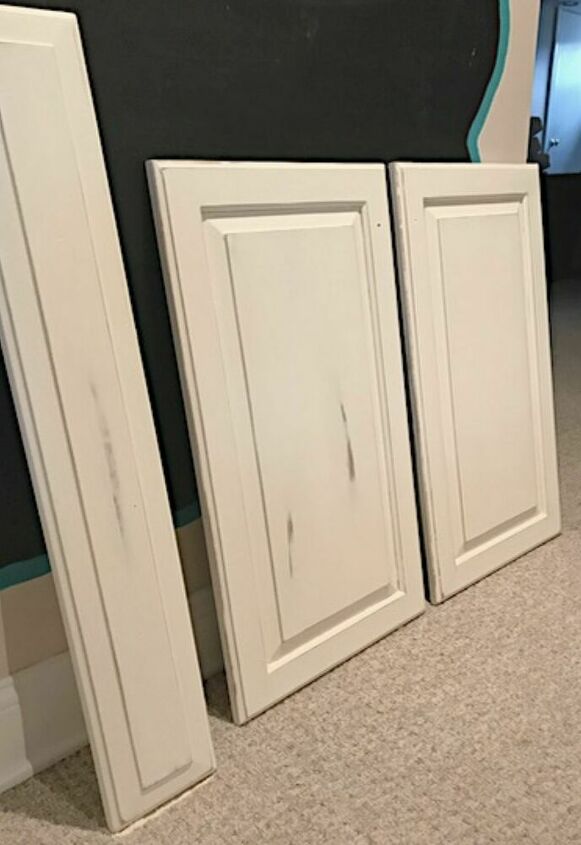
- Paint all the cabinet bases first, then do the doors. Use the painter pyramids to keep them off the ground. Start with the inside of the doors first and if possible, start with the doors of the cabinets you don't look at as often. When doing projects like this, I find it takes some time to get into a rhythm so it's good to start with doors you don't normally look at until you get a feel for it. Do you have to do it that way? No, but doing it this way built up my confidence that the kitchen would turn out great and I wouldn't mess it up!
- I did two coats of chalk paint on the bases and doors. You may need three if the color paint you use needs it.
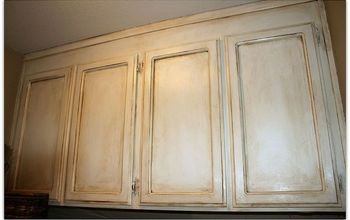
- After the chalk paint is fully dry, it is time to distress the cabinetry. Know what you look you want before you start distressing. Do you want a light or heavily distressed look? I distressed the edges of the cabinet bases and the doors. Where the pickled oak veins showed through on some of the doors, I lightly distressed those areas to hide the veins because they looked like stains. Do what looks and feels right for you. I suggest you go light on the distressing at first because you can always distress it more. If you distress more heavily than you want, you can easily go over it again with paint. This process is very forgivable.
- After distressing, it is time to apply the top coat to protect the color. I chose polycrylic over polyurethane because it yellows less. That said, polycrylic does still yellow the paint a little more than wax. Different poly finishes yellow more than others so test them before applying. You can use wax if you want, but the poly will protect the color better in a high use area like a kitchen. NOTE: Consider the yellowing factor when choosing your paint color.
- Follow the directions on the can of poly and allow to fully dry between coats. Follow the same process as with chalk paint - start with cabinet bases first, then the doors.
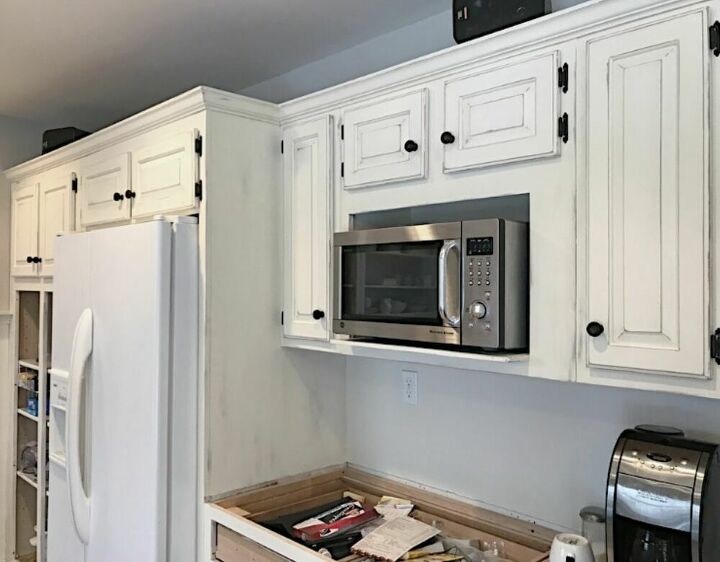
- Before putting the doors back on, we sprayed the hinges, allowed them to dry, then re-hung the doors. We also upgraded the handles to drawer pulls and knobs.
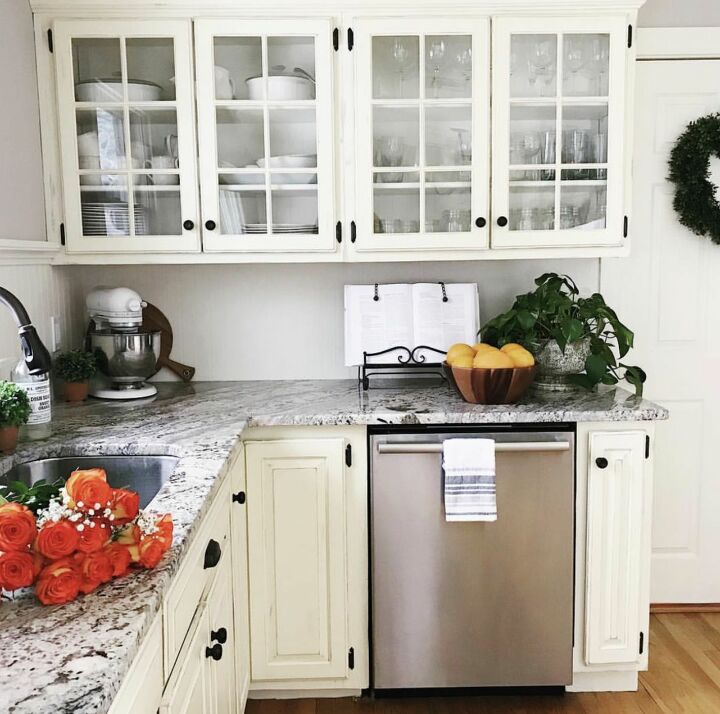
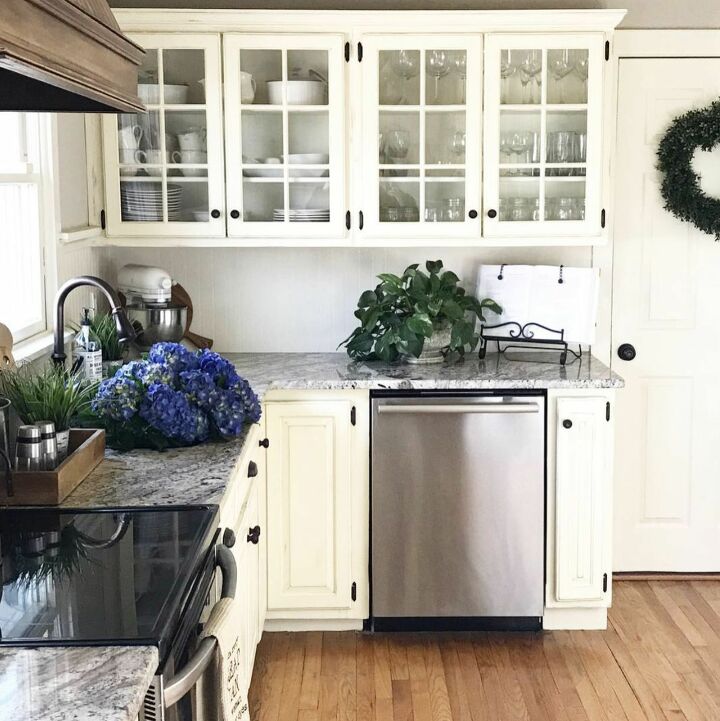
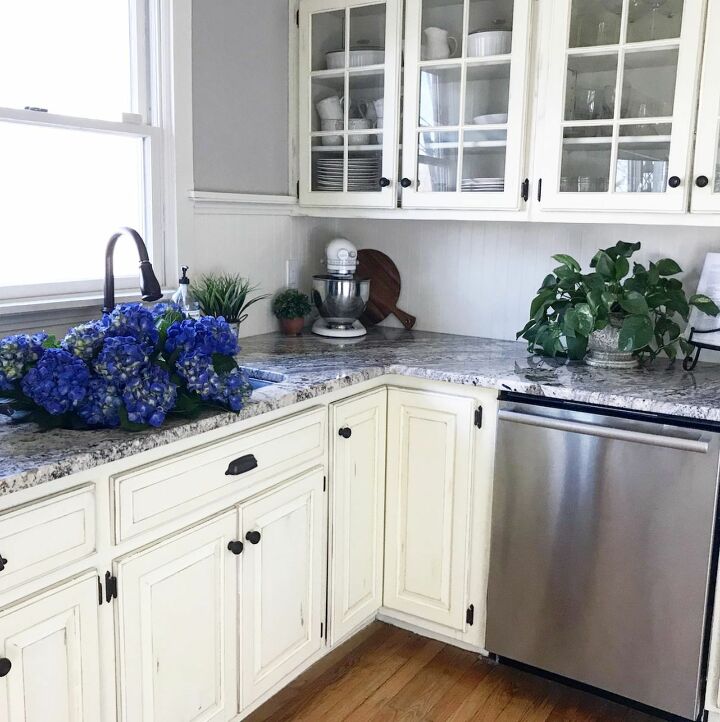
After painting the kitchen cabinets, the kitchen feels larger, brighter, updated and more welcoming.
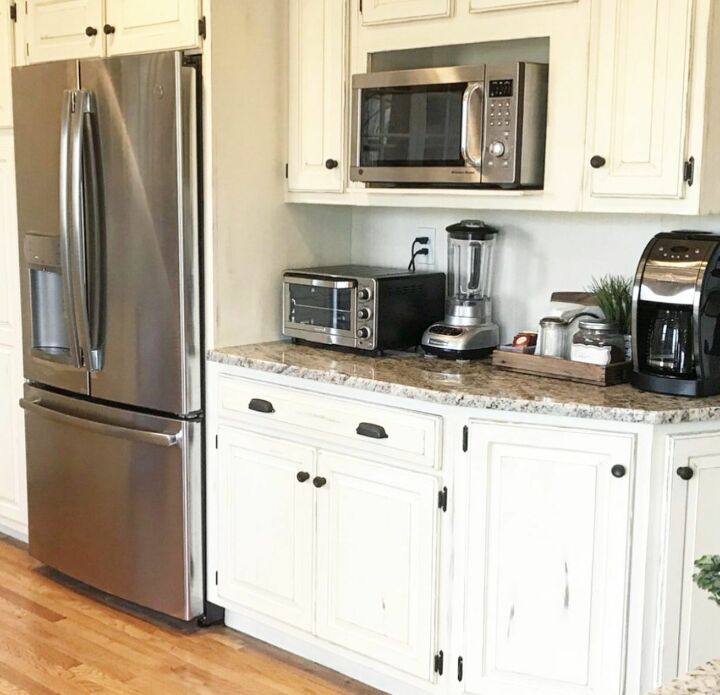
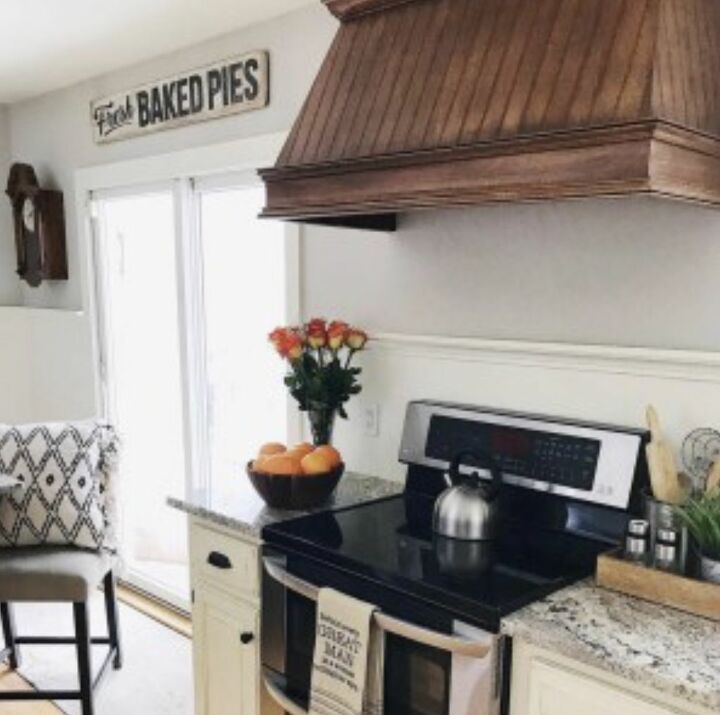
From start to finish, this part of the kitchen renovation took about two weeks. If you have wood cabinets and want to renovate your kitchen, I highly recommend painting them yourself. It was time-consuming, but very easy and inexpensive to do and I am very proud of the result.
One Year Later
It's been about a year since I refinished the kitchen cabinets and the cabinetry has held up really well. When things have dripped on them, I was able to clean them off with no stains. The finish still looks great and there is minimal yellowing. I am still very happy with this DIY and am so glad I did it!
If you are even considering painting your cabinets, I say, GO FOR IT!!! It is a very achievable DIY and you can totally do it too.
For more DIY tips, tricks and cool project ideas, click here.
Resources for this project:
See all materials


Frequently asked questions
Have a question about this project?