


DIY Christmas Sign
Thank you to DecoArt for sponsoring this post. All opinions are entirely my own.
If you love this project, grab your quick start DIY guide & subscribe to our blog!
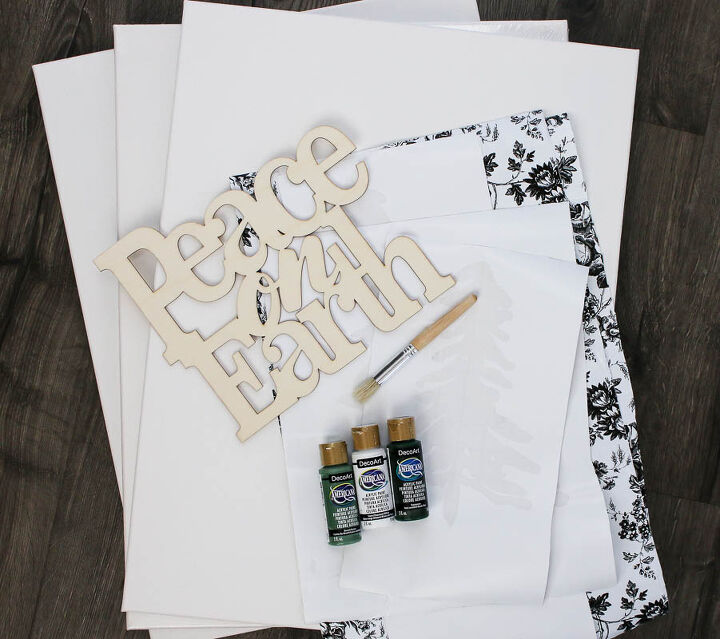
If you’re looking for easy Christmas decoration ideas, you’re going to love this large scale DIY Christmas sign made with DecoArt Americana Acrylics!
I wanted to swap out our wall decor above our couch for the holiday season to bring some extra festivity to the room. The problem was that it is a large blank wall, so buying large scale wall decor is definitely out of the budget - especially since this will only be used a couple months a year while we have Christmas decorations out.
I teamed up with DecoArt to use their Americana Acrylics line to create a budget friendly DIY Christmas sign and it turned out AMAZING!
Step 1: Print out stencils
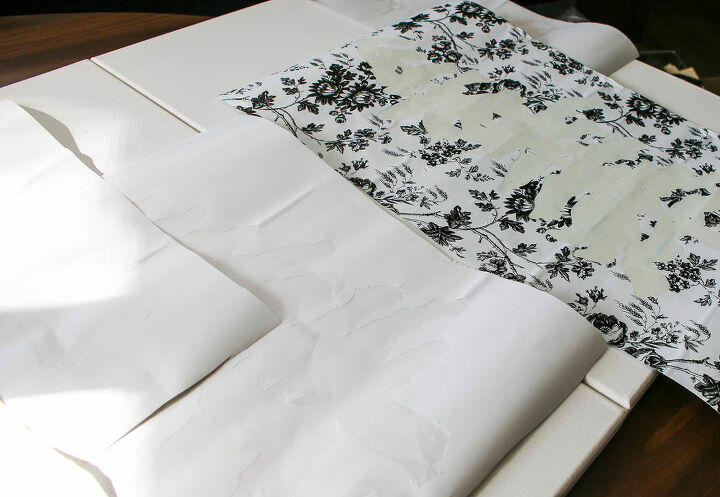
I used my Silhouette Cameo to print out various pine tree stencil designs in a few different sizes. I printed the stencil cut outs on to adhesive shelf liner (also called contact paper) which is a great budget friendly alternative to vinyl if you are making stencils.
If you don’t have a cutting machine, you can find premade tree stencils to buy as well or if you’re feeling artistic - you could totally freehand it!
Step 2: Arrange stencils
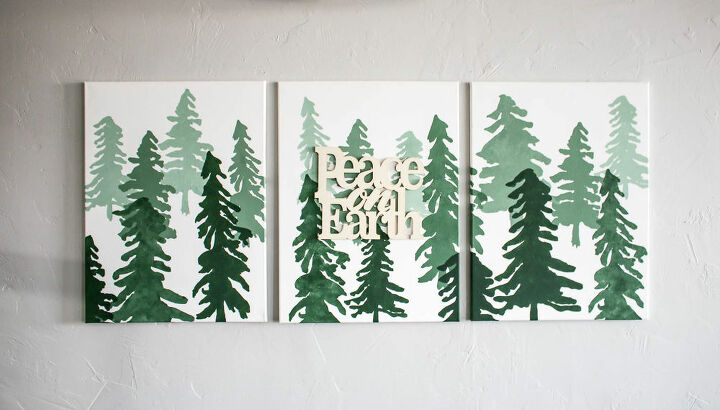
I chose to spread my design across three 18” by 24” canvases.
I very roughly laid out the stencils and came up with a game plan. I mostly arranged it so the smaller stencils were on the top of the canvases and the larger ones were more towards the bottom. This helps give the illusion that the smaller trees are in the distance.

Step 3: Paint lightest color
Starting with the lightest color paint the smaller trees in the top portion of your canvases. By using the lighter colors on these smaller ones, it also helps with the illusion that these are further away.
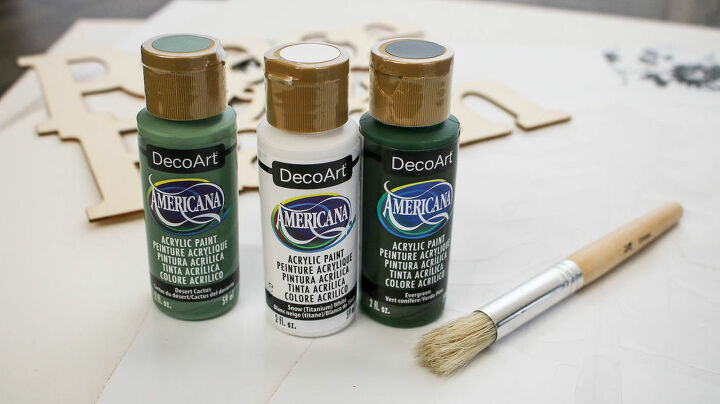
I used two of DecoArt’s colors for this sign mixed with white. The green color was Desert Cactus mixed with Snow White to lighten it up a bit.
Step 4: Paint middle color
Next up and you move on to the middle color, which is Desert Cactus with nothing mixed in it. These trees are painted in front of (on top of) the lightest ones.
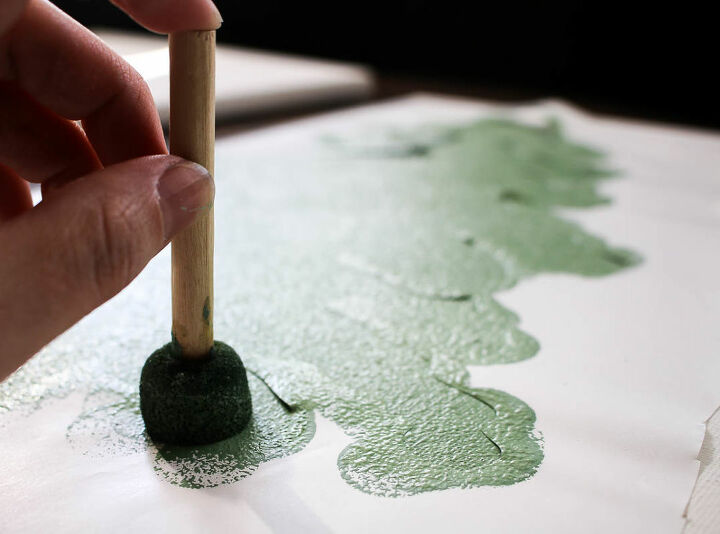
When you are stenciling, be sure to “pounce” directly onto the stencil with a stencil brush (I used foam), rather than doing brush strokes.
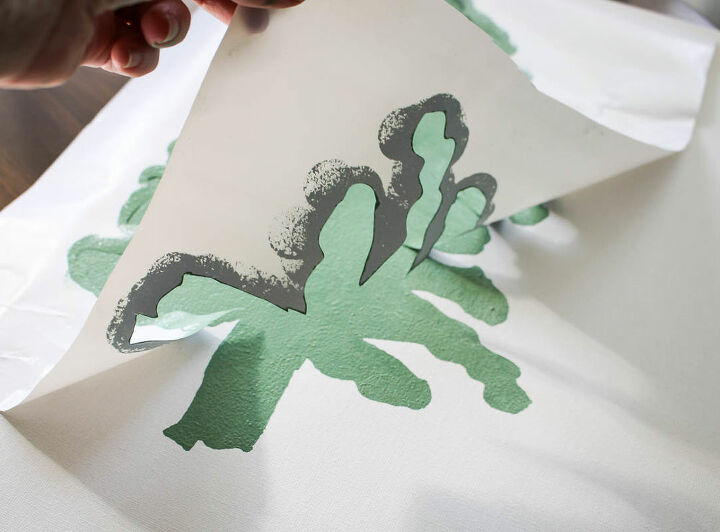
Remove the stencil as soon as you are done painting.
You will need to wait for the first color to be dry to touch before adding another layer of stenciled trees, but it doesn’t take long at all.
Step 5: Continue stenciling
I continued working my way up in size on the stencils and darker in color. For the next layer of stenciling, I used a little bit of Desert Cactus and started mixing in my darkest color, Evergreen.
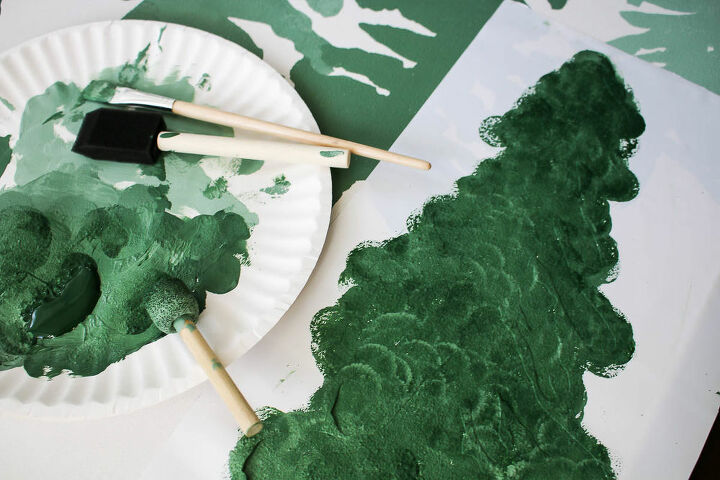
I used the same foam stencil brush (which also had the lighter colors already worked into the foam), so it started kind of getting a “watercolor” look to the colors when I mixed the darker color in and I LOVED that.
Step 6: Move on to your last color (darkest)
For the last layer of stenciling, I opted for a new paint brush and using the Evergreen color all by itself. It’s a really dark and pretty green and helps give that ombre effect to the sign.
For some of these last trees, I placed them right at the very bottom of the canvas (and hanging off a bit) to make it look like they were right there in front of you.

Step 7: Add your wood cut out
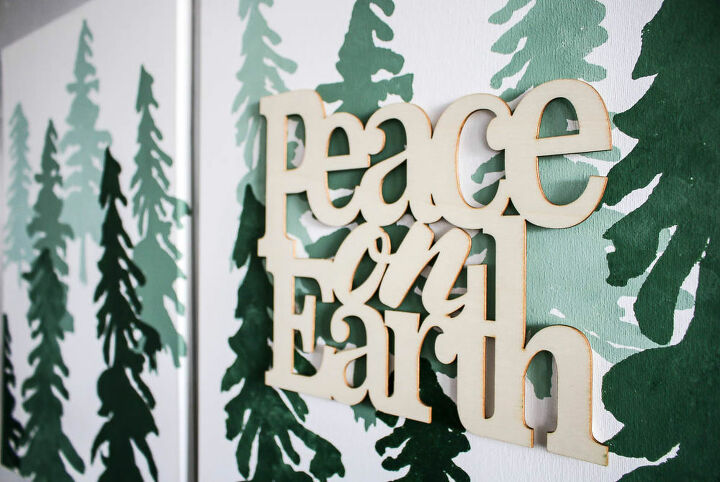
I grabbed this “Peace on Earth” wood cut out from the dollar store and it really makes this DIY Christmas sign feel more festive!
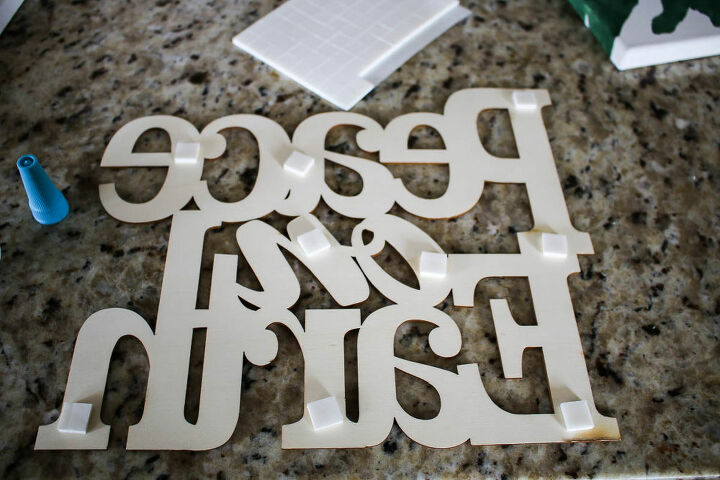
To attach the wood, I used 3D foam squares (usually used in scrapbooking) and added in a little super glue for some extra enforcement.
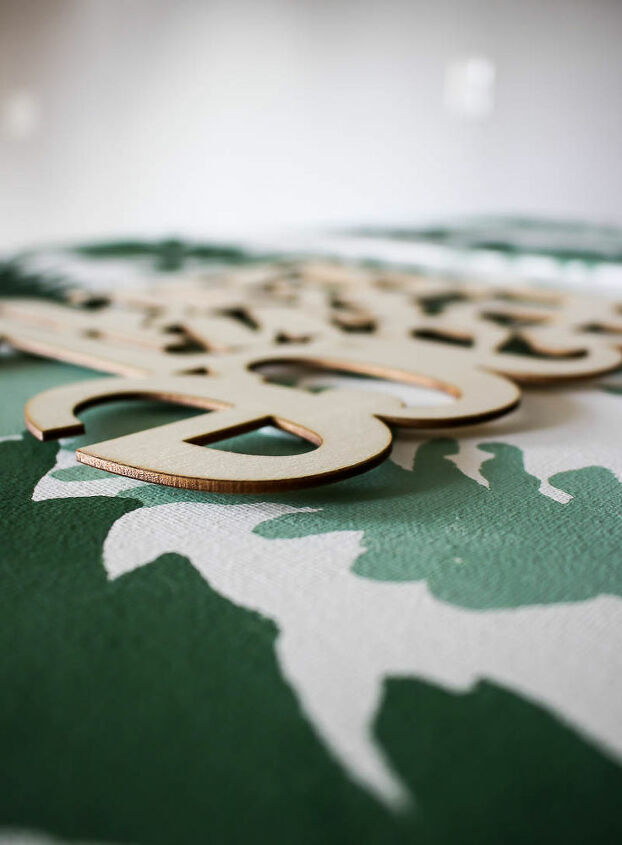
The foam squares help the wood stand off the sign a bit and give it a fun 3D effect.
I love this DIY Christmas sign turned out. It was a great way to bring the colors of Christmas in our living room! Things are starting to feel like Christmas around here.
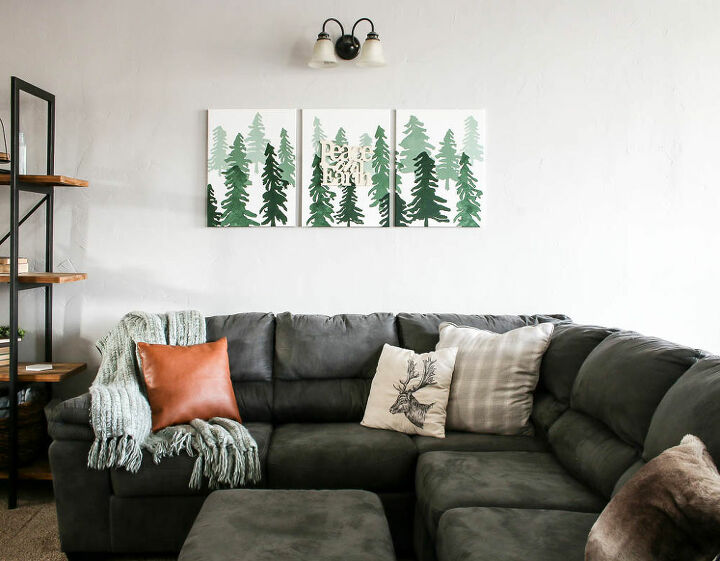
It was pretty budget friendly to create this large scale DIY Christmas Sign and it was SUPER fun to make!
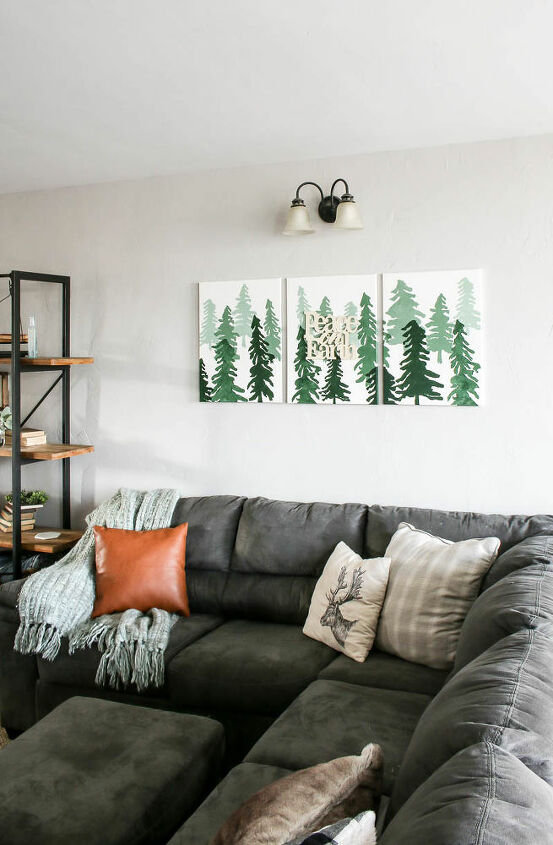
I’m sure we will be hanging this fun sign up for years to come every holiday season!
For more Christmas DIY projects, be sure to visit the archives on my website to get inspired!
Resources for this project:
See all materials


Comments
Join the conversation
-
Absolutely Beautiful,what a GREAT idea !!!!
-
Just beautiful ❤


Frequently asked questions
Have a question about this project?
It looks wonderful! Could the Peace on Earth be painted or stained a different color and if so what color would you have chosen? Are the panels primed before using the stencils?
Did you do all three canvasses at the same time to keep the colors consistent, or separately to make them slightly different?
Beautiful project!