


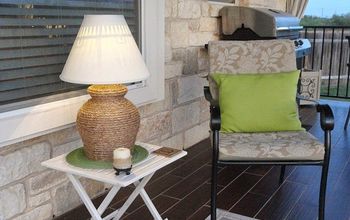
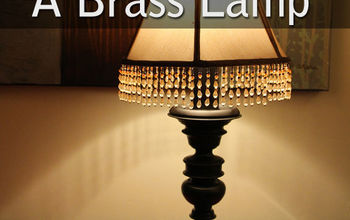
Up-cycled Owl Lamp

How I turned our boring old owl lamp in to a snazzy little number on a teeny budget with minimal time to spare.
If you’re anything like me you will love the finer things in life; unfortunately if you’re a lot like me you won’t have the bank balance to accommodate your expensive taste. Sound familiar? Up-cycling and crafting gives you the freedom to have those fancy things you see in that shop for a fraction of the price and you know what? I actually love them more because I did it myself!
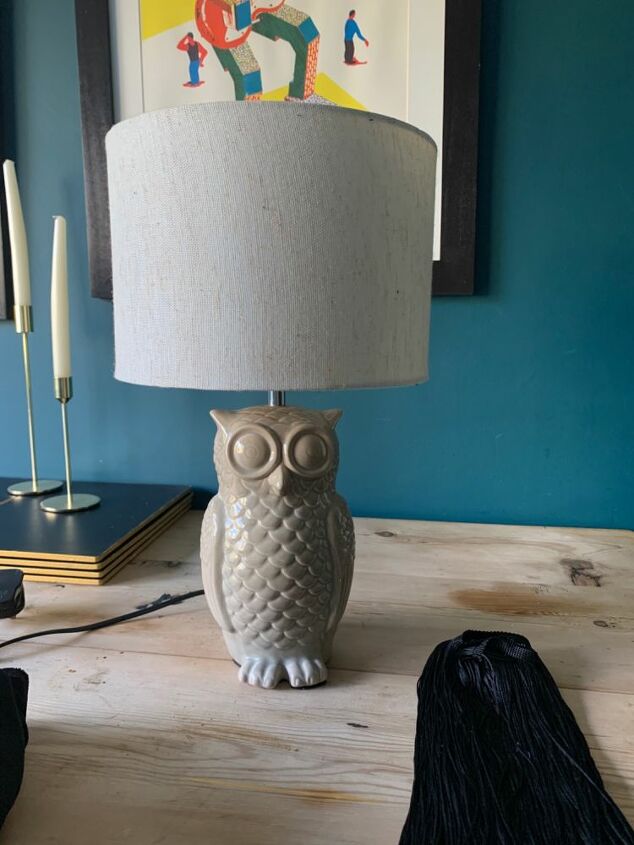
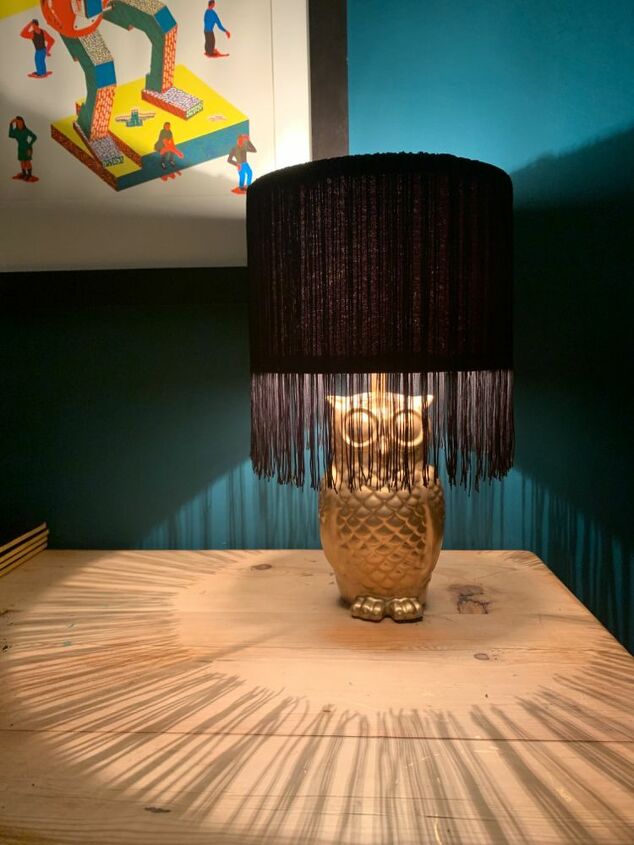
I bought this lamp when I first moved in with my now hubby and to be fair it’s pretty bland! We’ve since had babies, moved house and found our ‘style’, which is what I like to call “dark & moody vibes”. So, I wanted to keep hold of it as it’s an old favourite but it didn’t fit in with our new style. That can only mean one thing...UP-CYCLE TIME!!!
I actually spent nothing on this as I used bits and bobs I already had but never the less...
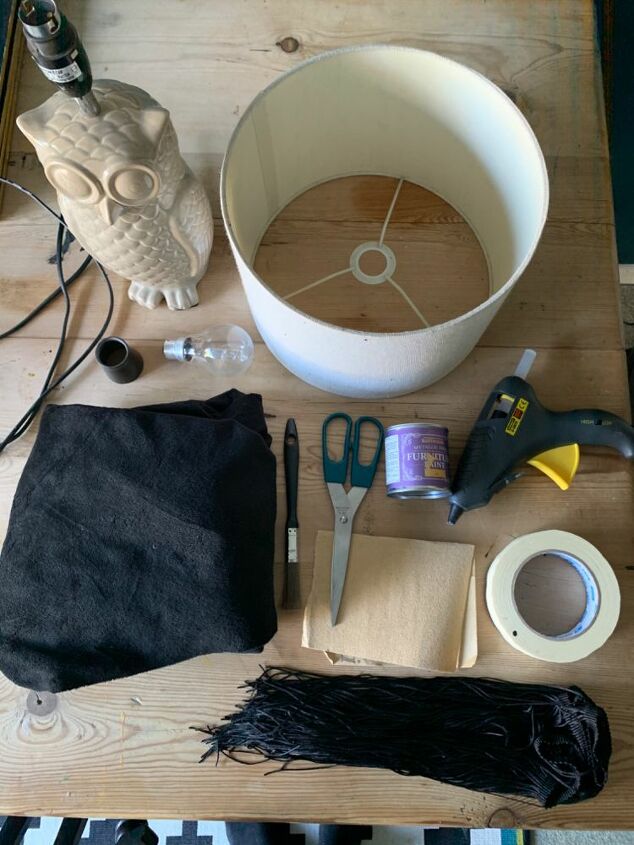
Here’s what I used:
1 old boring lamp
Hot glue gun
Scissors (make sure they’re sharp ones!)
Small soft bristle paint brush
Fine grit sand paper
Black velvet (I already had this from a previous up-cycle)
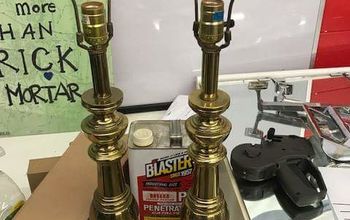
Rust-oleum metallic finish furniture paint in gold
Masking tape
Black tassels (1 yard, 30cm long)
And finally, by far the most difficult thing to get a hold of...TIME. No one with kids has spare time! However I made an exception and I did this while my youngest had his big nap and the eldest was at nursery.
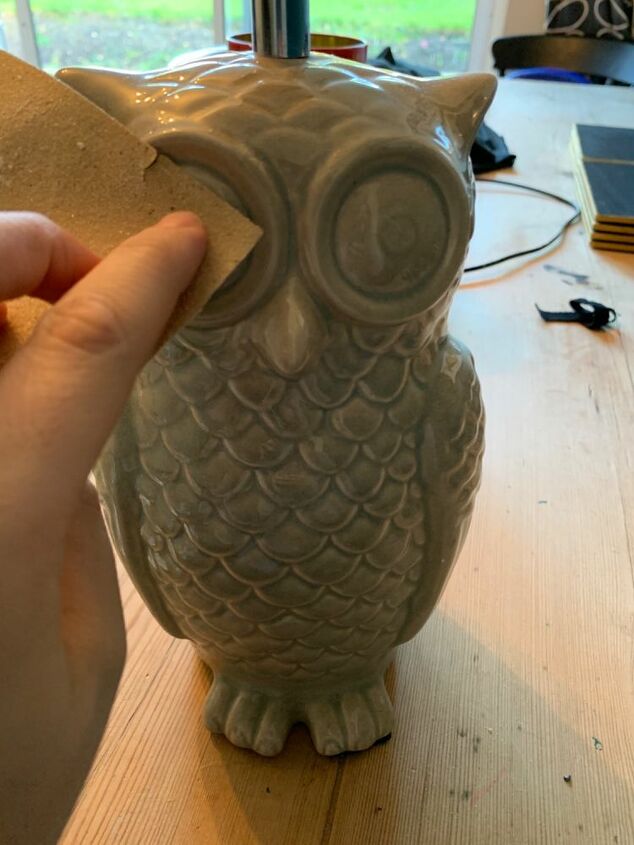
First things first, I wasn’t sure how well the paint would stick to the shiny surface of the lamp so I brushed over the entire thing with fine grit sand paper to rough it up a bit.
Make sure you wipe away the dust properly after.
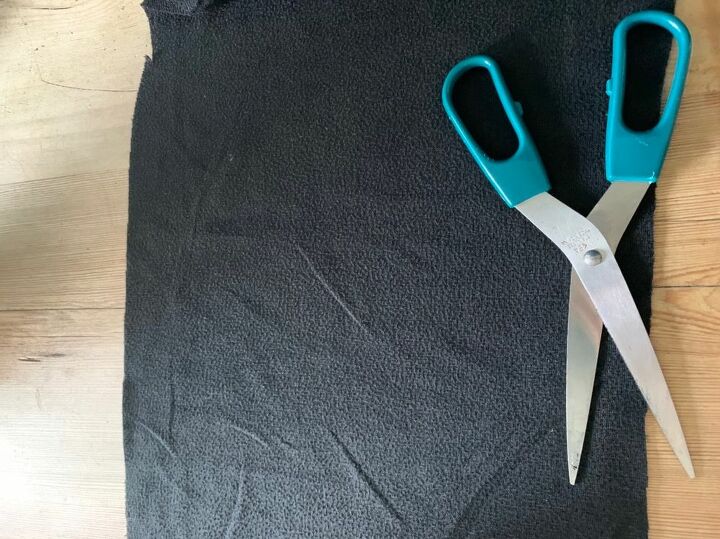
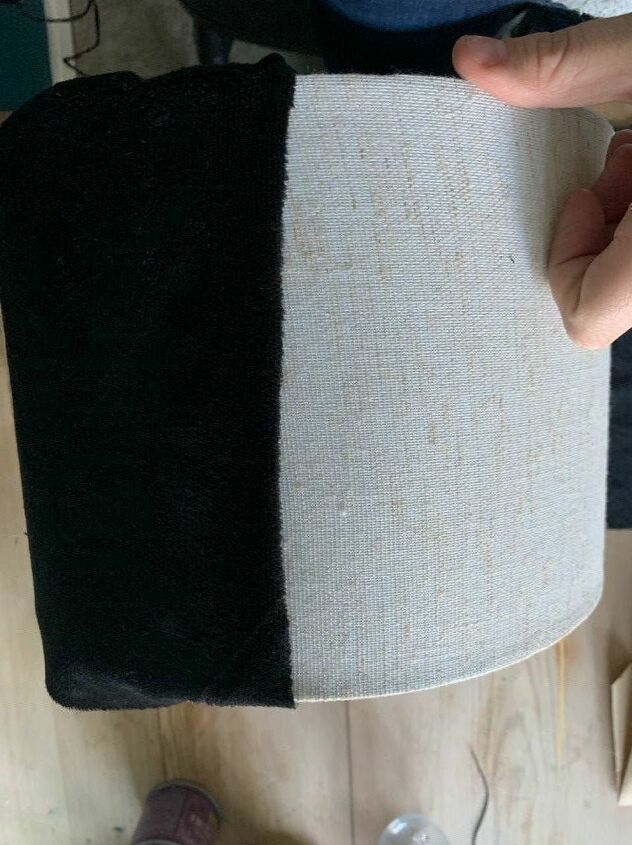
Measure your shade and cut your material to size. I allowed an extra inch in width and length to allow me to over lap the edges and fold the material to get strait edges.
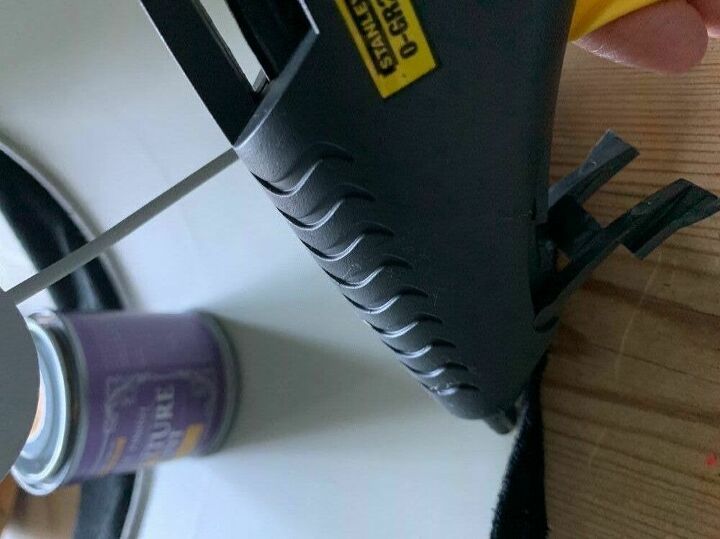
Start gluing!
Put a layer of hot glue on top of the seam of the shade and hold in place until dry (usually only a few secs) watch out, I got a few burns from the hot glue! Next, pull the material tight around the shade, fold the edge so to get a strait line and glue on top of the seam.
Follow the same process to glue down the top and bottom of the material to the inside of the shade, I did this about 2in at a time, making sure I was pulling the material tight over the edge and folding the material each time. Oh, incase you’re wondering, the tin of paint was holding the shade still while I applied the glue, you have to work with what you have right?!
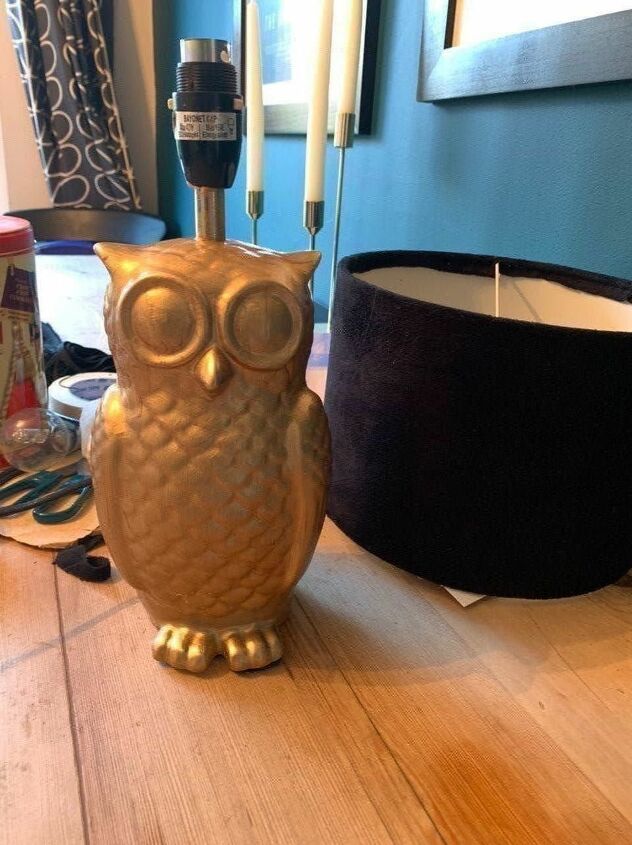
While the glue dried properly I started painting this little fella, I did 3 thin layers so I didn’t get any brush or drip marks. Let it dry properly between each layer, it’s very quick drying.
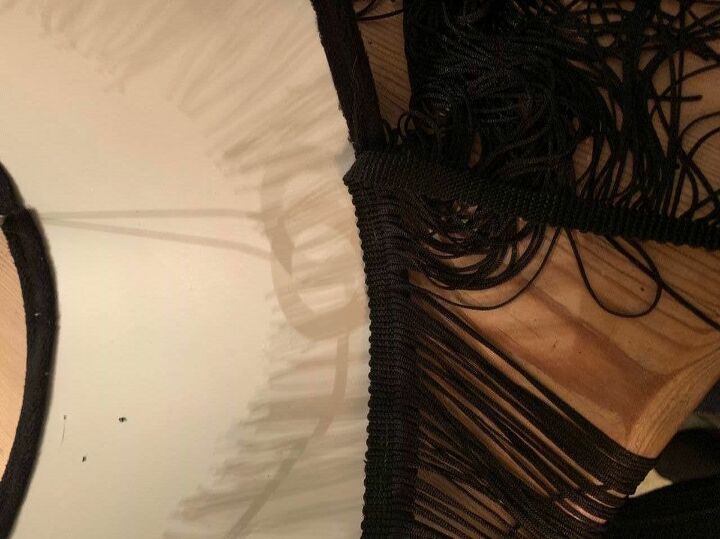
Once everything was dry I started gluing on the tassels, again I did about 2in at a time and I folded it in to the lip of the shade (on top of the material)
Et voi la!
Shake it baby! The shade is done! Owl is gold and shiny, just put your lamp back together and enjoy!
I should say a few things I learnt from doing this...
- The hot glue gun...it’s very hot! (obviously, or if you’re suffering from a serious lack of sleep like me, maybe it’s not so obvious), so i had to turn it down to low as it was also too hot for the shade and it started to go soft (melt) so turn it down!
- If you want the inside of your shade a different colour, do this first, I didn’t and later wished I had sprayed it black or gold so I may do this at some point.
- Tape any bits you don’t want painting, like the cable.
- Be brave, if you like something have a go. What’s the worst that can happen?
I hope I didn’t bore anyone, if you enjoyed this keep an eye out. I have plenty more where that came from!! Happy up-cycling!
Instagram:
Resources for this project:
See all materials


Comments
Join the conversation
-
I always keep a bowl of ice water close when using a gluegun
-
I can understand why!


Frequently asked questions
Have a question about this project?