


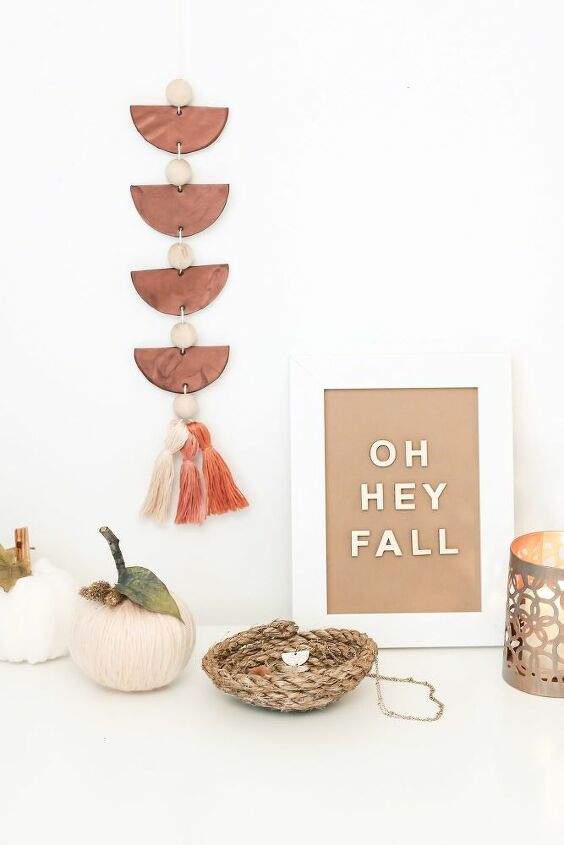
DIY Geometric Wall Hanging
Lately I have been seeing a lot of trendy decor that focuses on geometric shapes, and I really like the look of it. This style, combined with a natural wood element, is something that I wanted to incorporate into my own decor. Inspired by some pieces that I saw being sold in some of my favorite stores, I created this DIY geometric wall hanging.
Watch the video to see how you can easily make your own, or keep reading for step by step instructions. Enjoy!
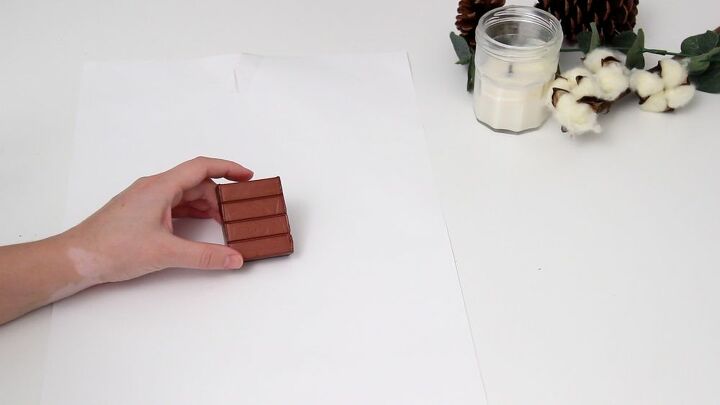
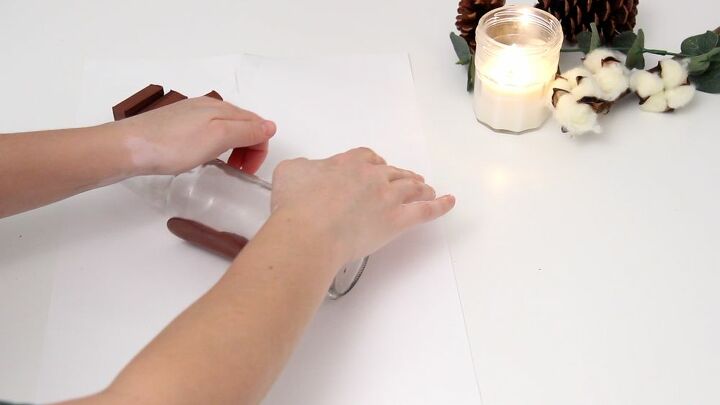
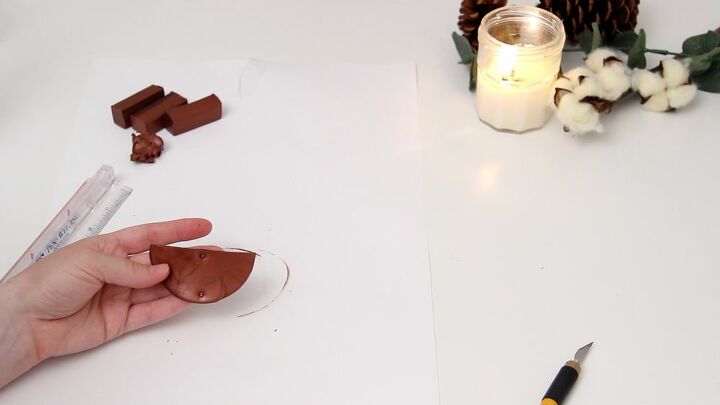
Using oven bake clay in your choice of color, warm it up in your hands and roll it out using a bottle or rolling pin. Then, using a glass or cookie cutter cut 2 circular shapes.
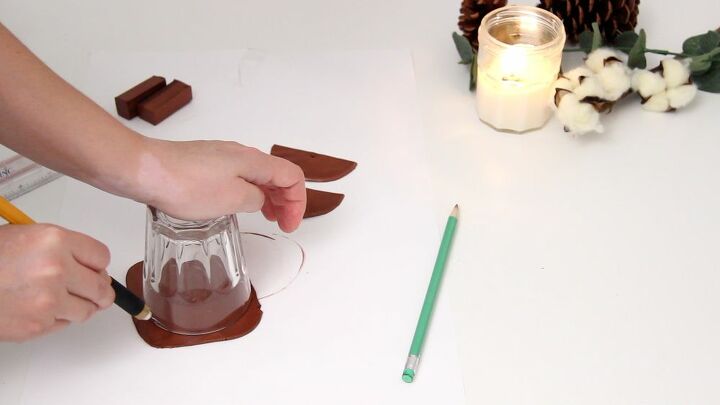
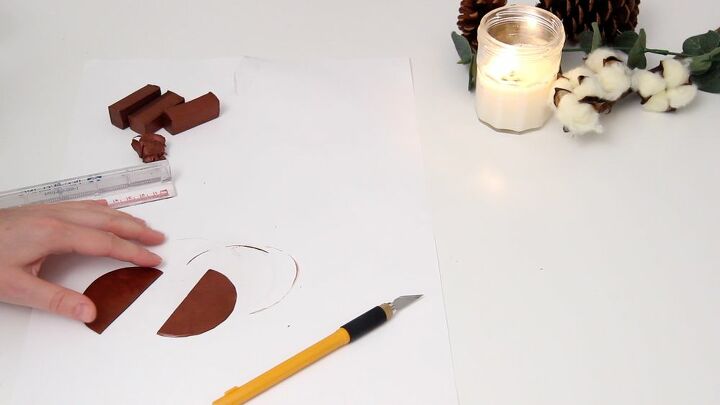
Cut each of the circles in half to create 4 half moon shapes. Using a pencil, make a hole on the top and bottom of each half moon. Bake in the oven according to the package instructions.
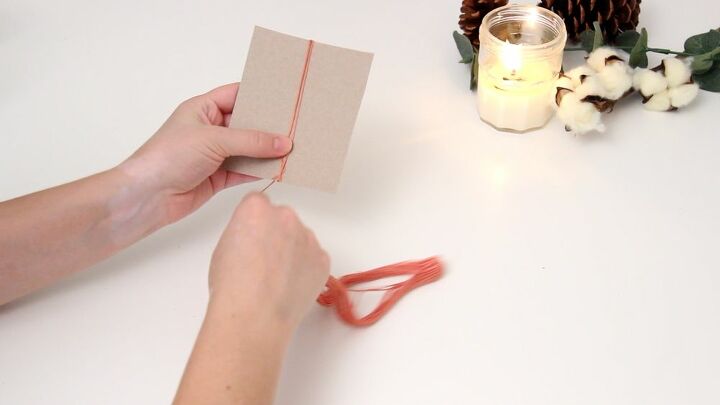
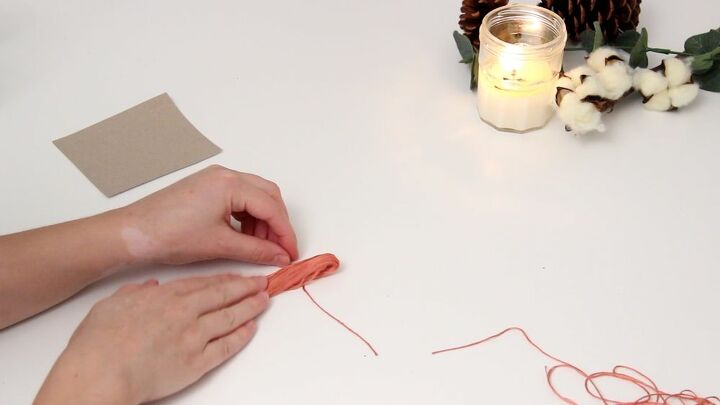
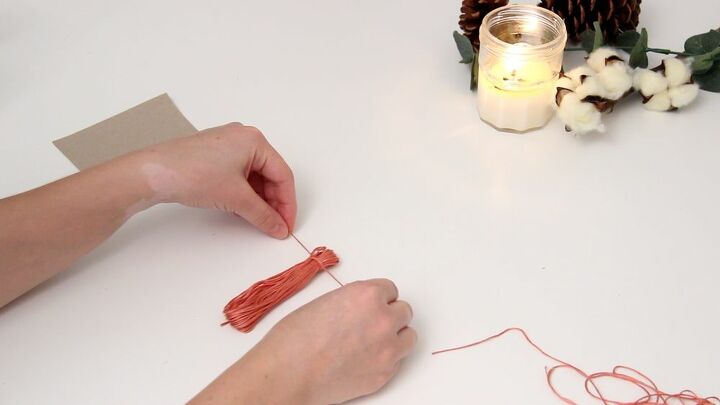
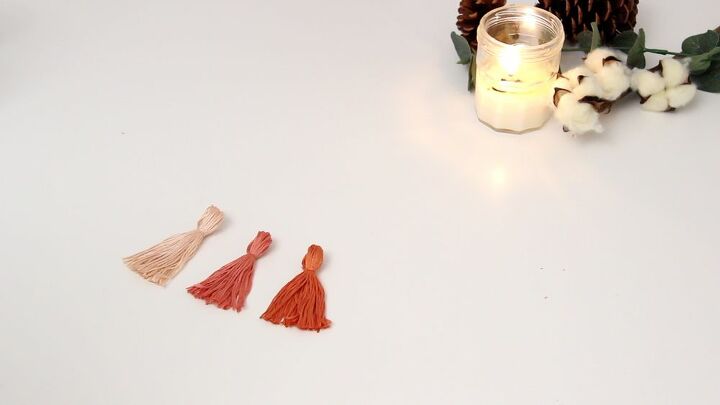
To create the tassels, wrap embroidery thread around a piece of cardboard multiple times. Cut the thread, then lay it down on top of another piece of thread. Tie a double knot. Slide your scissors through the loop at the bottom and cut across. Trim the tassel to the length that you would like it to be.

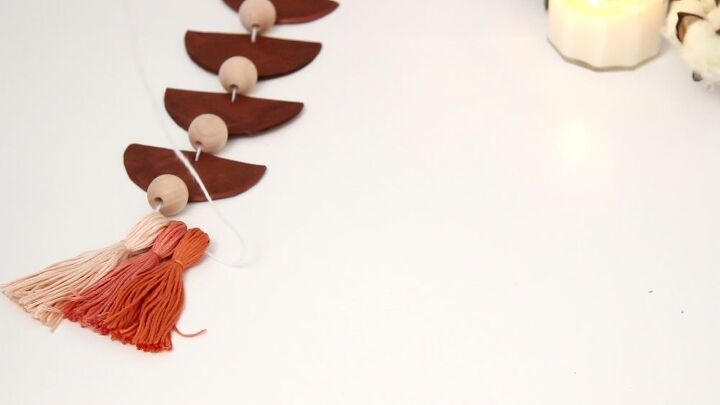
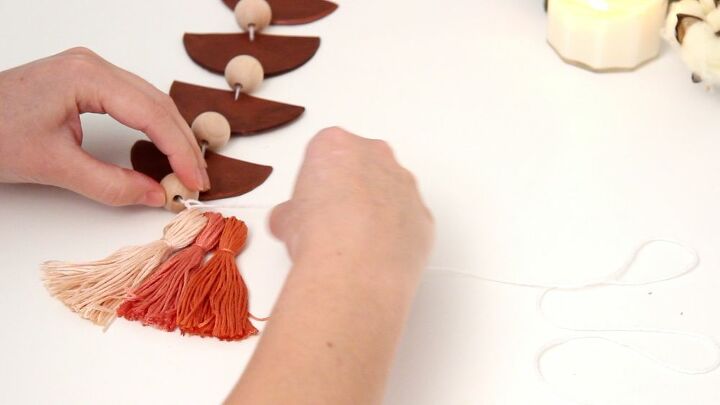
Using another piece of embroidery thread, tie a loop at the top so that you can hang it up when you’re finished. Thread on a wood bead, followed by one of the half moon shapes. Continue this process, alternating each piece, finishing with a wood bead.
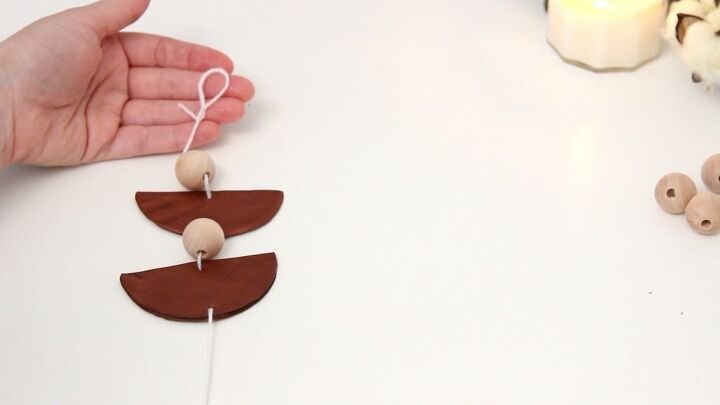
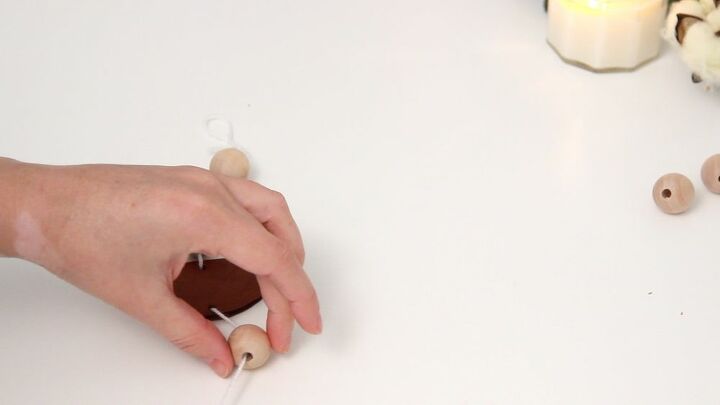
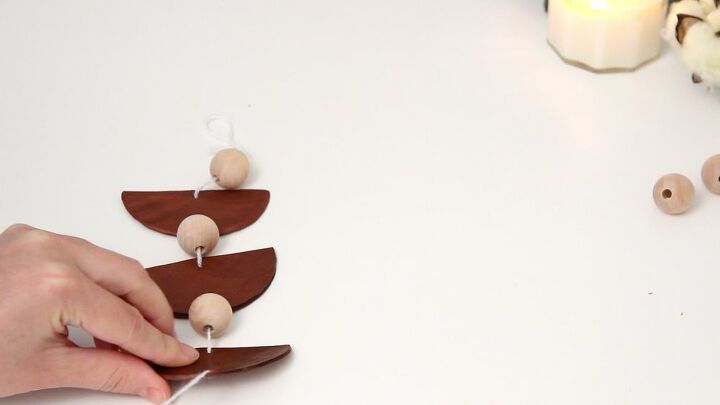
Slide the tassels onto the end of the thread, then use it to tie a knot around itself to keep them in place.
Hang it up and enjoy! This looks great hanging in my office, but it would also be adorable as nursery or other room decor. If you like this project and want to see more, visit my YouTube Channel. Don’t forget to share your DIY photos with me on Instagram or Facebook, I can’t wait to see what you make.


Frequently asked questions
Have a question about this project?