


How to Use Free Printables to Decorate a Downstairs Bathroom Door
A fun way to use free vintage bird printables to give your guest bathroom visitors something fun to look at!
I am one of those people who is always pinning pictures of free printables with the idea of using them for upcycling projects, but never sure exactly what that’s going to be. I was amassing a huge collection of pins of free vintage bird printables and it was actually while siting on the toilet the other day that I worked out what I could do with them! Namely upcycle the back of my toilet door!
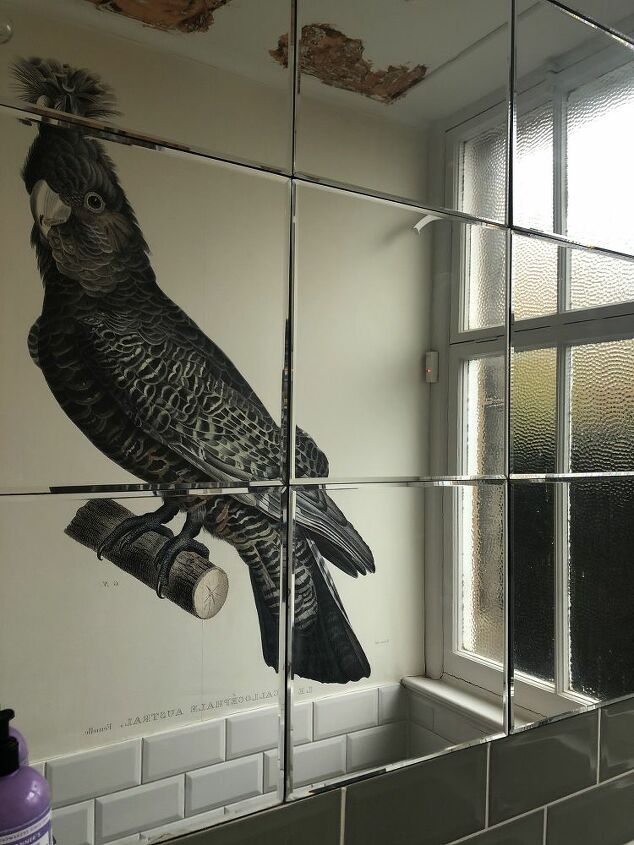
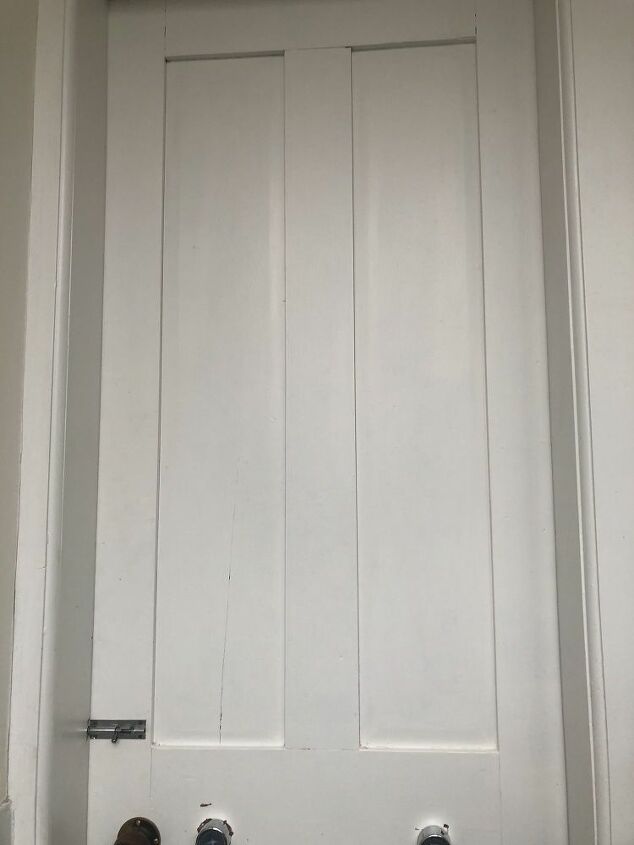
I was in my downstairs toilet to be specific, you know the one all the guests use when they visit. It’s tiny, and when we renovated our 1920s house I splashed out on one wall of the downstairs toilet with a huge vintage bird mural (not cheap!) and scrimped on the mirrors on the other wall ( I got stick on mirror tiles to fill the space!). What I neglected to do much with is the back of the door that all our guests stare directly at when they are doing their business!
So that’s where the free printables come in. The ones I found are in a very similar style to my huge break the bank mural so I thought they might complement it well and make the downstairs toilet even more over the top – which frankly is what I think a downstairs toilet is for! I decided to paste my images to the four inner panels of the back of my door.
The first step is to decide which of the many free printable images on the internet you want to use. There are tons!
This is because a lot of these gorgeous illustrations are over 100 years old which means the copyright has expired. You can’t use them for commercial purposes but you can go ahead and print them for your own fun projects.
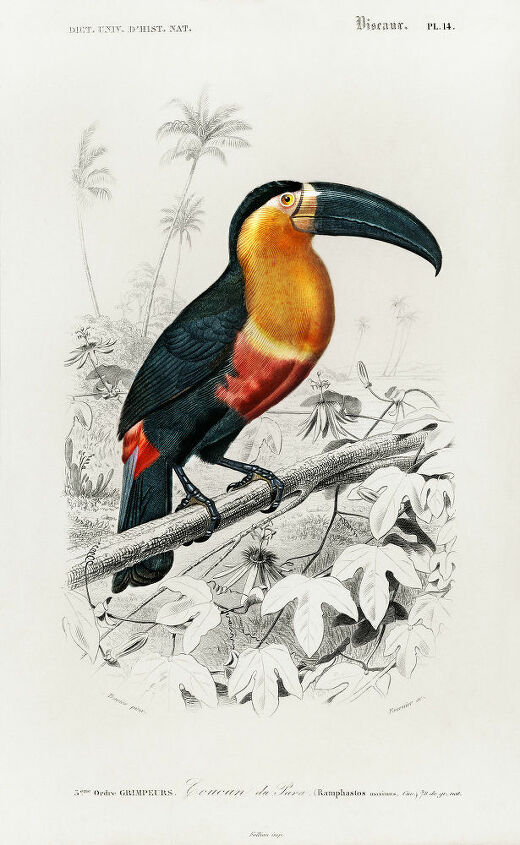
I specifically looked for free vintage bird illustrations as that was the style of my existing mural. If you are looking for similar images check out the original blog post for my top picks for sites to visit to download similar images. On the original blog you'll also find links to each image I used for this project so if you want these exact images you can find them too!
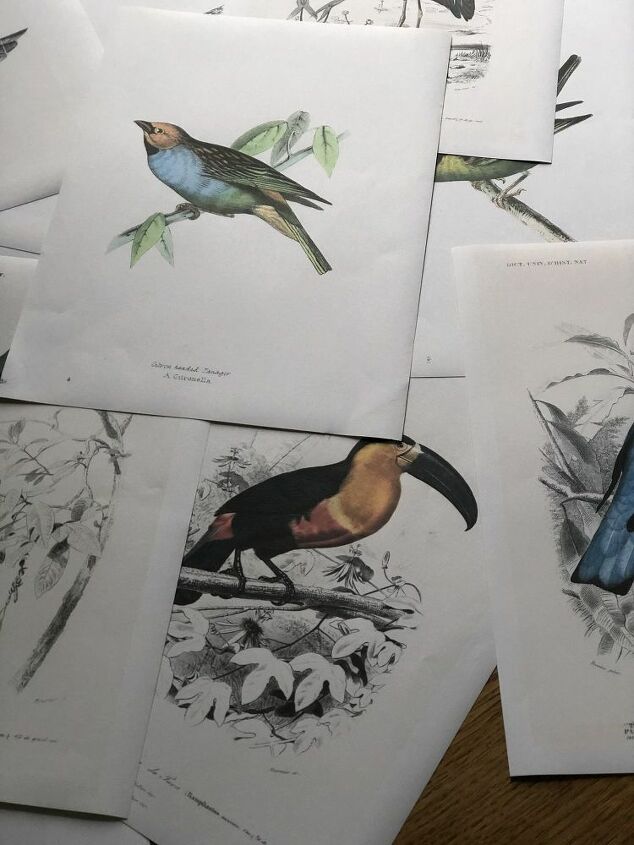
I used sticky back A4 label paper to print out my images. This is basically a full sheet of 8 x 11 printer paper but you can peel off the back and the whole sheet is adhesive.
I didn’t size the images at all, I just printed them as I found them and most of them pretty much filled a whole page.
My door had 4 recessed panels which is where I wanted to put my prints.
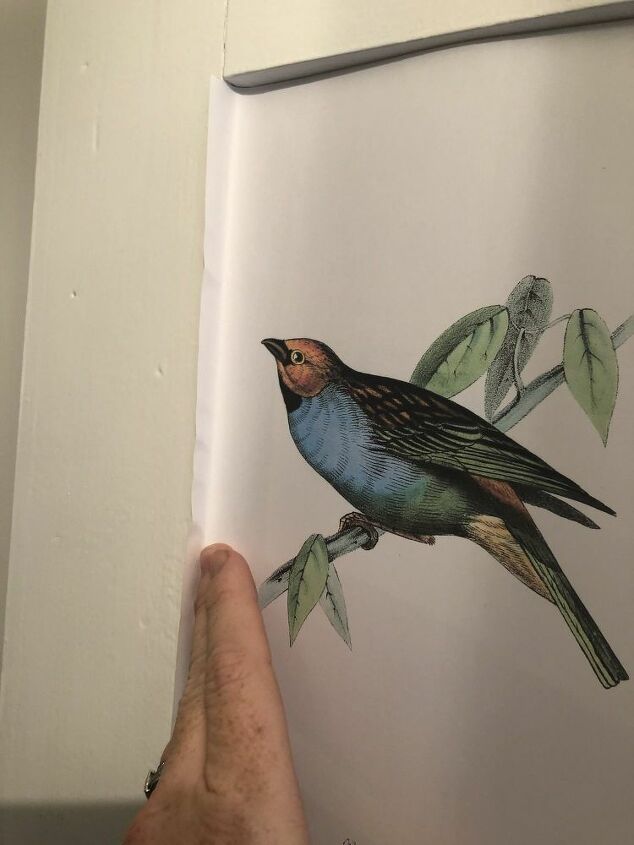
Once I had a rough idea of how many images would fit in my panels I started cutting them to size. The A4 sheets I printed the images on were slightly wider than my panels so I centred the image where I wanted it, pressed down into the edge of the panel and used a craft knife to cut off the excess before I removed the backing and stuck the image on.

I did the cutting and attaching as I went along. In order to fit my panel exactly I cut the border off of some images or covered the descriptive writing at the bottom by overlapping the next image. You can play around to see what fits the space you are covering with this technique.
Because my door is original to the property it is not a completely flat surface so I had to smooth out little air pockets with my fingers as I went along, in much the same way that you would when putting a protective screen on a mobile phone.
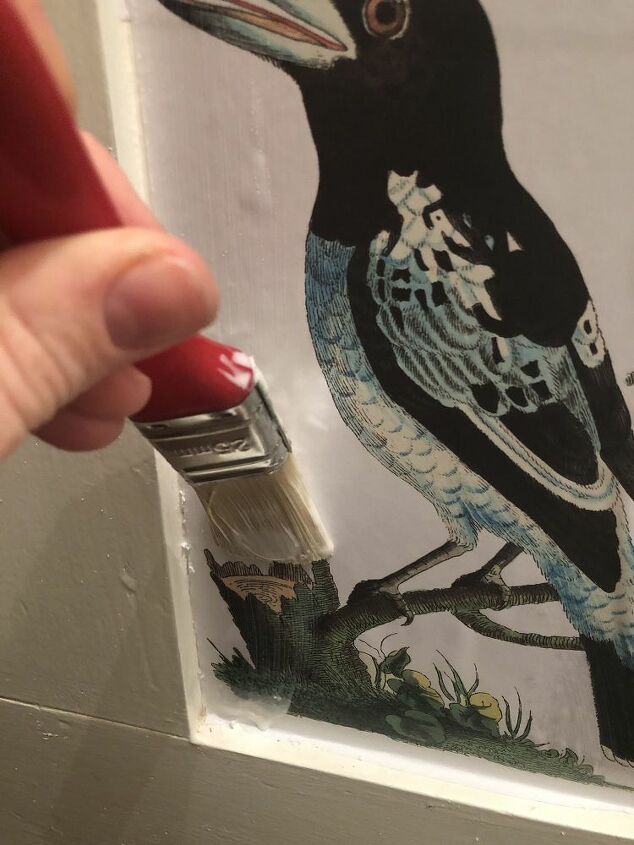
The last step is by far the most important, especially as I used this in my downstairs bathroom/toilet.
I sealed everything with 3 thin coats of Mod Podge. I used a brush, but you could equally use a craft sponge.
When I did the first coat I found the moisture from the Mod Podge created some more air bubbles which I had to smooth out with my finger as I went along. I didn’t need to do it again for the other coats though.

I'm pretty pleased with how it turned out and it is definitely more interesting to look at then a plain old white door!
If you want more process photos or you would like the links to download the printables I used click the link above to the original blog post.
Resources for this project:
See all materials


Comments
Join the conversation
-
The prints are so beautiful!
-
Great idea! Looks really pretty


Frequently asked questions
Have a question about this project?
Did you keep same ink for printing copies or change it? Looks great!