


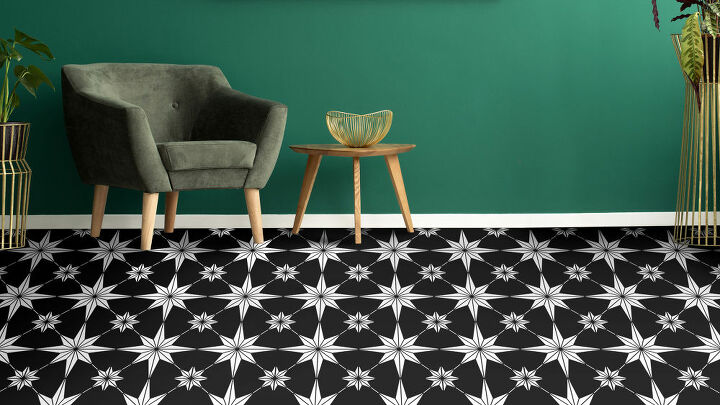
Faux Designer Tile With Geometric Tile Stencils

Cutting Edge Stencils wants to share more stenciled tile floor inspiration with you this week! We are going to show you how to stencil our Star Tile Stencil pattern from start to finish! Make sure to go to www.cuttingedgestencils.com to get yours today!
Sand your floor down with 120-220 grit sandpaper. This will allow the paint to adhere to the tile floor better. Tile stencils work on all types of floors! We’ve even stenciled a linoleum floor a year ago and it still looks brand new! When you’re done sanding, pick up the left-over dust by wiping your tile floor down with a wet rag. Once the floor is dry, tape the perimeter of the bottom of your walls with blue painters tape.
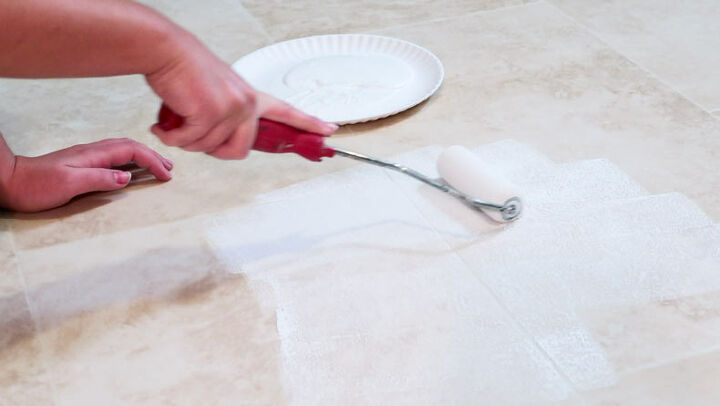
Next step, priming your floor. Priming ensures better adhesion of paint to the surface and increases paint durability. We always recommend STIX primer because we found it provides the best adhesion. Apply 2 coats of primer and allow it to dry overnight.
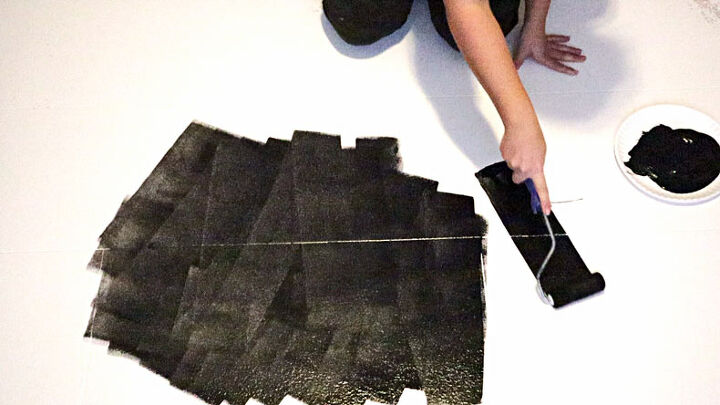
Roll on Black by Benjamin Moore with a dense foam roller for stenciling. It’s super important you paint your tile with paint in a flat latex finish, otherwise you will increase your chances of stencil seepage under the tile stencil. Apply 2-3 coats of paint before you begin stenciling.
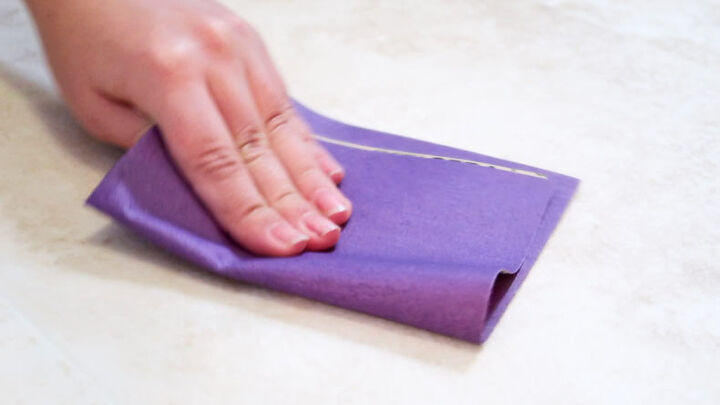
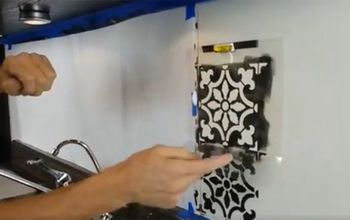
When stenciling faux tile, you want to reduce chances of stencil seepage or “bleed” as much as you can. A great way to do this is to apply repositionable spray adhesive to the back of your tile stencil! This will allow the stencil to stick to the painted tile floor and prevent the stencil from moving during your DIY project.
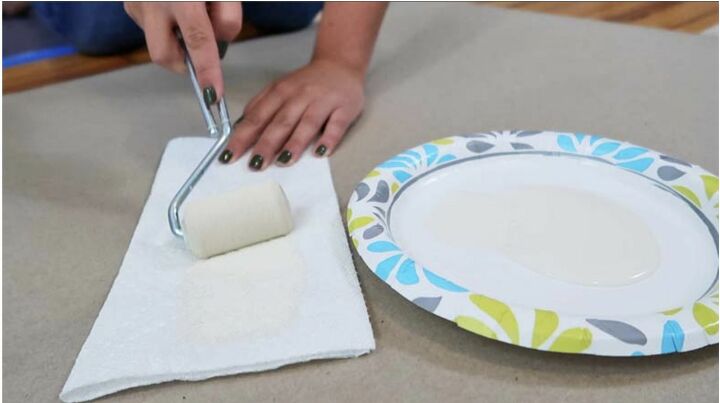
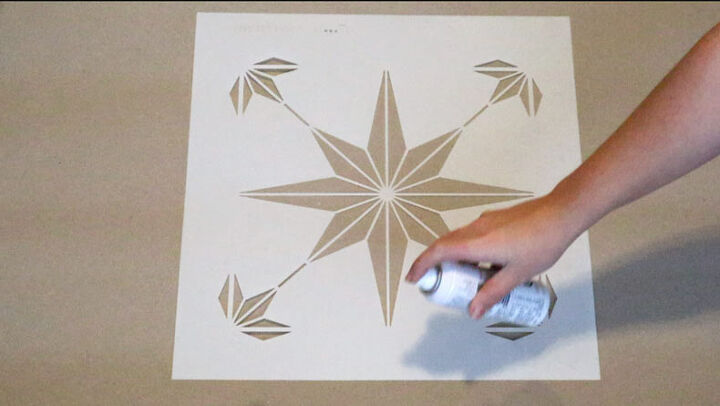
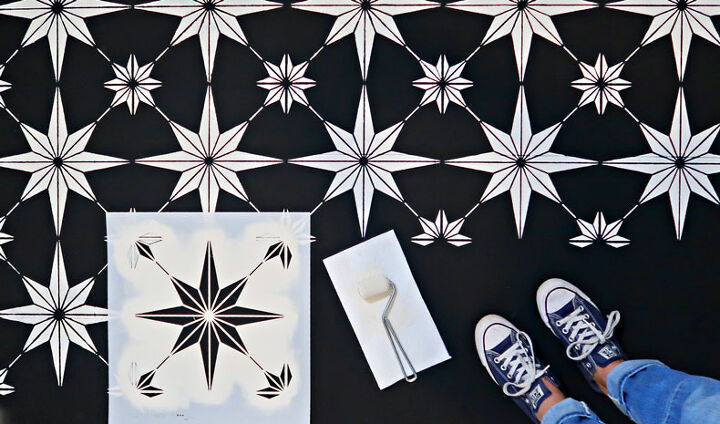
Evenly load a 2″ dense foam roller for stenciling with your tile stencil color. We wanted to stencil a high-contrast floor so we choose White by Benjamin Moore. For the best results, we are stenciling with paint in a flat latex finish!
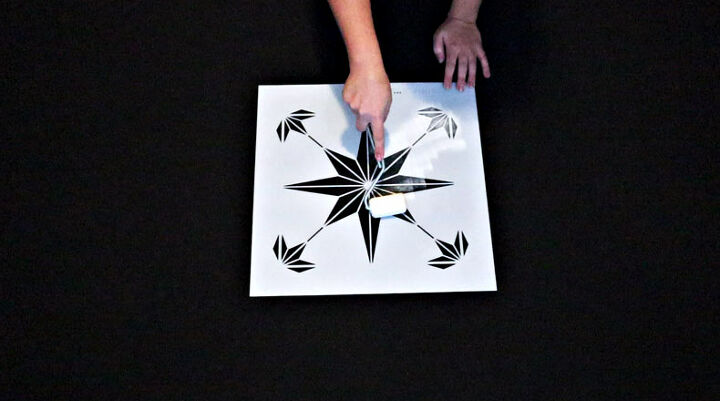
People commonly think that just one thick layer of paint will do the job. It’s quite the opposite! Roll-on (2) light layers of paint over the tile stencil for nice crisp lines. If the paint starts to pull up, just wait for the first coat to dry.
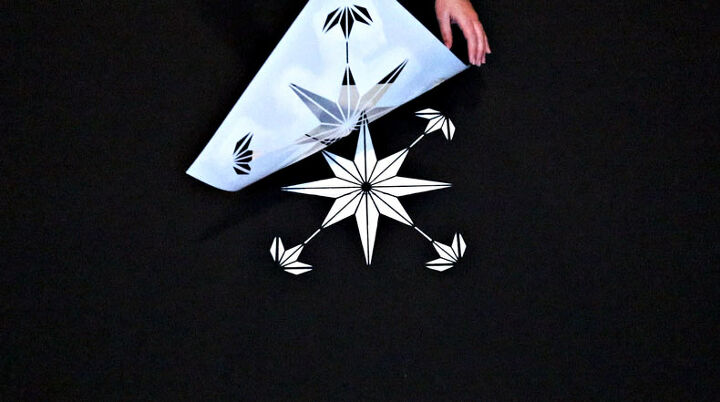
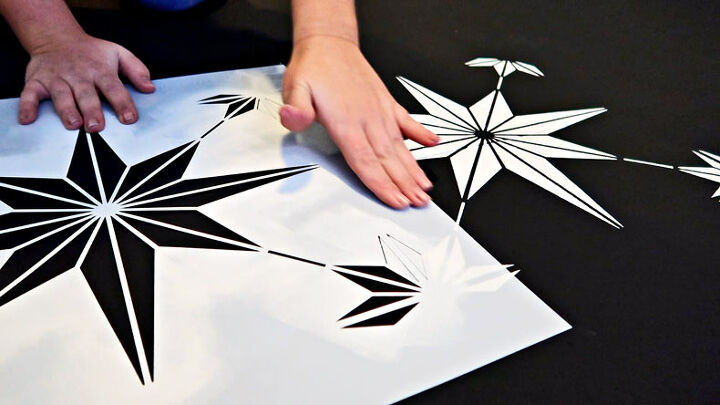
Once the paint has dried, realign the stencil with the previously painted registration marks and repeat!
Resources for this project:
See all materials


Comments
Join the conversation
-
Wow. The black is beautiful!
-
Beautiful!


Frequently asked questions
Have a question about this project?
The product list shows semi gloss paint but your instruction says flat latex can u please clarify
How well does this hold up? My husband is skeptical that is will continue to look good.
First I would like to say how lovely this looks. My question is once it is all done did you put a sealer over it all to help protect it from daily use ??