


Updated Tiny Entryway

This will help show you how to make any entryway look more inviting, but especially a small area that would otherwise look boring and uninviting.
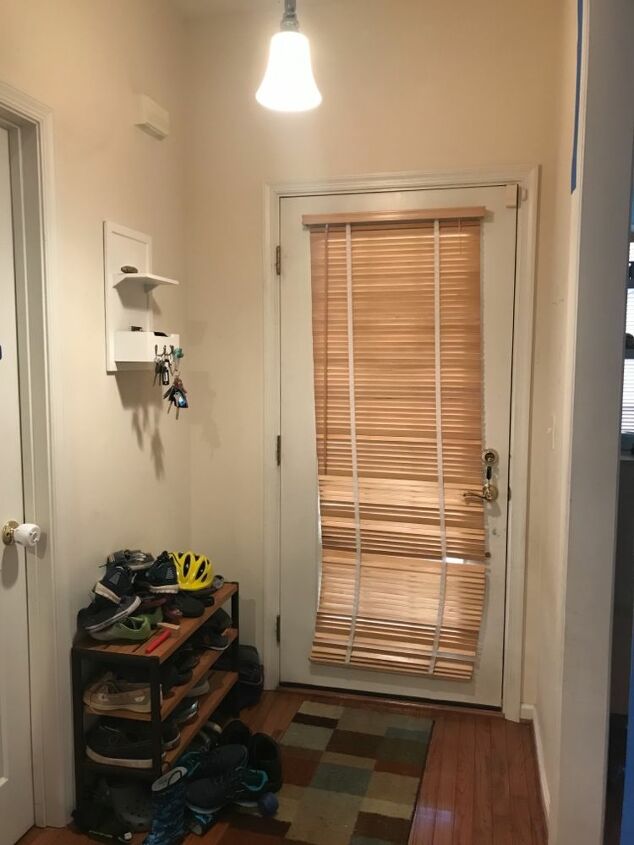
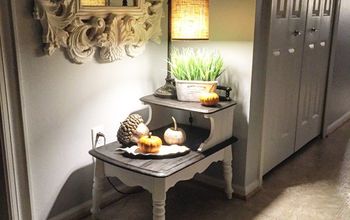
This is what my front door and entry way used to look like on a regular basis. And this is what we, and our guests would walk into when coming in the front door- I always disliked it!
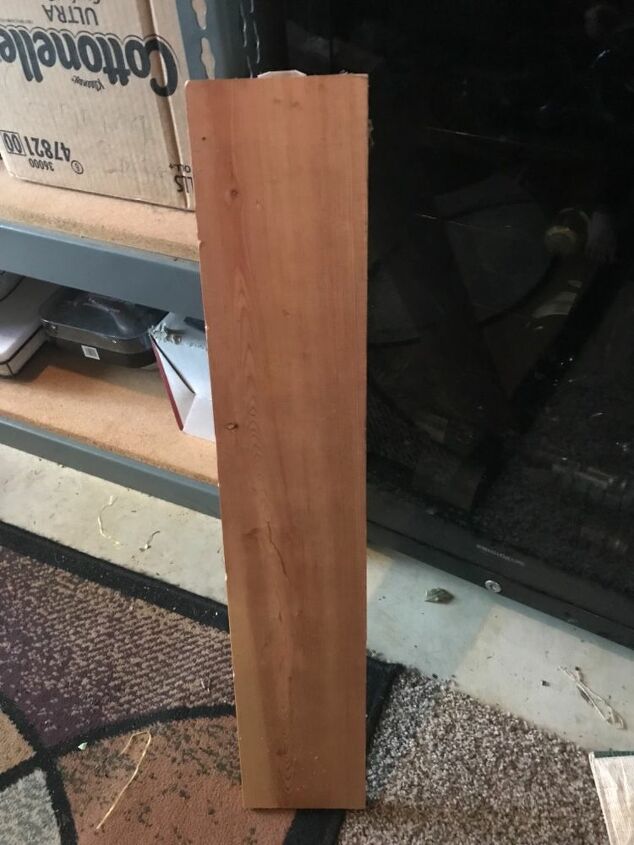
I started with a basic piece of wood that you can either buy or even find laying around your house probably. I’m going to show you how I made this into a coat rack.
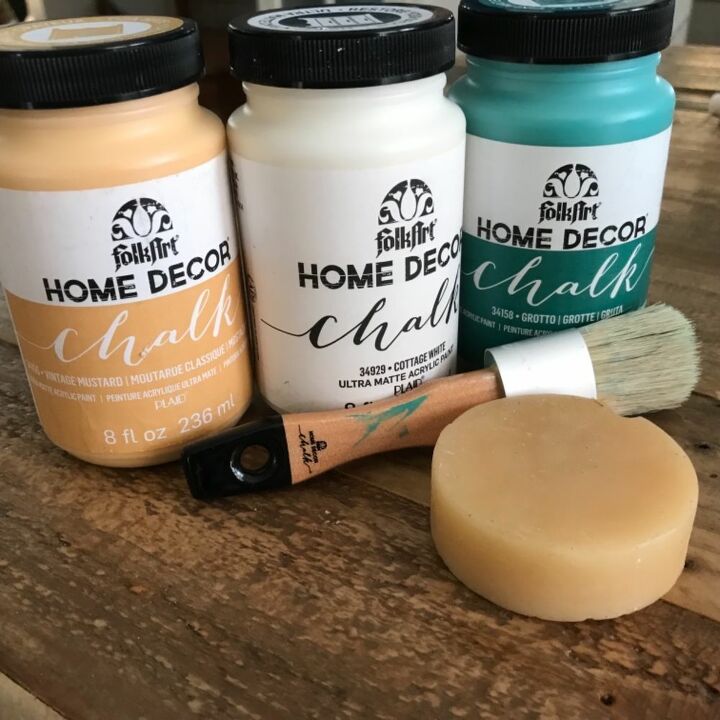
And if you’ve seen my projects before you can probably guess I pulled out my favorite FolkArt Home Decor Chalk Paints. This time I used vintage yellow, cottage white, and grotto. Also my chalk brush, and then a wax puck to help with distressing.
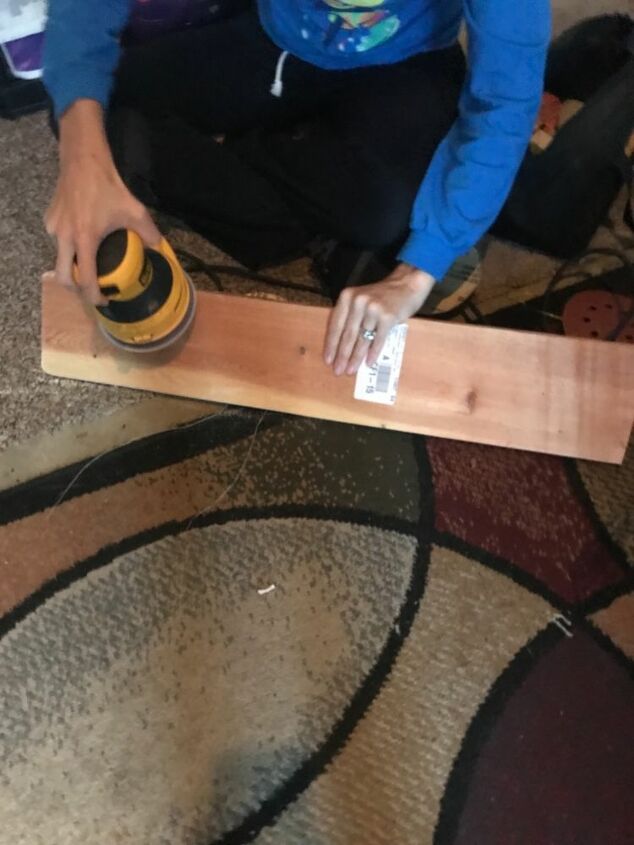
So I got work with the power sander, rounding the edges and corners of my piece of wood to give it more of a worn look.
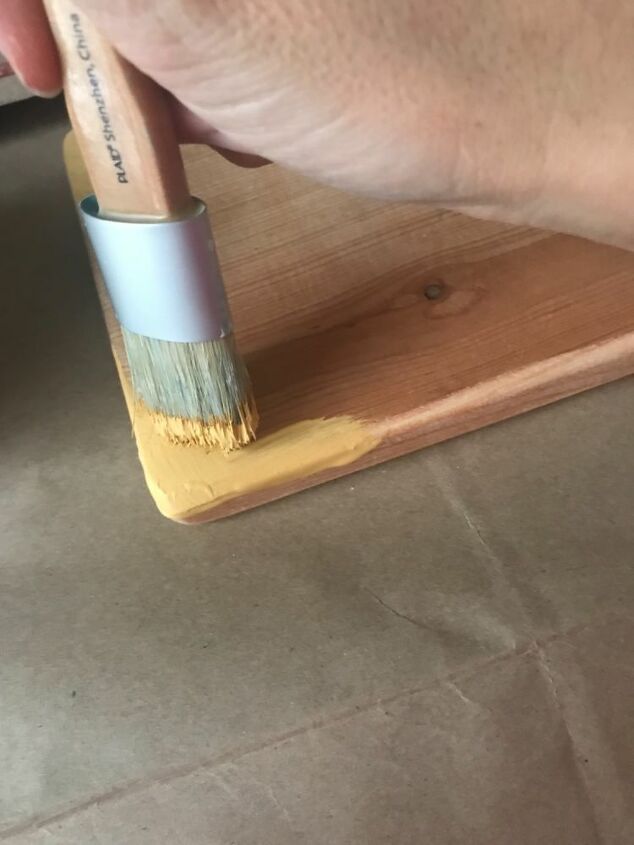
And then I started adding my paint. I wanted my wood to be white, but have l shades of yellow and teal coming through in distressed areas.
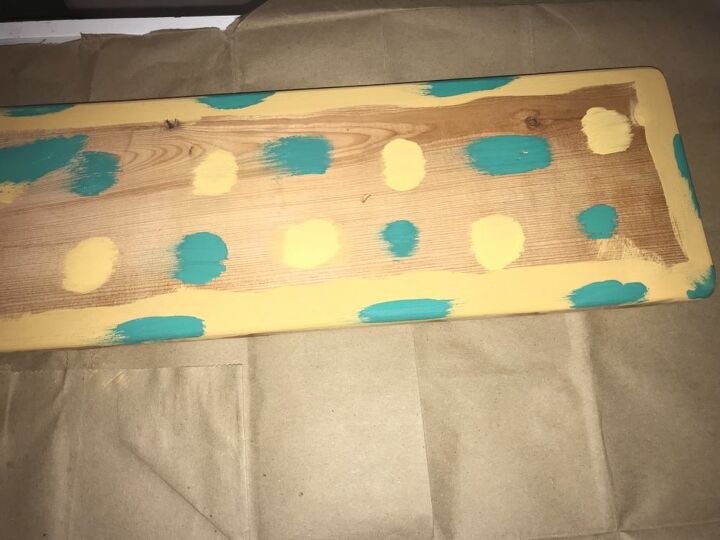
After painting the underlying colors this what my wood looked like.
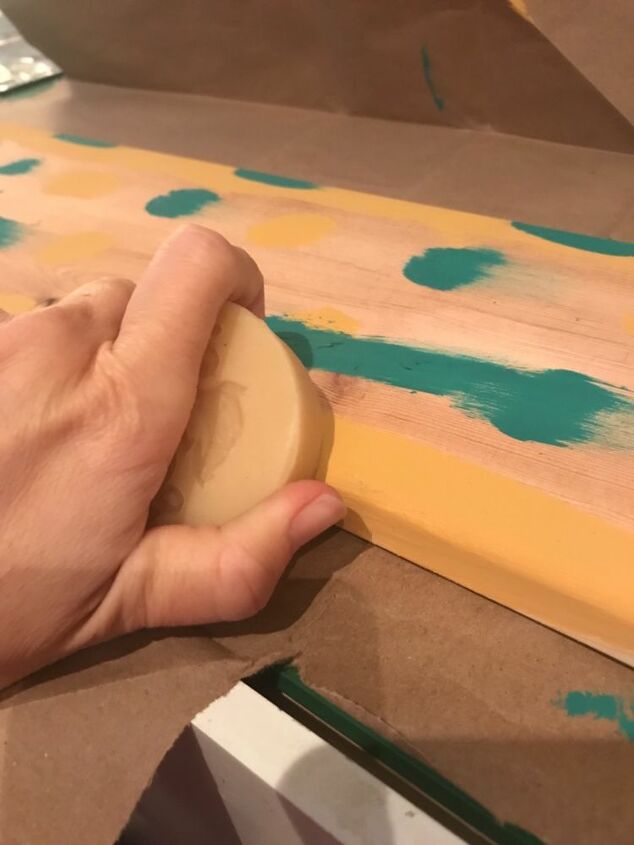
Next I used my wax puck on the colored areas and rubbed it along to make distressing easier, after the paint was fully dry of course.
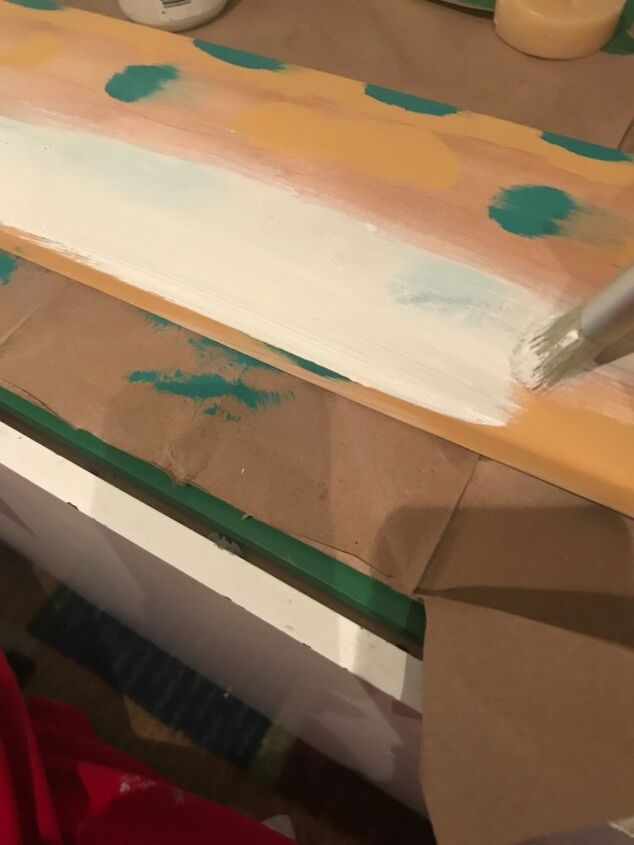
Next step I added my white paint. Just one coat was all it took.
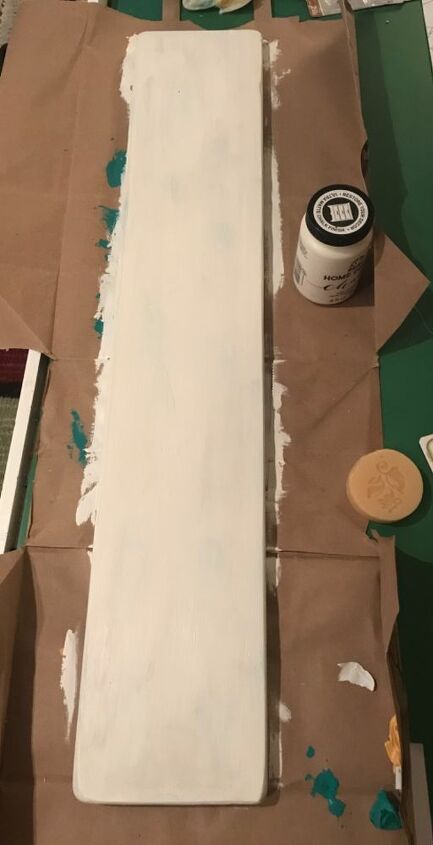
And here we are with the white done.
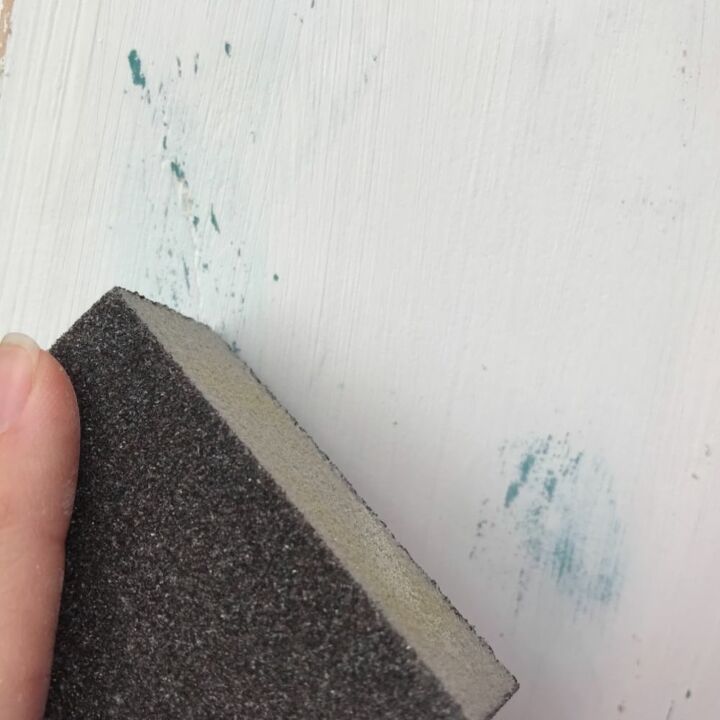
Then once the white paint dried, I distressed my wood. The Vintage Yellow paint did not show through as well as the Grotto, but I liked it nonetheless.
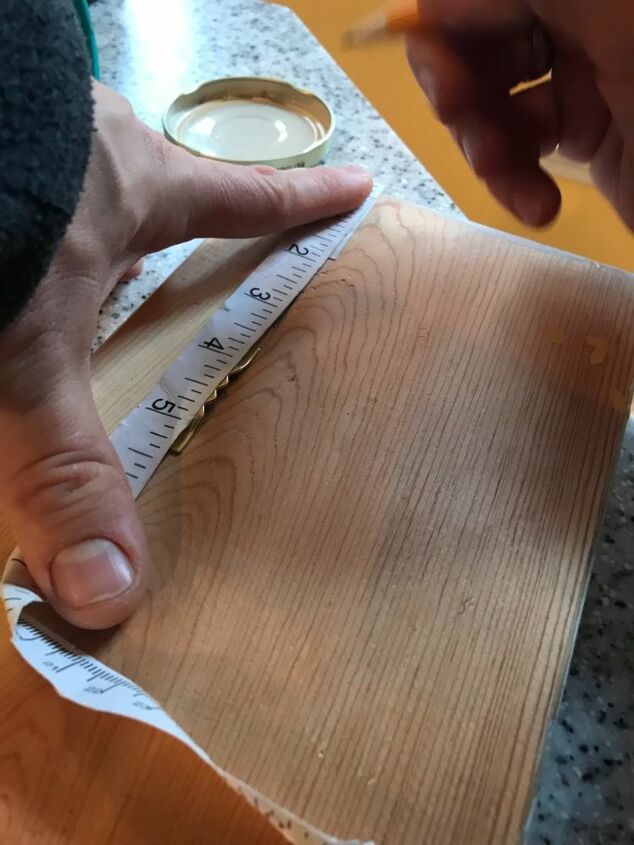
We used photo frame hanging hooks so we could eventually hang the wood on the wall. It’s important to measure to make sure the two hooks are hung evenly. I would not use less than two frame hooks if you want to hang anything substantial on your front coat hooks.
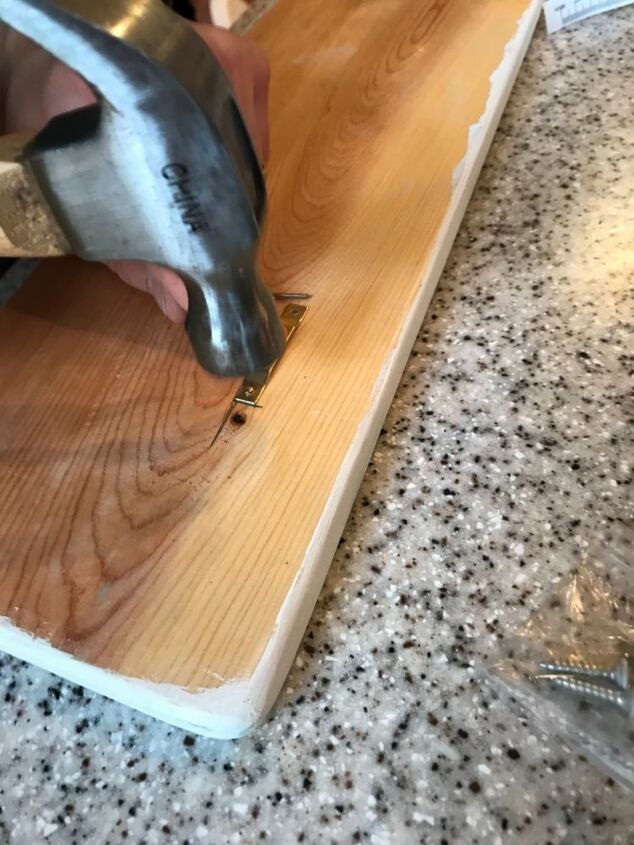
And we used tiny nails to make sure the frame hooks were secure in the wood.
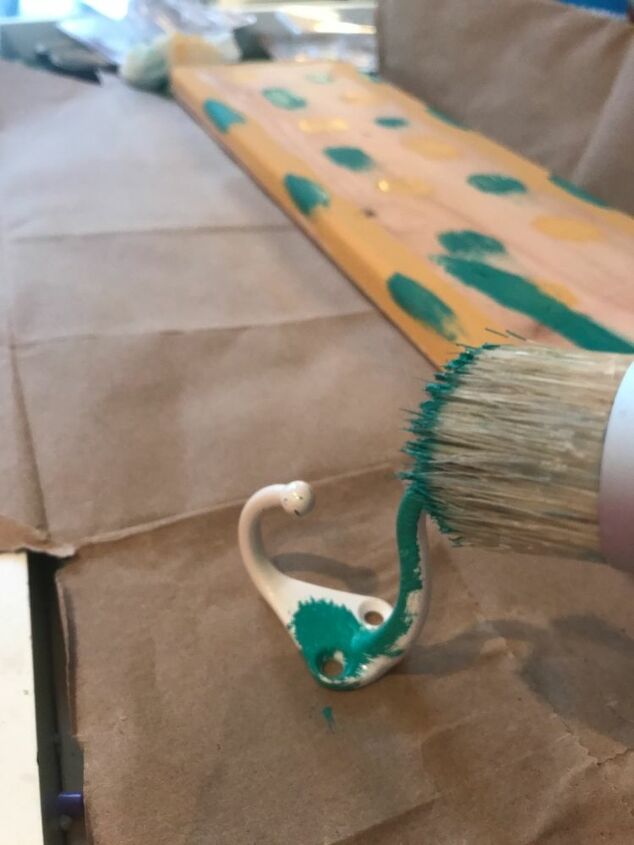
I bought basic coat hooks at the hardware store but I wanted them to pop, so I painted them with the Grotto shade of paint.

Next step was to drill holes and then screw in the coat hooks to the front. It’s also important to measure these holes so the hooks are even, making sure they are all the same height from the top and spaced evenly.
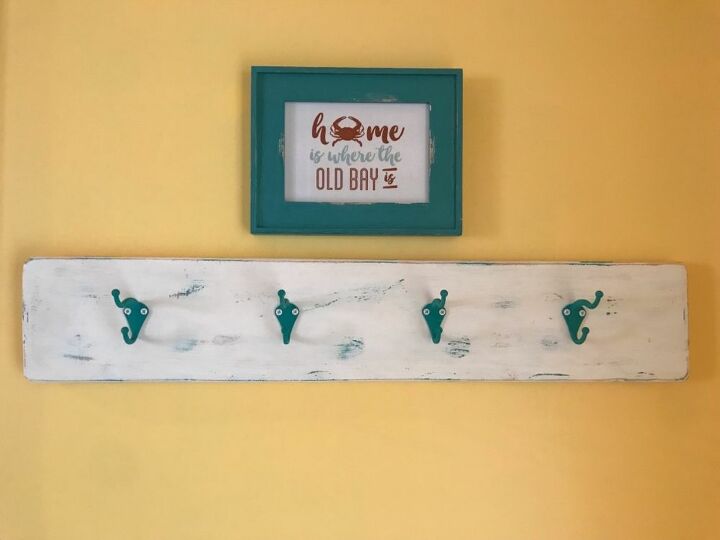
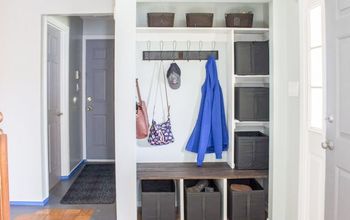
After painting the entryway/kitchen (our front door opens into our kitchen area), we hung the new coat hook! And I finally got to hang this picture above it. I’d had it for awhile and was waiting for the right spot for it. I’m in Maryland after all ;-)

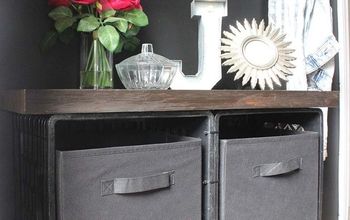
And at last, the final “after photo”! I had to spend a lot of time looking for a bench/ shoe rack to fit this space. And I loved the little baskets too. The best part is it came out of the box assembled! I had only 33 inches between the front door and the powder room door. So when I said a tiny entry way, I meant small! The old shoe rack is still very useful as we have many shoes in a family of 4. And I moved this down to the basement. We now only have a favorite pair of shoes per person at the front door.
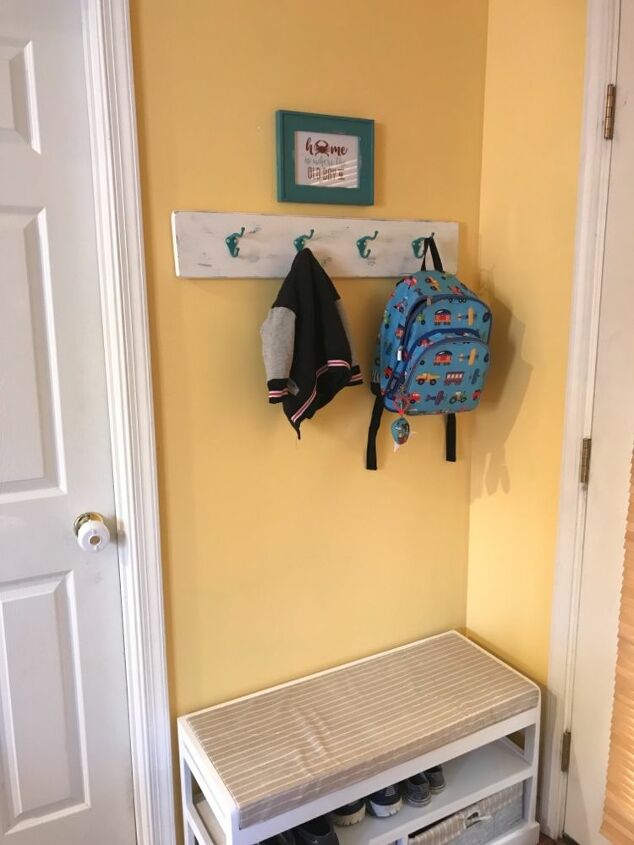
And now we have a nice spot for things like jackets and backpacks, rather than just the floor.
Resources for this project:
See all materials


Comments
Join the conversation
-
Wow, what a difference. It's so neat and organized now. Great job!
-
This is awesome! So happy that you were able to do this upgrade. ♥


Frequently asked questions
Have a question about this project?
They could also be painted???? But they still look nice and clean seems the look you are going for clean/unclutered❤️