


Painted IKEA Furniture for the Win!!!

2 Materials
$50
3 Hours
Medium
I turned a scuffed up old IKEA TV stand...
into a fabulous dining room display/storage cabinet using Annie Sloan Chalk Paint, and adding cute feet. And it was so easy!We bought this cabinet about 4 years ago in the black/brown finish (they didn't have white at the time).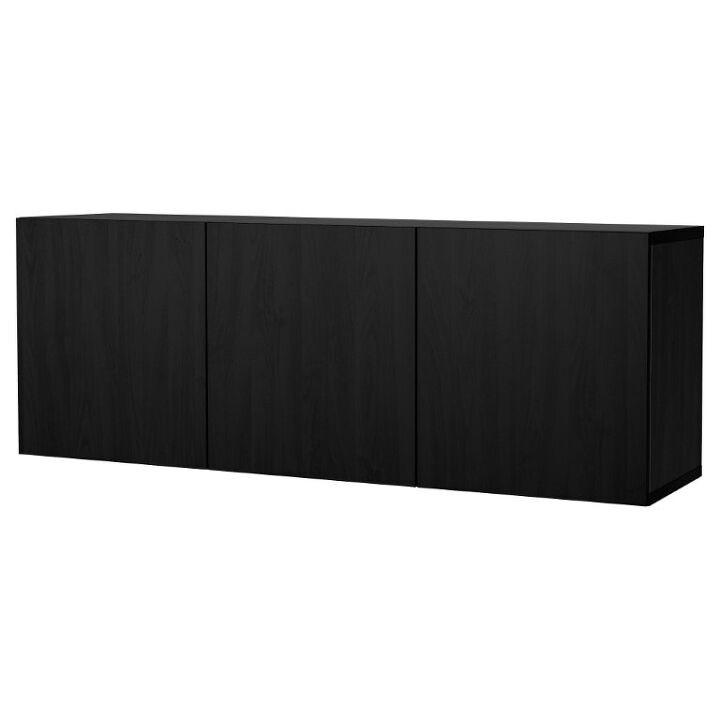
I don't like dark colors so the first thing I did was paint it with Annie Sloan Chalk Paint in Old Ochre which was fine for the house we lived in at the time (and it was 5 years ago, styles take time to develop). :)This cabinet moved to Washington and BACK to Az with us and was in serious need of a makeover.We've been using it as a TV stand but after mounting the TV to the wall it was no longer necessary in that space.
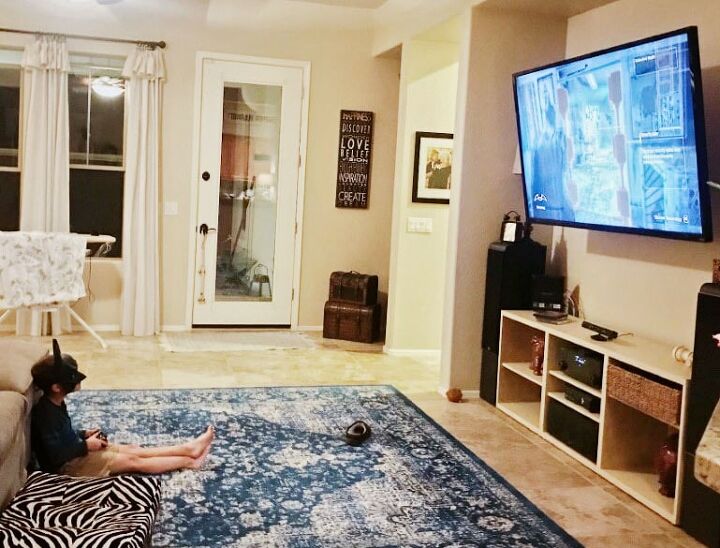
From the day we moved into this house...
I have wanted to do something that would separate the dining room from the family room (they are basically one big room and I prefer a little more separation which, In my opinion, gives each space a more cozy feel).We have a sectional, half is against the wall in the family room and the other half backs up to the dining room.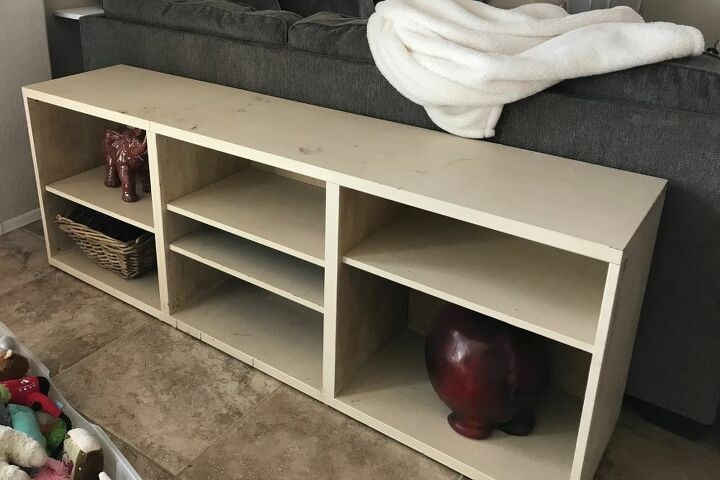
One night while watching tv...
I thought that perhaps I could paint that old IKEA furniture cabinet, put feet on it, and sit it behind the sofa as a display/storage cabinet. I measured the cabinet and the sofa and realized it would be a perfect fit and would also help deter grand-kids....and dogs...from jumping over the back of the couch. We moved it into the space and I immediately saw my idea coming together.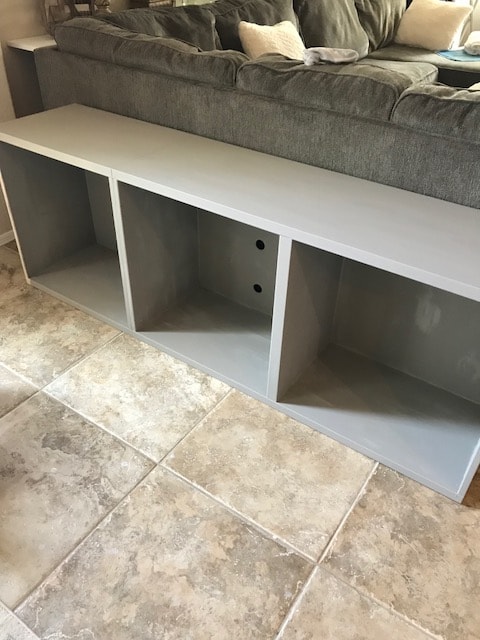
Then for the fun part,
Annie Sloan Chalk Paint in French Linen applied as a base coat. I know what you're thinking..."What? You're not painting it white!?!?". Not this time...and the reason is that I intend to display white dishes on it...and it needs to blend from the dining room into the living room so I decided on a gray base (to match the sofa) with white highlights (to match the dining room). Make sense? Anyhow, I put two coats of Annie Sloan French Linen on to make sure the Old Ochre was completely covered.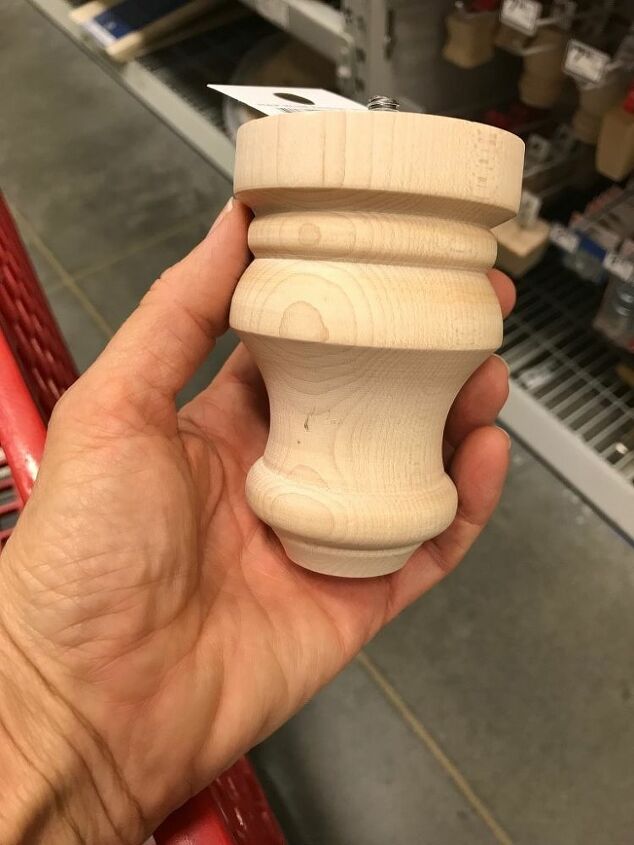
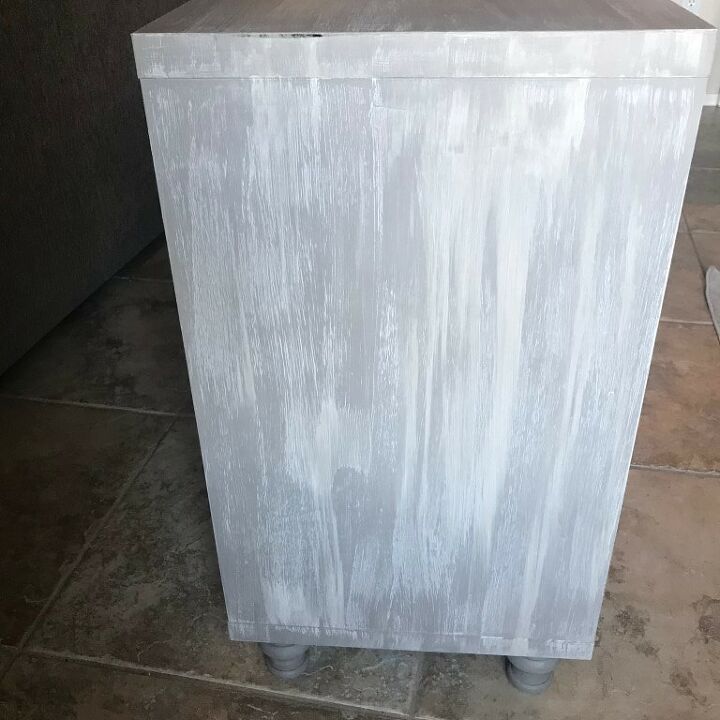
I couldn't wait to see how it looked with feet.
I picked up these curvy little cuties at Lowe's and Dee attached them to the bottom of the cabinet in minutes. He's so handy like that. :)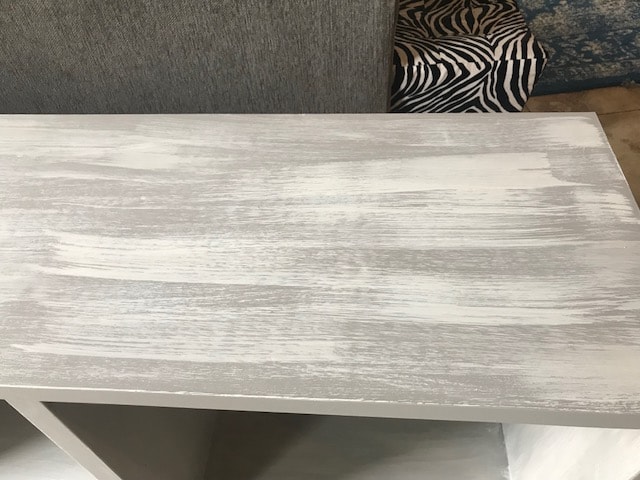
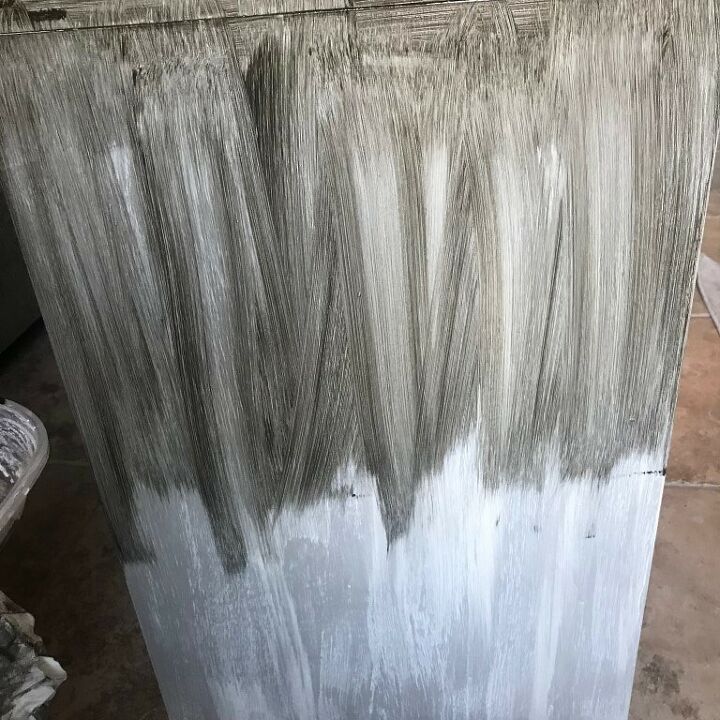
Next, I mixed Old White with water (about 50/50) to make a wash and, using a brush, lightly applied it in individual strokes.
I just put the strokes wherever I thought was needed until I liked the way it looked. I liked what was happening but it still wasn't blended enough for me. So...I grabbed a sanding sponge and small bucket of water and got to work. Wet the sponge, wring it out and then lightly sand the surface just enough to blend the paint colors. I'm beginning to love the look! Definitely gives it a weathered vibe...some may call it Beachy!
After it was all painted...
and the 2 layers of paint were blended, I then waxed the entire cabinet with Annie Sloan Clear wax. Considering the fact that this particular piece doesn't have a lot of small detail...waxing wasn't difficult at all. Just a bit time consuming, but necessary since I know that the top of it especially will get glasses and things set on it. Wax really helps it to hold up to traffic and it's fairly easy to add another layer of wax in a year or so, if it needs it.At this point, the cabinet was looking pretty awesome...
but something was still missing. I wanted it to be a bit richer in color, I know, weird, because I DO LOVE WHITE, but this piece needed to coordinate with the sofa since it was going to live right next to it. So, I applied Valspar Antiquing Glaze in Asphaltum over the entire piece, a section at a time, wiping it off as I went. That was the missing piece. I loved how it turned out and am so glad I took the time to do all the steps.
My dining room feels complete now
and I'm so happy about that. The table, hutch, bar stools and display cabinet all work together to give this space a light, bright and cozy feeling.If you have any old IKEA furniture
that doesn't make you happy.....throw some paint at it. It's amazing what a little paint can do!Happy painting, my friends, have a wonderful day!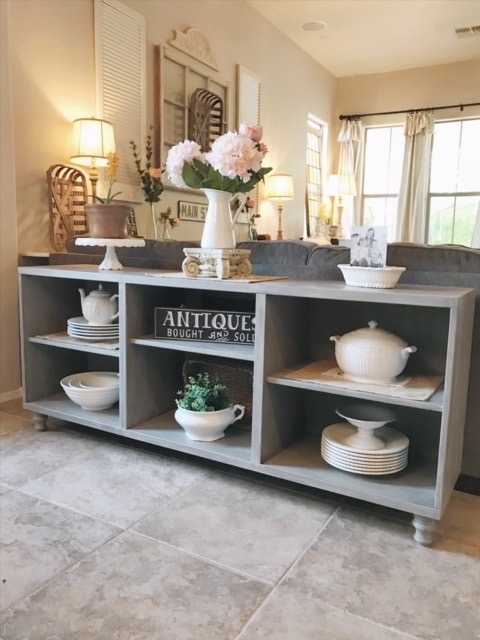


Any price and availability information displayed on [relevant Amazon Site(s), as applicable] at the time of purchase will apply to the purchase of this product.
Hometalk may collect a small share of sales from the links on this page.More info
Comments
Join the conversation
3 of 150 comments
-
What makes this piece are the feet! It ramps it up several notches into furniture, as opposed to college dorm! Well done. The color choice is spot on.
-
WOW ... I love this transformation. From blah to beautiful ~ the color is perfectly subtle and quite classy. And adding the feet are definitely a game changer. Very impressed with your creativity ... WOW again!!
Thank you very much for sharing AND inspiring!


Frequently asked questions
Have a question about this project?
This isn’t a question. This is by far one of the best furniture hacks I have ever seen. That turned out absolutely gorgeous.
Sooooooooo cute
is the cabinet wood? Or is it the kind where it is like paper covering it?