


DIY Deck Refresh

I dragged my feet on getting this project started…but our deck was in desperate need of an update so we recently buckled down and got it done. It had been painted around the time that we purchased the house four years ago. Since then it has slowly become weathered and chipped and very dingy looking. Below I’ll walk you through the process of our easy DIY deck refresh.Disclaimer: In the name of full transparency, please be aware that this blog post contains affiliate links and any purchases made through such links will result in a small commission for me (at no extra cost for you). As an Amazon Associate I earn from qualifying purchases.Like I said above, our deck had been painted by professionals when we bought our house four years ago. I was on the fence about keeping the deck the same style or going a completely different color, but ultimately decided to do something very similar to the original look. The product our painters had used was Sherwin-Williams deck and dock paint. The great thing about this paint is that it is super thick and fills in a lot of the cracks and grooves making the wood surfaces look almost new! We decided to keep things simple and stick with the same product for our refresh. (Just FYI- this is not a paid promotion…just sharing the product I used!)
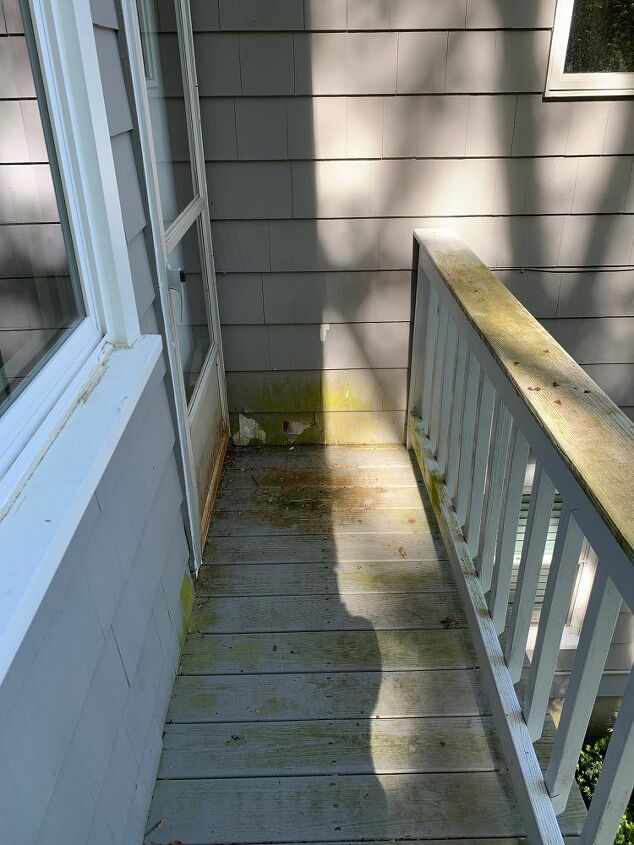
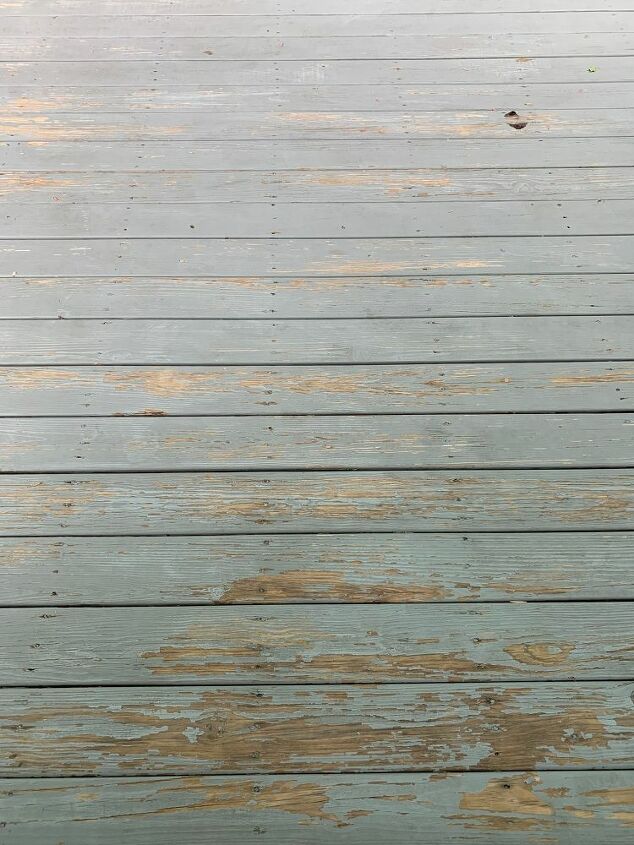
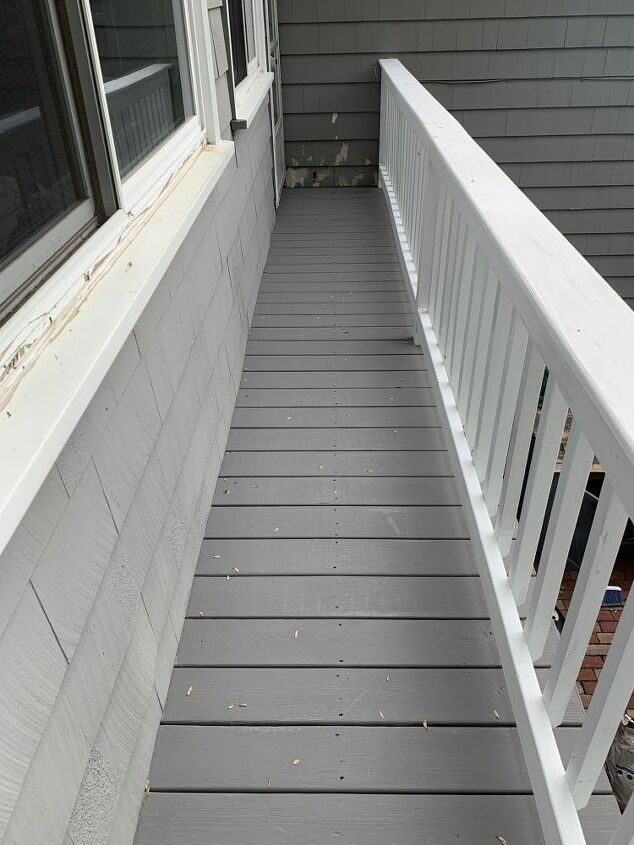
Before Deck RefreshI’m a bit embarrassed to show you the before shots…but it is a necessary evil I suppose. This deck clearly has not been washed in years. Oops.
PrepFirst things first, this baby clearly needed to be hosed down. It was so, so, so, so dirty. Like way more disgusting than I anticipated. We recently purchased a pressure washer knowing that we would have a lot of cleaning projects coming up. Pretty reasonably priced and it worked great! You can always rent one but if you think you will use it for more than 3 projects, it basically pays for itself. We went over the deck surfaces two times to get all of the dirt and grime off prior to painting.
Next up for prep, I took my palm sander and went over a few spots that needed smoothing out. I also grabbed a hammer and drove in any nails that had creeped out a little bit. Aside from that, there was really no additional prep work for this project! Feeling super happy right about now that I didn’t decide to strip things off and stain! That would’ve taken for EVER.
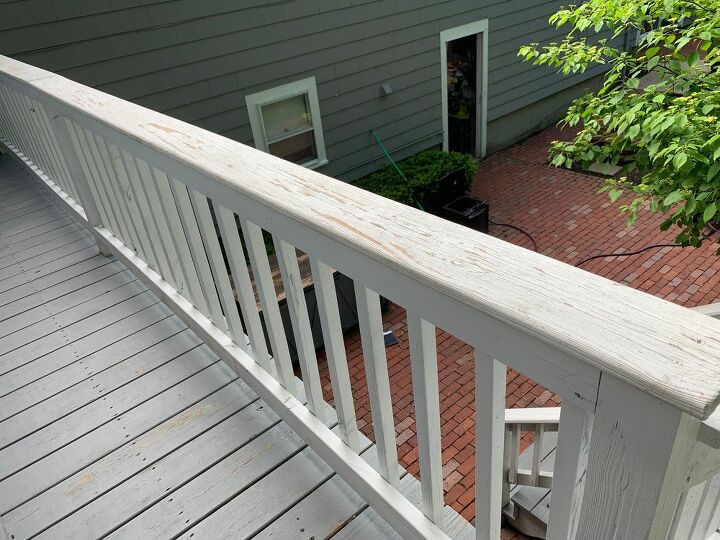
ApplicationWe started by applying the white paint on the railings using a brush. This was just a basic untinted white. Like I said before it goes on super thick and fills in a lot of the grooves so things look really nice and crisp and clean! We did one coat but in an ideal world we probably should’ve done two full coats here. Much cleaner looking already!
Ignore the chipped paint on the house.Believe it or not, I also hand brushed the deck surface. Per the Sherwin-Williams employees, a brush is better to apply this product down into the cracks of the wood (though the website says a roller is fine). I picked out the darkest gray color on the chart for the deck and dock paint series (charcoal, I believe). It looked pretty dark on the chart and I was hoping for something almost black, but this ended up being only a shade or two darker than the gray we had before. Overall, I like it better than the previous color and am really happy with how it turned out.
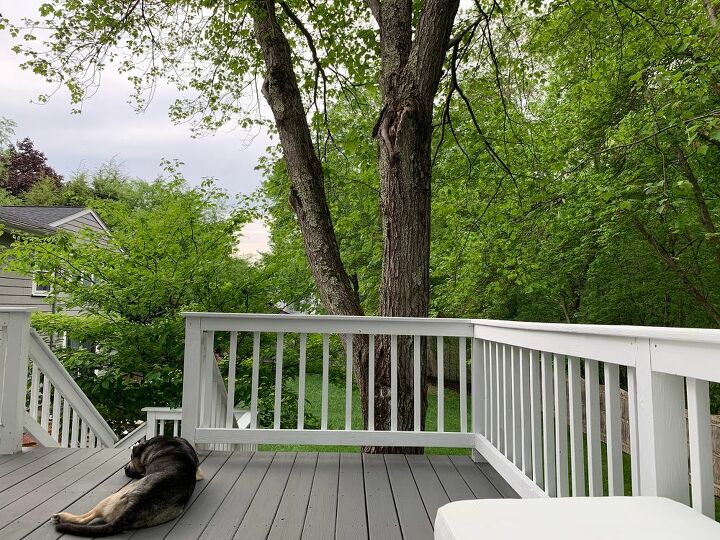
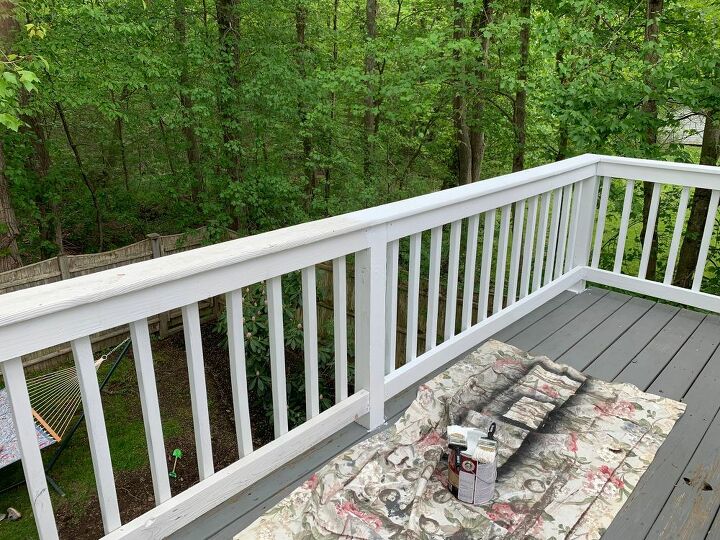
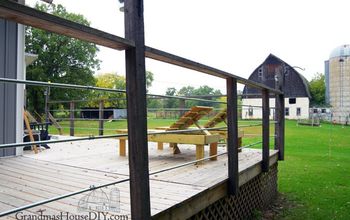
After deck refresh!
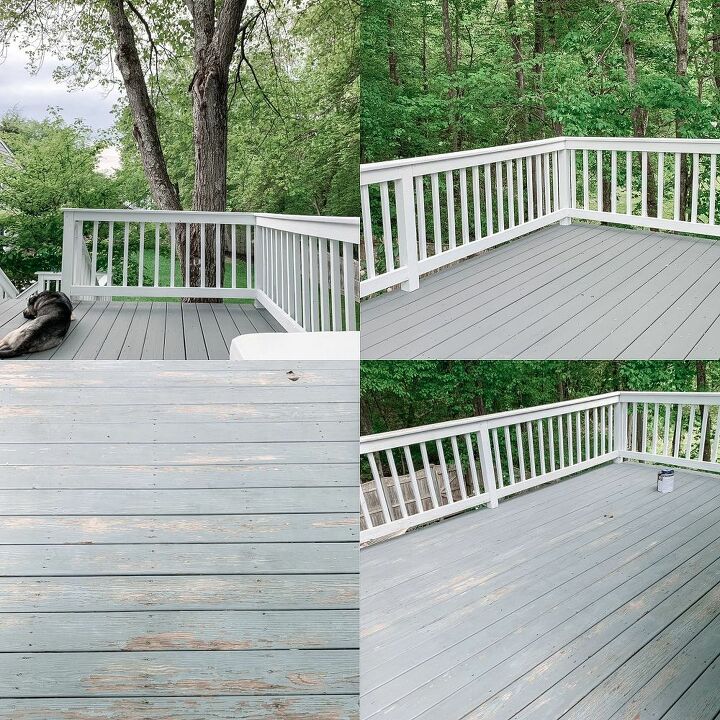
Before and afterOverall, this deck refresh took about 1 full day to do. It was a lot of work but totally worth it because now our deck looks like new! Overall, we spent about $150 on paint and supplies (not including the pressure washer). I’ll let you know in the future how this product holds up though I can tell you from previous experience that after two or three years it does start to show some wear and tear. But in my mind, decks require some upkeep every few years anyway, no matter what product you use. I really loved how the Sherwin Williams deck and dock made my wood look like new! Can’t wait to add some seating and decor!


Comments
Join the conversation
-
great job , but you work your dog to hard 😀
-
Nice looking. Worth the effort


Frequently asked questions
Have a question about this project?
What if you have a lot of chipped paint?
Try clear silicone? You can't PAINT of the silicone but if the crack is not huge, it should hold water just fine. I did this FOR my 86 year old Auntie. Hugs and hoping your days are filled with love and a peaceful soul. I lost both of my parents and I am sincere in my hopes for you.
Yes. what do if the deck pieces of wood r sticking up ? Never painted.