


Dresser Makeover: DIY Drawer Handles & DIY Chalk Paint

6 Materials
$30
6 Hours
Medium
This old dresser was posted online as a free giveaway. I jumped at the chance to bring it home and give it a new look. The base of the dresser is solid, but the outside appearance needed some work. There were a couple of missing handles and the rest of the handles were bent and chipped, so I decided to make new handles!
{
"id": "6006944",
"alt": "",
"title": "",
"video_link": "https://www.youtube.com/embed/mdIbZ6FVF-w",
"youtube_video_id": "mdIbZ6FVF-w"
}
{
"width": 634,
"height": 357,
"showRelated": true
}
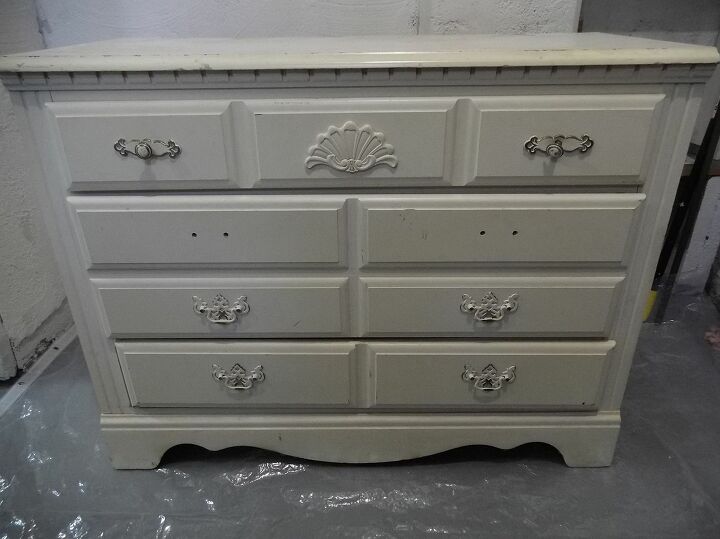
Here is where I started: a dirty, scratched dresser with sticker residue covering the top and sides, missing handles, and an overall old and worn appearance.
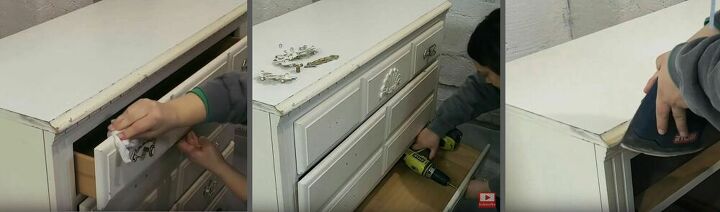
The first thing I did was scrub it clean and remove the remaining drawer handles. The dresser had a laminate covering, which I didn't know until I picked it up, but I knew I could still work with it. I gave the whole thing a good sanding to create a good surface for the paint to adhere to.
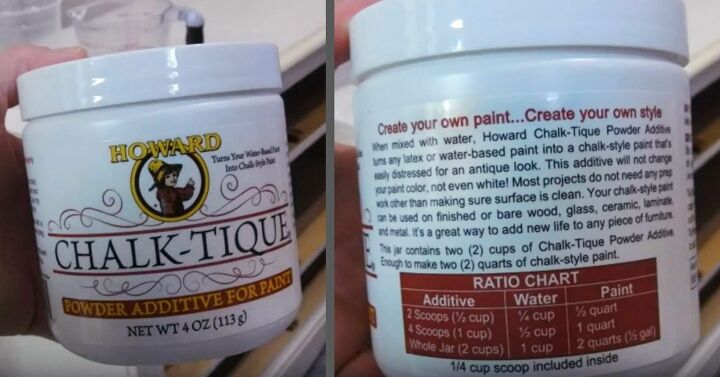
I was using leftover paint from a room I painted, so it wasn't really made for furniture and especially not anything with a laminate covering. I found this Howard Chalk-tique powder additive that helps make your regular paint more like chalk paint, making it better for furniture projects. You simply mix the powder with some water and then stir in the paint.
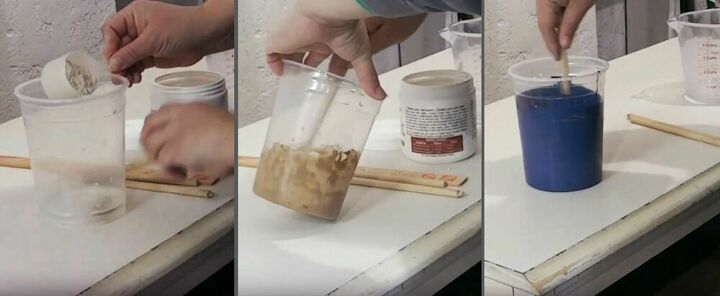
I've never used this product before and I wanted to ensure that I had a smooth paint so I stirred the powder into the water until all the lumps were gone. Then I added that paint and did a lot more stirring, just to make sure that it was going to go on smoothly and leave full coverage.
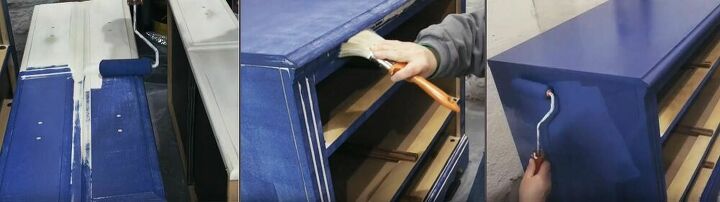
Then I started painting! I did two coats of paint - Behr Champlain Blue. I would recommend the Howard Chalk-tique powder - it did make the paint a little thicker and after two coats, it was a solid and rich coat of paint.
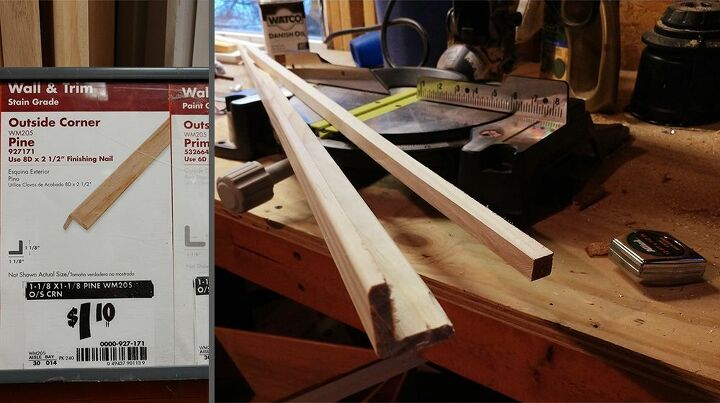
For the drawer handles, I picked up about 5 feet of pine corner trim and a square wooden dowel. The trim was going to be the main part of the handle, so I cut that into 6 inch pieces. The wooden dowel was going to be attached to the inside of the handle and that is where the screws will attach it to the dresser, so I cut that into 1 inch pieces.
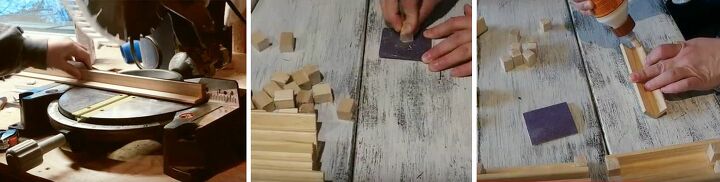
Once all the pieces were cut, I sanded everything to make it as smooth as possible. Then I used Gorilla Glue wood glue to attach the small wood pieces to the main part of the handle.
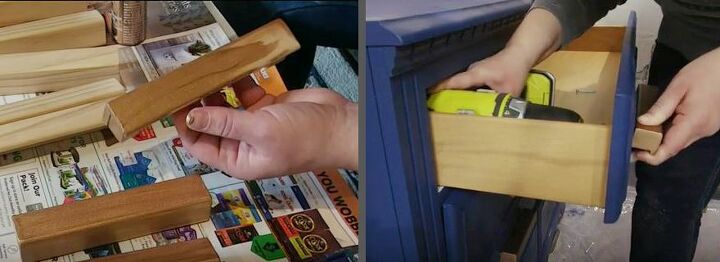
I used a metallic gold paint on the handles. When the paint was dry, the last step was to attach all the handles. (Not pictured: I covered everything with Rustoluem Chalked Paint Topcoat in Matte Clear)
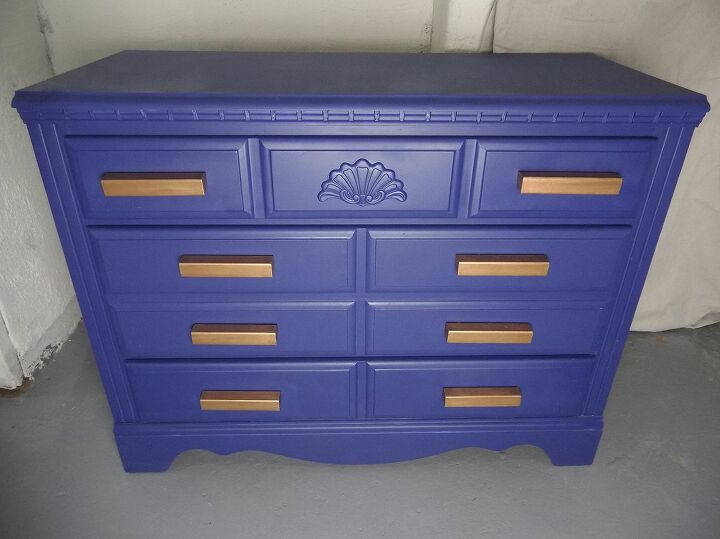
Here is the final look!
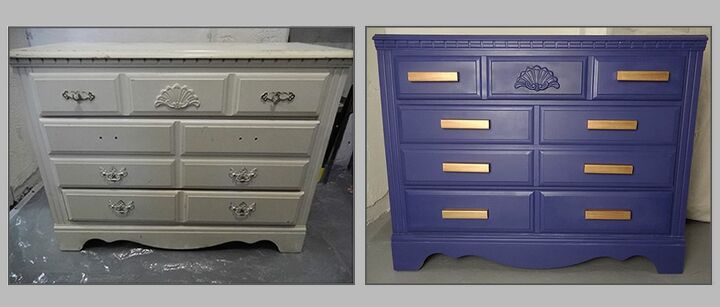
Before and After.
Resources for this project:
See all materials


Any price and availability information displayed on [relevant Amazon Site(s), as applicable] at the time of purchase will apply to the purchase of this product.
Hometalk may collect a small share of sales from the links on this page.More info
Comments
Join the conversation
2 of 26 comments
-
Love the color combo. I would add a dab of gold to the shell on the top drawer to pull it all together. Then the off set top handles would have balance with the remaining drawers.
-
I thought she was trying to get away from the “vintage look” the shell implies!


Frequently asked questions
Have a question about this project?
I like it.. Question: what is the big deal with "Chalk" paint? It's all over the internet. I don't get it. (kinda expensive) Any way Love the dresser. If it were me I would use a small brush and do some detail in the center "looks like a shell".