


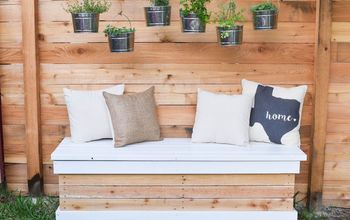
Easy DIY Bench For Small Entryway
Want to learn how to build a DIY bench? This post has a video tutorial and free wood bench plans for you to download so you can make your own small entryway bench (click the link the blog post at the bottom to get the download for the wood plans).
If you love this project, grab your quick start DIY guide & subscribe to our blog!
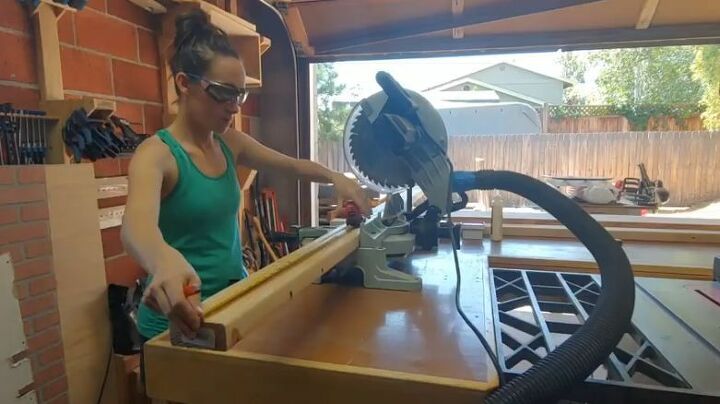
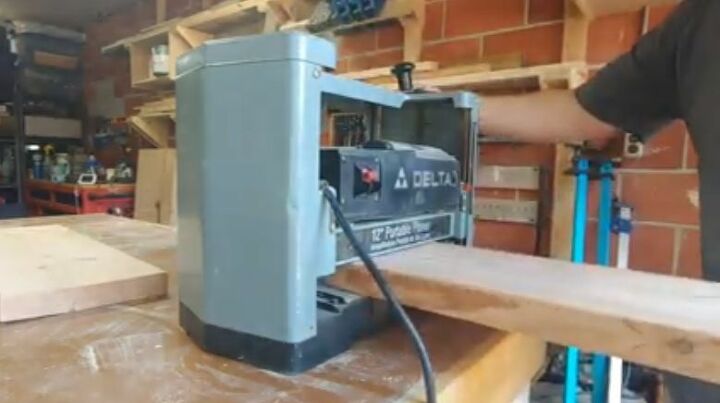
Step 1: First, we need to cut the legs. We use 2x4's. Using a miter saw cut them in a box format. After all are cut, proceed to sanding. Make sure to sand all edges so they're all nice and smooth.
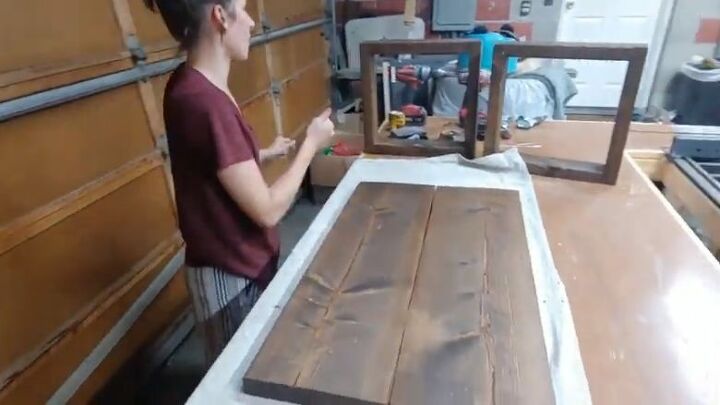
Step 2: For the top of the bench, use a wider format wood. We used 9 inch board.
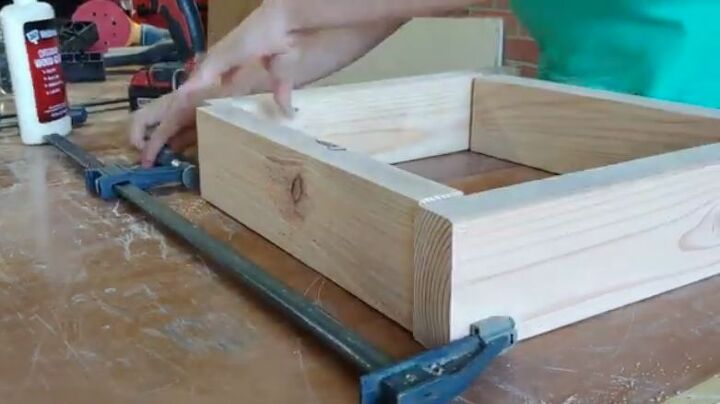
Step 3: Next is to assemble the legs. Use clamps to secure the top of the box while the bottom glued in. Once it is glued you can change position of the clamp to the glued area. Step 4: Drill the screws on the wood and attach all the four corners. Sand the assembled wood again.

Step 5: Use DAP plastic wood filler and apply it to all the wood screw holes. After about waiting for 24 hours for the wood filler to dry, you can sand it so it would nice and smooth.
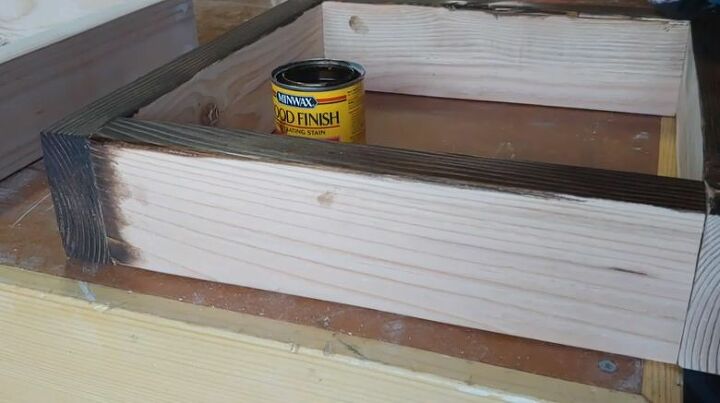
Step 6: Now it's time to stain. Just apply it to the legs, on every surface. Be sure to wipe off any excess stain with a towel.
Step 7: Do the same thing with the top wood of the bench. Stain the wood.
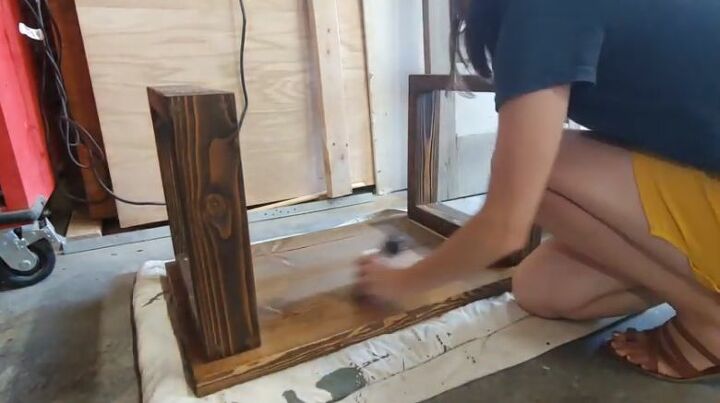
Step 8: Assemble the bench together. Put the top layer on the flat surface and place the legs and put them in place. Use a pencil to mark where the legs are suppose to go.
Step 9: Glue the bottom of the legs and place it where you put the pencil marks. Finish it off with some nails. Drill holes in angles and screw. This is to secure the place of the legs.
Step 10: Seal all the parts of the bench even the bottom.

The joinery is simple. The plans are free. The wood is pretty cheap. This one is for you, newbies.
Resources for this project:
See all materials


Comments
Join the conversation
-
Brilliant idea! It looks so lovely and is so useful!

-
This is super cute!! I love the legs and this looks like my skill level.


Frequently asked questions
Have a question about this project?
That looks simple but takes time. Do you think I can put an extra leg and brace and leg in the center for strength? I have a big "boy" and it would be useful for putting on shoes at the front door.
What are the measurements? Did I miss them?