


The Worn, Torn and Ugly Transformed Into The Bold and the Beautiful

4 Materials
$25
8 Hours
Medium
Watch how I turn these free, terribly worn and torn barstools into something you want to jazz up your eating experience!
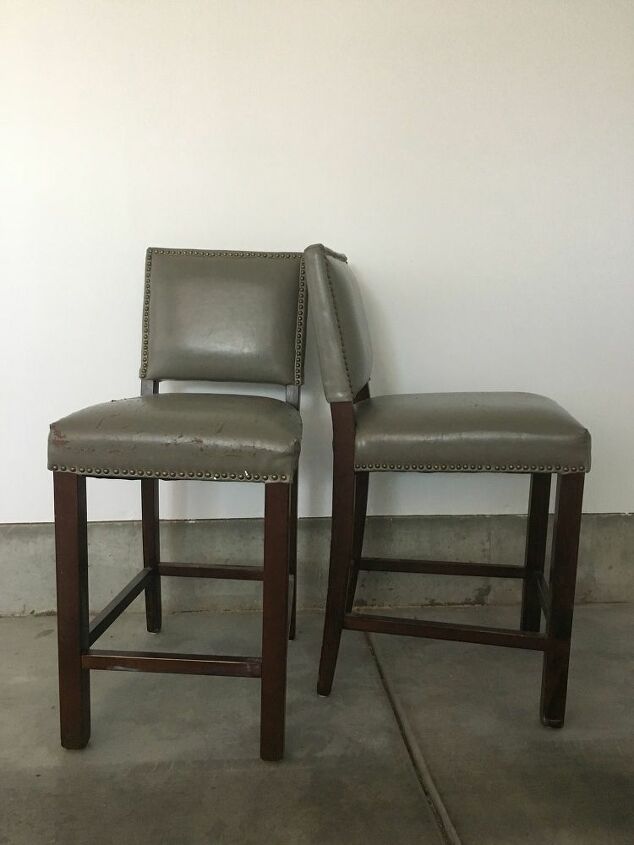
I have great friends that look after me and know I like to transform furniture in my "free time." I say that in quotes because when you have four kids and three of them 4 years and younger, there isn't a whole lot of that "free time" to spare. They dropped these bar-stools off to me when their work were going to dump these. He said, "I know someone that could use those."
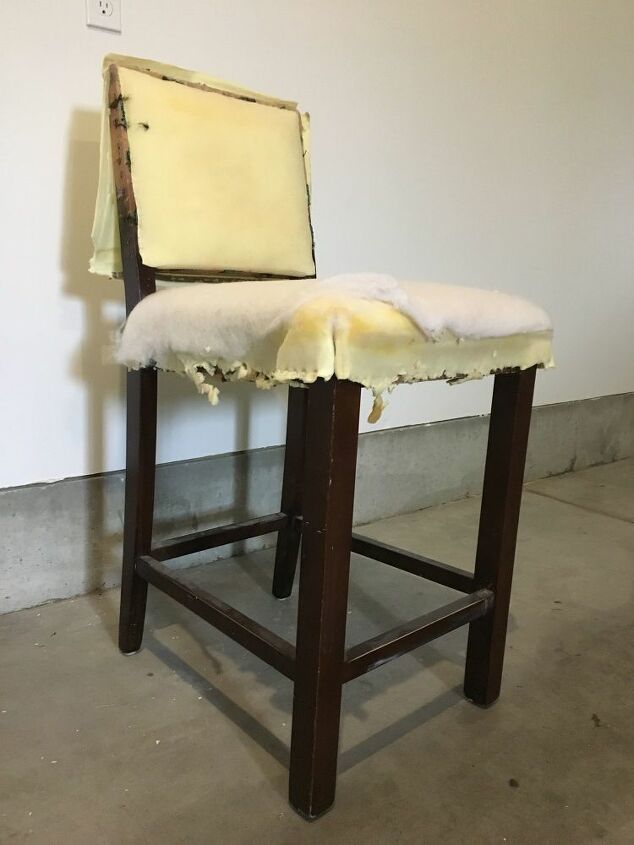
I have reupholstered bar-stools before but nothing where I had to change out the back rest. An easy seat change out is what I was use to and so when these free bar-stools came, they sat in my garage for a long time (several months) before I could get the courage to try it. I will tell you, I almost gave up because getting the nail-head trim out of the base and backrest were quite the challenge. Once I got them off, it took me a few days, a couple hours each time, it was a little easier from there...almost. There were staples underneath the seat that held the fabric on even tighter that, again, were a major challenge to get free. Once I was able to strip the fabric off, using my needle-nose pliers and a flat head screw driver to pry the nail head and staples, it was a little more smooth sailing.
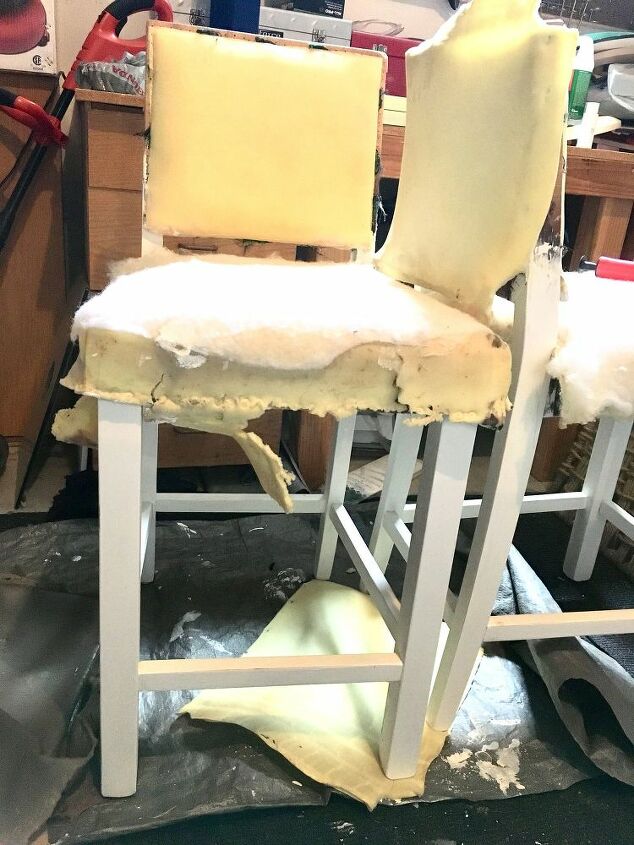
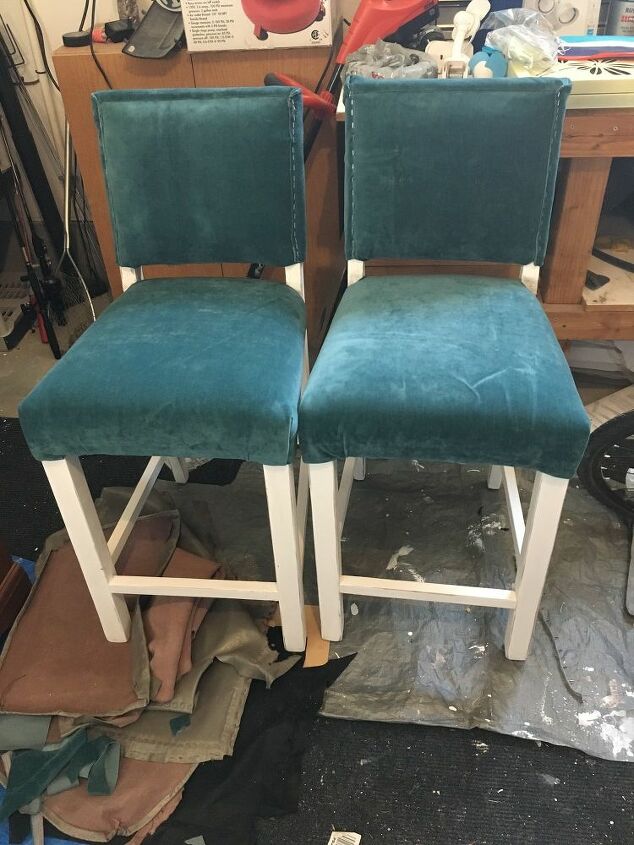
I decided to paint the legs since the stain was chipped, scratched, and dented in some areas. I used some white chalk paint left over in my DIY drawer. What I love about chalk paint is that you do not have to sand or prime whatever you are painting. All you need to do is wipe off any dust with a damp rag.

When you reupholster you have to remember what you took off first. Whatever you take off first is what you will replace last. So last thing off is the first thing on! In my case, the bar-stool back had two pieces, the front and a back. The nail-head covered the trim on the seam in the front. I had broken a few of the nail-heads when I was removing them so I decided on a different option to cover my seam.
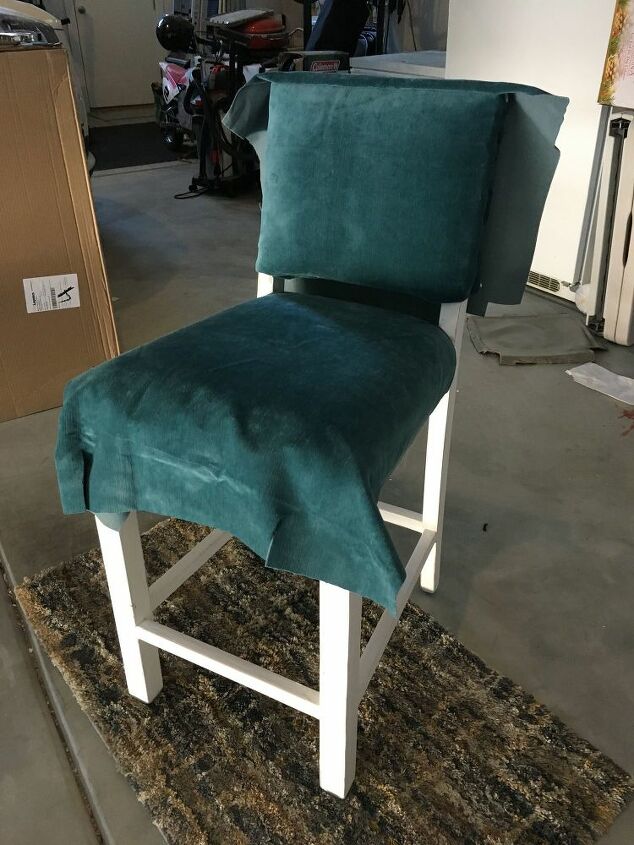
The seat was the easiest because it was one piece that just needed to be pulled tight and stapled underneath. I decided on this blue velvet -isn't it such a pretty color??
Almost done! Remember when I said the nail-head covered the seams on the front of the backrest? Well, here was my problem...you can see the staples and I didn't have enough nail-head to cover because quite a few had broken and frankly, they were a pain enough to take out I figured they would be just as big as a pain to nail in.
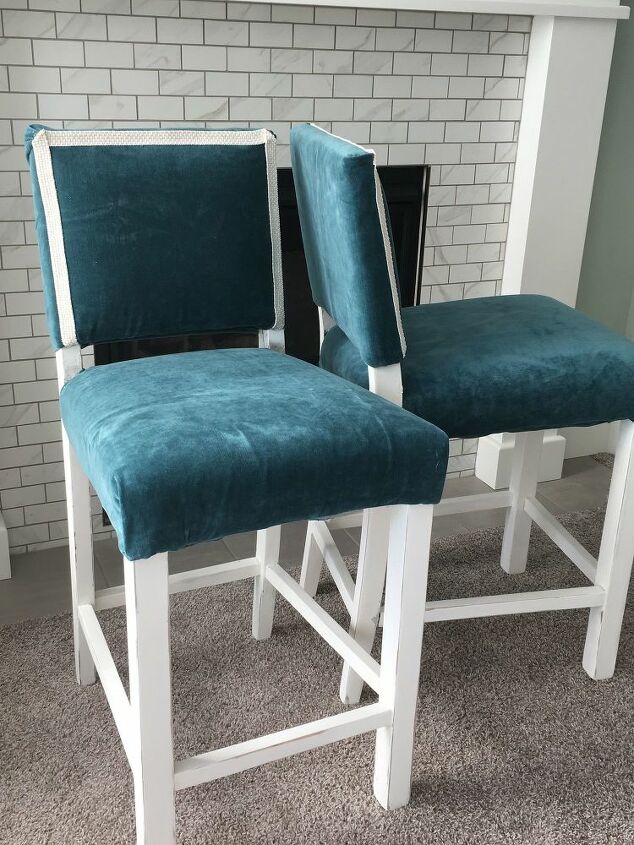
Here is the finished product! The only things I had to purchase were a couple yards of fabric and a few yards of trim. I used paint I already had tools around my house to get the fabric off and stapled back on. It really just cost me time. It was a pain to get those nail-heads off but once I got them off it wasn't too bad.
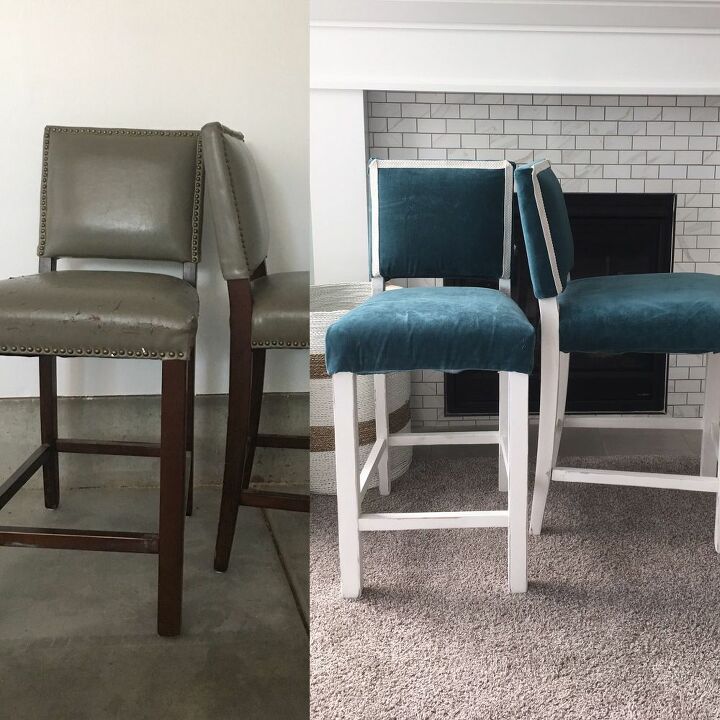
Before and After. Let me know if you try your hand at reupholstering! I would to see what you are working on!
Resources for this project:
See all materials


Any price and availability information displayed on [relevant Amazon Site(s), as applicable] at the time of purchase will apply to the purchase of this product.
Hometalk may collect a small share of sales from the links on this page.More info
Comments
Join the conversation
3 of 18 comments
-
-
Really nice job! They look so great and unique.


Frequently asked questions
Have a question about this project?
Did you replace the batting? I have a reupholstering project I want to try this summer. It’s a really old ottoman with nailhead trim. I like the idea of covering the staples with fabric trim instead of replacing the nails. Your project is very helpful!
Looks great. Where are you using them?. Thanknuou for sharing.