


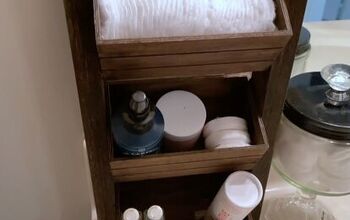
Storage Room Organization Shelves
5 Materials
$30
1 Day
Medium
Hi Friends, welcome back! Do you have an area or room in your home that is the catch all? Somehow all the stuff just ends up in this one space? We definitely do. It’s our storage room. But that’s the perfect place for all the stuff to be dumped right? WRONG! Yes, all our stuff was dropped in the right room, however it was lacking organization! Even though we had most of our stuff in labeled bins, we’d still have to dig through everything to find what we needed. It was so frustrating! I was in serious need of some storage room organization shelves! (Key word here, SHELVES!)
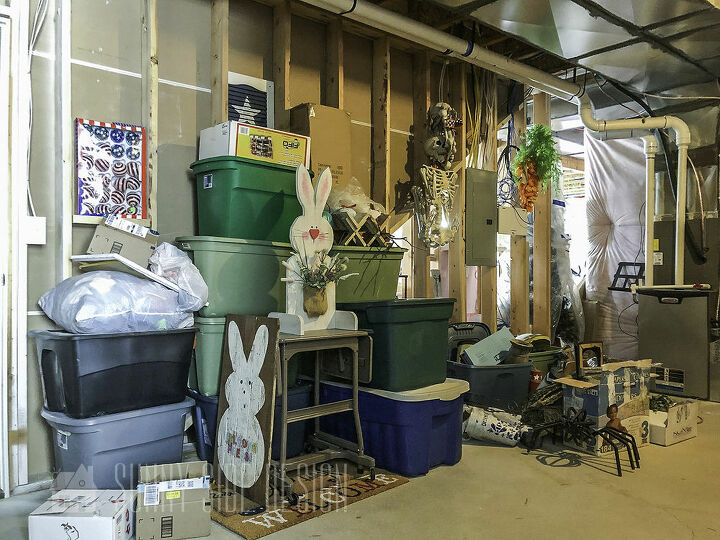
See for yourself! It should be noted, I’m embarrassed to share these pictures. I thought I had a fare amount of storage room organization happening here. Everything was in a labeled bin. Each of the bins were stacked in groups by holiday or other decor item. I knew where things were. Even so, it just wasn’t working!
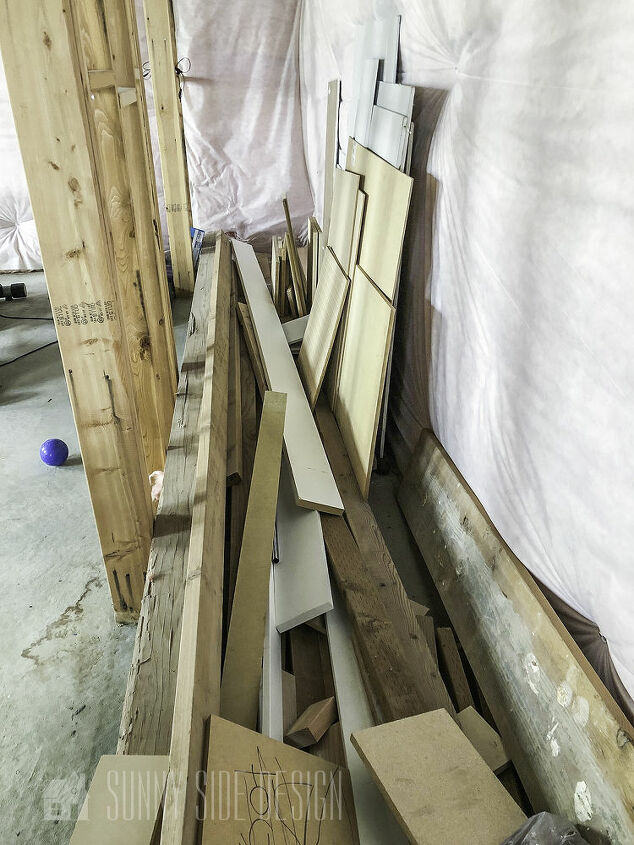
Shelves for this room were clearly on the forefront of my mind when we built our home four years earlier. See this lovely pile of wood? We scavenged through the dumpster for these boards as our home was being built.
Even so, don’t ask why it took us nearly four years to finally get around to building these shelves! In the first, place we had the wood, I suppose we were lacking the time (at least we felt that way).However, after building these in just one day, I kick myself for not getting it done sooner! They were quicker to build than I thought.
Step 3: Assemble Shelves
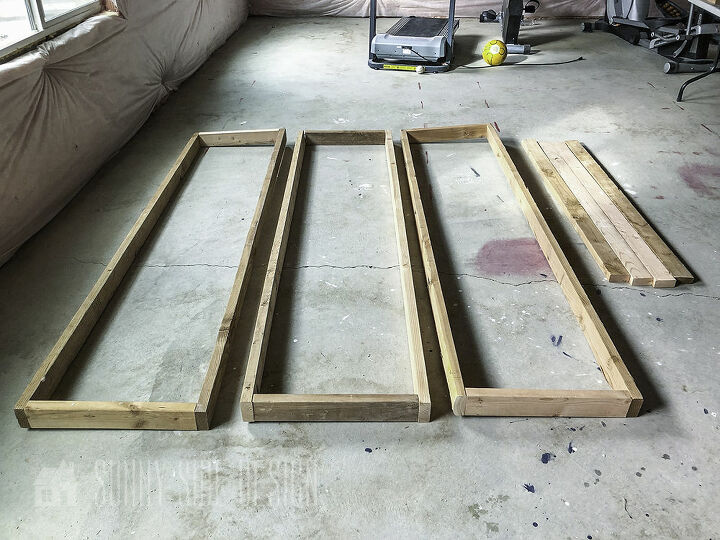
The visual plan consisted of three shelves. Next my amazing Hubby gathered the pre-cut boards and was able to quickly construct the frames for the three shelves. At this time he pre-drilled a pilot hole with the cordless drill, then attached them together with 3″ wood screws. The remaining boards in the second picture were to be used for the upright legs of the shelves.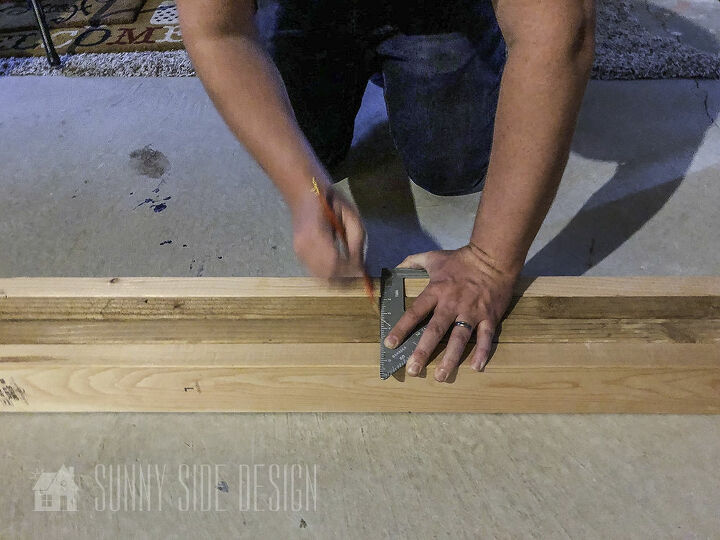
Step 4: Placement of shelves
After deciding the distance we wanted between each shelf we were able to mark their position on the upright boards. To do this we lined up each of the four boards and firmly held them together. Then we were able to easily mark all four boards at the same time by drawing a straight line using a speed square. This step was repeated for each of the three shelf heights.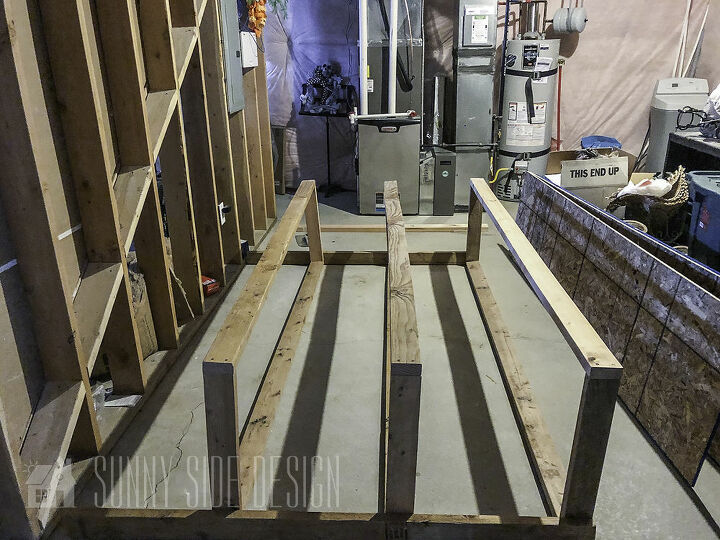
Step 5: Mount Shelves Legs
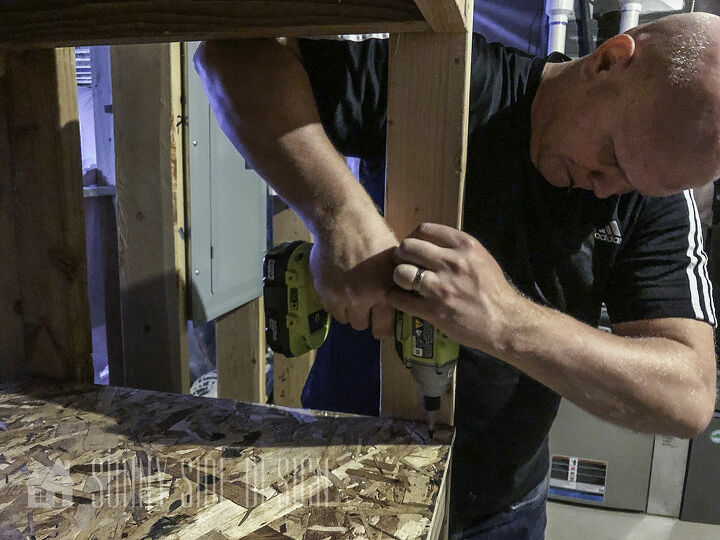
Lay down the upright boards that will be the back legs of the shelves. Next, line up each of the shelf frames where the marks for shelf placement are and secure each into place using 3″ wood screws.At this time, repeat this step on the right side back leg board. Now the back upright boards are securely in place. Then repeat this process to attach the front upright boards to the shelves.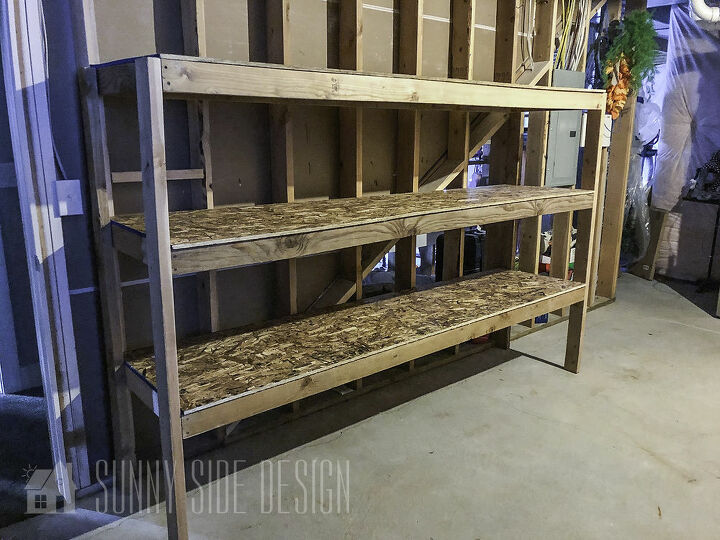
Step 6: Attaching to WallOnce the shelving unit had all of the legs attached, the storage room organization shelves were placed in an upright position and moved into place against the wall.
Step 7: Attaching Shelves to Shelf Frame
Measure and cut each of the plywood sheets to size. A table saw works great for this, or you can have these cut to size at your local hardware store. Last but not least, lay down each of the plywood sheets for the shelf tops, then secure each into the 2×4’s below using wood screws. Screws were placed in each of the four corners as well as a few along each of the four sides of the shelf.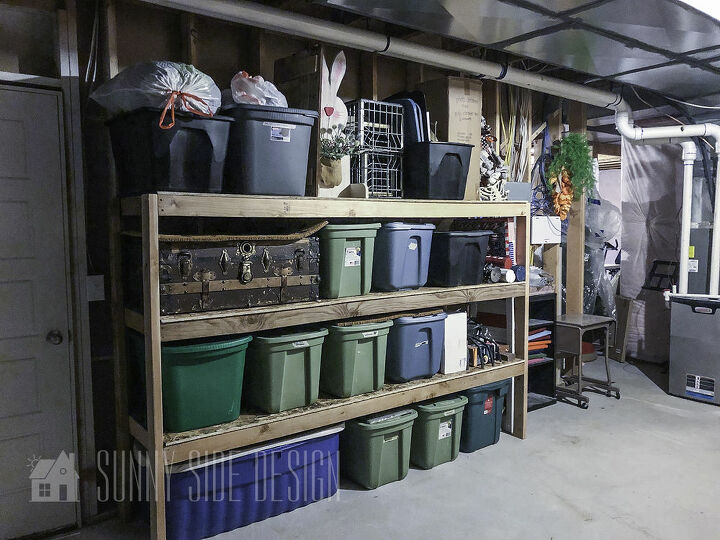
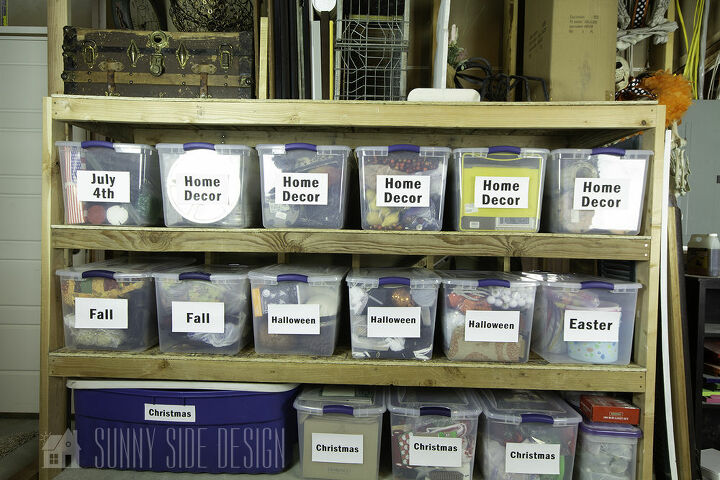
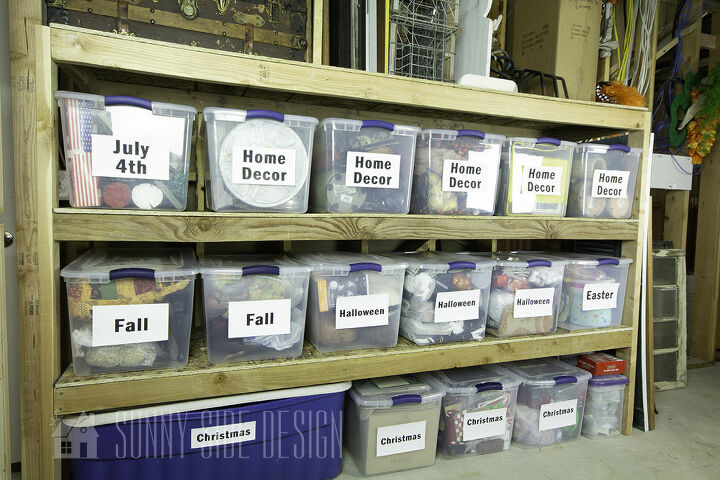
Finally the storage room organization shelves are finished! Overall it was a pretty basic design which allowed for simple and fairly quick assembly!Awe…just look at that order! Now I can easily get into any bin I need without having to worry about other bins toppling over and creating a bigger mess! These shelves have to be one of my top favorite finished projects in our home! Even though our storage room continues to be the dumping ground, it’s much easier to maintain order and cleanliness, not to mention (again) how much easier it is to access any bin I need! It’s amazing how much more storage space we now have simply because we have shelves!
Step 8: Organizing
I decided to buy new bins for all of our stuff. Even though it was completely functional as it was, having matching bins creates a more unified and orderly appearance. Clear bins also makes it more convenient to see exactly what’s in each bin.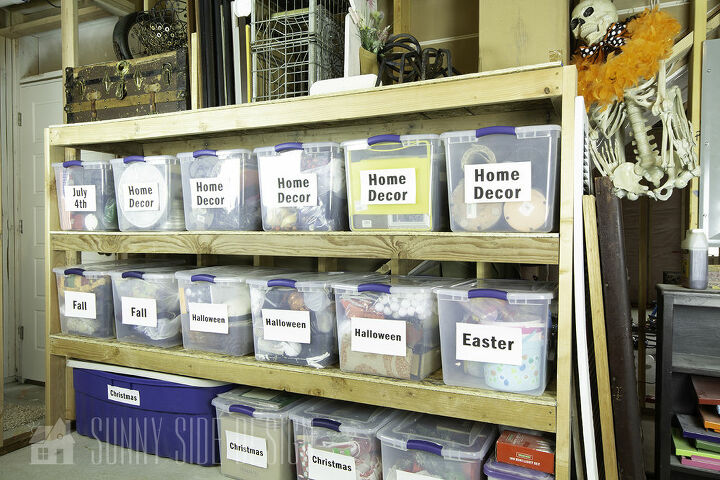
Labeling is also a must! Even though the bins are clear, which allows you to see what’s inside, it’s helpful to label each bin to help maintain order.

We hope you found this tutorial helpful in getting started on your own storage room shelves! You’ll feel so much more at peace with order and organization! It will make you wonder how you ever got by without this order before!

Want more details about this and other DIY projects? Check out my blog post!
Comments
Join the conversation
3 of 9 comments
-
Thank you Susan, let us know how your project turns out.
-
❤️❤️❤️🤩🤩🤩


Frequently asked questions
Have a question about this project?