


How to Paint Kitchen Cabinets
4 Materials
$100
1 Week
Easy
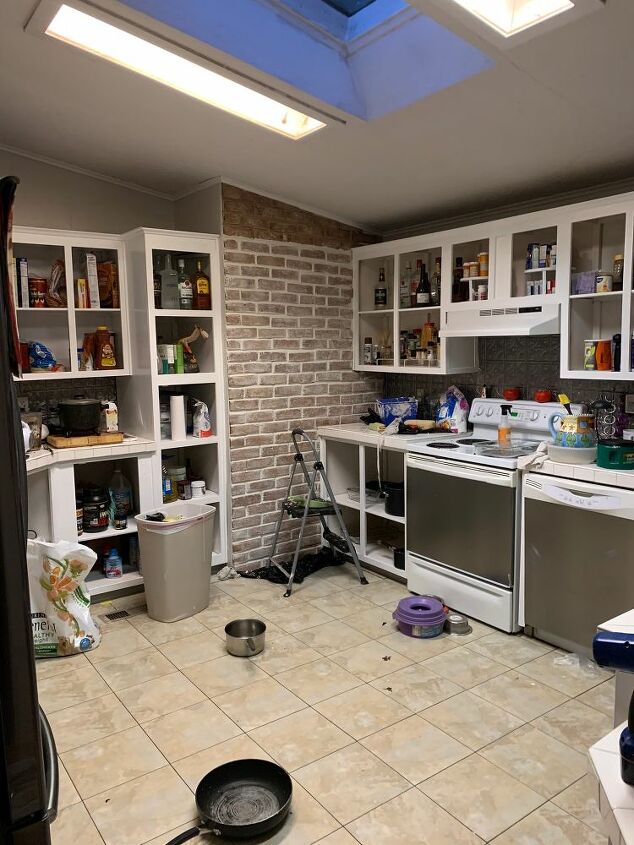
If you want to update your kitchen but don’t want to tear down your current cabinets there is an alternative. Painting your kitchen cabinets is an easy way to bring your kitchen up-to-date without doing a full-blown renovation. I’ll show you how I painted my cabinet bases and new cupboard doors to update my kitchen with a fresh and modern look.
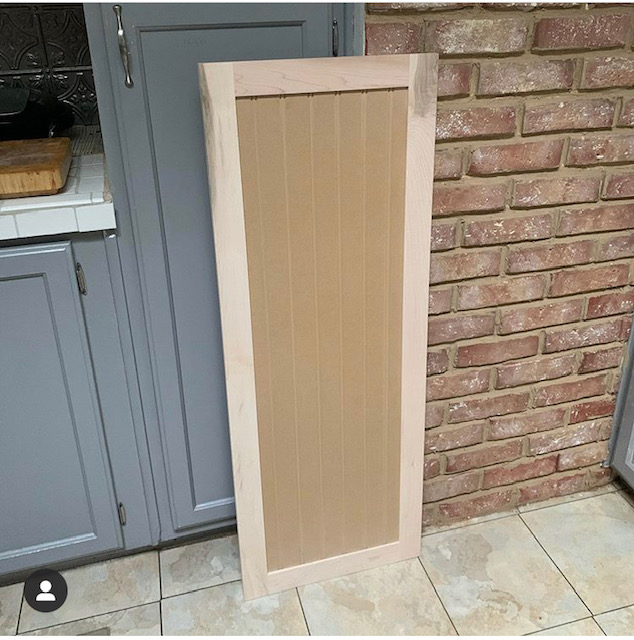
These are my new unfinished cabinets from fastcabinetdoors.com. The style is called "Camden" and it is beadboard mdf with a shaker style wood frame around it. Whether you are replacing the cabinets with new unfinished ones or painting your existing cabinets the steps are basically the same.
The first step is to remove your existing cabinet doors. Clean them very well inside and out and then fill in any holes and lightly sand them down. Then you can paint the interior with a sprayer or a brush and roller. Check out my video for more details on this.
- Lay cabinets down on a large flat surface protected by plastic.
- Use small cups or cans to prop the cabinets off the ground so that the edges to not touch the floor or surface of whatever you are working on.
- Use a paint sprayer or roller to apply the paint in up and down strokes on the cabinet.
- Use a small roller to apply paint to the outside edge.
- Let dry 24 hours between coats.
- Sand lightly with fine grit sandpaper between coats.
- Apply 2 or 3 coats of paint to each side of the cabinet.
- Once the cabinets have dried for 24 hours you can hang them up on the cabinet bases.
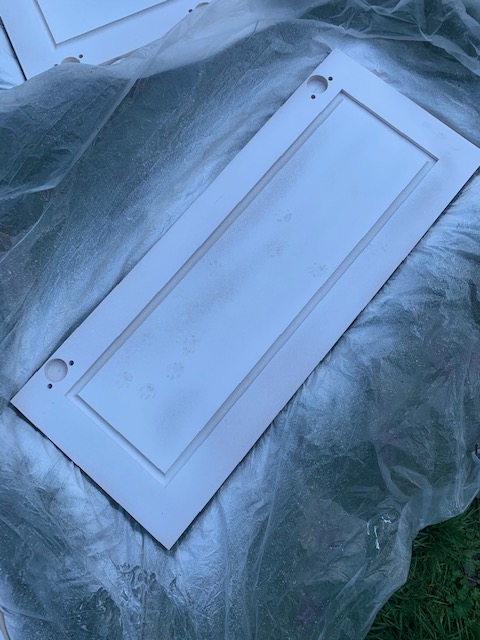
This is how the cabinets looked after one coat. I did about 3 coats with no primer. I used Valspar Cabinet Enamel from Lowes.
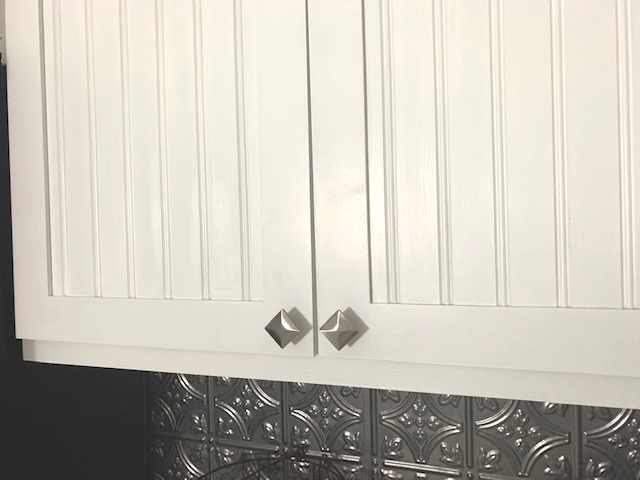
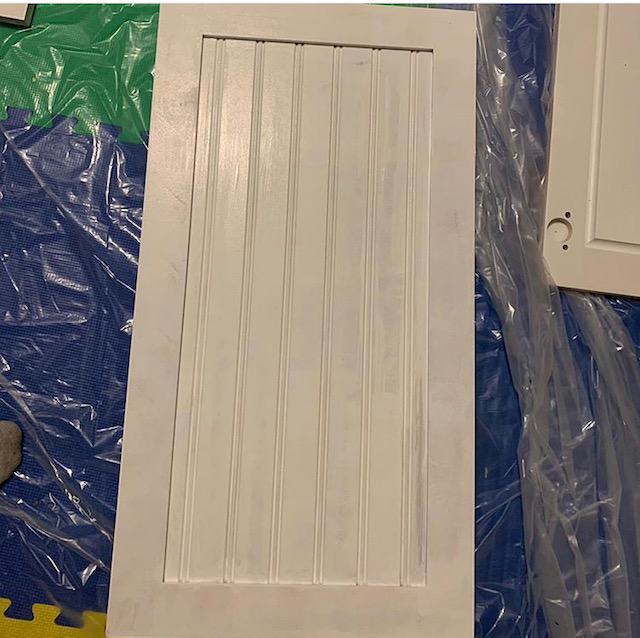
Here is a close up of the after. On the front of the cabinets I used a brush and roller as the weather outside was too nasty to spray and I don't have an adequate space indoors to use the sprayer without taping up the room to look like Dexter's kill room.
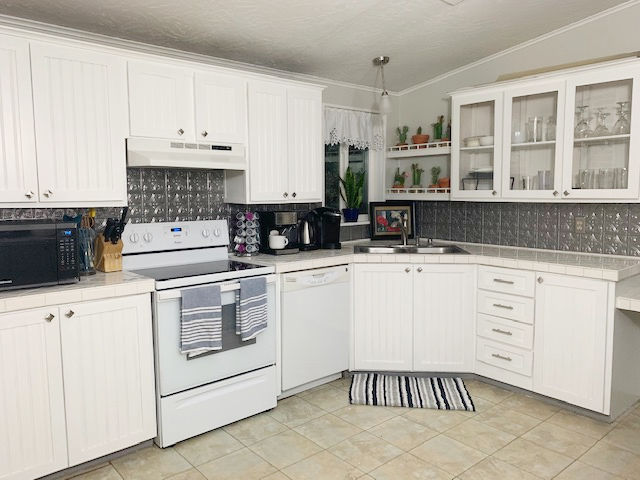
Here are all the cabinets all finished and hung up.
{
"id": "6026366",
"alt": "",
"title": "",
"video_link": "https://www.youtube.com/embed/oOIzGXnpiuI",
"youtube_video_id": "oOIzGXnpiuI"
}
{
"width": 634,
"height": 357,
"showRelated": true
}
Resources for this project:
See all materials


Any price and availability information displayed on [relevant Amazon Site(s), as applicable] at the time of purchase will apply to the purchase of this product.
Hometalk may collect a small share of sales from the links on this page.More info

Want more details about this and other DIY projects? Check out my blog post!
Comments
Join the conversation
2 comments
-
Looks beautiful!
-
Dexter's kill room?! LOL!
Love the makeover...my husband being a cabinet maker means I'm a cabinet widow! I am definitely inspired❤️


Frequently asked questions
Have a question about this project?
I couldn’t understand what kind of cleaner you used. Could you let me know? I have a hard time finding a cleaner that works good for grease and dirt.