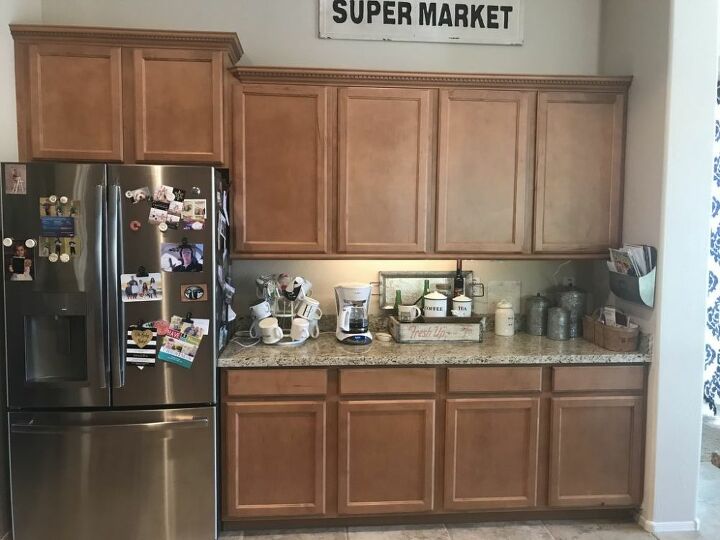
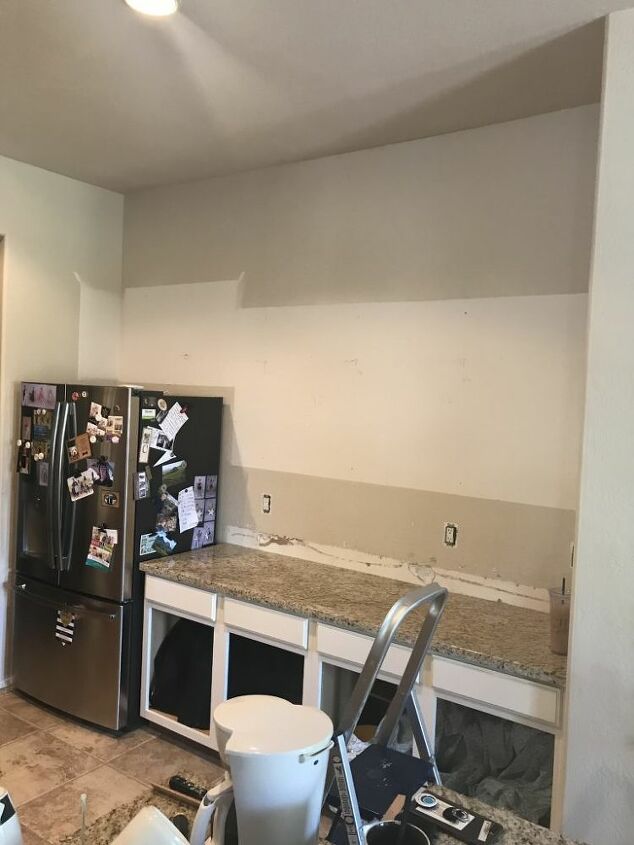
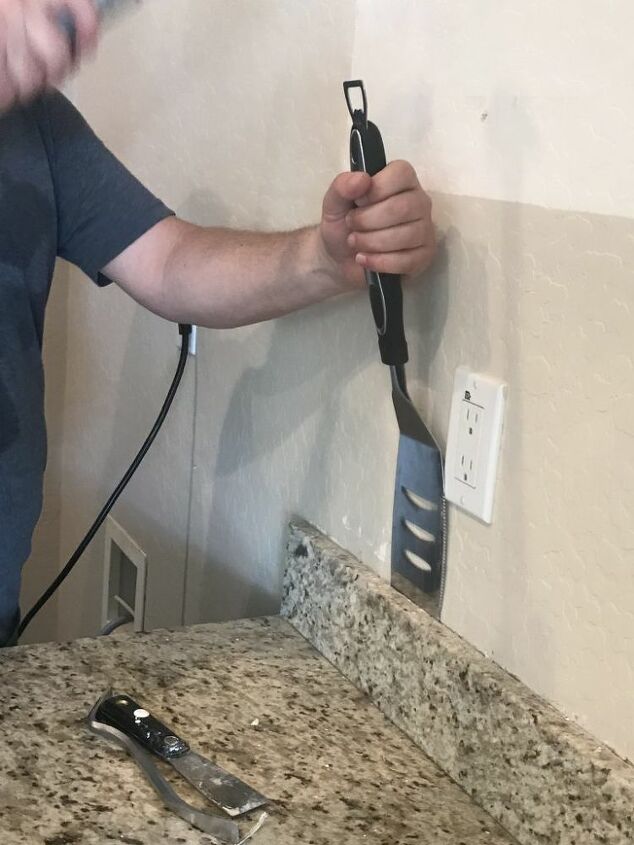
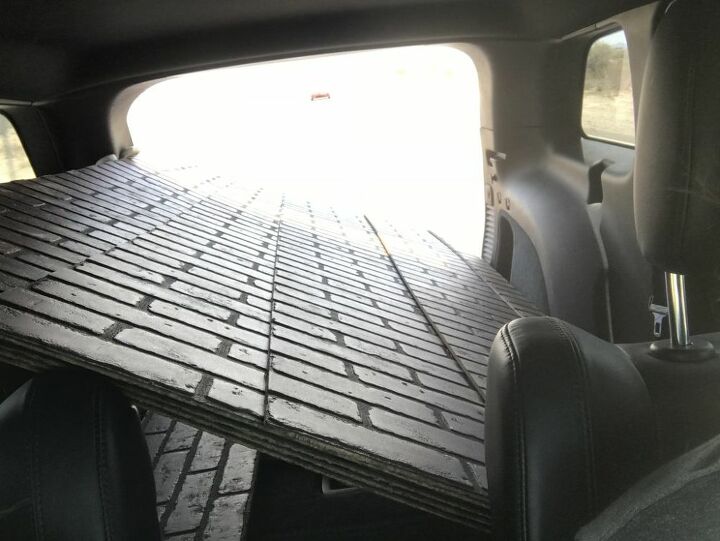
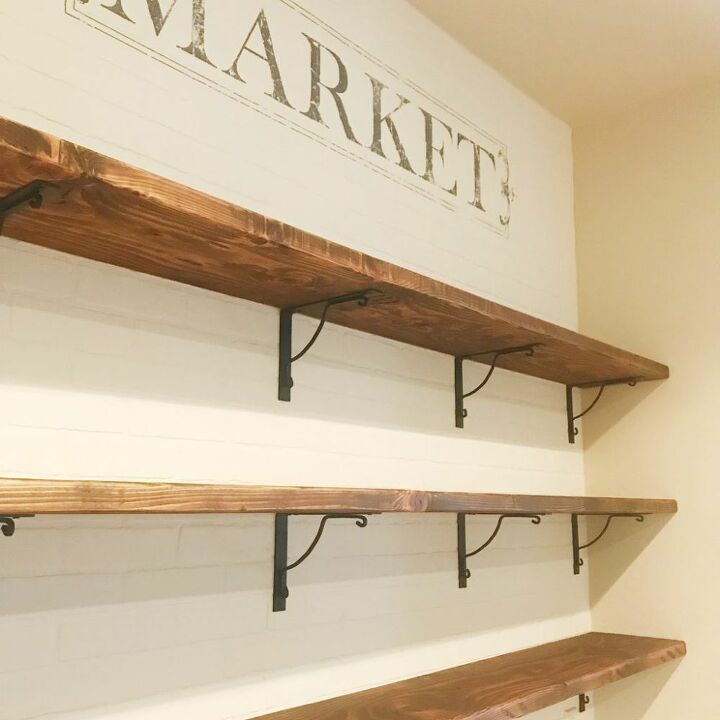
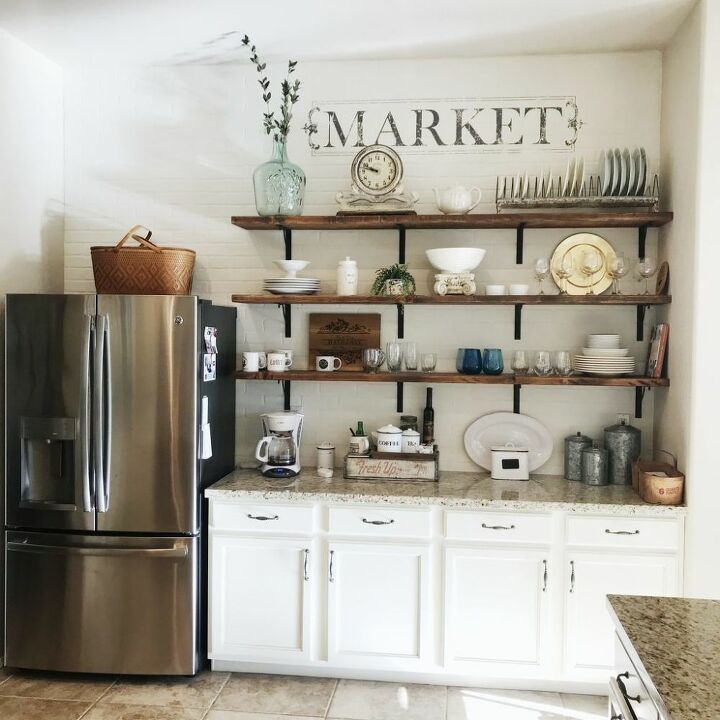
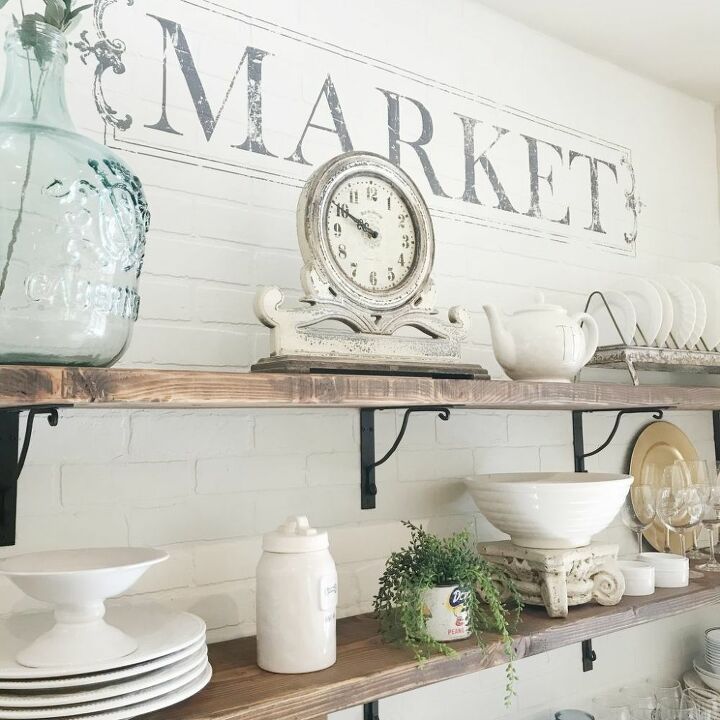
Simple Open Shelving on a Budget

6 Materials
$200
1 Week
Advanced
Our home is not very old, and though we love it, it did not come with any character or charm. We (the hubby and I) have taken it upon ourselves to add charm and character to this house ourselves....and the first thing that comes to mind for me is....BRICK!!!
BEFORE
Our house, as with most builder-grade homes in Arizona, has little to No character or charm. If you want a charming home filled with character in Phoenix, and you're not building a custom home, then you're on your own. Removing these upper cabinets was the very first step of our Open-Shelving idea....
...but behind those cabinets is just a plain old ordinary wall made from drywall and texture. Blah!
Barbeque Tool also functions as a backsplash remover! 
We don't own a truck or SUV, which is a bit of problem when I find a great buy that is also a great BIG buy, but hey, it saves me money, right?) :) anyhoo, Home Depot carries these faux brick panels and they're really very inexpensive, less than $30 for a 4 x 8 panel, so we bought 7! I know, it seems a little much for this wall, and it is, but once I got on the faux-brick train I just couldn't stop thinking about all the places that we could add some character and charm to this house with brick. AND....we just happened to be getting ready to take a trip to the beach and had a rental car... a Jeep Grand Cherokee...so we decided to buy them all now while we had a vehicle they would fit in.
We may have damaged the wall just a bit when removing the back-splash, those suckers are glued on tight! But i feel like this...it doesn't hurt the integrity of the wall...and it's going to be behind the brick panel so I see no need to worry about it, right? Well, right or wrong we moved forward and put the brick up right over the minor wall damage.
Dee put screws in the studs about every 16- 24 inches down the panel. In this photo you can see the seams where the panels come together, lining them up was a little tricky but a very important step. We wanted to make sure the pattern was consistent from one side of the wall to the other. The seams will be covered later in the process so we don't worry about those at this point other than being very tight and perfectly vertical.
I decided to use joint compound to give my wall a brooklyn brownstone kind of look. I had a few concerns about it cracking, because I know joint compound will crack as it dries. However, I think cracks would make my wall look even more authentic so I went for it. You can get a bucket of joint compound at the hardware store for about $15 and it really goes a long way. I didn't use the whole bucket for this wall...hows that for economical? Using a 6-inch metal trowel I loaded it up with the thick pasty stuff and just started slapping it on (clearly I had no idea what I was doing, so it was a learning process).
I focused at first on covering the seams and the heads of the screws, it wasn't quite as easy as it seemed in my head but the more I worked at it the easier it became. I made sure to put it on thick in some areas so that it would look like an authentic patch on an authentic wall. I soon discovered that by scraping it down the wall and then up the wall it added texture above and below the bricks so that the grout line was not so perfect. Yay! I did the same thing side to side to add texture to the ends of the bricks as well. 
For my paint color I went with West Highland White in Matte finish by Sherwin Williams. I went with the matte finish because I really wanted this wall to look old and authentic. I love the color, it's a creamy warm white but just a smidge lighter than the Dover White which I used for the cabinets. I'm quite certain I will use this color throughout my house as I eventually lighten up my tan walls, however, I will probably get a close color match in a less expensive paint from Home Depot such as the Behr brand. I've used this paint before and trust it and since I had a 50% off coupon I decided to use it for this wall. I'm so happy with how my brick looks now that it's textured and white.  
Sometimes the plan changes a bit in the process and I'm so glad this happened. Dee and I were perusing my favorite little local boutique, Grungy Galz, when he happened to notice a shelf of Iron-Orchid Designs Transfers. He picked up the MARKET box and said: "I'll bet this would look great up above the shelves on the brick wall." I love that man! He was so right! This is a rub-on transfer, I used one before and it's super easy. Standing on a ladder while on a counter and reaching overhead makes it a bit more difficult but totally worth it. How fabulous is this sign???  
We bought 3 - 2" x 12" x 10' boards and had them cut to the length we needed at the store. I used Miss Mustard's Milk Paint in Curio to make a wash with 1 part powder to 4 parts water. After sanding the boards to get any rough spots off and to soften the front edges a bit, I washed the paint mixture on and let it dry which only took about 30 minutes. I love this color made into a wash because, 1) you can control how dark or light you want it and, 2) you don't have to mess with stinky, sticky stain. Easy Peasy! Once they were dry I wiped on a nice coat of Hemp oil and let it sit for a few minutes before rubbing it in with fine-grit sandpaper which makes the surface so smooth and silky.  The brackets are from IKEA and super affordable at $5 each, especially when you need 12. I thought they were the perfect look for my kitchen with just a tiny bit of a swirl. Dee took care of securing the brackets to the studs and then the planks to the brackets and TAH-DAH!!!! Open Shelving!!!!! I LOVE IT!!!
Transforming this wall took some time, and was definitely a bit of a process, but I would not hesitate to do it again. I love how this wall completely transforms my kitchen and gives it just the French Country Farmhouse look I was hoping for. 
This makeover really added a lot of charm and character to our home without breaking the bank.Please visit us at www.somethingpaintedwhite.com for more makeovers and tutorials. And don't forget to follow us on Instagram at @somethingpaintedwhite for lots of current photos of our home. We would love to see you there and hope you'll say hello!Cindy
Resources for this project:
See all materials
Any price and availability information displayed on [relevant Amazon Site(s), as applicable] at the time of purchase will apply to the purchase of this product.
Hometalk may collect a small share of sales from the links on this page.More info
Frequently asked questions
Have a question about this project?
3 of 75 questions
  • Dawn Blackwell Dawn Blackwell on Nov 07, 2022

    Do you have the item number for the rub on transfer? I've been looking on Amazon and Etsy and cannot find the Market in your project.


  • Sue87485995 Sue87485995 on Aug 13, 2023

    Look nice, but where are all the dishes etc that were being stored in the cabinets supposed to go.

  • Debbie Debbie on Mar 27, 2024

    Nice project. What is Mustard Milk Paint?

Comments
Join the conversation
2 of 418 comments
  • Susan Smith Susan Smith on Jan 11, 2024

    Great job! We lived in Arizona also, had a big open kitchen with cabinets. I’m only 5’1” and was never able to use the top shelf in them. So, we took them down, put them in the craft room and installed shelves like you did, and only as high as I could reach, so two rows of shelves. We made our brackets out of iron pipes, I sprayed them copper color. It looked great. We would quickly wash our dishes and put them up, or put them in the dishwasher if we didn’t have time. The dishes that were t used every day were stored in the pantry. Not having cabinets really opened the area up. I loved it.

  • Happy Days Hometalker Happy Days Hometalker on Jan 11, 2024

    Having to keep the shelves looking pristine at all times would equal me being a slave to the kitchen. Your shelves and the brick are beautiful, you must not have kids or have everyone trained well.

Next