


Large Wood Tag for Home Decor

Wood tags are very trendy these days. All sizes! This large tag is easy to make and would look great in any home. AND it would make the perfect gift!
Best acrylic paints set!
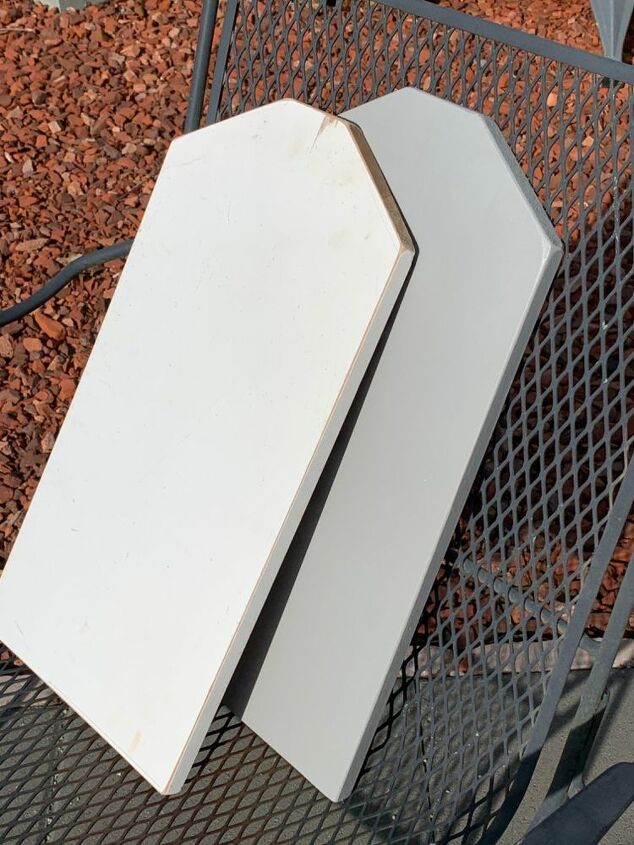
The wood I used was a salvaged piece of mdf. (Free). mdf is compressed wood. The upside is that it is very smooth. However it doesn’t do well in moist situations. So I gave the finished project several coats of sealer. Great for indoors or covered porch.
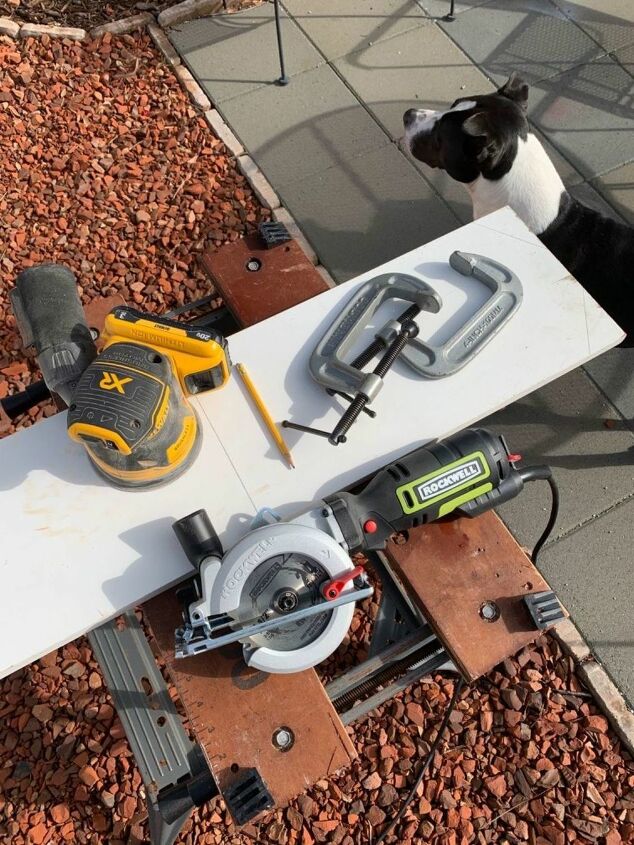
I used a mini handheld 4 1/2” circular saw to make the cuts. A few clamps, my orbital sander and a drill helped to get my piece ready to paint. The only other tool I used was my handy dandy cameo silhouette machine to cut my stencil. My fur baby Abby is always close by.
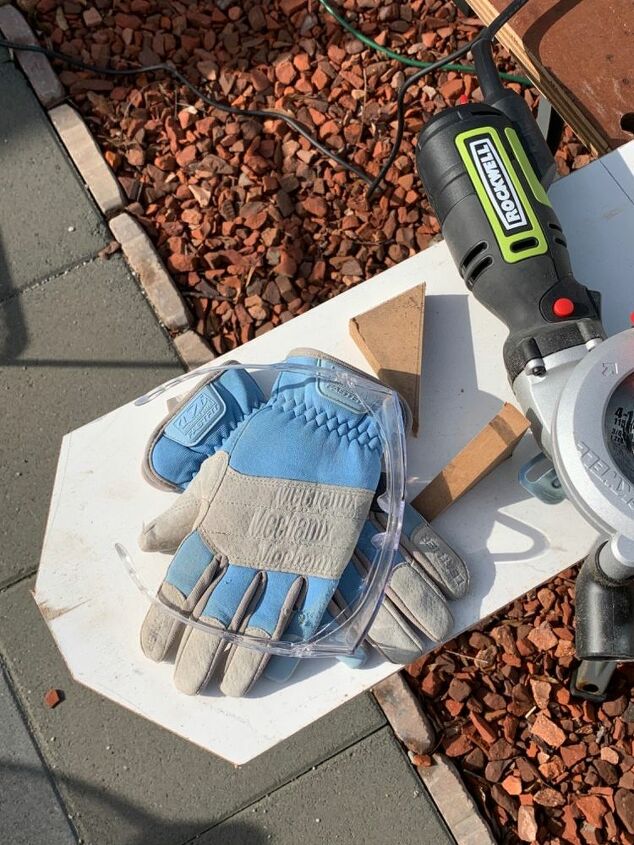
Gloves and protective glasses help keep me safe. The wood was 9 1/2” wide by 19” tall. With a pencil I drew my angle cuts for the top of the tag. You only need to make two simple straight line cuts.
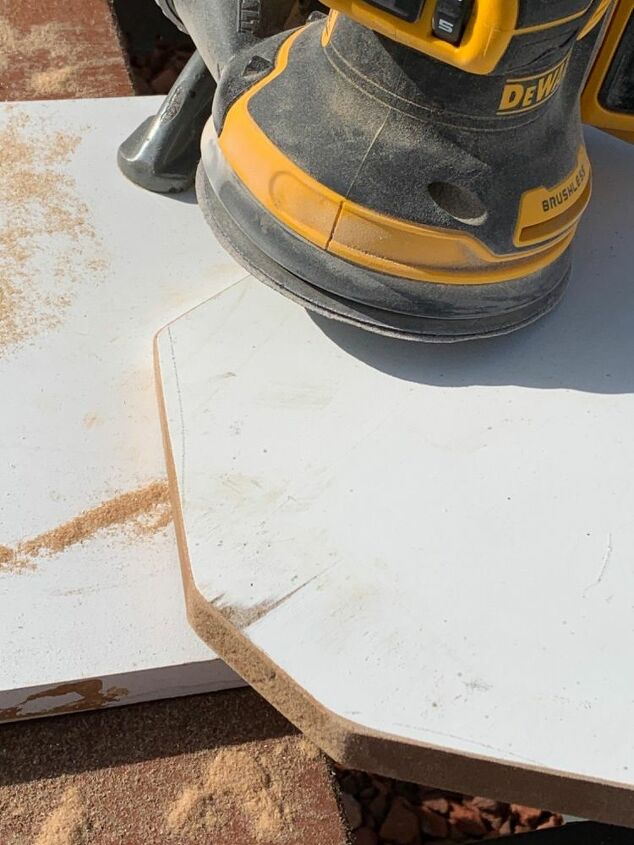
After I cut the piece I sanded it using an orbital sander and 120 grit sandpaper. I paid particular attention to the sides knocking off the sharp edges.
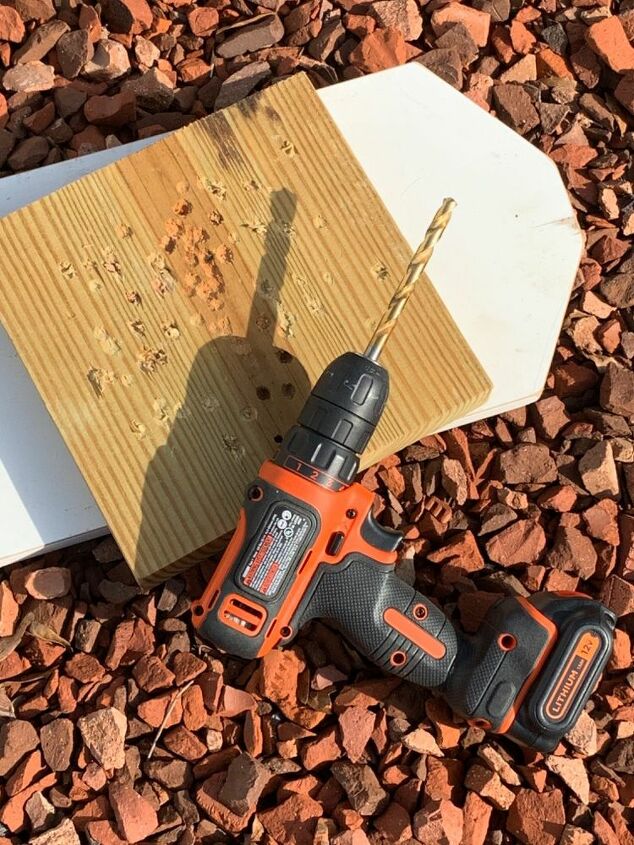
I used a drill to make a hole on top. I placed a piece of hard wood under the tag before I started. That helps to keep the back of the hole smooth.
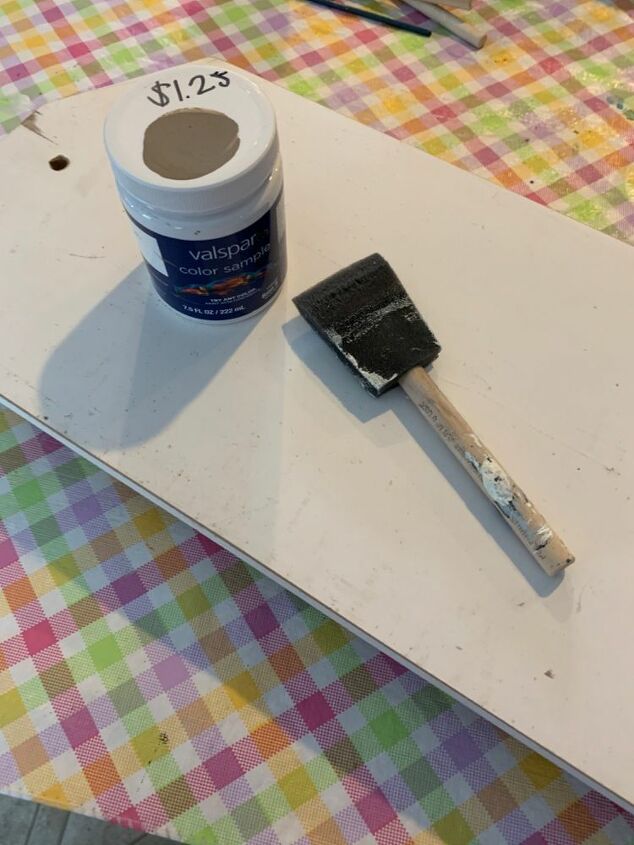
I buy the sample size latex paint offered at Lowes. They will mix up any color you need! It’s such a good price for the amount of paint you get. Better than paying for those little bottles of acrylic paint. Another great TIP... look at their discounted paint table. They always seem to have returned sample containers that they price at only $1.25. I buy whatever colors they have!
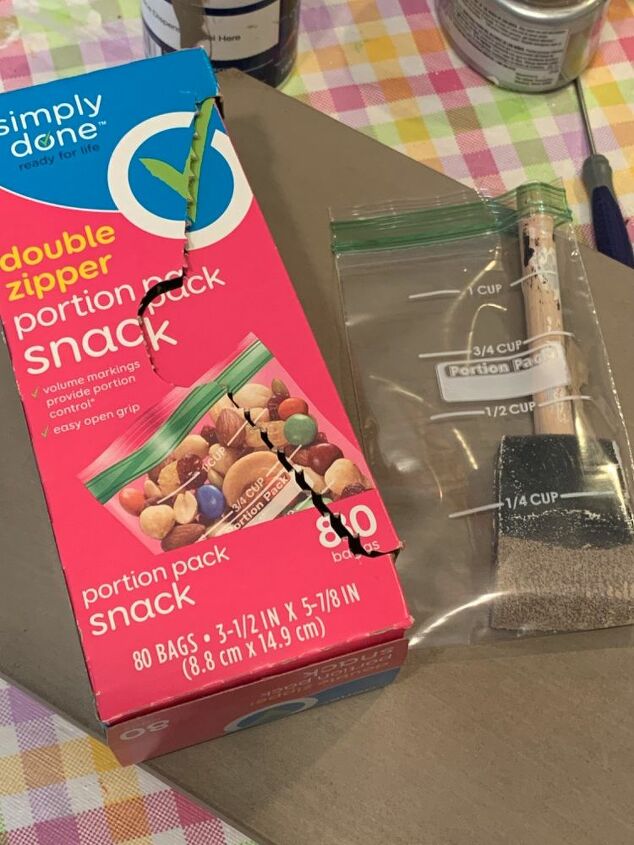
Here’s a great tip. If you have to step away from your project, place your brush in a vertical snack baggie. This keeps the brush moist for when you’re ready.
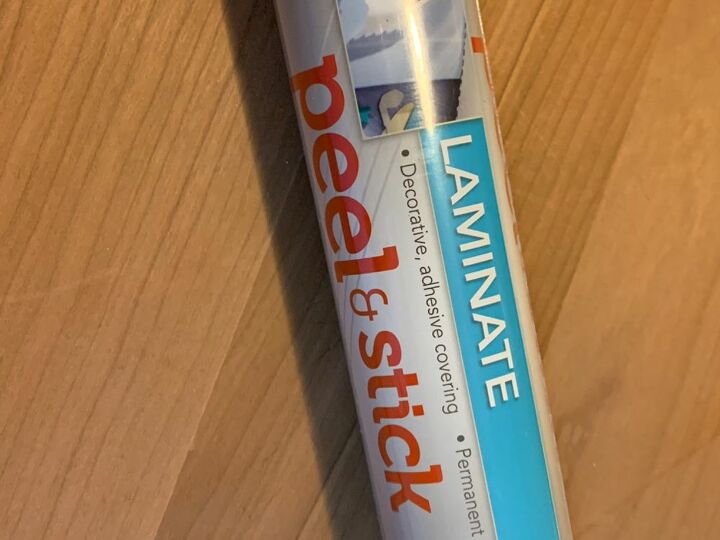
I buy this cheap cheap cheap shelf liner paper from Walmart to make stencils on my Silhouette Cameo.
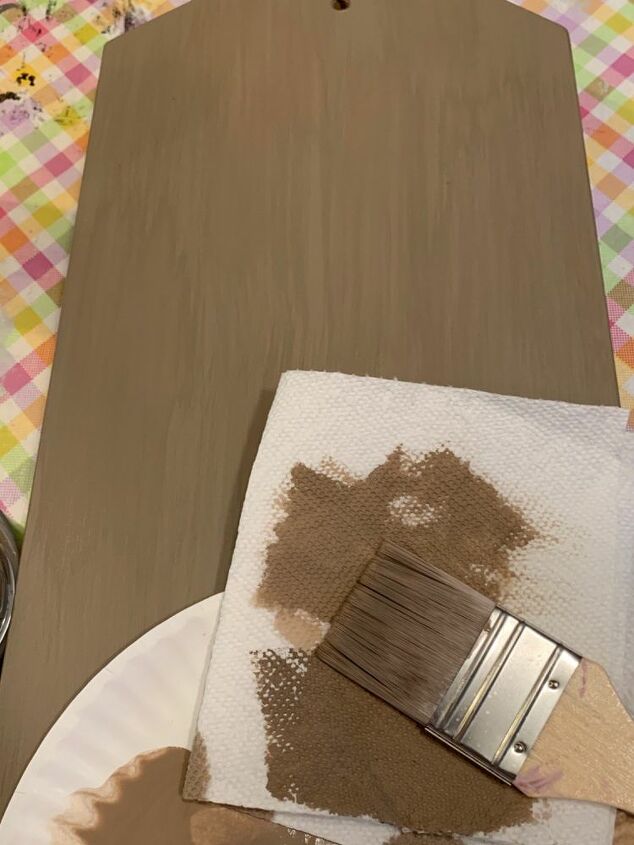
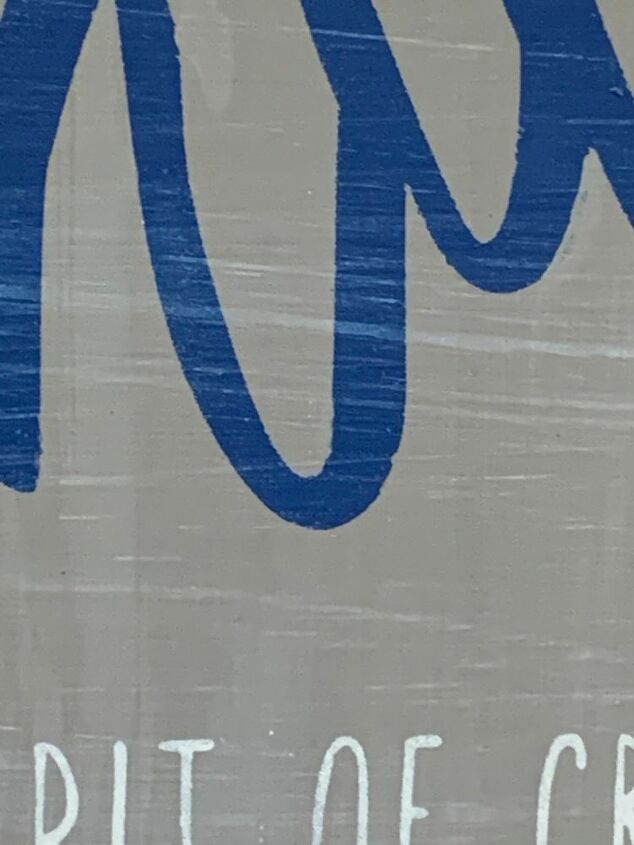
To give the piece more character and depth I added a second brown paint. It can be lighter or darker. Pour a little bit on a paper plate. Add a tiny bit of water. Load a chip brush then offload it on some paper towel. The idea is to have very little left on the brush. Then very lightly swipe over your project piece sparingly to add the second color. On this project I added the second color in vertical straight lines.
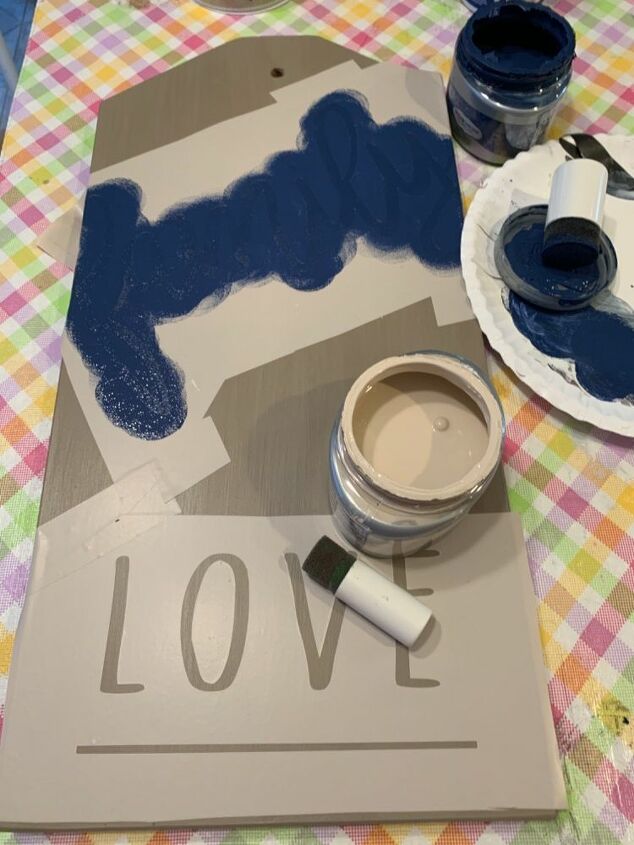
I used two colors for the wording. Load the pouncing brush and then offload some of the paint onto a paper plate before you start. If it’s too wet it may cause the paint to bleed under the stencil.
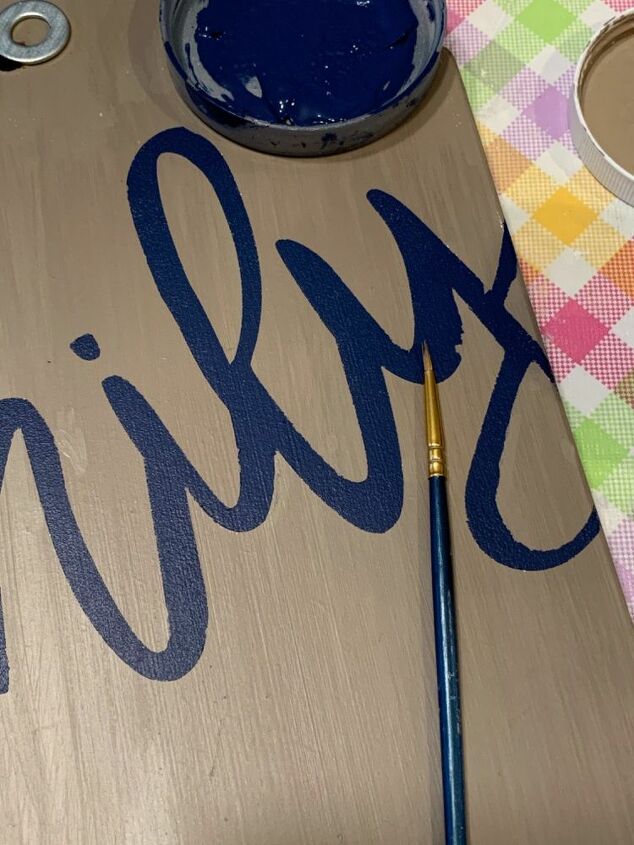
Don’t be surprised if after you pull up the stencil it will need a little bit of touchup here and there. I think it’s best to pull up the stencil while the paint is still wet. But be very careful.
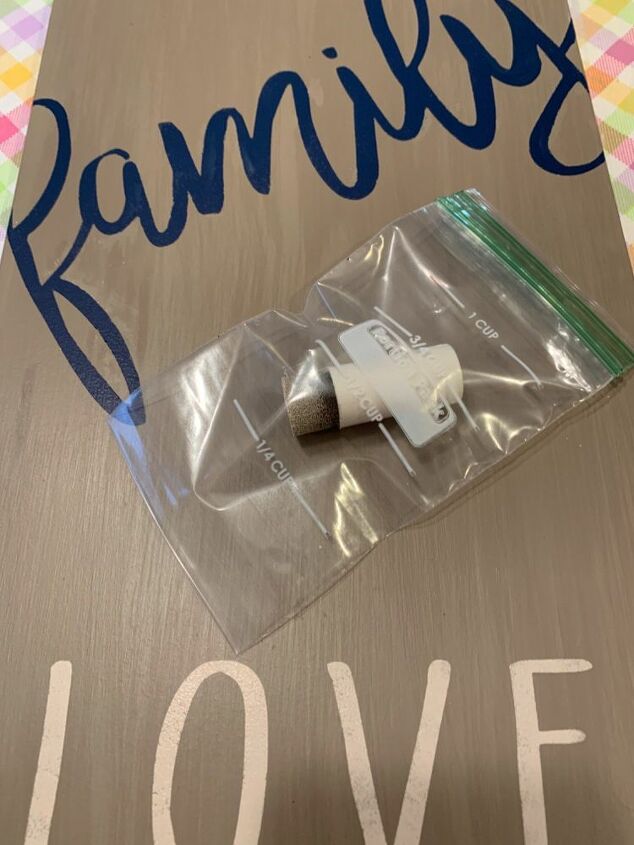
Once again I use the little baggies to hold my applicators. It keeps the paint moist as I go back-and-forth between the colors.
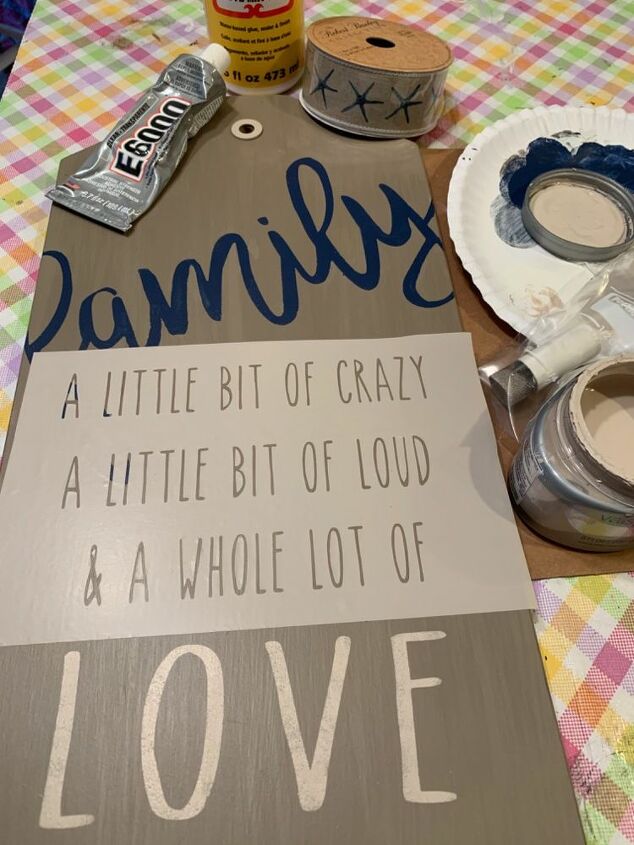
I had to wait for the first set of words to dry. Then I can add my next stencil which is partially placed on the blue painted word “family”. I used e6000 glue to add a painted flat washer over the hole.

Once again I want to add more color to the entire piece. So I used the light cream color that I used for the wording. After adding a little bit of water, uploading to my chip brush, and offloading onto some paper towel, I added some depth with left to right strokes
Here is a close up of what that looks like. Then I seal the entire piece, front and back with two coats of modpodge. I used the matte finish.
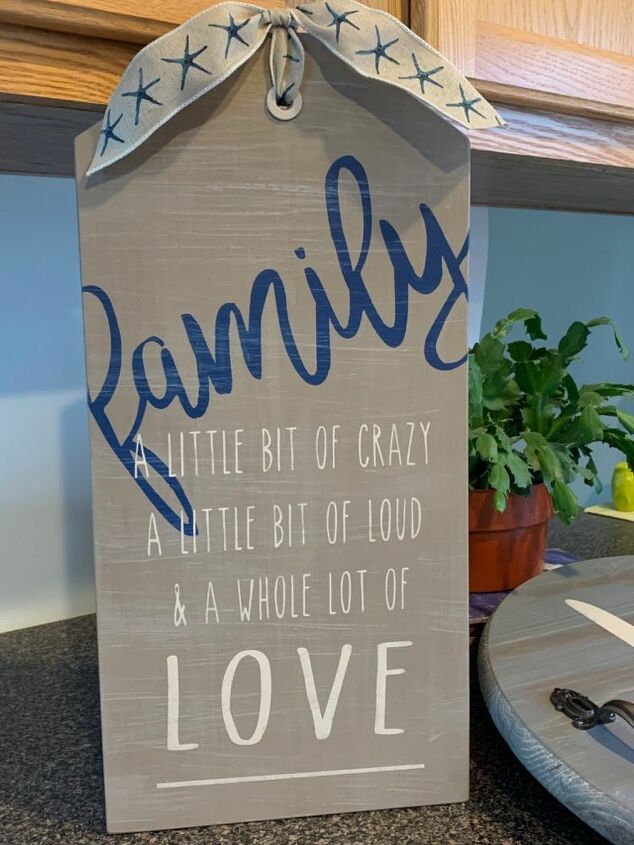
The final piece after I added a bow. The actually cost to make this will depend on what materials you already have on hand. I try to buy everything when it’s discounted. Most all of my wood is salvaged… From the side of the road at construction sites, or family and friends’s leftovers.
I hope you enjoy this project!
Resources for this project:
See all materials


Comments
Join the conversation
-
Absolutely love this sign. Such a nice way of letting family know they are loved. This would make such a great gift for any family member, a house warming or wedding gift. Such a great job.
-
Please let people know to be careful when sawing MDF. They need to wear a mask as the fibers are dangerous to breathe in. Otherwise your project is lovely.


Frequently asked questions
Have a question about this project?
Awesome project. Do you have a tutorial on how the stencils were made?
What settings did you use on Cricut