


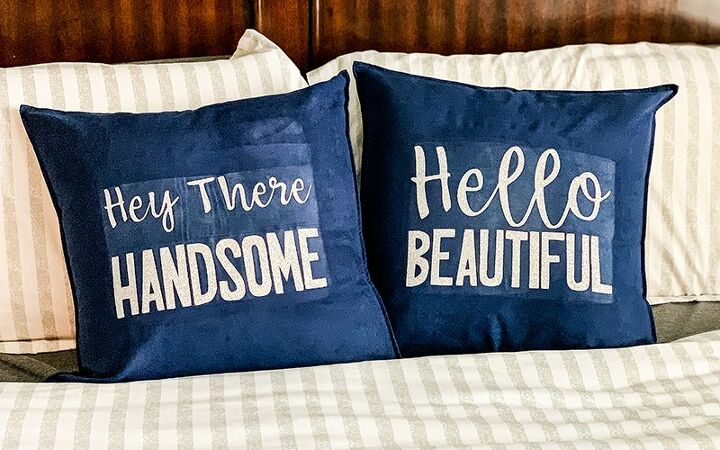
How To Make a Beginner Throw Pillow
How to customize throw pillows with iron on letters using the Cricut Explore Air 2 and Easy Press 2. A simple and easy project to add simple decor to your living room couch, bedroom, or home office.
I am using the Cricut Explore Air 2 and Easy Press 2 for this project. If you do not have those you will need them or similar products such as a Silhouette machine or other Cricut machine. And a heat press is needed as well.
If you want to make these exact phrases, these are the design files for it. Design Space is the software that you can use along with your Cricut machine.
Open files in Design Space. These are linked above for you so you do not have to create your own unless you want to.

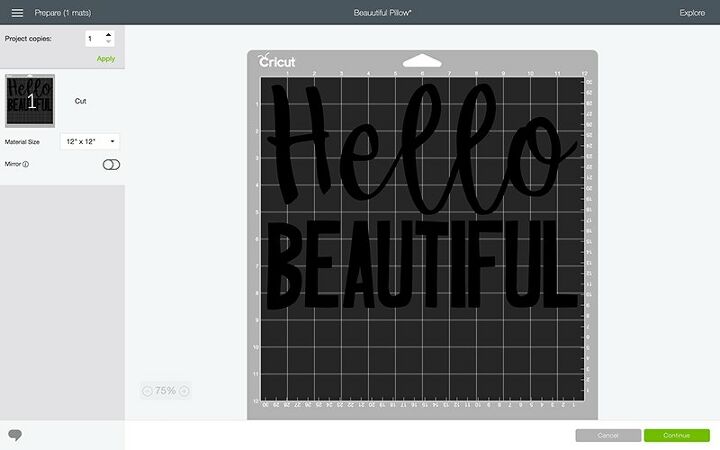
Select "make it" in Design Space.
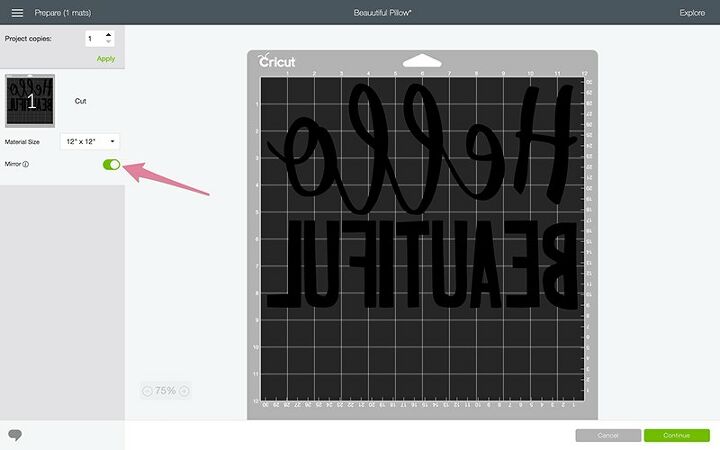
Choose the 'mirror' option to ensure proper printing.
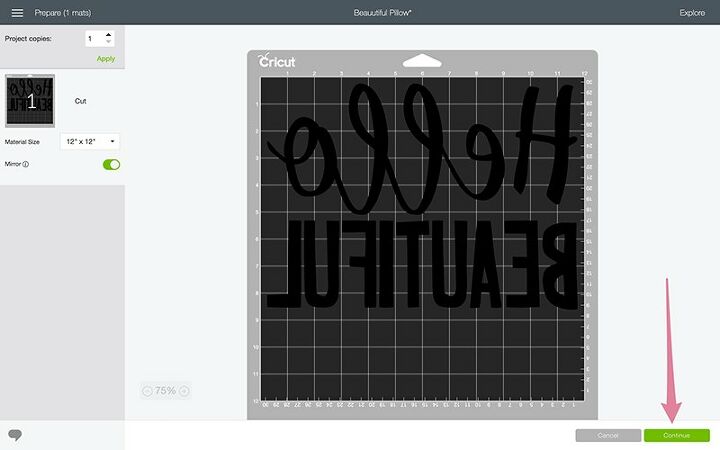
Click 'continue' to set the mat for printing.
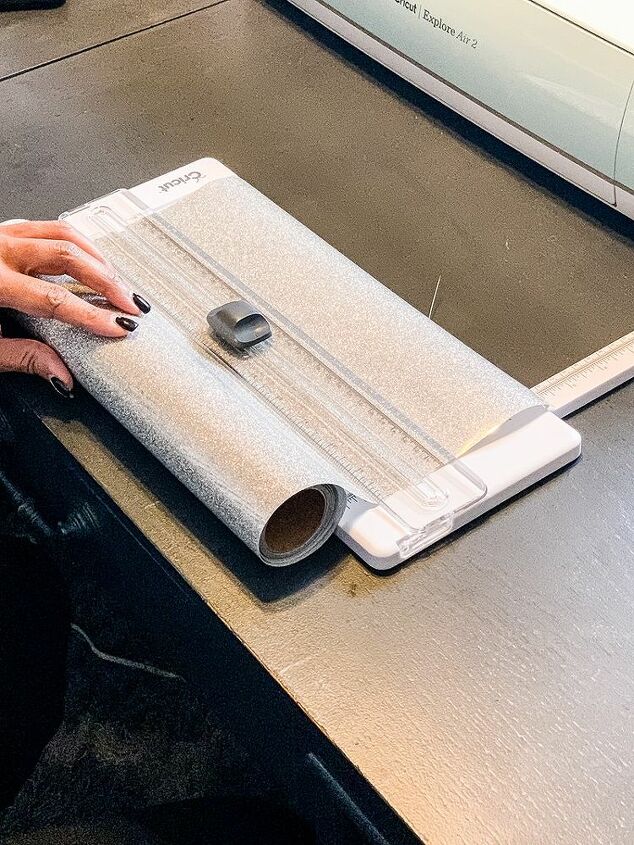
Cut the proper needed amount of vinyl for the design. You can do this using the portable trimmer, or scissors if you don't have one.
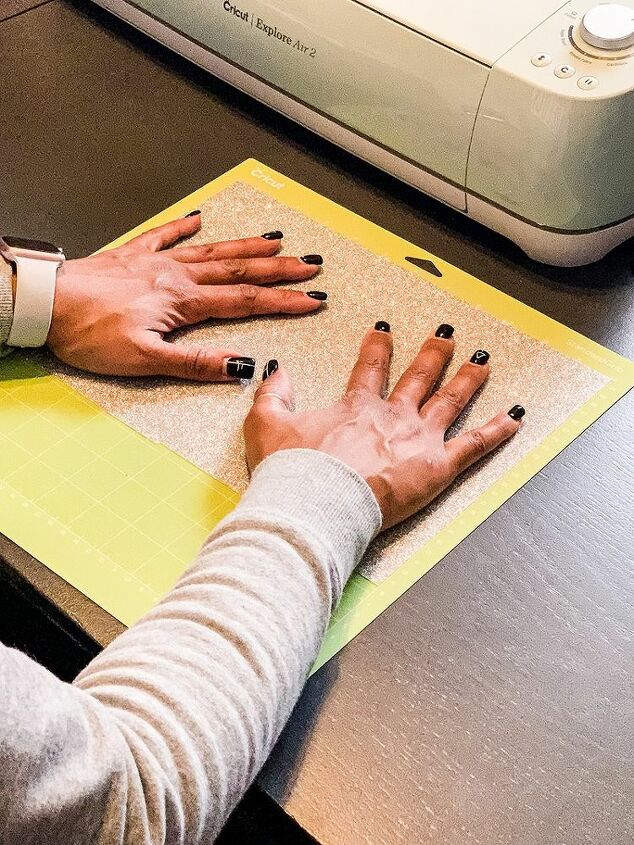
Place the vinyl on the Cricut mat. The standard one at a minimum because the vinyl is fairly thick. The vinyl needs to be put on the mat face down (shiny side down). Otherwise, your design won’t come out as intended.
Once the machine has completed cutting, release the mat, peel the vinyl from the mat, and start weeding your design using your weeding tools.
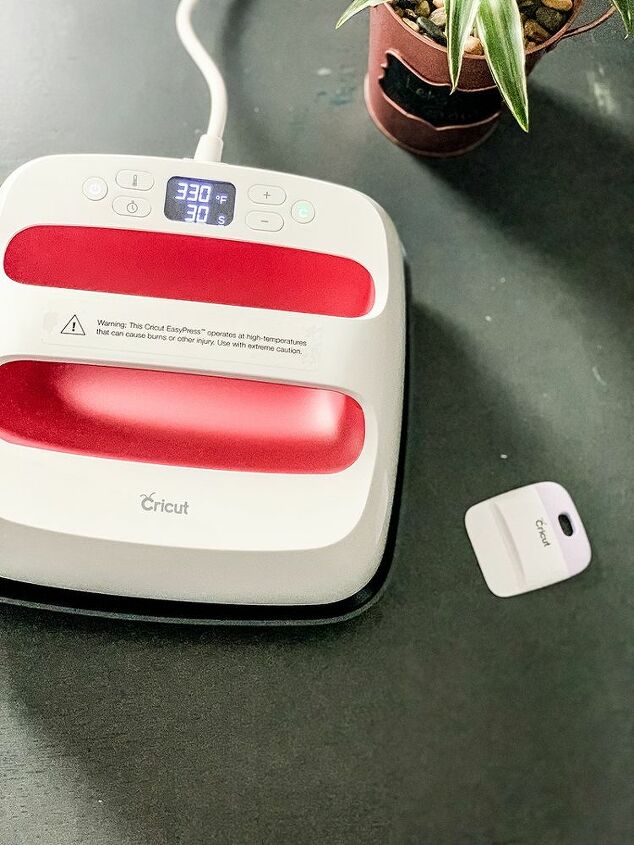
Warm up the Easy Press.
Place the Easy Press mat on a flat surface and place the pillow cover on top of it. Then put the Easy Press on the pillow cover for a few seconds (about 5) to flatten and iron out the material before transferring the vinyl.
Place the design on the desired spot of the pillow.
Place the Easy Press on top of the design and press the start button so that it can count down. Because of the size of the design, if you have the 9 x 9 Easy Press like me, you will need to heat it in two separate sections. Making sure not to overlap.
Flip over the pillow cover and do the back of it for 15 seconds. Broken up into to 2 sections just like on the front.
Let it cool for a few seconds and then peel back the plastic.
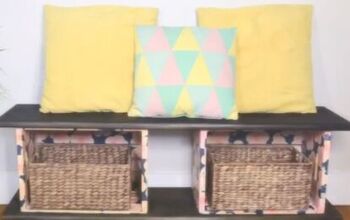
Stuff with the pillow inserts and enjoy your new beautiful pillows!

To get additional details and images, please check out my original how to post here.
Resources for this project:
See all materials


Comments
Join the conversation
-
LOVE them!
-
I have never thought about how pillows are made, namely the design for them. It was very interesting for me to read the process of making a design and transferring it to the pillows. I would be glad if you also tell us how to make a design for such pillows like https://www.animelovepillow.com/ since I have a full-length pillow and I really enjoy sleeping with it. In general, I like to sleep in an embrace with something, especially if it's something large and soft. That's why I bought myself a long pillow for best convenience. I will be glad to read a new article from you!


Frequently asked questions
Have a question about this project?
I love these but I don't like that you can still see the film around the wording. Is there a way to avoid this? I am currently researching which cricut I want to purchase and what types of projects I want to make with one. Are all of the heat transfers onto fabric going to show this? Thank you in advance for responding.