


DIY Wood Wall Art
Do you find yourself wondering what to make with scraps of wood? Thought about making wall art? This DIY is so easy to do and great fund. Tweak colors to link in with your home decor style.
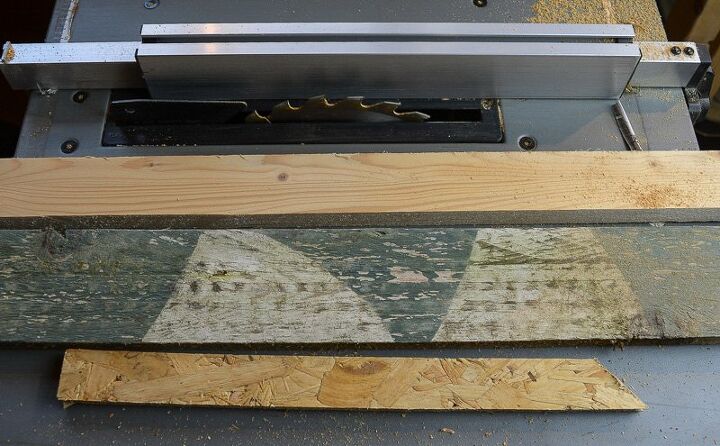
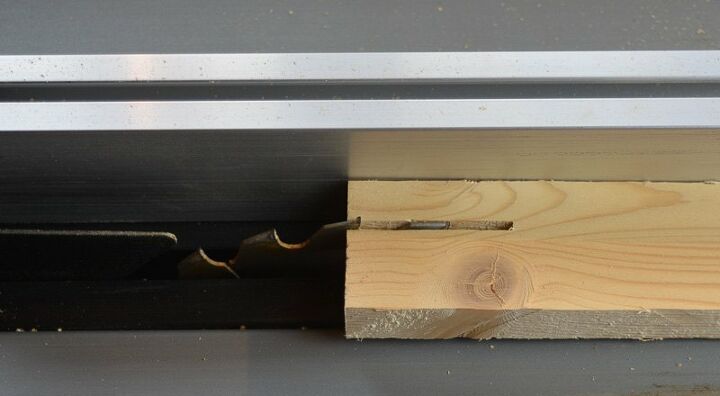
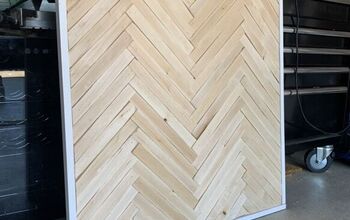
Cut a variety of pieces of wood each the same depth, using a table saw. Vary these in length. The pieces in this scrap wood wall art picture measure anywhere between 4 and 12″ long and are 1/2″ wide and deep.
Play with the design layout of your wood.
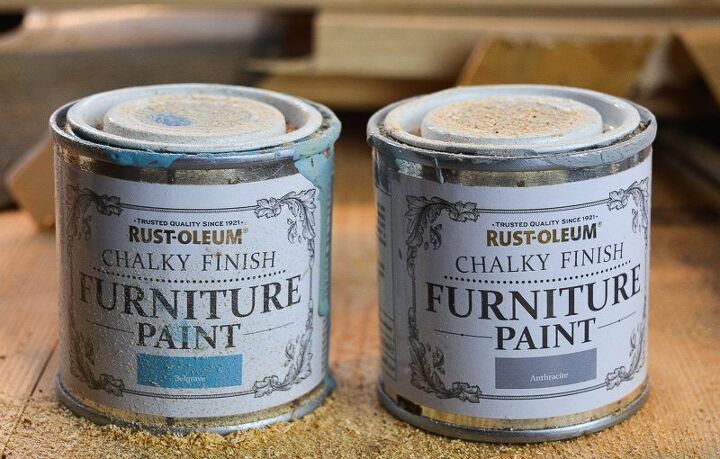
If you like a splash of color chalk paint is super easy to use, as it requires no preparation.
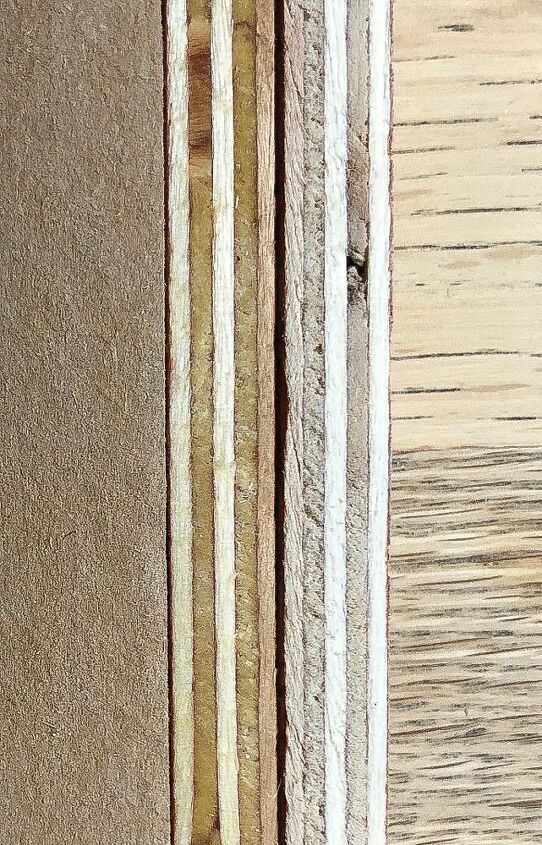
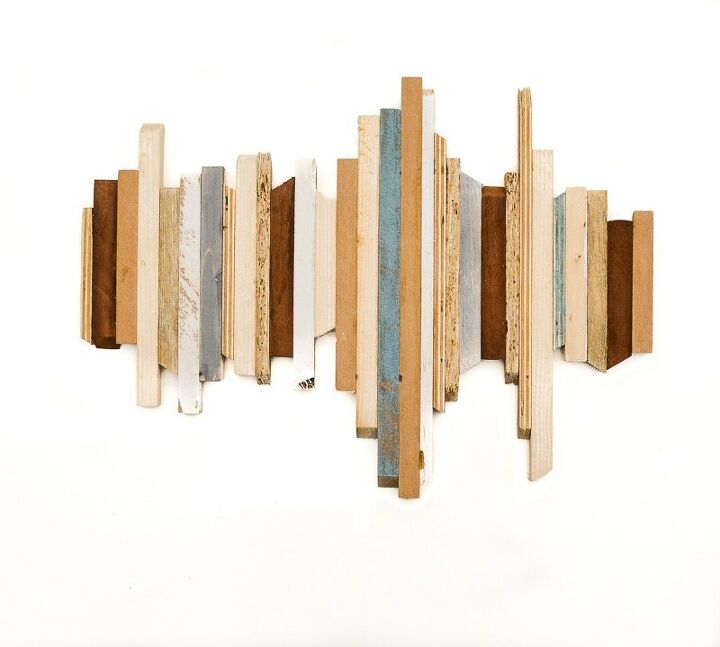
Consider adding oii to the edges to change the color (we have used kitchen olive oil as it was readily to hand), you can see the difference in the picture below, the right hand side has been treated with oil.
Here is our draft design lay out.
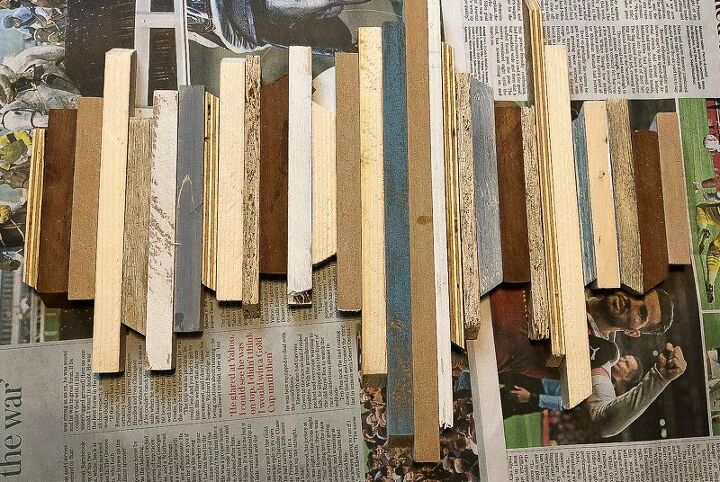
As you can see we have used a variety of woods including mahogany.
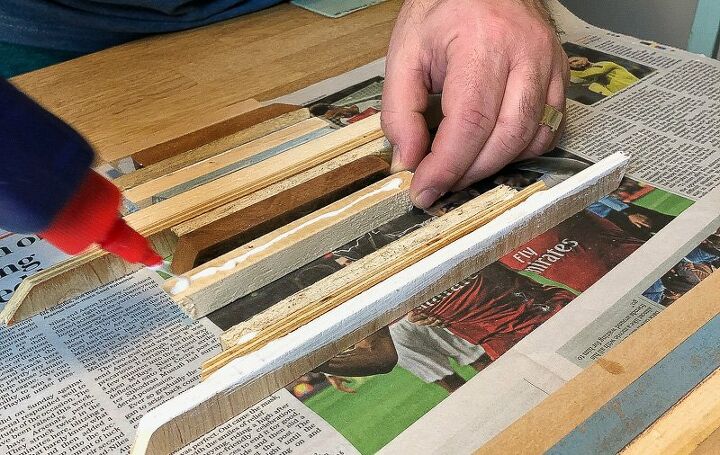
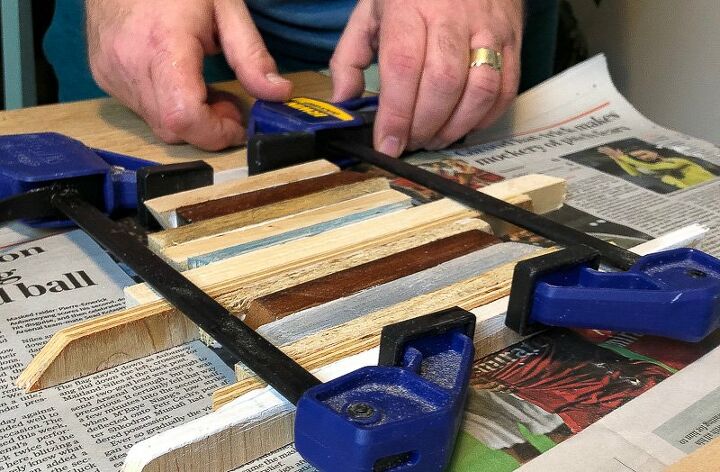
Apply wood glue to the edges and hold together with a clamp whilst it dries. Make sure you wipe off any excess glue.
Once complete hang on your wall - we used command strips to hang the DIY Wood Wall Art.
Resources for this project:
See all materials


Comments
Join the conversation
-
Yes I will try this
-
I have a butt load of paint stirrers ( I buy them for my parrots to chew, not treated wood)I am going to cut different lengths and paint colors...what an awesome simple cool design idea...thanks !!!


Frequently asked questions
Have a question about this project?