


DIY Wedding Centrepieces From Upcycled Corks - Two Methods to Try!
Have you seen the price of wedding decorations lately? Even so called ‘rustic’ or ‘farmhouse’ wedding decor and centrepieces can cost an arm and a leg! This tutorial is all about how to use upcycled containers and corks to create two types of DIY Wedding Centrepieces on a budget.
I've included a great hack for cutting your corks more easily too!
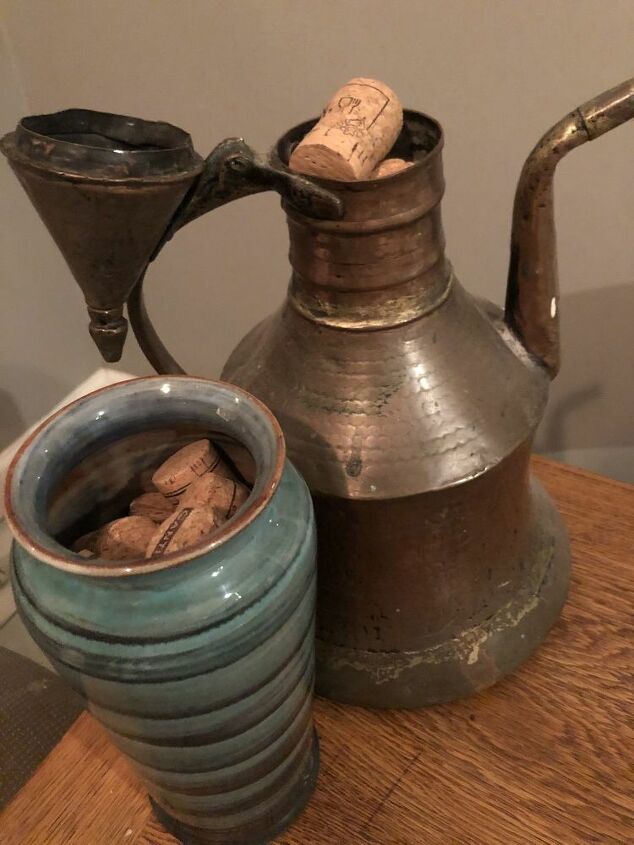
I used mostly champagne and prosecco corks - it seemed to be what I had saved up, I must do more celebrating than I thought I did!
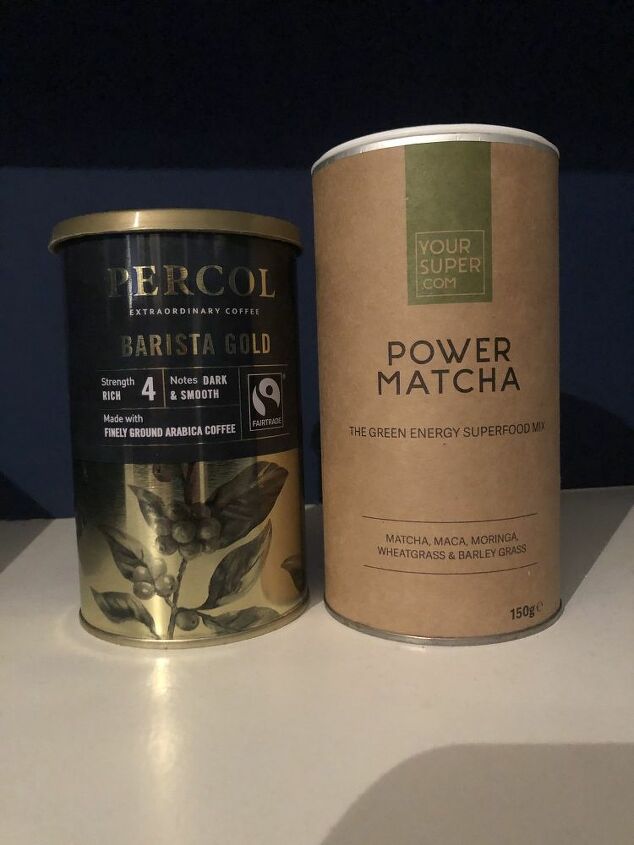
For the bases I used cylindrical containers – I used an instant coffee tin and a Matcha Tea container. The coffee tin was metal which was better for this project, the other was a thick cardboard. It was okay but it wouldn't be my first choice for this.
The first step is to prepare your corks for cutting. This step isn’t 100% necessary but it will make your life a lot easier if you are doing a lot of these.
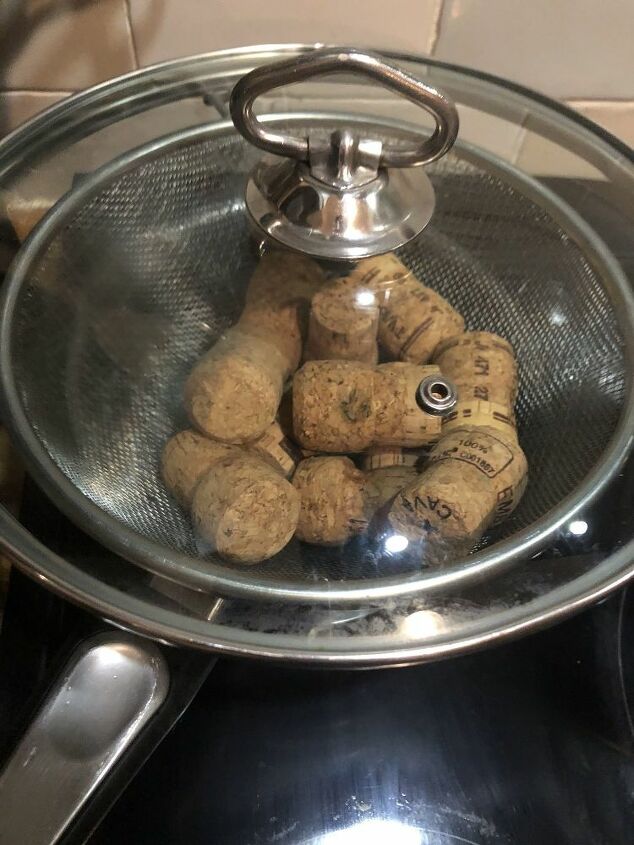
Basically what you want to do is steam your corks for 10 minutes or so to soften them up and make it easier for you to cut them.
To do this:
- Fill a strainer with corks (how many depends on how big your strainer is, you may have to do several batches).
- Place the strainer over a pan of boiling water – but leave a gap so the water doesn’t lap up and touch the corks.
- Cover the strainer with a pot lid to keep the steam in.
- Leave for approximately 10 minutes.
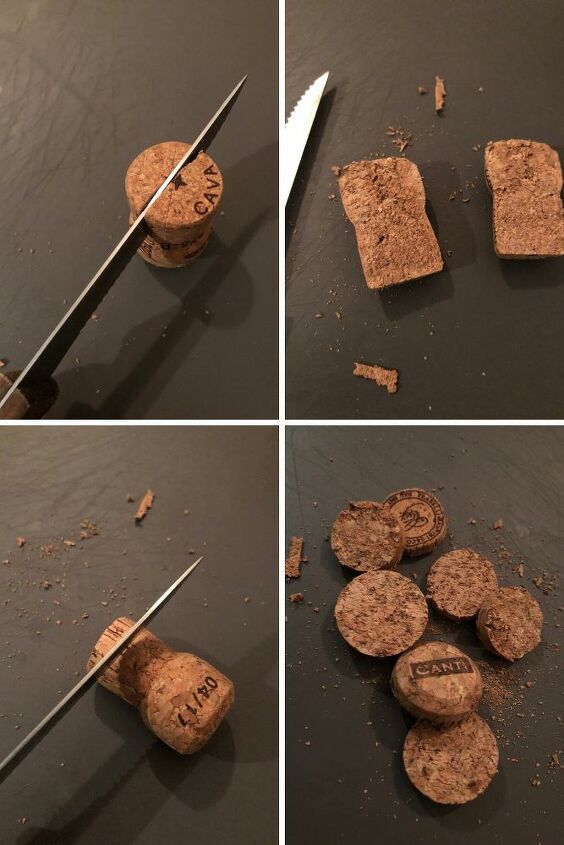
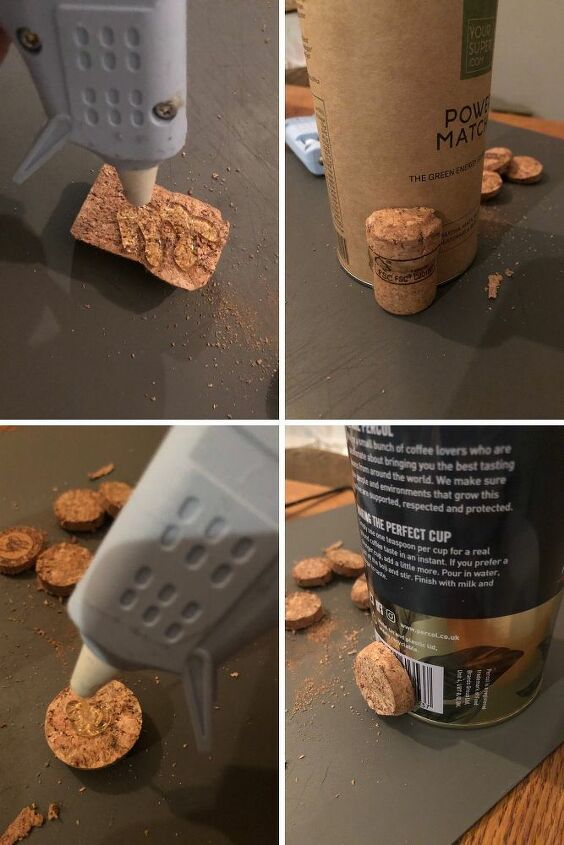
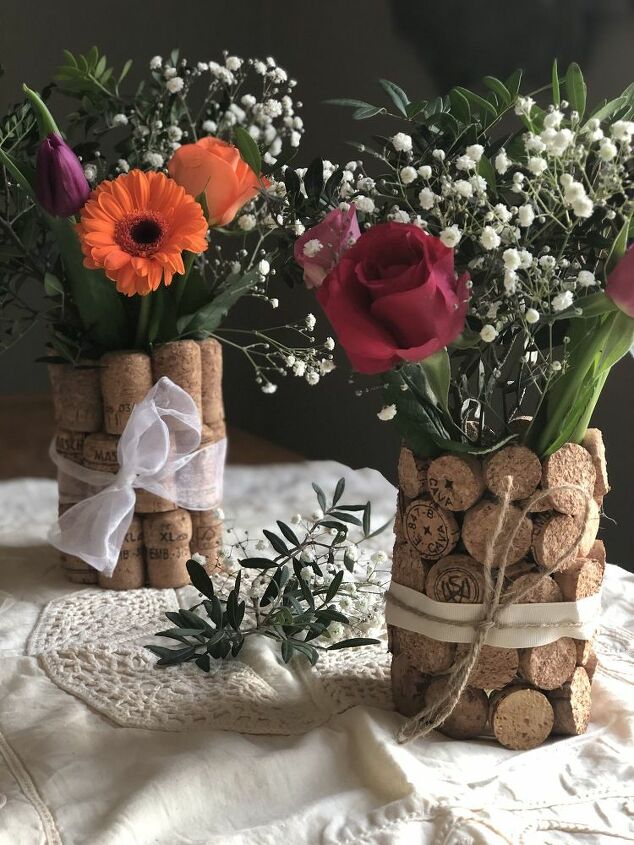
So next you want to cut your corks. I tried two different ways to see how they would turn out. I cut some corks in half vertically and the other batch I cut into round disks horizontally through the corks.
The two methods of cutting the corks for these DIY wedding centrepieces ended up looking quite different.
If you don’t have a lot of corks to work with then the disks method will yield more material to cover your containers. The vertical method makes them more recognisable as corks so it just depends what look you are going for – or mix it up and do a few of each!
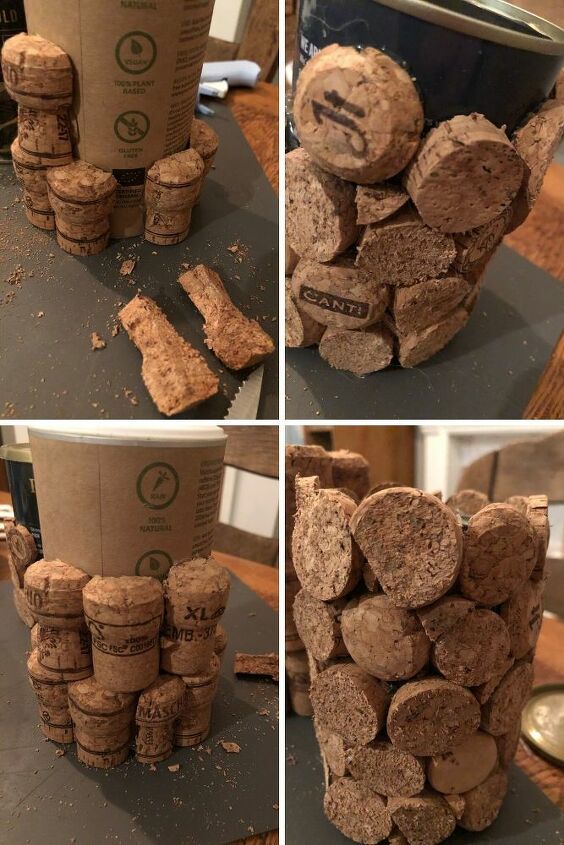
The next step is to start gluing. For both versions I started with the containers standing upright on the table and gluing the corks as far down to the bottom edge as possible. So basically pushing the corks so down as you glue them so they touch the table. This is to make sure as much of the canister/container is hidden as possible.
Continue gluing all the way around getting them as close together as possible. I found there were more gaps with the disks method than the vertically cut corks.
For the vertically cut ones I had one space in two rows where I needed a thinner piece to finish off and for that I just cut one of my halves in half and used that.
For the disks version I had to cut some more little pieces and slot them in between the gaps. If you don’t fancy doing that you could consider painting your containers before you start. Use a colour that you wouldn’t mind peaking through in the gaps.
For the vertically cut cork version I off centred the corks from the ones in the row below, like if you were building a brick wall or tiling. For the disks I just put them wherever they fit!
For both versions, when you get to the top, glue up so that the corks overhang the rim of your container, again to make sure the container itself remains hidden.
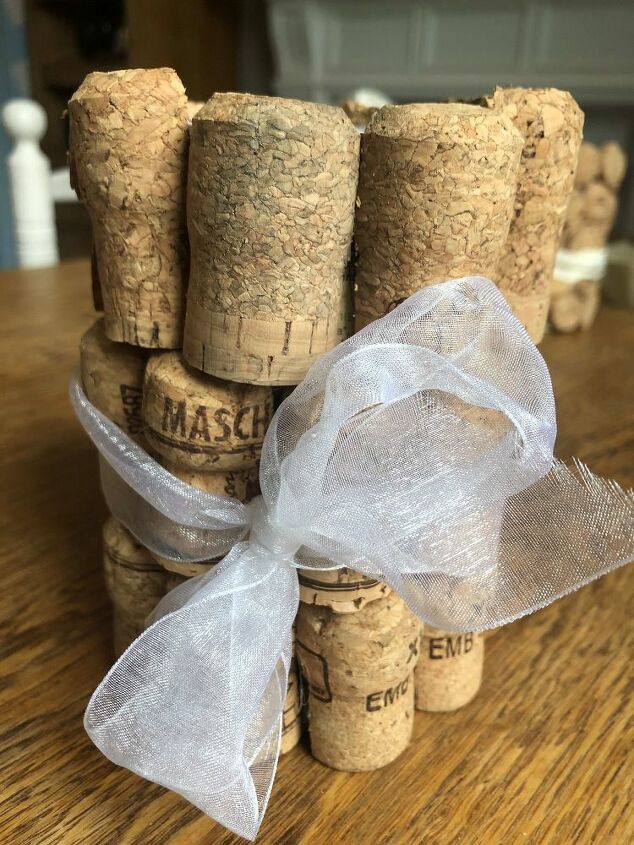
The last step is to dress your centrepieces with repurposed ribbon, twine or whatever you have to hand. You can use your wedding colours to tie it all in with your wedding theme whether that’s rustic and farmhouse or a very specific colour pallet.
I used some ribbons left over from Christmas presents and some twine. For the disk version I hot glued the ribbon on to the vase and simply tied the twine on top. For the vertical cork version I just tied the ribbon in place with no glue.
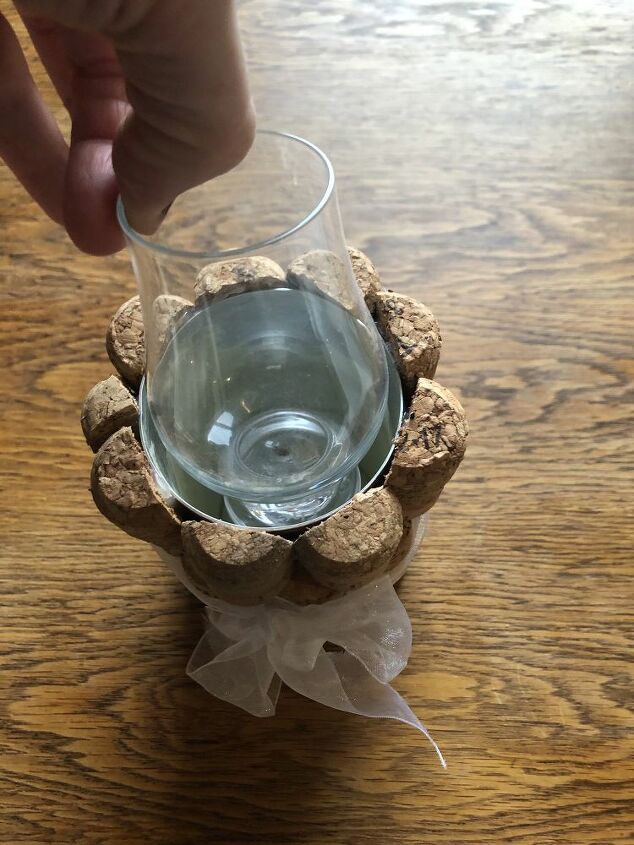
One quick tip about adding your flowers. For the metal coffee tin canister I just used water directly in the container. For the other one that was more of a thick cardboard tube container I put a small whisky glass inside first and that is what I put the water for the flowers in.
I was concerned the cardboard wouldn’t hold up to the water. If you are saving money with fake flowers or twigs or anything like that then obviously don’t worry about this, but I thought I should mention it just in case!
And that's it! Two different types of DIY cork wedding centrepieces. If you are looking for more DIY Wedding Upcycling Ideas head to our Ultimate Guide to your Upcycled Wedding for lots more ideas like this.
You can also find lots more trash to treasure upcycling tutorials for your home here.
Resources for this project:
See all materials


Comments
Join the conversation
-
yes I’m going to make a couple and show my grand daughter who is getting marrie


Frequently asked questions
Have a question about this project?