


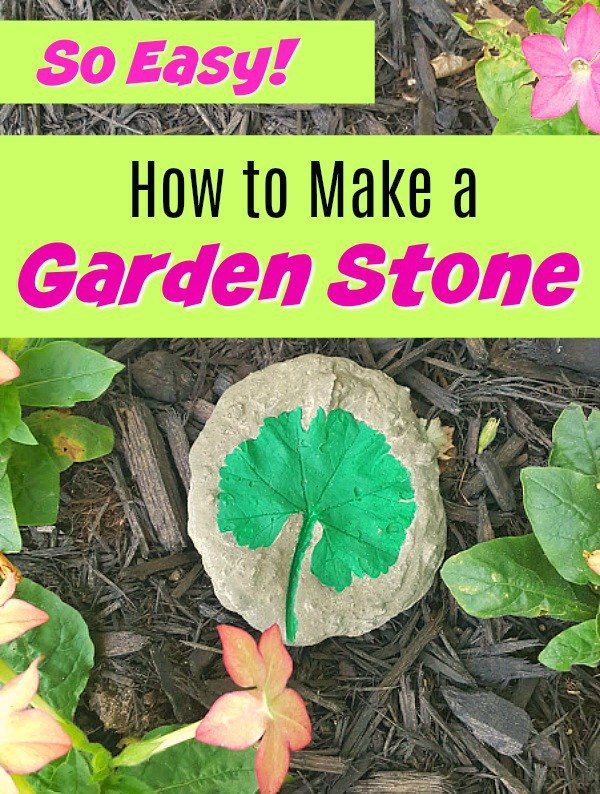
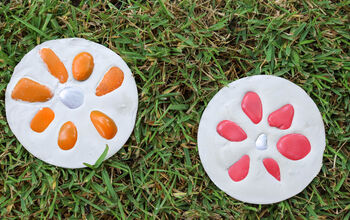
Garden Stone With Leaf Imprint
Gardening can bring such joy! And while the flowers will fade after a season, you might want to preserve the memory of plants in your garden this year. If you love making crafts and love the outdoors, then this decorative garden stone with leaf imprint is the perfect DIY project for you.
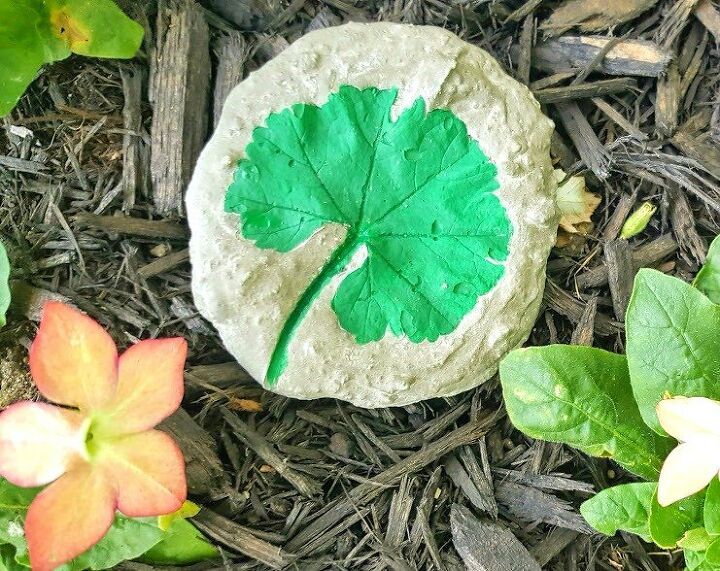
Our garden stone shows one type of leaf. But feel free to use whatever is in your garden that will look great and bring good memories.
Keep in mind when choosing a plant or leaf to make a decorative garden stone, you will want:
- Sturdy leaves or flower (nothing too delicate)
- Large leaves make a bigger statement
- Personalize with paint colors of your choosing
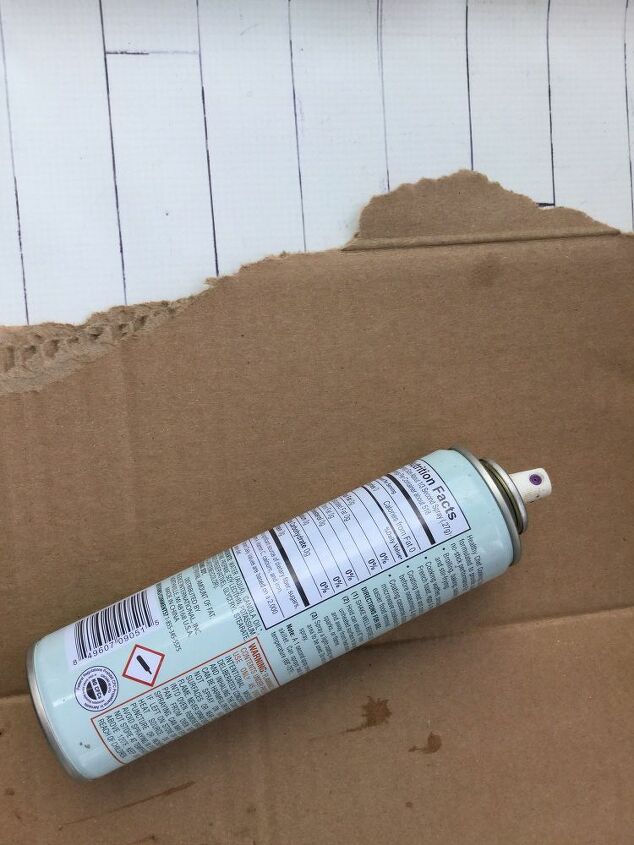
- To make the garden stone, you will want to spray a large section of cardboard lightly with cooking spray. (This can be done either first thing, or after mixing the concrete.) This is where you will make your garden stone. And the spray will allow the cement to be easily removed later.
- Place 2 cups of portland cement in a bucket.
- Add ¾ cup of water to the cement and mix. Consider attaching an old mixing beater to your drill for super easy mixing.
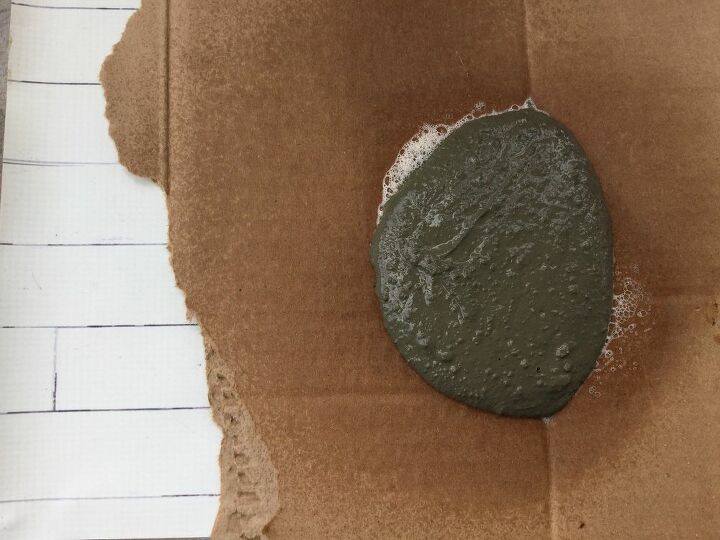
- The cement should have the consistency of pudding when mixed. It should be smooth and thick. If the cement is too thin, your stone will break. Add additional water or cement if needed to achieve a pudding consistency.
- Transfer mixed cement to the coated section of cardboard.
- You will not need to smooth it with a tool. Pick up the cardboard and very carefully drop it from a height of about 3-6 inches onto a smooth, level surface. This will help the air bubbles escape and give you a nice, even texture.

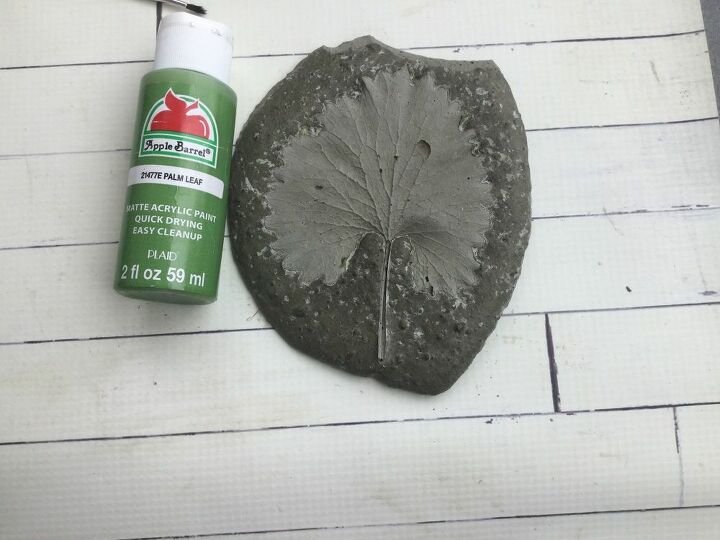
- Next select the leaves you would like to imprint into the garden stone. Carefully place these into the cement, pressing them in place.
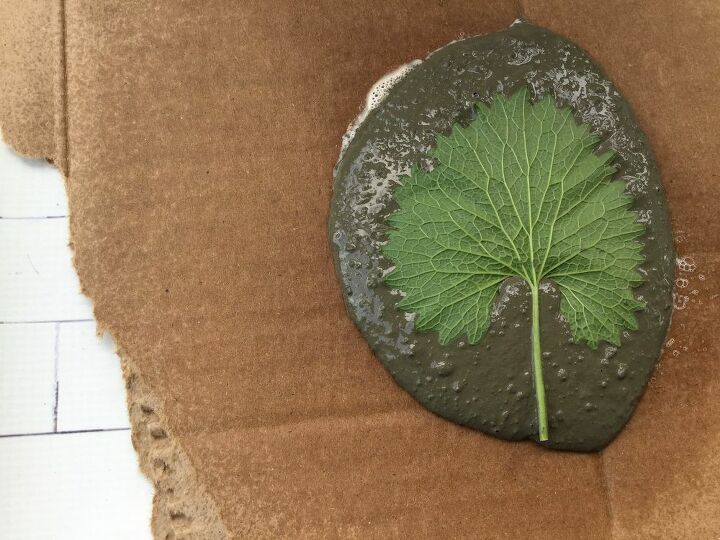
- Again, give the cardboard holding the cement a gentle drop from a height of no more than 6” to smooth things out and release any remaining bubbles.
- At this point, feel free to kind of push the cement towards the center a little bit to shape it, if you don't like the shape that you see. It's more about gentle nudging of the concrete into a shape that you like.
- Allow to dry for 6 to 8 hours in the sun.
- When the stone has dried completely, peel the leaves out. They will release easily.
- Peel the stone off of the cardboard.
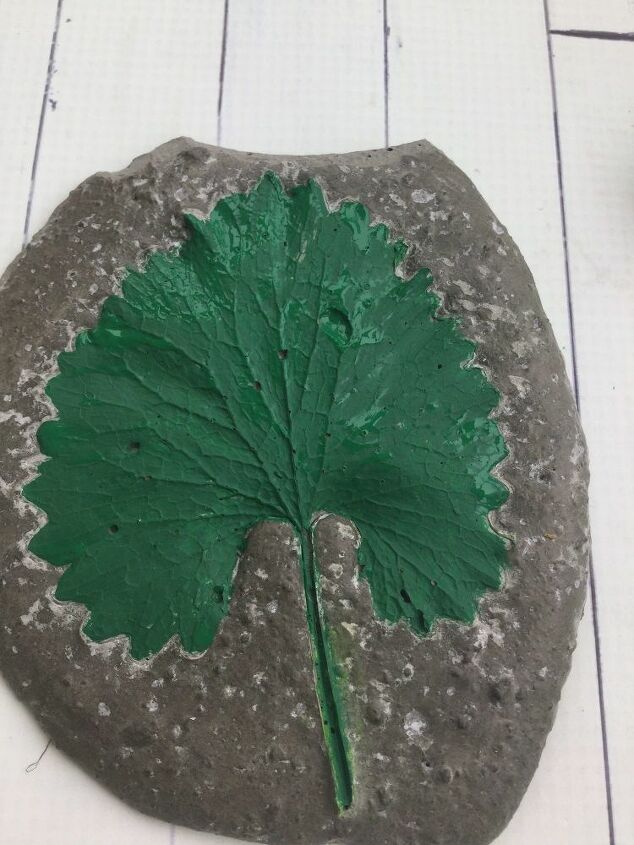
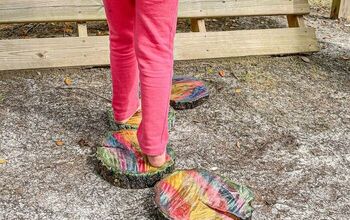
- You can paint the leaves in any color you like, or you can paint the entire stone.
- As the stone will be warm from the sun, the paint will dry quickly.
- After the paint has dried, spray it with a top coat sealant to preserve the color.
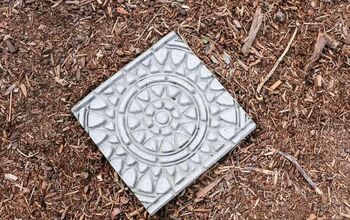
These handmade garden stones are great indoors or outdoors. They would be cute tucked into this pocket pollinator garden to help the bees.
And they also are some of the great garden gifts that I love!
Resources for this project:


Comments
Join the conversation
-
That is great, certainly will try

-
Nice. Super cute. Thank you. I may be able to make this.
🤞


Frequently asked questions
Have a question about this project?