


How To Make A Live Edge Maple Slab Cabinet Counter

My wife had always wanted a unique sideboard for our dining area with a rustic, country feel, so I decided to make a live edge maple slab cabinet countertop to finish it off. Turns out the project was easier than I thought it would be, even with a pretty large crack that needed to be addressed. With the right tools and a little bit of patience, anyone can look like a master woodworker and make countertop just like this one. Wood slabs are available online and locally for about $20 a foot and are usually already dried and out ready for you to start your work right away. So grab your gloves and let’s go!
Supplies:
- Maple Slab
- Router
- Router Jig
- Clamps
- Sander
- Sandpaper
- Extra Board as Straightedge
- Circular Saw
- Block of Walnut Wood
- Ruler
- Band Saw
- Chisel
- Mallet
- Wood Glue
- Foam Brush
- Steel Wool
- General Finishes Seal-A-Cell
- General Finishes Arm-R-Seal
- Gloves
- Googles
- Mask
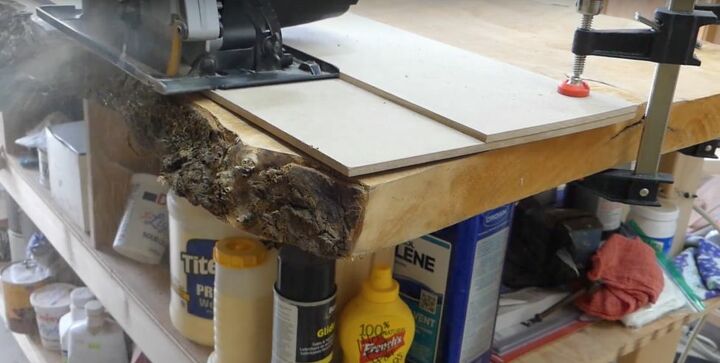
Step 1: Remove One Live Edge
Since this countertop was going to be against a wall on one side, it needed to have a flat and square edge. To do this, I clamped a board in place, on top of the maple, to use as my straightedge guide, and then used a circular saw to cut the rough, or live edge, off. Make sure to wear your protective gear.
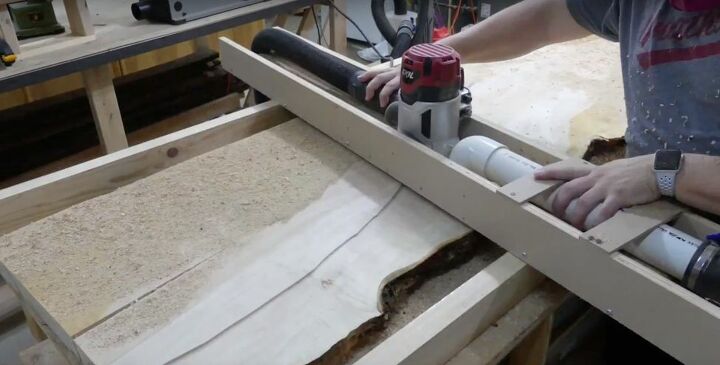
Step 2: Level the Top and Bottom
Next up, I needed to smooth out the top and bottom surfaces of the wood so it would lay flat on the furniture and the top would be level for daily use. To do this, I mounted the board in a wooden frame and used my router with a jig to level and flatten each side.
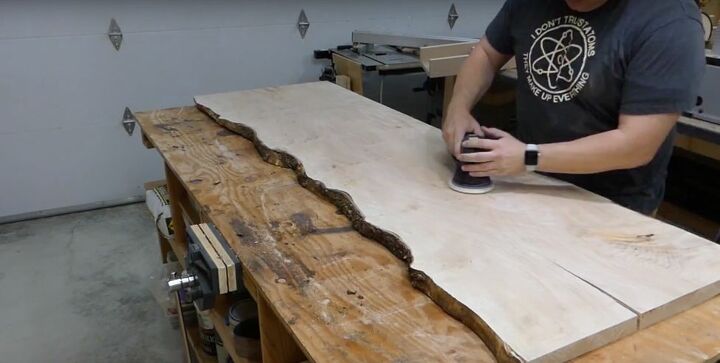
Step 3: Sand
When the flattening or leveling was complete on both sides, I grabbed my palm sander. This time I went over the top of the wood surface to smooth out any tiny imperfections or rough spots. This step was especially important because I was going to clear coat the piece.
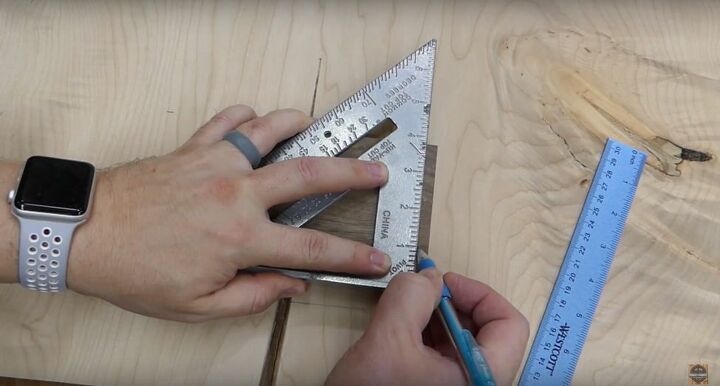
Step 4: Make a Butterfly
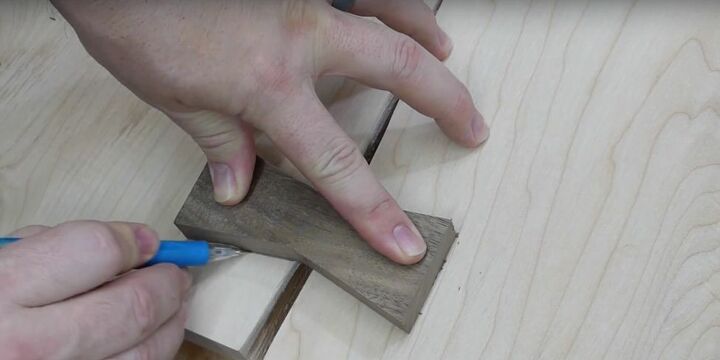
On one side of the wood, there was a large crack. I decided to make a wooden butterfly to place in it to stabilize the wood. It would also be a decorative piece, much more attractive than a large epoxy filled hole. To make it, I simply measured the crack and then drew out my butterfly pattern onto a small block of walnut wood, using a ruler and straightedge.
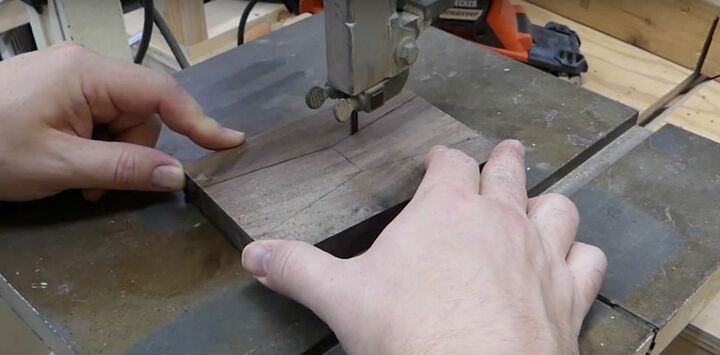
I cut the butterfly out, using a band saw tool. You could use a jigsaw or a thin bladed hand saw to do this job, as well.
Step 5: Cut the Countertop for Butterfly
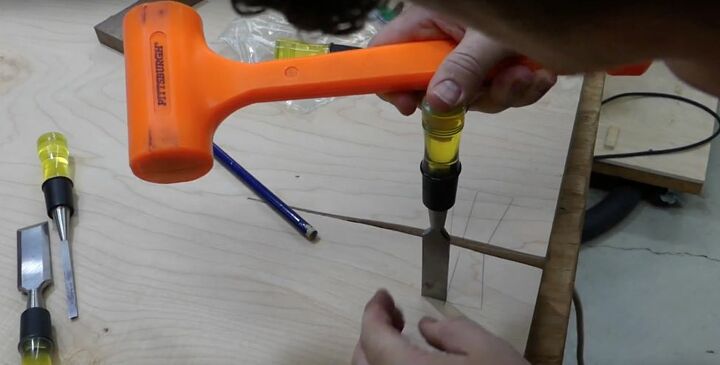
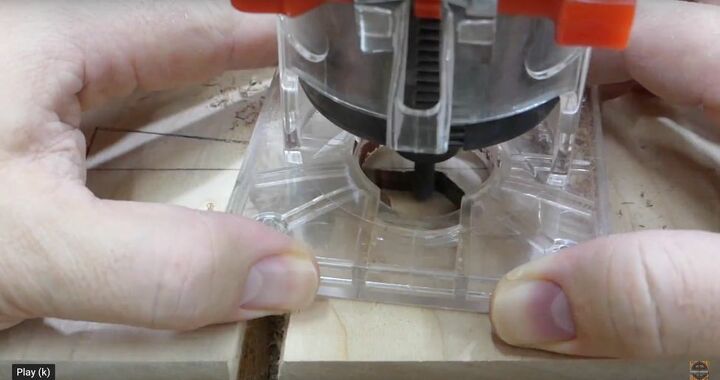
I took the butterfly and traced the shape over the crack, where it would be placed. I used a chisel and a rubber mallet to score the area where I needed to remove the wood and then used a router to carve out the wood. I went back over the edges with the chisel and rubber mallet to clean them up and tested to make sure the butterfly would fit perfectly.
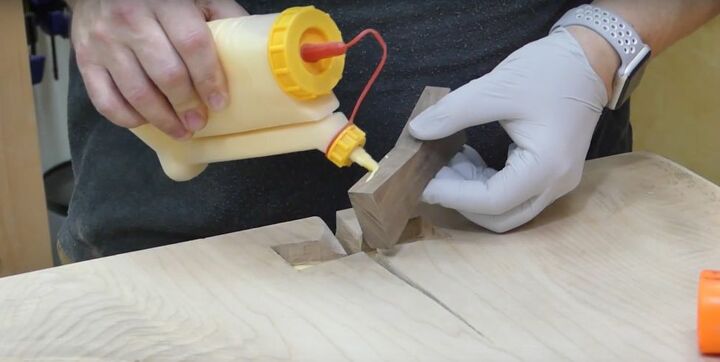
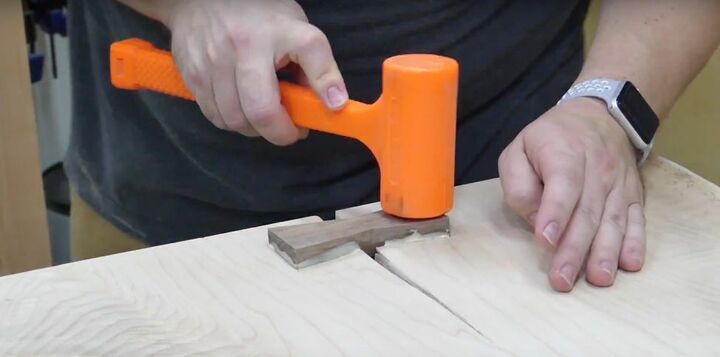
Step 6: Install the Butterfly
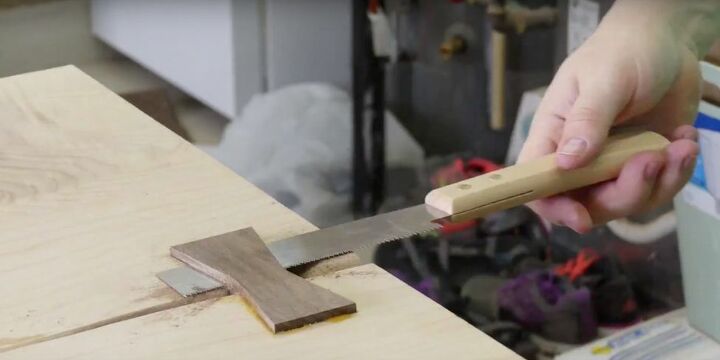
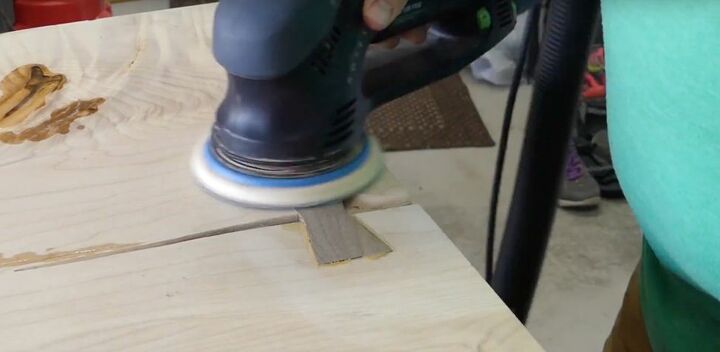
I added wood glue around the perimeter of the butterfly and then gently pushed it into the hole with my hand. I used my rubber mallet to tap it in the rest of the way and let it dry. Then using a small hand saw, I removed the top of the butterfly, so it was flush with the slab. Lastly, I went over the butterfly and the surrounding area with a sander, until all the glue was gone and the joints between the butterfly and the maple board were seamless.
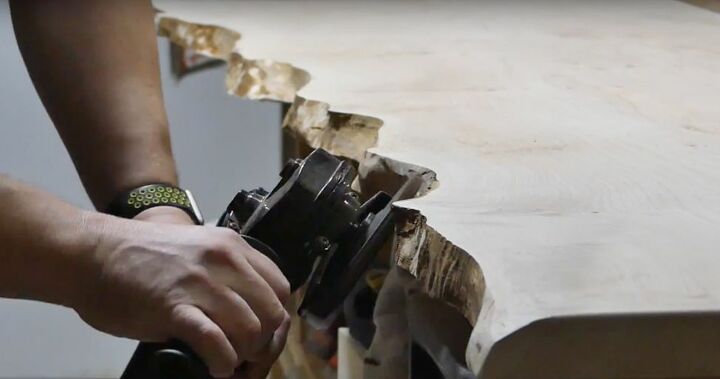
Step 7: Remove Bark
With the butterfly in place, I grabbed my mallet and chisel again and used them to remove the bark from remaining the live edge of the maple board. When the majority of the bark was gone, I went over the edge with my sander to remove any of the remaining pieces. Then I used a finer piece of sandpaper to smooth out the edge by hand.
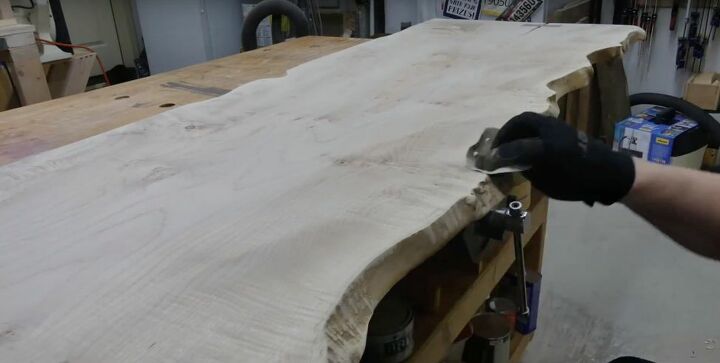
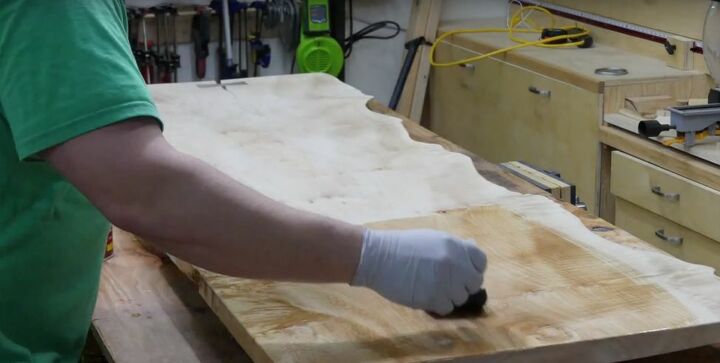
Step 8: Seal the Wood
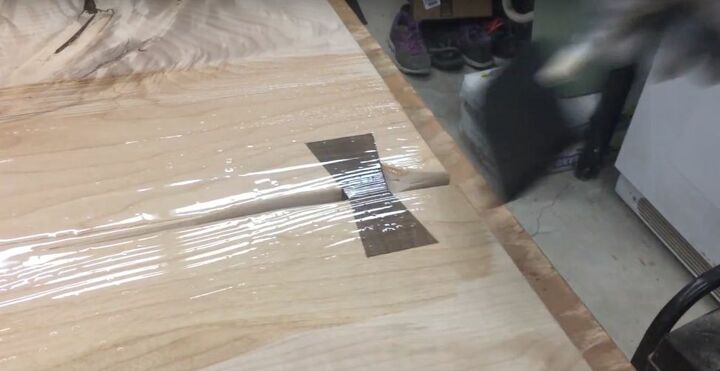
The final step in this process was to seal the wood. I started with one coat of General Finishes Seal-A-Cell which is a combination sealer and oil and applied it with a foam brush. I went slow, worked small areas at a time and made sure I paid careful attention to the edges and the crack by the butterfly. Then I applied 3 coats of General Finishes Arm-R-Seal, buffing with steel wool in between each coat. Once dry, I was ready to pop it on top of the furniture.
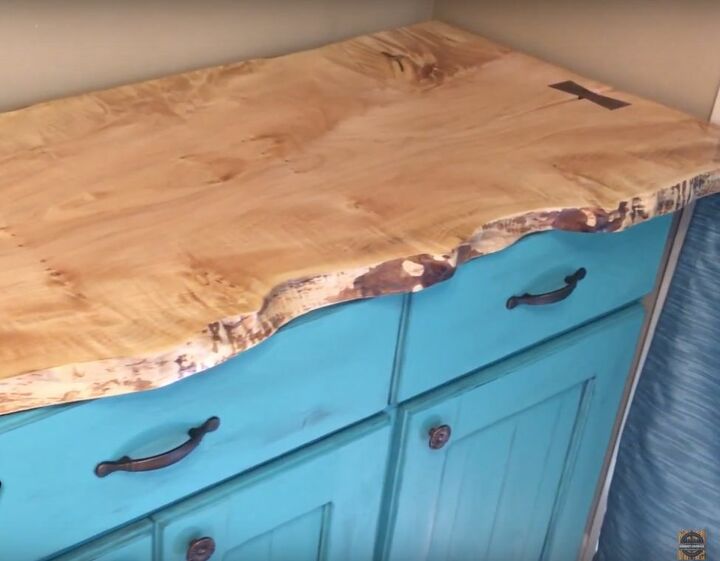
I’m really pleased with the way my maple slab cabinet countertop turned out. It was a great woodworking , not too technical, but the results are outstanding. The butterfly joint was easier to tackle than I expected and it’s become a focal point. The countertop makes the entire piece extremely unique. If you’re looking for a rustic way to top off your cabinet, I say grab a slab of wood and give this DIY a try!
Have you worked with wood slabs before? Share your experience with us in the comments!


Comments
Join the conversation
-
Beautiful!!! and I also love the color of the cabinet.
-
Gorgeous!


Frequently asked questions
Have a question about this project?
Why remove all the bark? Is it a design choice? And where the crack is... the butterfly looks great but then what the rest of the open crack is open to where dirt drops through or gets stuck? Will it crack anymore as it continues to age?
it is beautiful!