


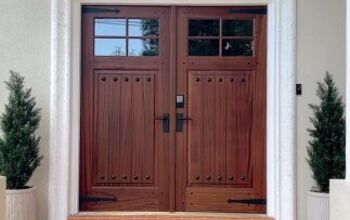
Cost Effective Door Makeover

Since moving in, I have NEVER liked this door. We looked into replacing it, but it’s original from 1978 and a weird width which means bookoo bucks on a custom build. Enter Plan B which included painting it last year. It was much better, but still not something I loved. Then I came across this easy to use product kit from Luxe Architectural!
These bad boys are pre-assembled, primed and ready to go with adhesive strips already attached. It made this project unbelievably simple and easy!
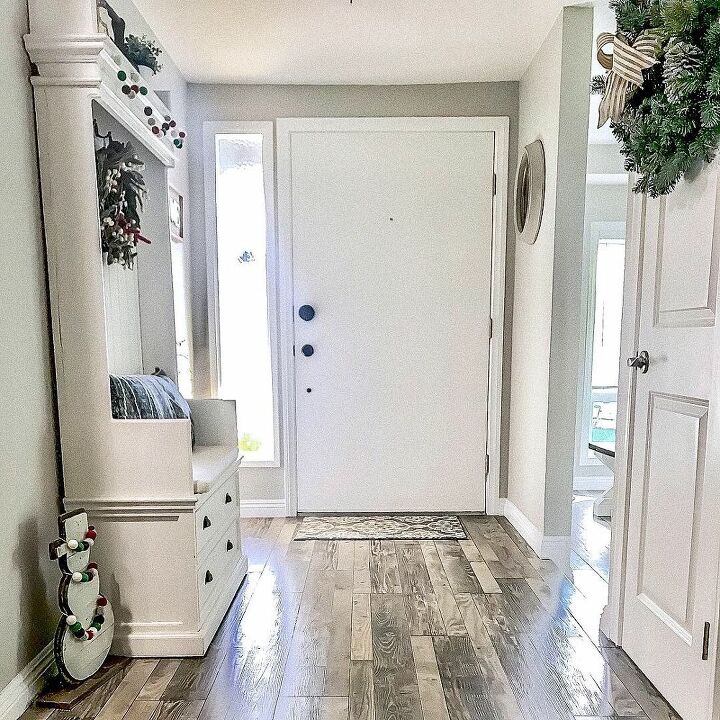
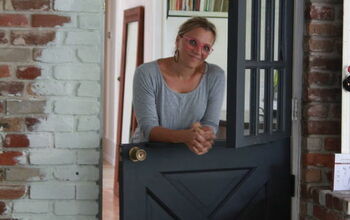
Here is the door in all its 1978 original glory.
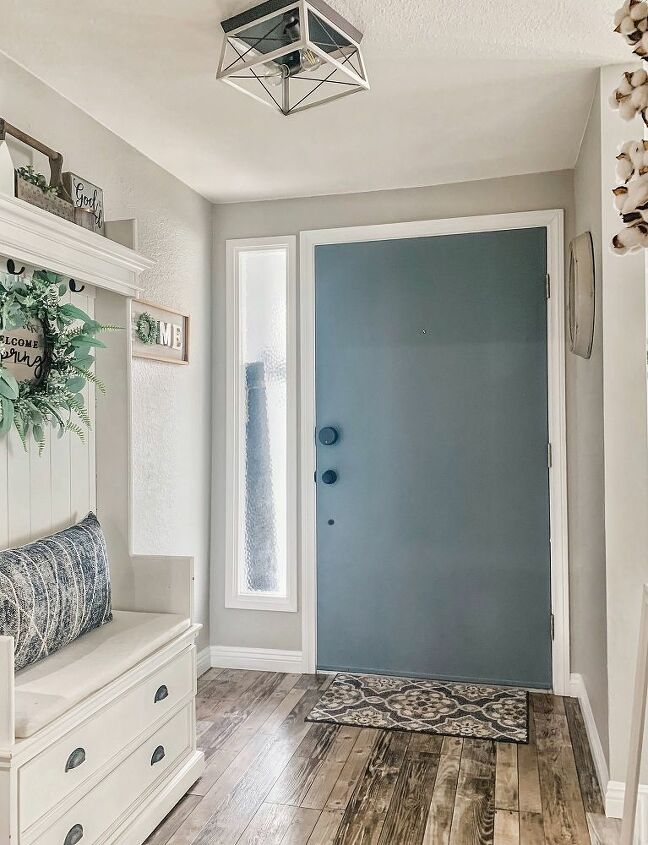
After living here a year, I painted it which made a big difference, but it still wasn't something I loved. The color I used is Sherwin Williams Foggy Day. This picture is the starting point for this project.
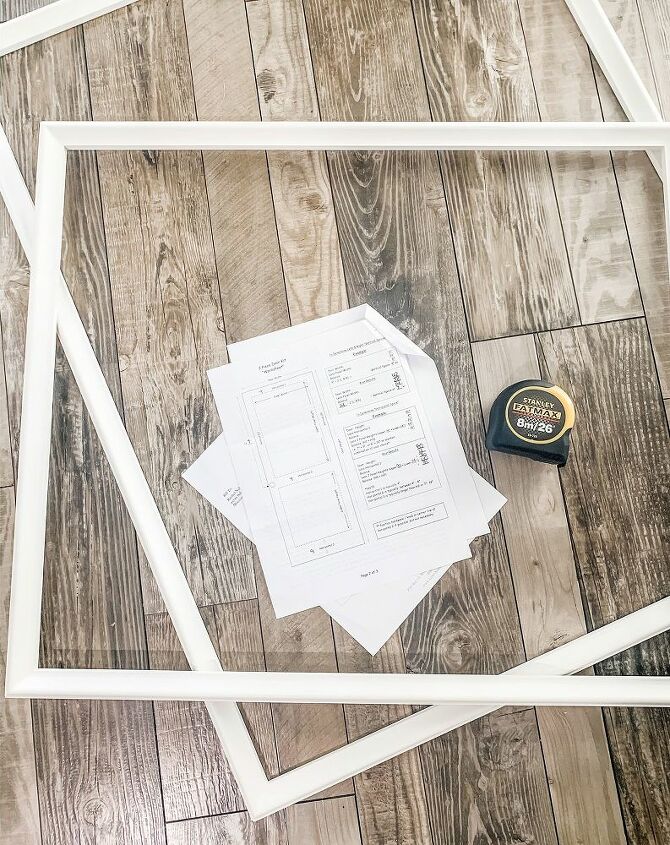
Math is not my strong point at all, so I loved the fact that they included a worksheet to help layout exactly where to install and center the trim! It was so easy to determine with their formulas. Since my door is extra wide, I went with the 28" 2 piece kit which worked perfectly! They offer lots of different sizing and design options in kits for doors OR walls.
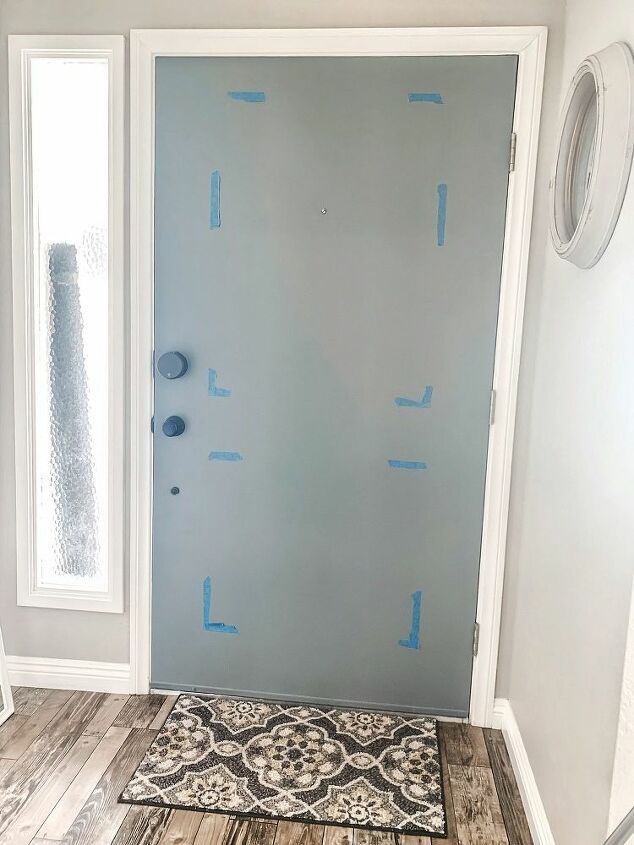
After filling out the worksheet, I used painter's tape and pen markings to layout the design and make sure I was happy with how it looked.

As I mentioned, they are already assembled and are backed with double-sided tape.
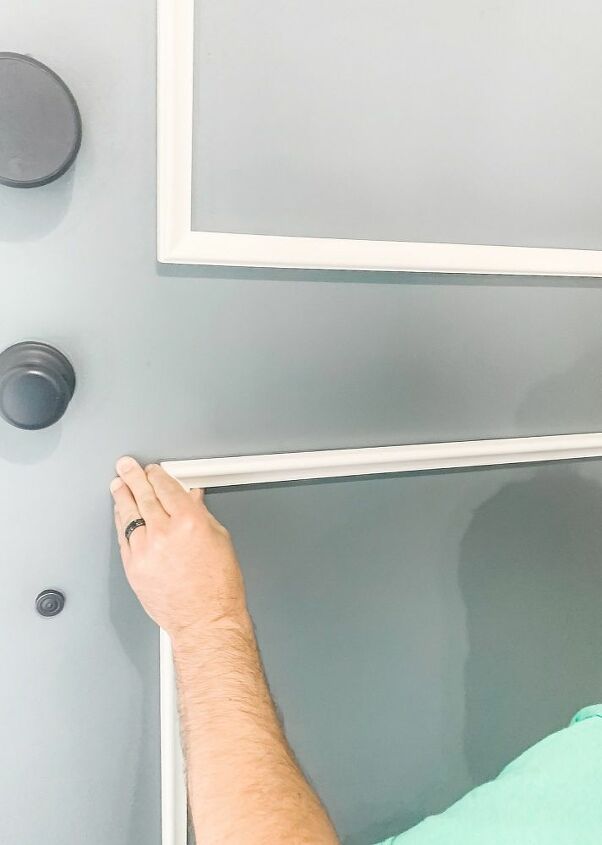
We chose to peel off the top backing first and stick down before adhering the other sides. This worked out well in case we needed to straighten and adjust anything before it was completely attached. It was as easy as peel and stick!
Everything looked great and the double-sided tape had an extremely strong hold!
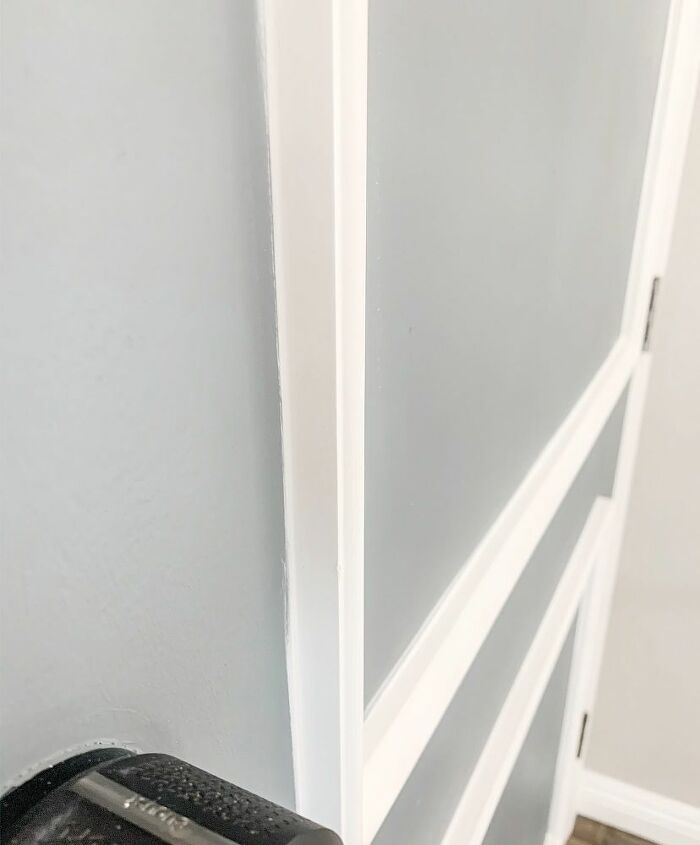
Even though everything was adhered very well, I decided to use some caulking around the edges to give it even more of a finished look. I applied with my caulk gun, ran my finger along the edge to remove any excess and wiped with a damp paper towel.
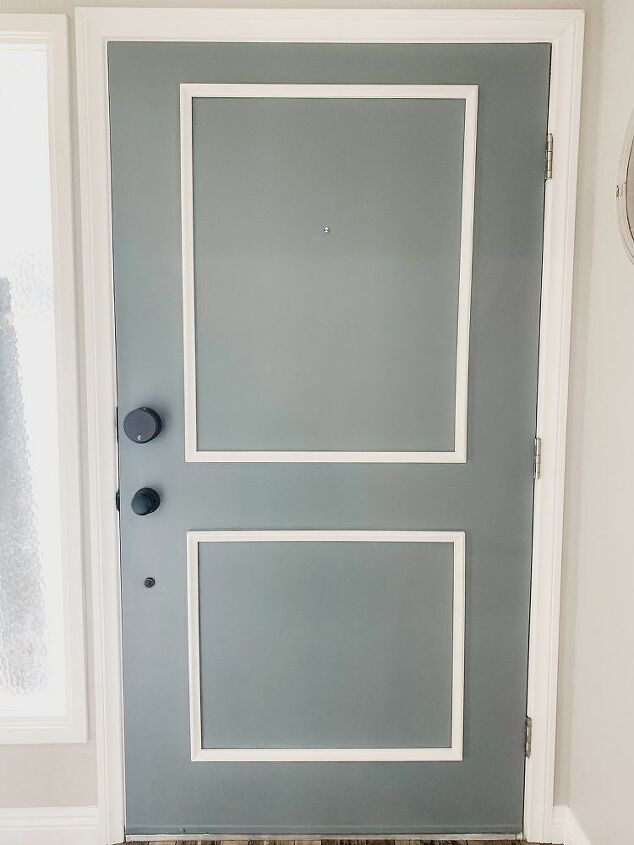
Once the caulk was dried, I painted over the trim with extra paint from when I had previously painted the door. The wood was already primed and ready to go so it only took a couple quick coats!

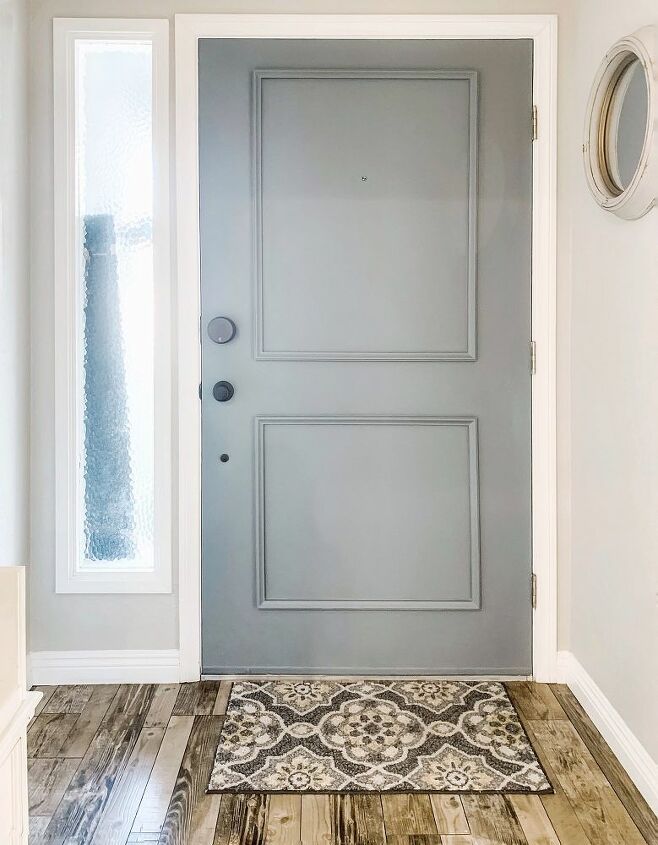
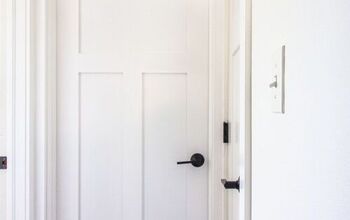
Here is the finished product. It makes a huge difference, don’t you think?? Now I finally have a door I love and I can allocate those funds for another project instead of a custom door!
Resources for this project:
See all materials


Comments
Join the conversation
-
Can’t find in your description who you ordered the frames from.
-
Very nice, indeed!


Frequently asked questions
Have a question about this project?
What color is that paint t?
Did you do the same on the outside of the door?
Lollie
Your work is terrific, and your color choice is magnificent! I love the shade of green you chose.
May I ask, where did you ever find such a beautiful bench? It is perfect! It looks as though it would go with most decor, and it is very attractive to the eye!