


How to Build a Double Bed Frame With Amazing Storage

Having oodles of storage cubbies makes any child or youth giddy with excitement. This bed is perfect for a growing youngster who is ready for a grown-up bed but still needs loads of storage options for books, toys, and treasures.
Tools and Materials
- Circular saw
- Router
- Table saw
- Plywood (1" thick)
- Plywood (1/4" thick)
- 1" x 3" pine trim
- Sanding block
- Palm sander
- Measuring tape
- Paint
- Paint roller
- Wood glue
- Wood screws
- Nail/staple gun
- Kreg jig
- Straight clamps
- Corner clamps
The directions in this post are for a double or full-sized mattress that measures approximately 53” wide and 75” long. To make a frame for a single or queen bed, adjust the dimensions accordingly to fit your size mattress.
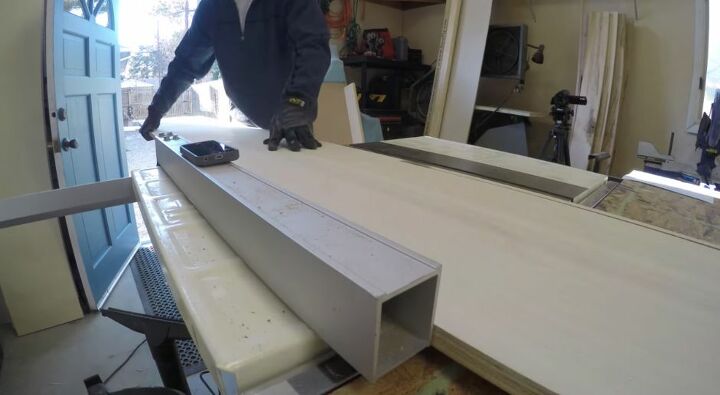
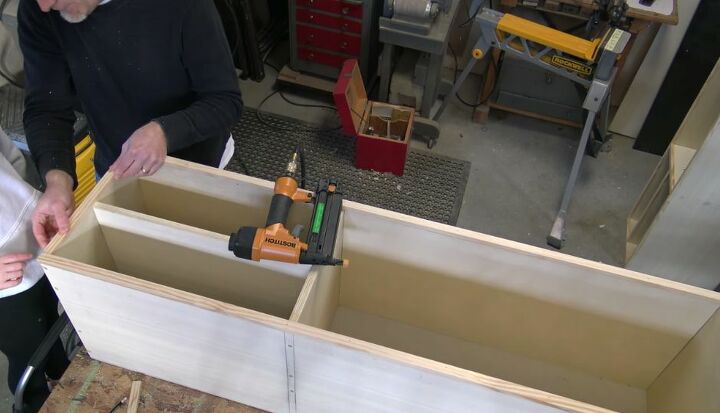
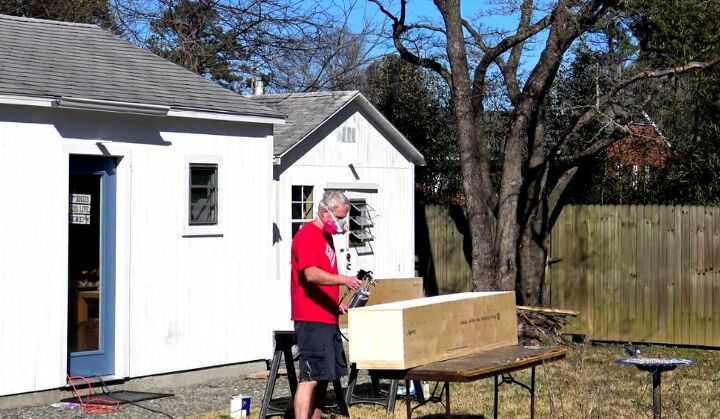
To start off this project, I cut all of the 1” plywood that would be needed for the storage boxes. This included the frame pieces as well as all of the pieces for the dividers and the shelves. I wanted the frame to be slightly longer than the mattress so made each box about 78” long and about 20” wide. I cut all of the 1” plywood using a table saw.
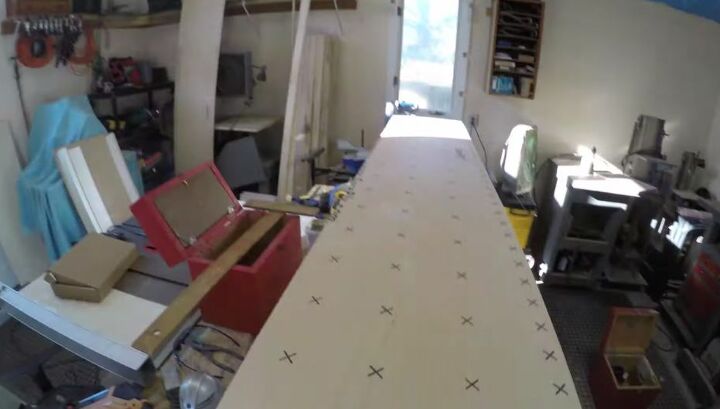
Next, I used the circular saw to cut all of the Dado cuts on each piece. I made sure there were Dado cuts on the ends so that the boxes fit together snugly as well as for each shelf and divider. Depending on how many cubbies and shelves you want your storage bed to have, will determine the amount of Dado cuts you will need.
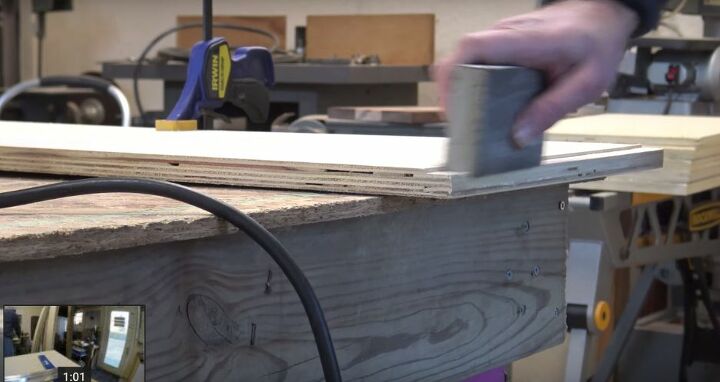
To make sure all of the edges, shelves, and dividers fit well, I used a sanding block to sand them smooth before assembling the boxes. This takes a bit of time but will be well worth it when you assemble the bed.
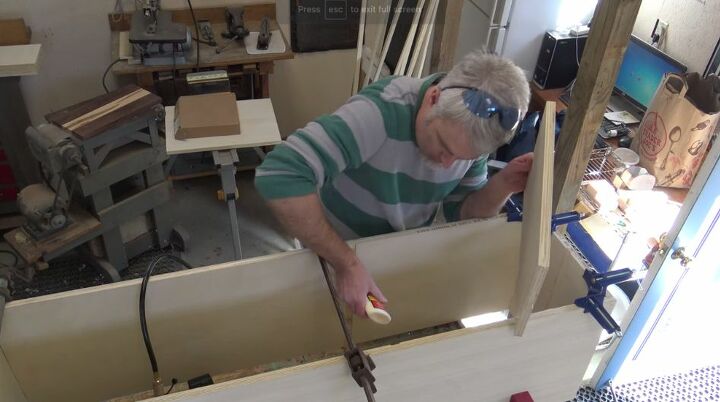
Using a generous amount of wood glue in each joint, I put the boxes together. I find that it is definitely a necessity to have lots of long clamps to hold things tight while the wood glue is drying. The corner clamps came in especially handy for this project! Once the glue was completely dry, I added wood screws for extra support.
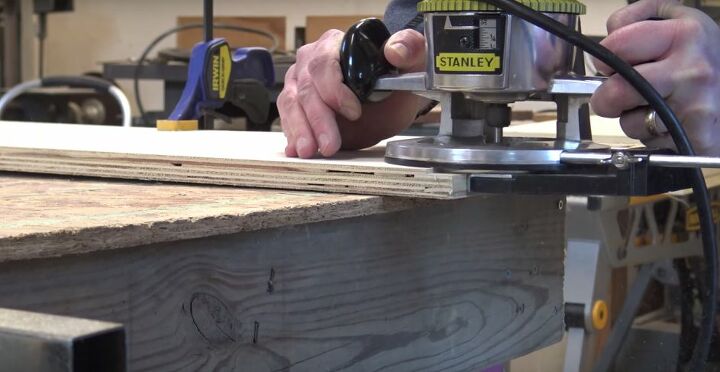
To finish off the boxes, I added a back to each. I cut down 1/4” plywood and then attached a piece with the staple gun to the back of each box. Once they were attached, I squared them off with a router and sanded them to make everything nice and smooth. For this project, I used a piece of pre-primed 1/4” but you can use unprimed as well. I would recommend putting the first coat of paint on the back though before attaching it to the box frame if you use unprimed plywood. This will make the painting much easier later on.
In order to give the storage boxes a nice finished look, I cut pieces of 1” x 3” into 1” x 1” strips and then use the staple gun to attach them to the frames. Again, they were squared off with router and sanded with the sanding block to really polish them off. The trim really made the boxes look professional and clean.
Wanting the entire frame to sit slightly off of the ground, I built a little box frame to go under the storage boxes. I used 1” x 4” plywood and the Kreg jig to make all of the holes for the screws that would attach the base to the box frames. The Kreg jig was perfect to help ensure all of the screws went in well and were hidden.
Next, both boxes were given several coats of white paint. This would be the ideal project for a paint sprayer but mine, unfortunately, wasn’t powerful enough. I ended up using a roller, but if you have a sprayer, I would highly recommend using it.
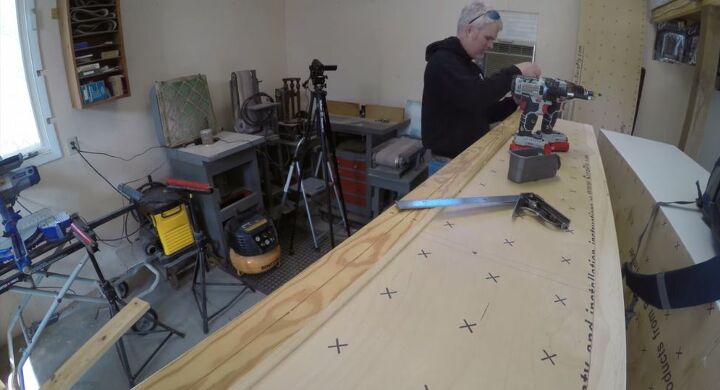
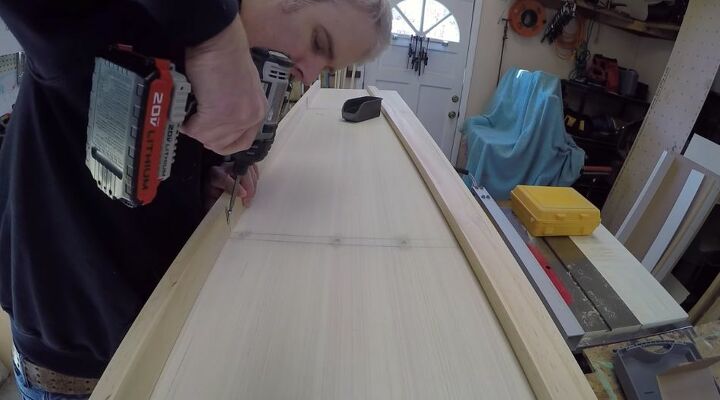
The last thing to do before beginning the assembly was to add some support pieces for the bed slats. Each support piece was screwed to the backside of each box about 1” from the top of the box. I countersank the screws in so that everything was nice and tight.
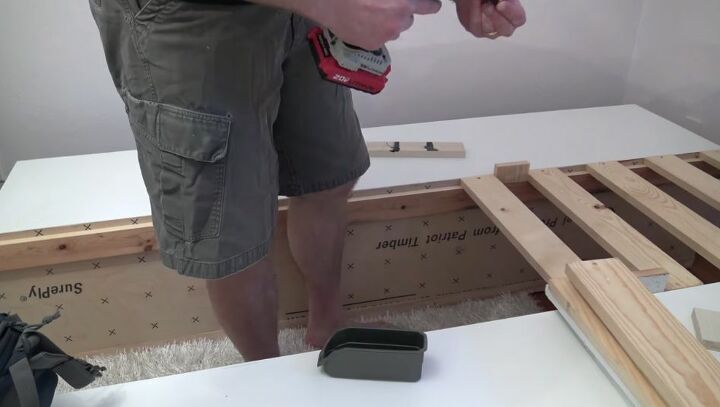
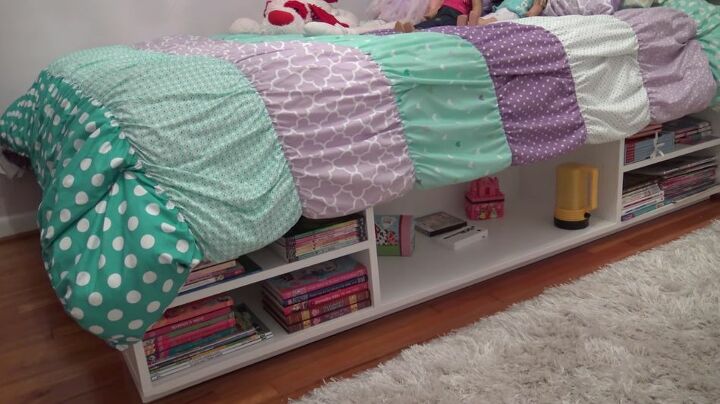
Finally, with everything ready, I moved the storage boxes into my daughter’s bedroom and began assembling it. I placed the two boxes facing out and left a space in the middle that I filled with bed slats. As I was attaching the bed slats, I used a little square piece of wood as a spacer. This insured that they were all spaced out evenly to provide the best support for the mattress (and my daughter!).
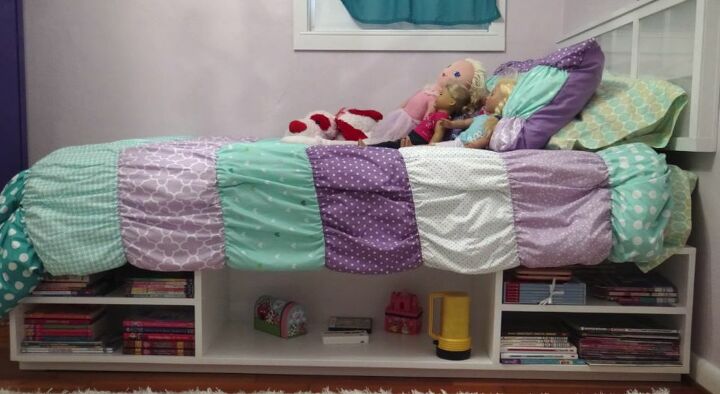
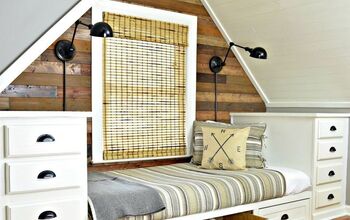
With the bed together, all that was left to do was add a mattress and fill the shelves. We couldn’t be more thrilled with how this bed turned out and the fact that my daughter helped design and build it with me was the icing on the cake.


Comments
Join the conversation
-
I
-
Awesome video, very thorough and explained well! Love the fact you use your grandpa's router still, I too use some of my dad's tools from decades ago, he was a cabinet builder on the side so I love the woodwork myself. Your plans actually helped me change my plans after seeing this, thank you. I'm in the process of building same sort of bed frame for king bed but had planned on doing 2 separate twin sized boxes with drawers in them connected in the center, it would be more space consuming, I can see now how to utilize the slats with smaller size boxes. Beautifully designed, she did a great job and lovingly executed dad!


Frequently asked questions
Have a question about this project?
Why did you build 2 boxes, if one is going to be up against a wall?
Is the headboard connected to the base or is it separate and connected to the wall?
Could you have used wooden crates to make the side panels? Perhaps adding a shelf or two inside the crates - not sure the dimensions would be the same, just a thought. Also, her first idea drawing included doors in the middle cubby - perhaps as any pre-teen, or any person, would like for privacy/ Would that be difficult to add to this project? I am asking because I am limited in space (and privacy) and love this idea. I wouldn't mind having some doors on the middle panel. Thoughts?