


DIY Faux Wood Bookcase

If your bookcase looks like this with a plain white back and you want to make it a little more interesting? Then this is the project for you. Here are the steps to add a faux wood back to a bookcase.
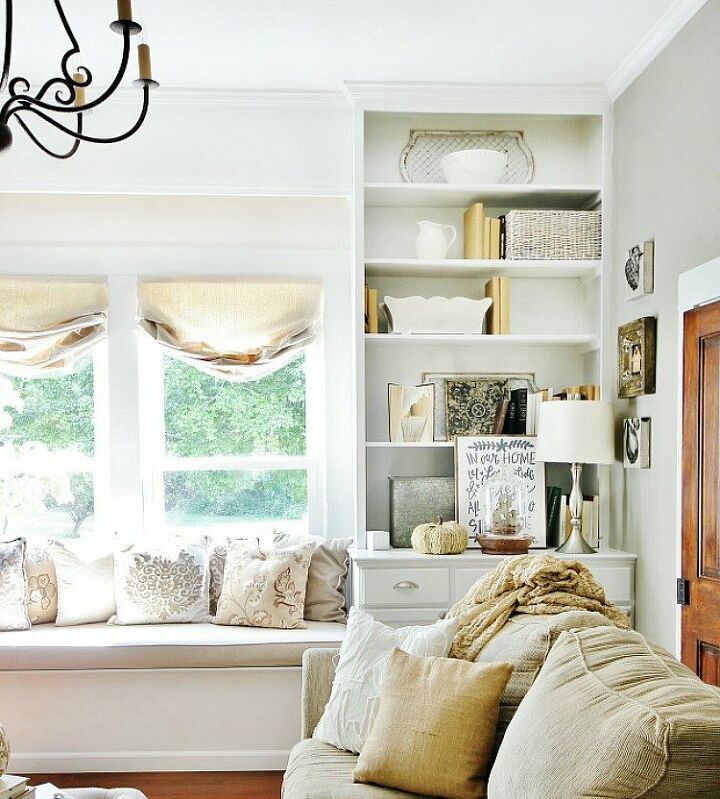
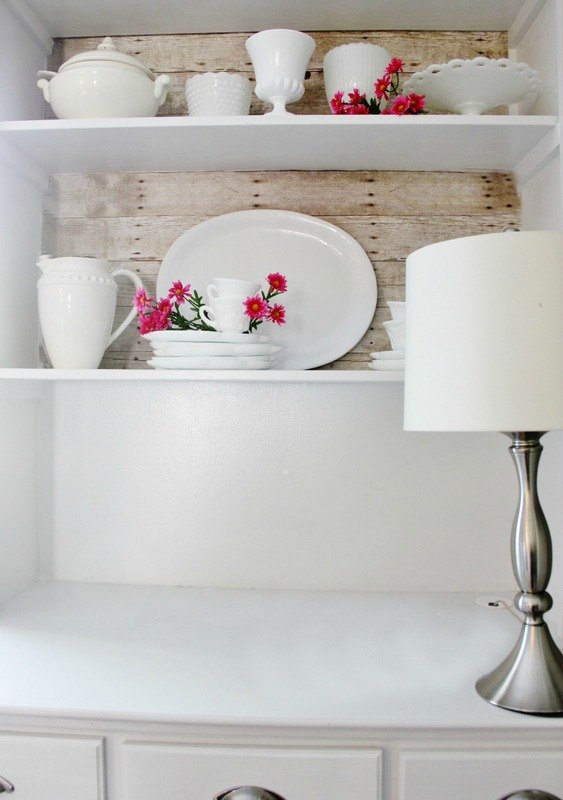
Here's where I started with the bookcases. These are the bookcases in our family room at the farm house. They were fine, but I wanted to give them some personality, so I came up with the idea of creating faux wood backs.
Each of the bookcases on my shelf were different sizes, so I measured each one individually.
Cut out a piece of paper slightly larger than your space.
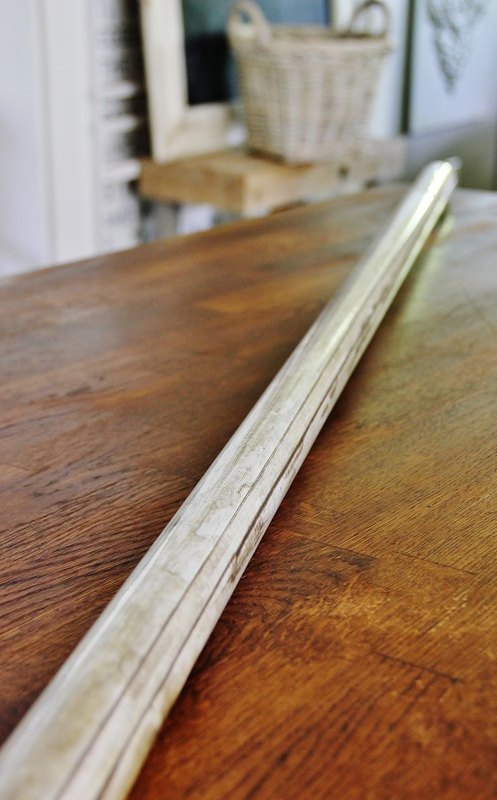
Next, unroll the faux wood paper you'll be using for this project. Details on where to find the paper are located under the supplies section.
Tape top of paper in place with painter’s tape or any other non-stick tape.
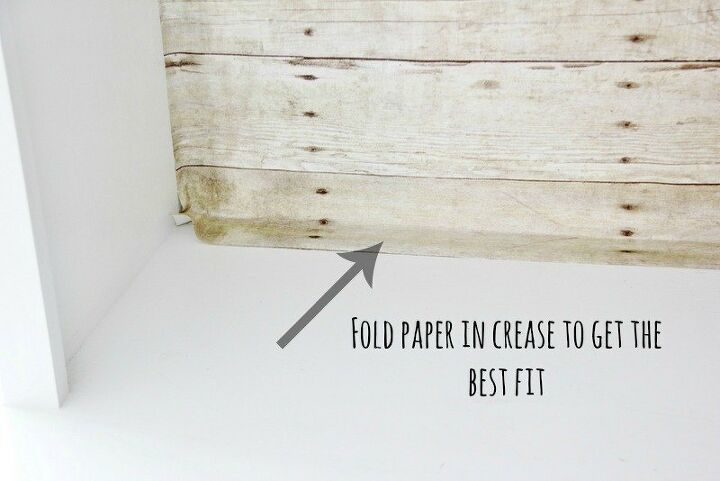
Fold paper in crease to make sure you get an accurate fit.
Then with the edge of the scissors or a small utility knife….cut the paper in the crease.
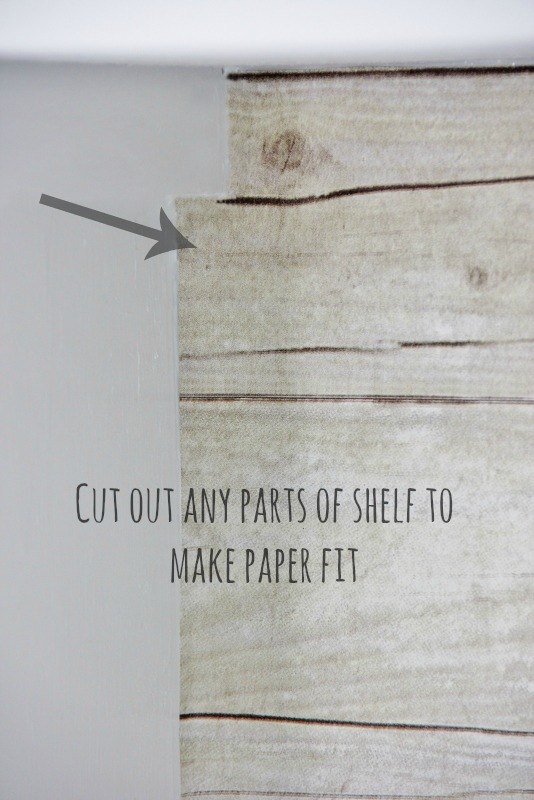
Cut the sides to fit into the bookcase. Make sure to take into account any extra spaces.
I had a 1 x 2 on the side of each shelf, so I made sure to make allowances for the 1 x 2 when cutting out the paper.
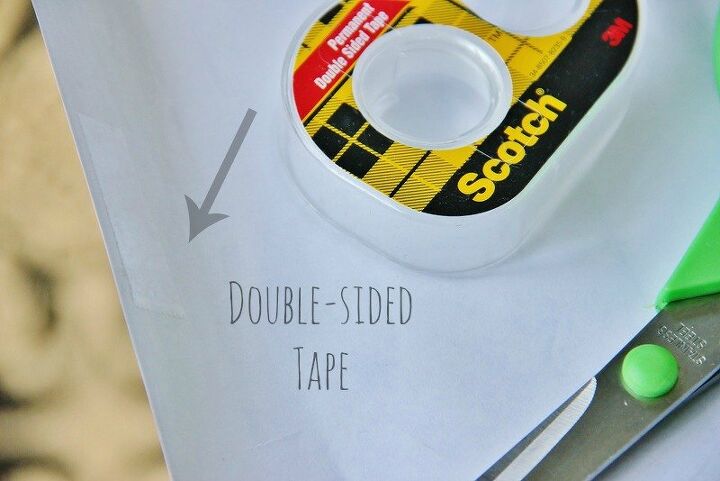
After the paper is cut to fit exactly….remove the paper and apply double-sided tape.
Apply a lot.
I put mine every 5 to 6 inches.
Then take paper with tape and press firmly into the bookcases.
Once you are finished with a shelf, press paper in place and repeat steps 1-4 with the next step.
Continue cutting and taping paper until all the shelves have been fitted with a faux wood back.
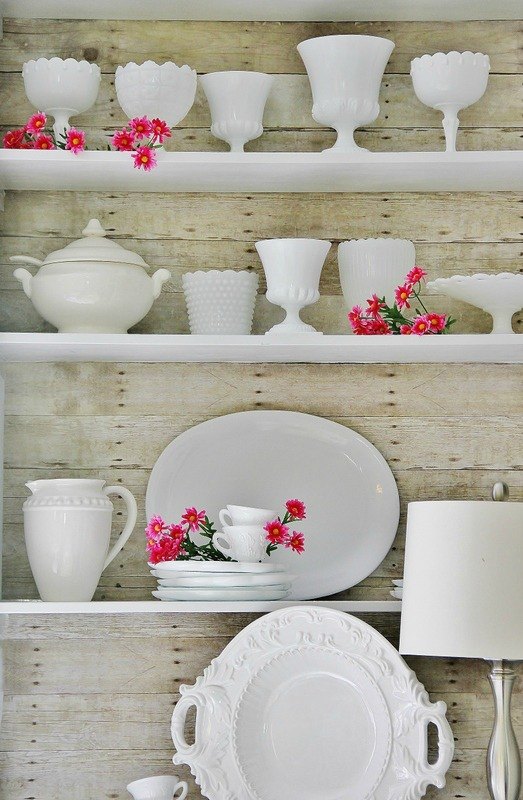
Here's the finished project.
The wood looks so real once it's installed!
If you like this paper---here are a few other projects using it:
Resources for this project:
See all materials


Comments
Join the conversation
-
Yes
-
BEAUTIFUL!


Frequently asked questions
Have a question about this project?
Could you have used modge Podge on the back of paper?