


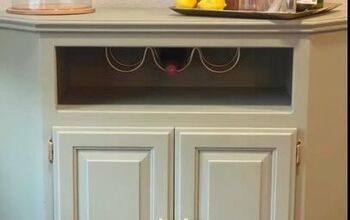
Accent Cabinet Makeover
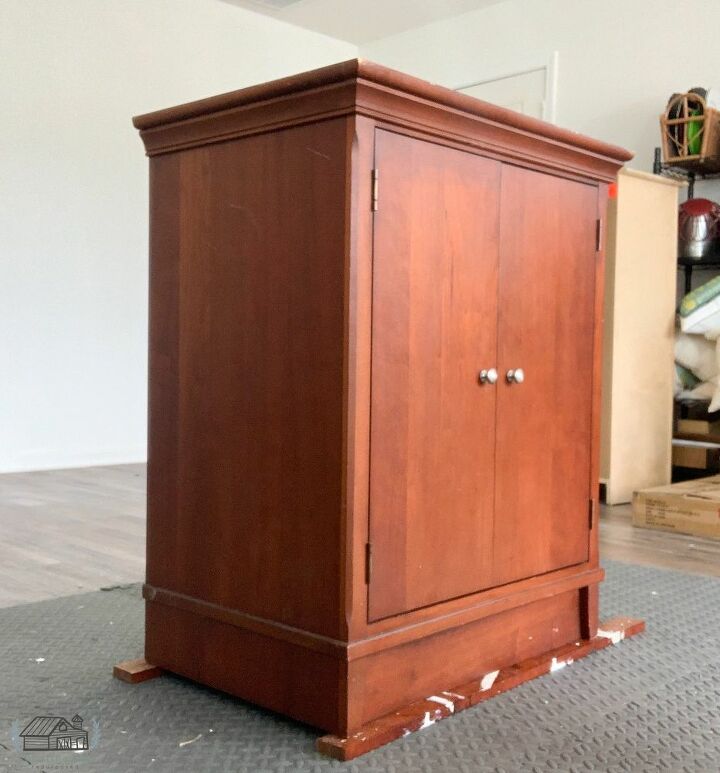
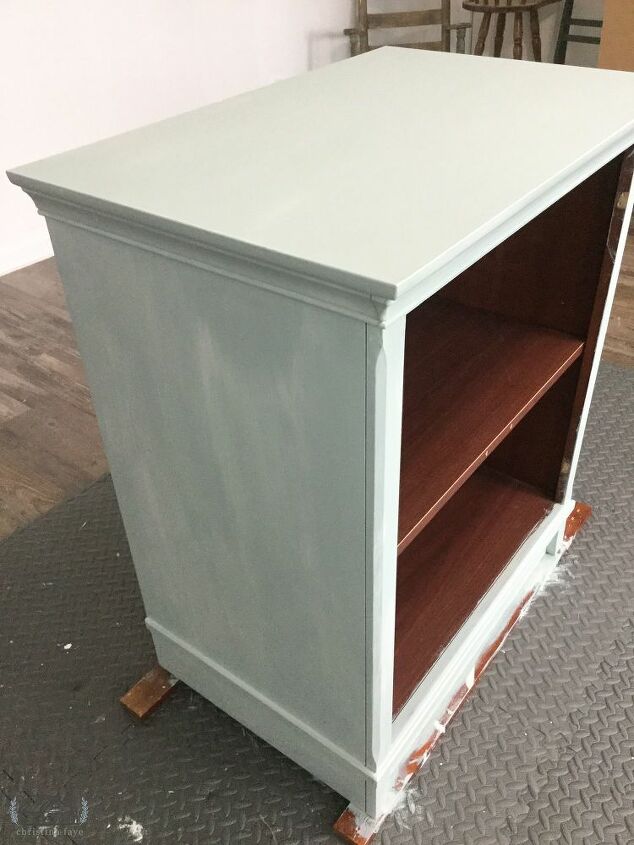
While scrolling through the Facebook Marketplace, which I am addicted to, by the way, I came across this all wood accent cabinet. The cost was $40.00 which I thought was a great deal for a wood cabinet. So, the Hubs and I decided to pick it up.
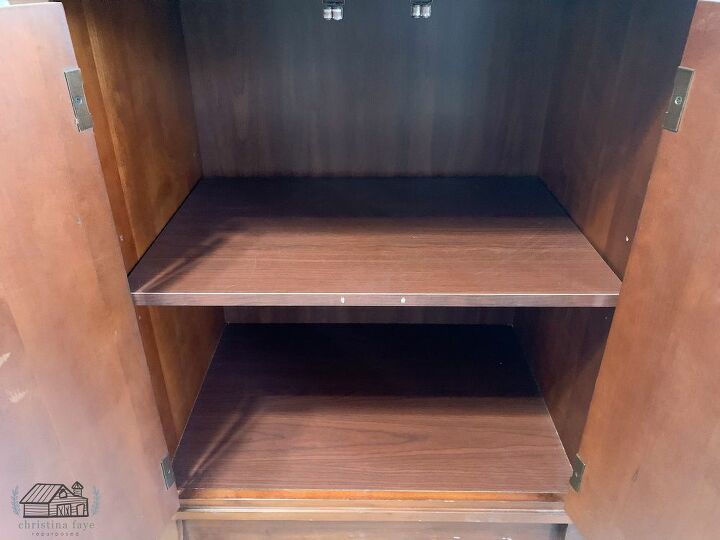
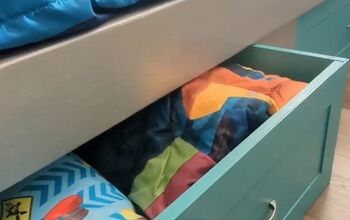
The inside included a shelf which was great for that extra storage space.
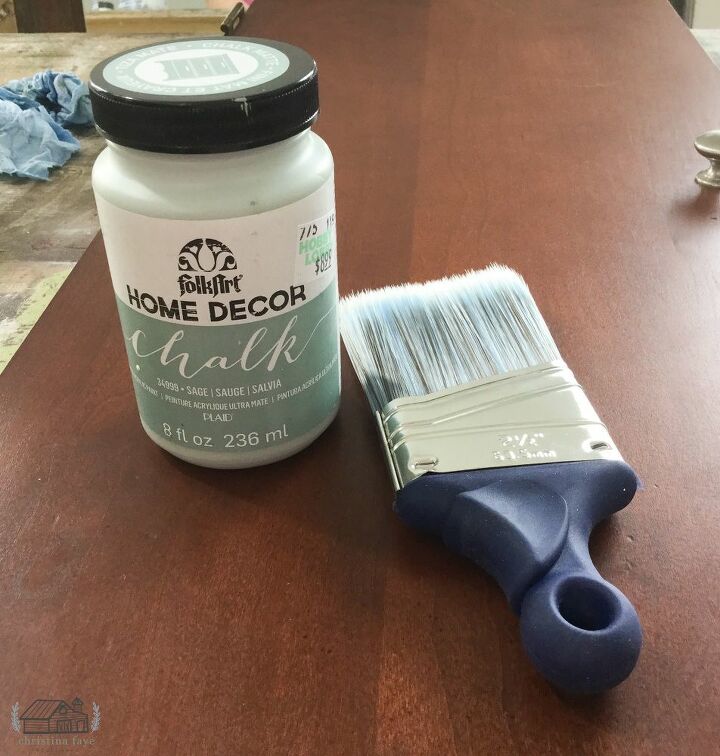
A friend had given me a gift basket a month or so ago and it included several small jars of FolkArt Chalk Paint. It included a jar of Sage, a beautiful, pastel greenish-blue.
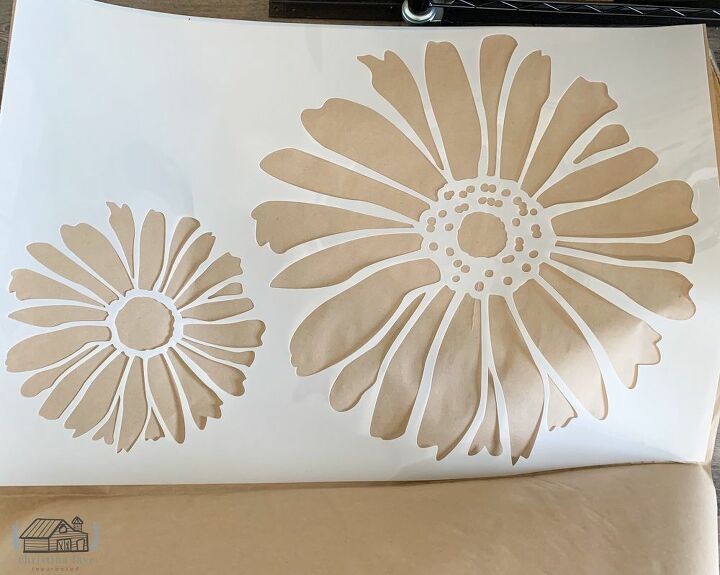
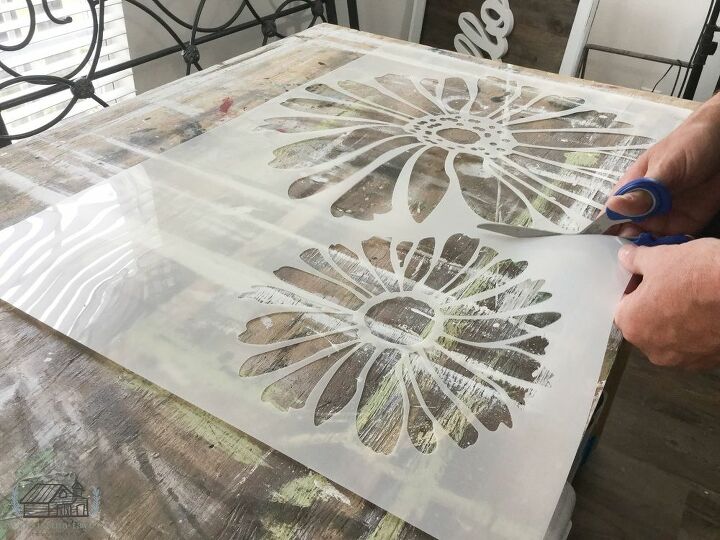
To make the cabinet even more cheerful and fun, I will be applying this beautiful Daisy Floral Pattern Wall Stencil by Stencil Revolution. Isn’t it beautiful? The stencil comes with a large daisy and a small daisy. I felt the large daisy would be the perfect size for the front of my cabinet. It is 23” x 23”.The stencil’s quality is awesome. Stencil Revolution makes their stencils using reusable 10 mil food-safe Mylar plastic. Isn’t she a beauty? The quality of the stencil is bar far the best I have seen.
Step 1: To start the cabinet project, I cleaned under the cabinet by giving it a quick sweeping.
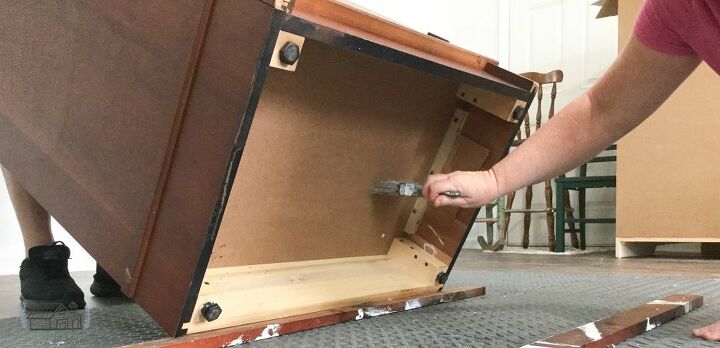
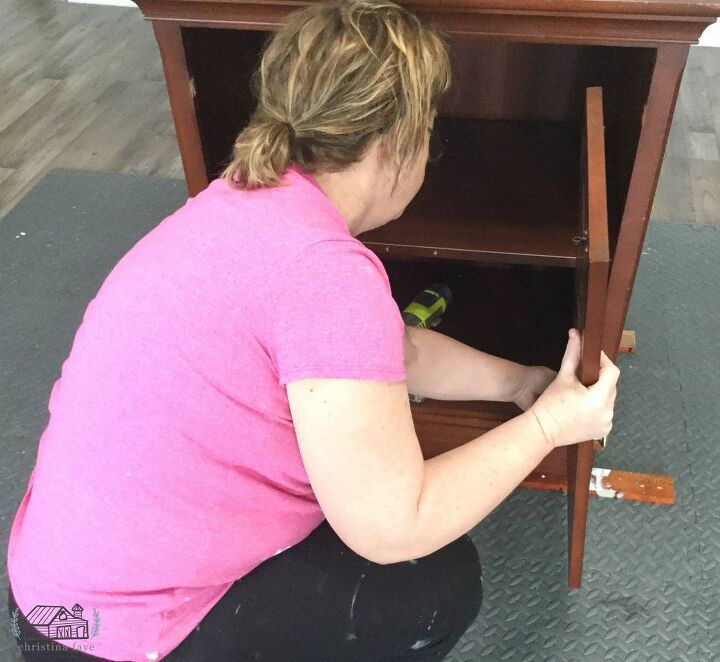
Step 2: I removed the doors and the old knobs.
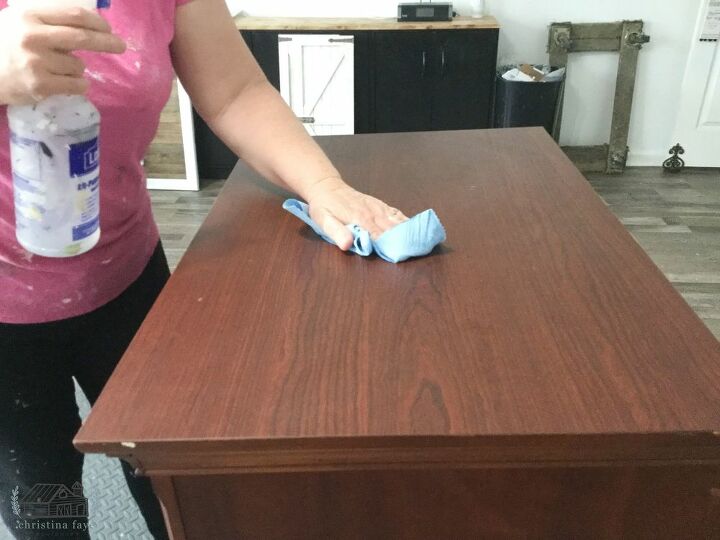
Step 3: The cabinet was then cleaned using my vinegar and water solution (one-part vinegar to one-part water and one teaspoon of dish detergent) inside and outside.
Step 4: One coat of the Sage Chalk Paint was applied to the outside of the cabinet as well as to the doors. (I will not be painting the inside of the cabinet).
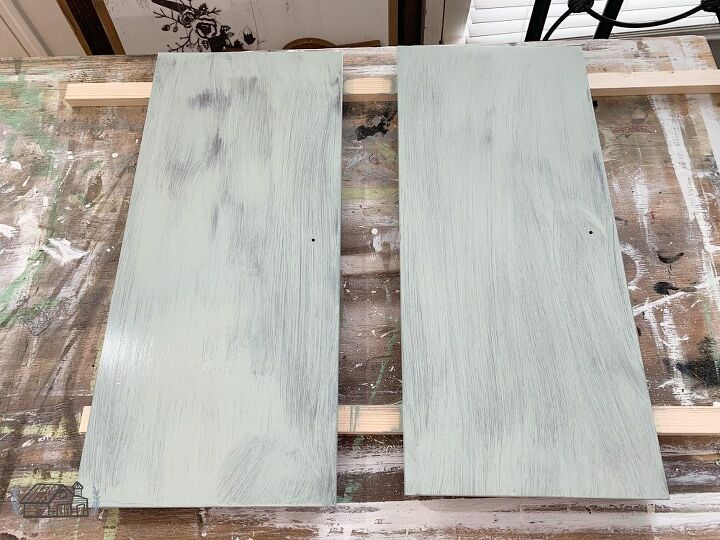
Step 5: The second coat of paint was applied after the first coat dried for about 2 hours. I allowed the cabinet to sit overnight to allow the paint time to cure.
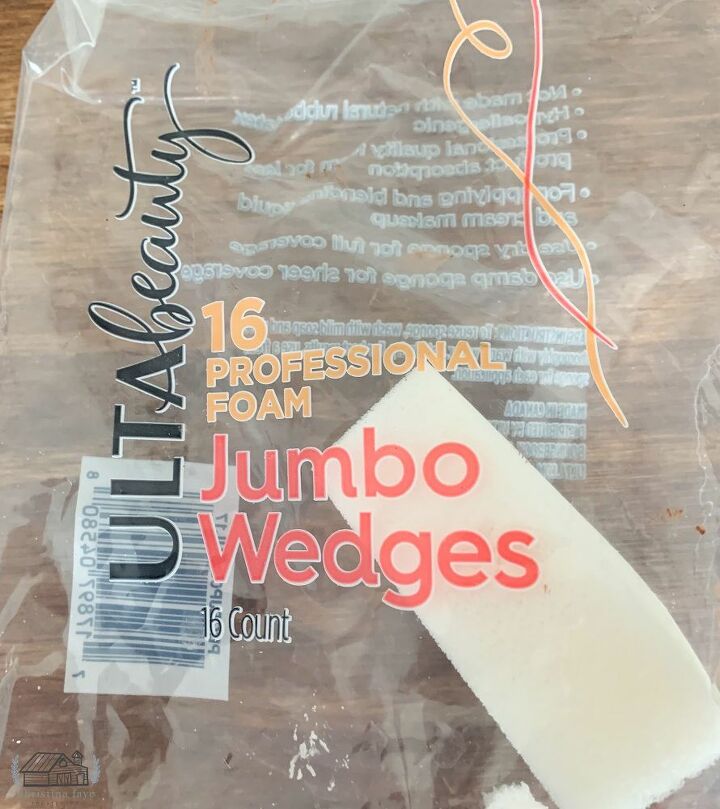
Before stenciling, I attached the doors back on cabinet. And now, the moment I have been waiting for! Applying the beautiful Daisy Pattern Wall Stencil by Stencil Revolution to the front of my accent cabinet.When stenciling, I have found it’s easier to use a cheap makeup sponge from the dollar store. I always make a huge mess with stencil brushes. The makeup sponge gives you a bit more control when applying the paint. However, you can use whatever you feel comfortable with.
Step 6: Before applying the stencil to the cabinet, the Hubs trimmed some of the Mylar so that the stencil would fit easier on the cabinet front.
Step 7: We laid the cabinet on its backside. I eyeballed where the stencil needed to be placed and used blue painters tape to adhere it to the front of the cabinet.
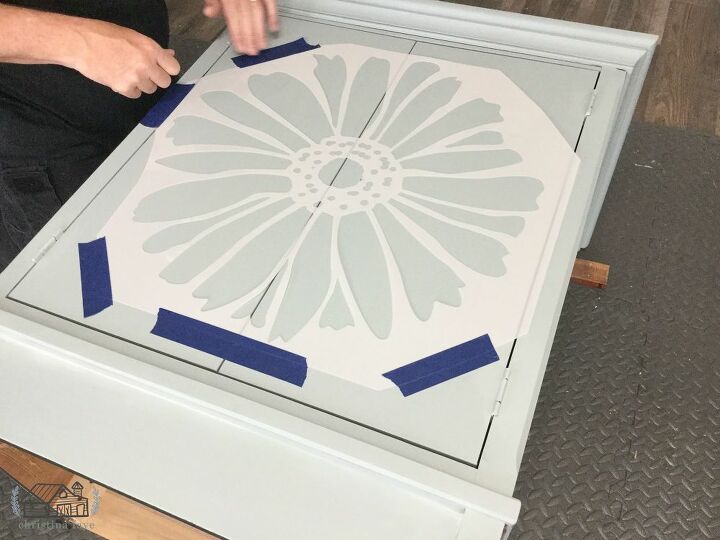
Step 8: For the Daisy Pattern, I will be using FolkArt White. Pour a little of your paint onto a paper plate. Make sure to leave a clean side to dab your sponge to remove any excess paint.
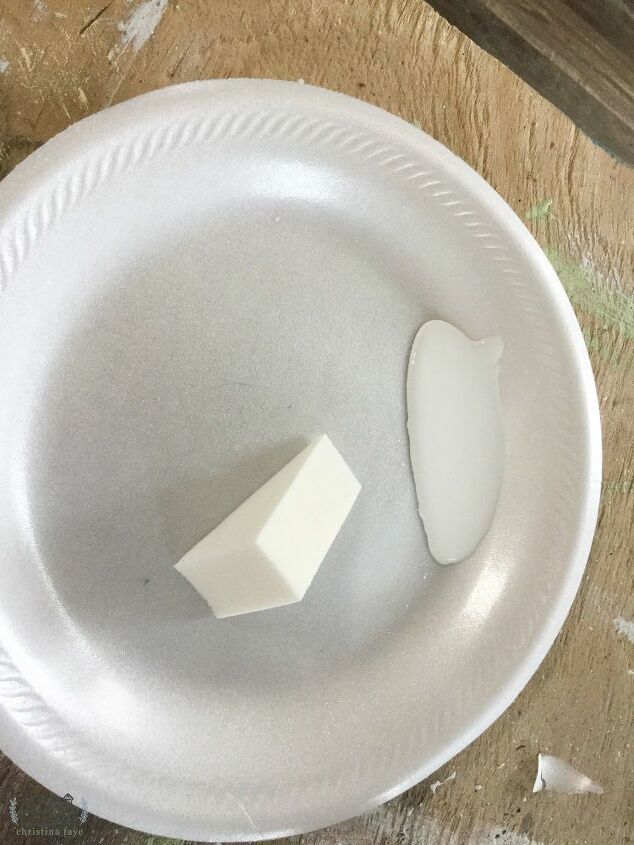
Step 9: Dab your sponge into the paint and then dab onto the clean part of the plate to remove any excess paint.Then simply dab your sponge onto the surface to fill in the stencil areas. Since this was a large stencil, I worked in small sections.
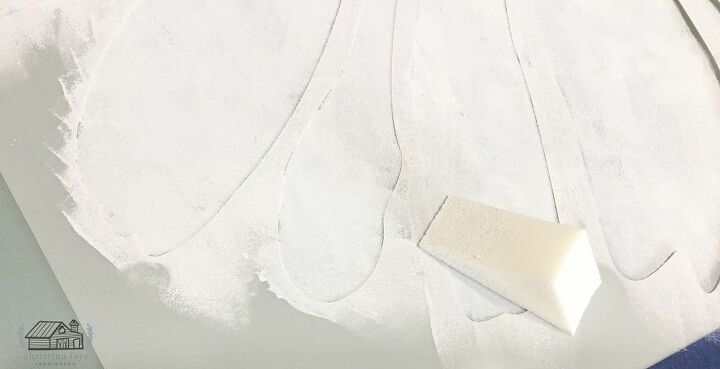
Step 10: Light coats of paint are better. After the first coat was applied with my sponge, I allowed it to dry and then dabbed a second coat.
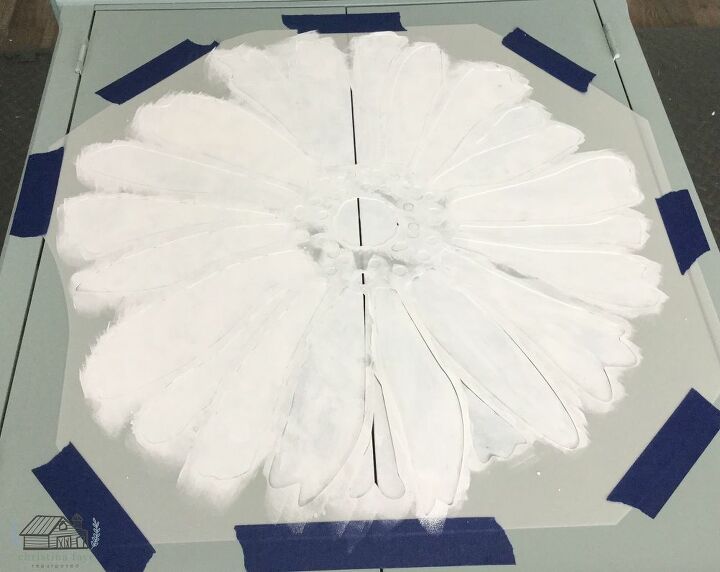
Step 11: Once the stencil is completely filled in, gently remove it from the surface. Look at this!
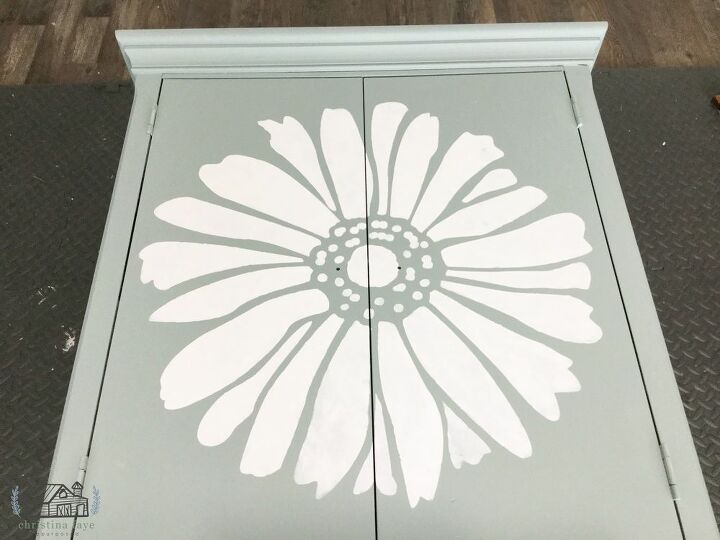
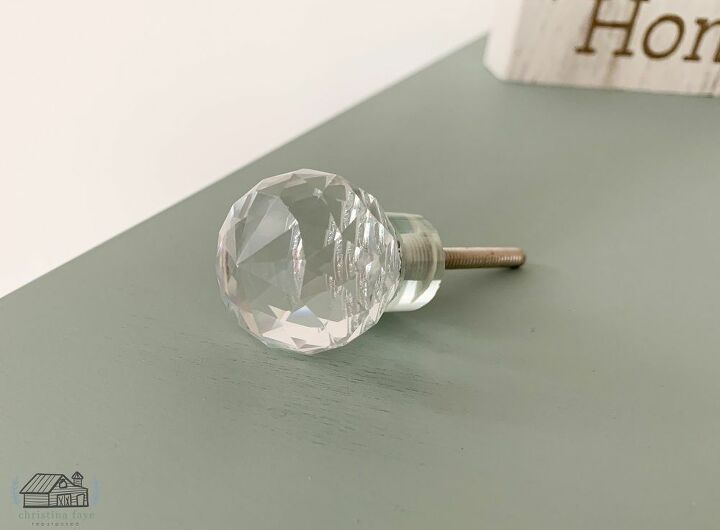
Step 12: The Hubs helped me set the cabinet back up, and I applied one coat of FolkArt’s clear wax and then the new hardware. I found these beautiful glass knobs at Hobby Lobby for 50% off.
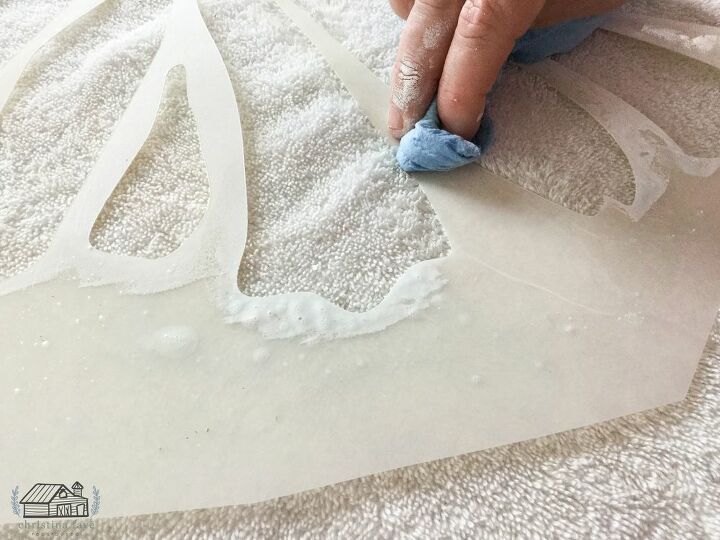
Step 13: To clean the stencil, I used water and Dawn dish detergent immediately after use. I laid it on a towel. This would help also remove and absorb any paint you may have gotten on the backside. Easy peasy!
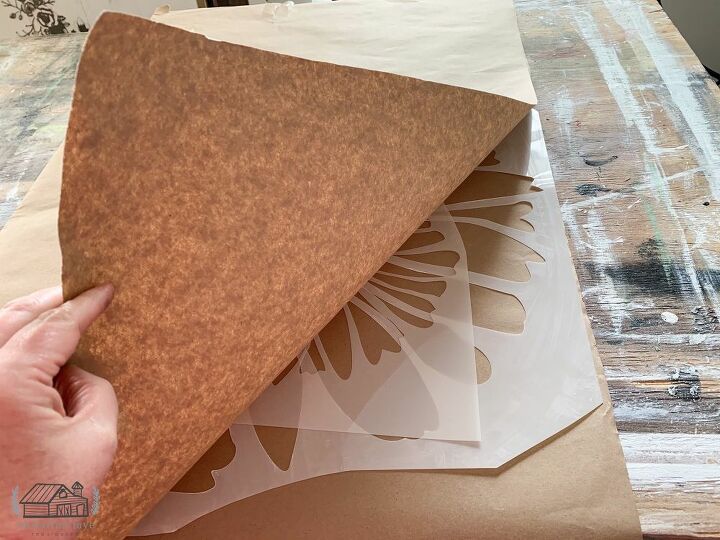
My stencil was shipped with a piece of brown craft paper to protect it. After it was cleaned and it had dried completely, I placed the stencil back into the craft paper and stored it under my bed.
Stencil Revolution is a small, family-based company, just like me. I love supporting small businesses and spreading the word. If you are thinking about stenciling, definitely check them out at www.stencilrevolution.com.The daisy really gives it an elegant feel but at the same time a bit sassy! Look at the difference!I sealed the final piece with FolkArt Clear Wax.

There are so many different possibilities for this accent cabinet. A coffee bar, an entryway piece, the list goes on and on. It can be used just about anywhere in the home that needs a bit of extra storage space.
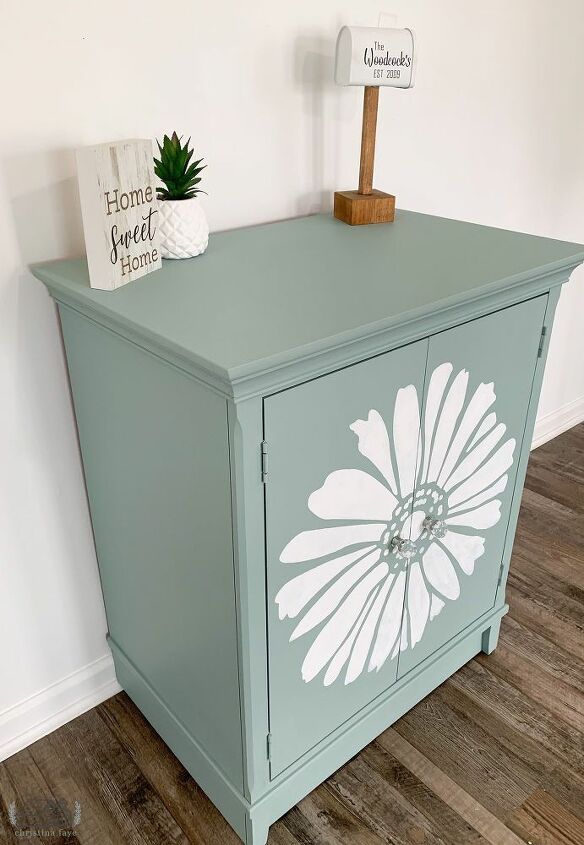
The Stencil Revolution Daisy Stencil gave this accent cabinet a bit of class!
Disclosure: This post was written in collaboration with Stencil Revolution. All opinions are my own.
Resources for this project:
See all materials


Comments
Join the conversation
-
I am truly impressed. Was not expecting it to come out so beautiful and refreshing.
-
Really cute. I have one I need to paint. Thanks for your ideas.


Frequently asked questions
Have a question about this project?
I have a peice of furniture that is paper covered partical board (I think). Can this type of furniture be used for painting a stencil renovation? Is there a special paint for this type of cheap furniture?
Do you remove the stencil while the paint is still wet or do you wait until it’s dry?
How much paint did this take?