


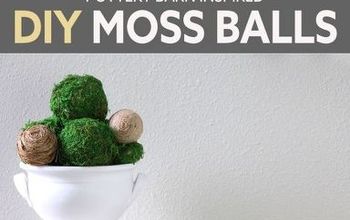
DIY Moss Balls for Less Than $1
Happy Spring! Today I'm sharing an easy craft to freshen up your decor and bring some green into your house. It's been a long winter, and it's looking to be a long spring due to the Corona Virus so I definitely need some new decor to brighten up my house.
My easy "green" craft today is moss balls! Moss balls have been a go to decoration item for quite some time. They blend in with most decor and you can put them pretty much anywhere to create texture or filler, which is exactly what I plan to do! You can buy moss balls at tons of different brick and mortar stores, online at Amazon or Ebay, basically anywhere home decor is sold.
But my philosophy has always been why buy something for $5 a piece when you can make it for less than $1? Yes, that's right, these moss balls cost less than $1 each, in fact they cost less than 50 cents to make! You can purchase the moss needed to make these balls at most craft stores but I found it was cheapest at Dollar Tree for $1 a bag.
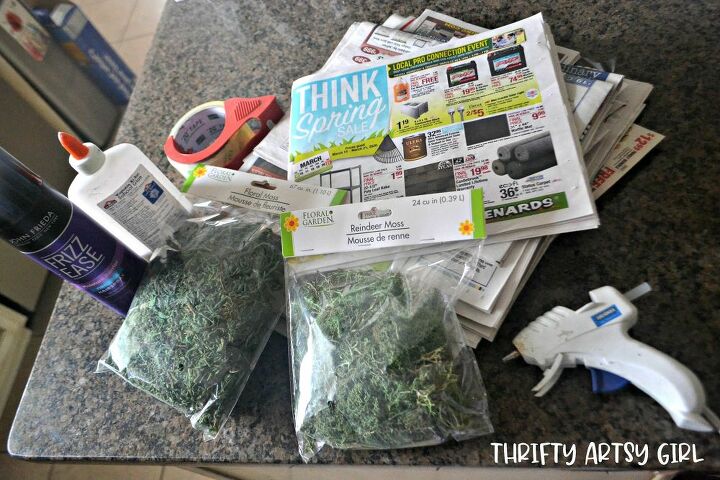
Moss Ball Supplies:
- Floral Moss
- Reindeer Moss (optional to add more texture)
-newspaper OR foam balls OR ugly balls you have no use for
-tape
-glue (hot glue, elmer's glue, modge podge or spray adhesive)
-paintbrush (if using elmer's glue or modge podge)
-hairspray
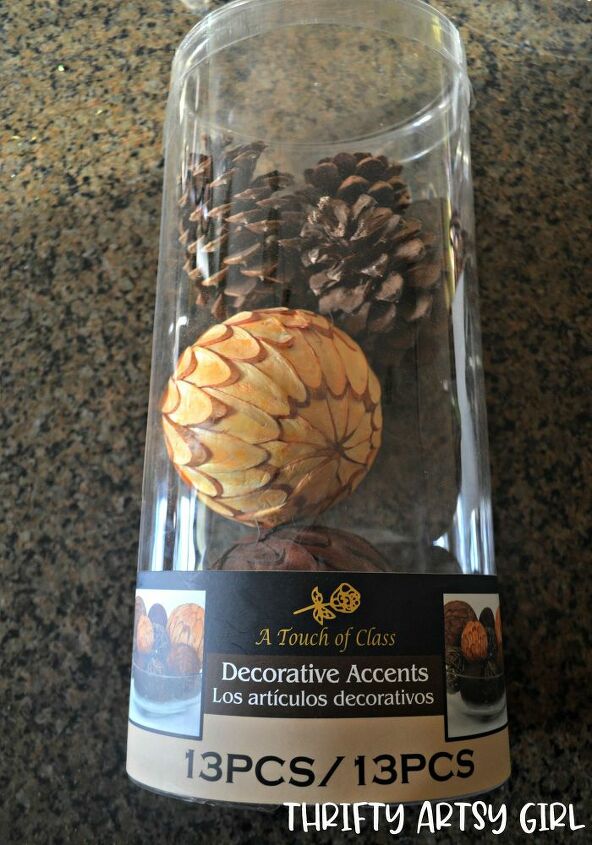
When I set out to make moss balls I decided to try a couple different ways. I had some decorative balls that I had bought on clearance many years ago that included balls that were not my taste so I decided to put them to good use and cover them in moss.
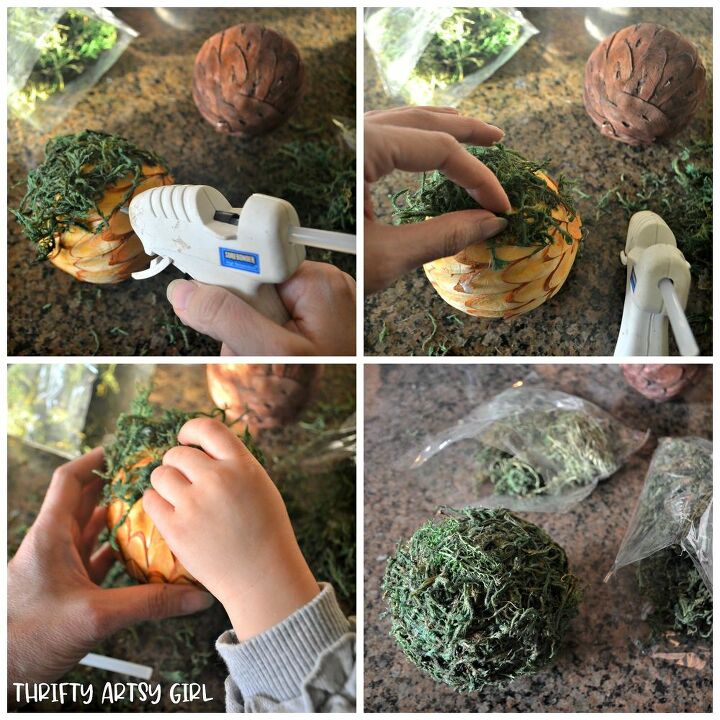
The first ball I made I used hot glue to affix the moss. I just put some hot glue on a small portion of the ball and stuck the moss on before it dried. While it was very easy, so easy in fact that my three year old could help, I used up a lot of glue sticks.
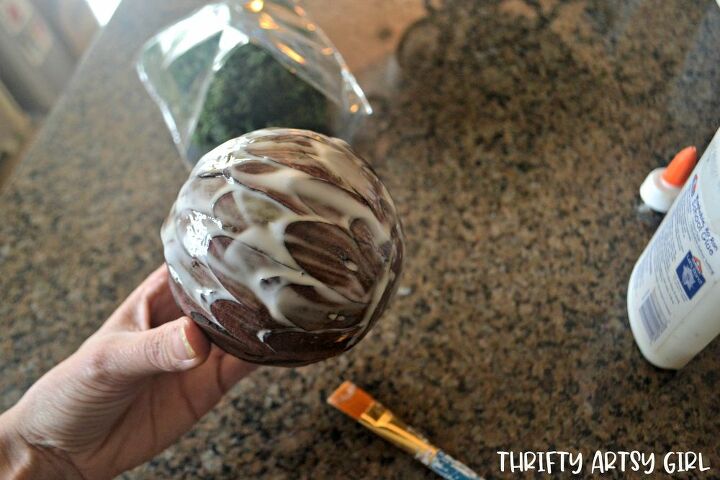
For the next ball I used elmer's glue that was left over from my son's last school year. I squeezed the glue onto the ball and used a small paint brush to brush it over part of the ball.
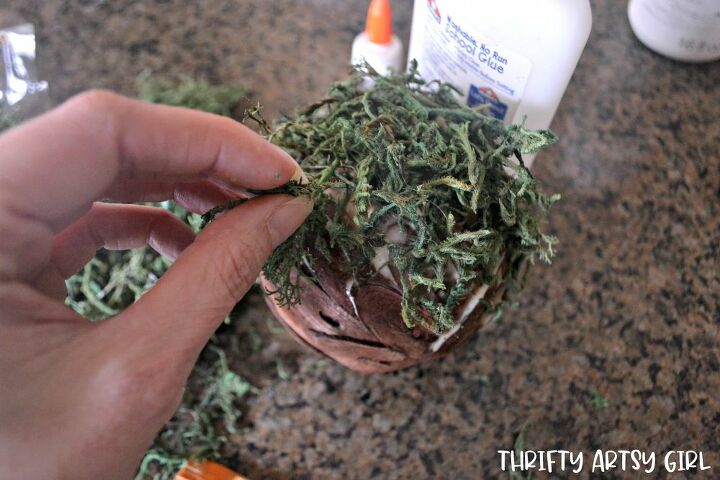
Then I placed the moss on the wet glue until it was completely covered and let it set to dry. I did notice a couple spots that I missed but it was easily fixed by squeezing some glue onto the spot and putting moss on the glue.
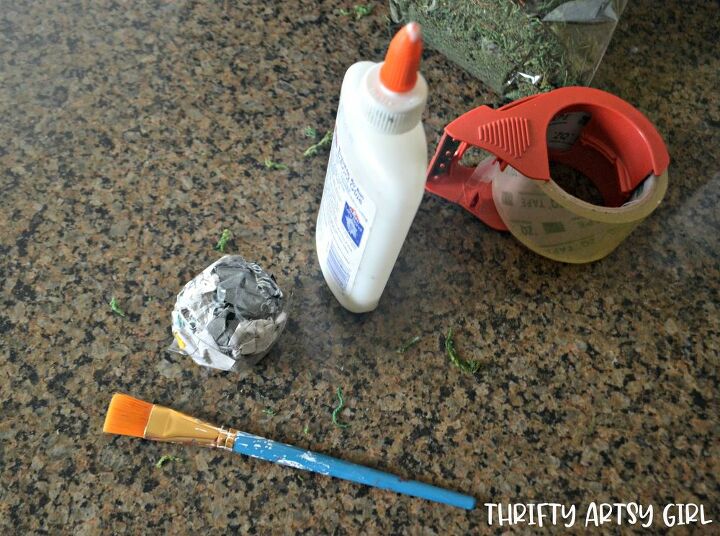
I also used newspaper to make some of my moss balls because not only is it free, but you can make your balls any size you want! Besides the large moss balls that I made I wanted to make some mini balls to put in a glass vase with other decorative balls I had. I took one sheet of newspaper and crumpled it up into a ball and taped it all around so that it held its shape. I then used the elmers glue and paint brush method on the newspaper balls.
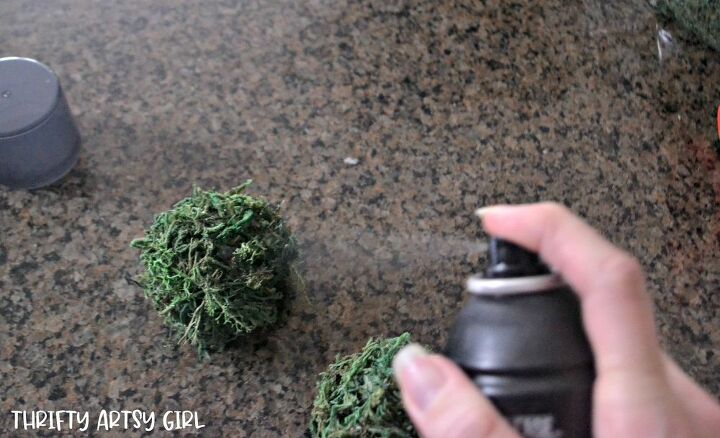
After all the balls were dry I formed them in my hands to push the moss where I wanted it to be and sprayed them with hairspray to keep the moss in place.
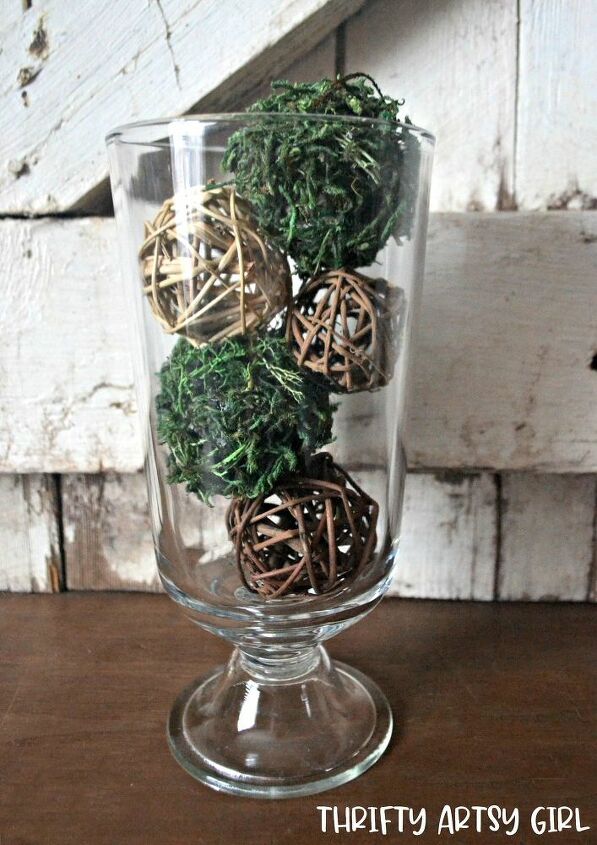
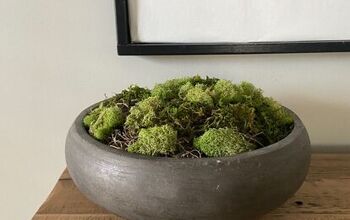
This is one of the messiest crafts I've made so be prepared for sweeping moss up, especially if you have little hands helping you ;). It was also one of the cheapest at less than 50 cents a piece. I didn't even use up one bag of moss making four balls! Here's a couple of pictures of my finished moss balls mixed in with my decor.
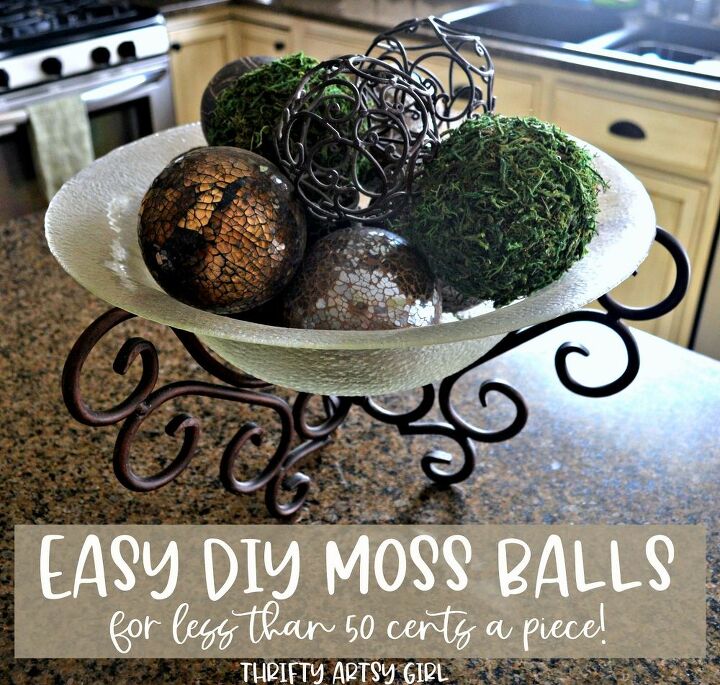
I love the pop of green and organic look it gives to my decor. Just the breath of fresh air I needed to get me in the mood for Spring! Check out my blog for more pictures of this project: https://www.thriftyartsygirl.com/2020/02/diy-moss-balls-for-less-than-1.html
Resources for this project:
See all materials


Comments
Join the conversation
-
Very pretty.
-
This is an awesome idea, great for this quarantine nothing to do.
Thank you for the idea


Frequently asked questions
Have a question about this project?
Where did u get those metal scroll balls that are alao in the bowl?